
Have you ever wondered how to make glitter candles yourself? I have!
I really love all the shimmery shiny candles I spot in stores but I don’t like the hefty price tag! I was sure there had to be a cheap and easy way to do it yourself and after a bit of experimenting I’ve got a DIY hack that works really well and is so easy the kids can do it!
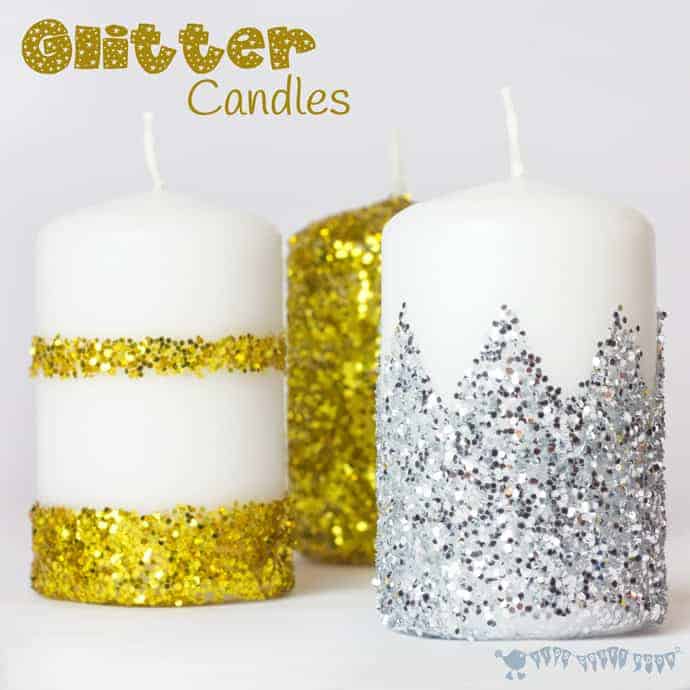
Oh, ohhhh, ohhhhhhh I’m so delighted with how well these glitter candles turned out, they’re so pretty! I’m going to adore having these on display and they make fabulous homemade gifts too.
Supplies To Make Glitter Candles
-
- Candles
- Mod Podge US / UK
- Glitter US / UK
- Painters Tape US / UK
- Contact Paper US /UK
How To Make Glitter Candles
I spotted some cheap packs of candles in our local supermarket and couldn’t resist buying them to try to make glitter candles myself.
I’d read about softening the outside of the candle in the oven and then rolling them in glitter but this sounded tricky and hot wax wasn’t something I wanted the kids involved with.
I decided to just try gluing the glitter on instead. To start off with I used PVA glue and it was a bit of a disaster! The glue took forever to dry which meant the glitter kept sliding off and once it had set it just peeled off the candle in big pieces! I also got told by a friend that PVA gave off nasty fumes when burnt so I had to totally scrap that idea altogether!
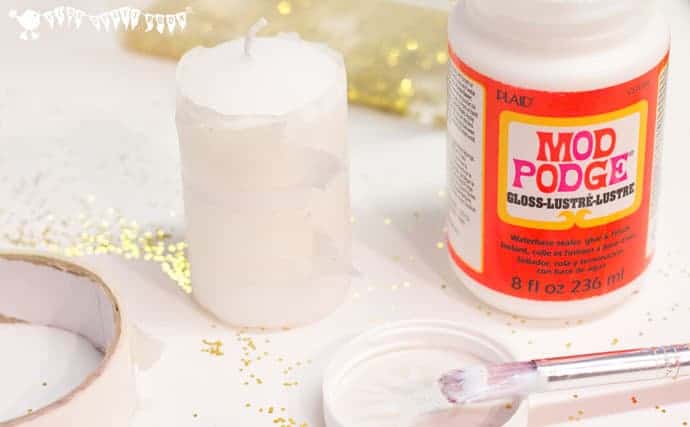
In the end I tried using Mod Podge to great success. As far as my research has been able to find out Mod Podge is OK to heat. I am no expert though so it’ll have to be your own decision whether to go ahead and burn these candles or whether they’ll be purely decorative.
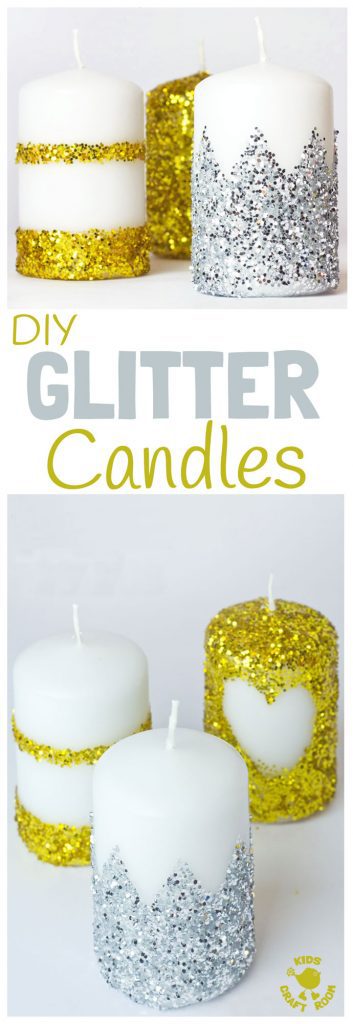
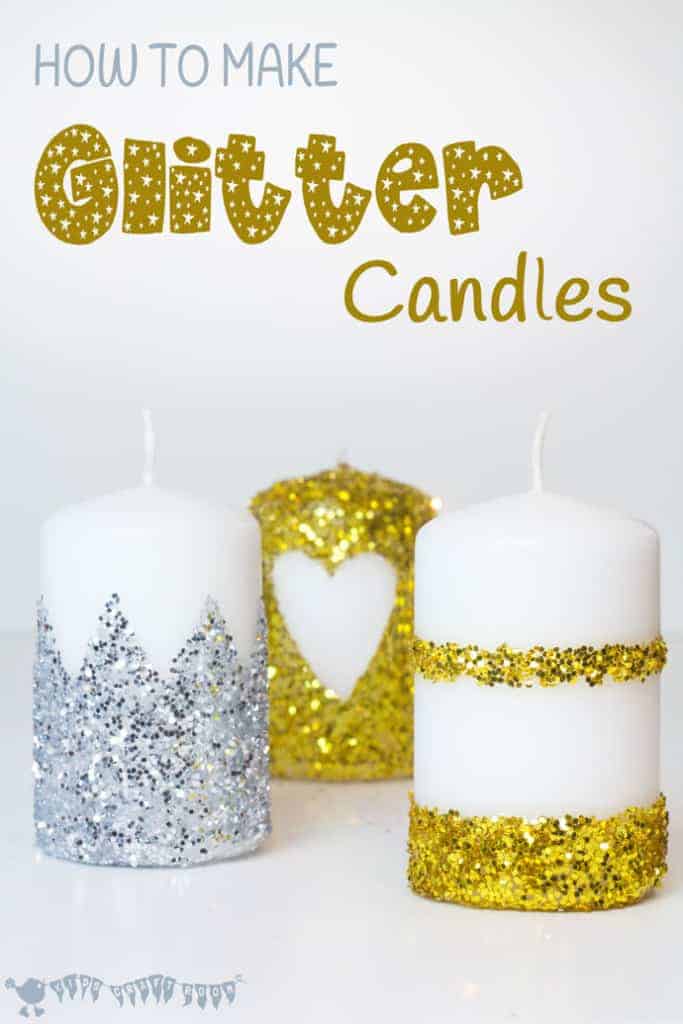
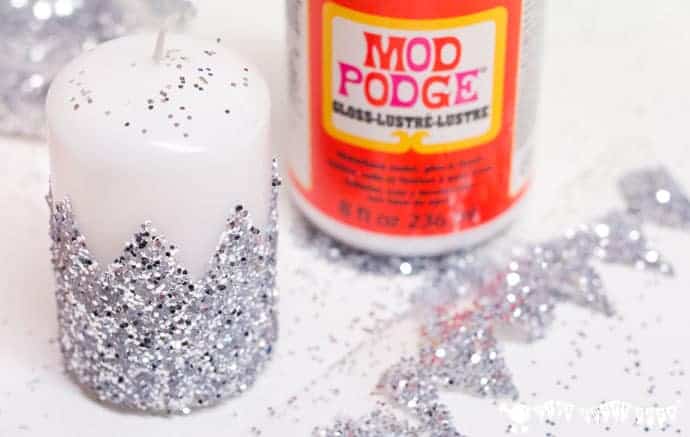
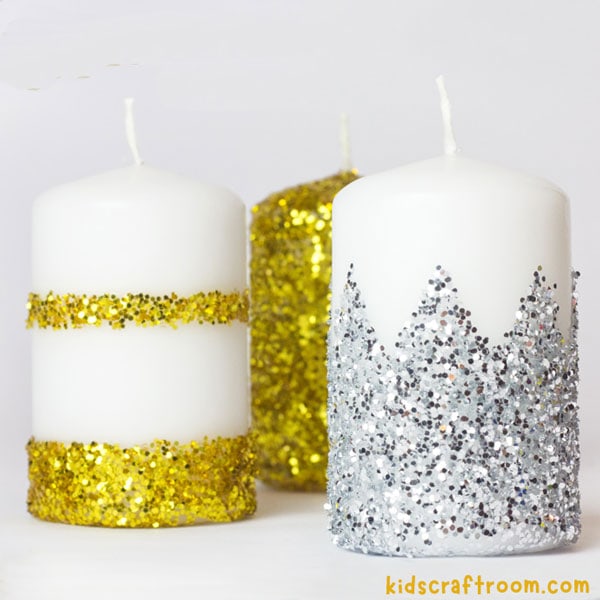
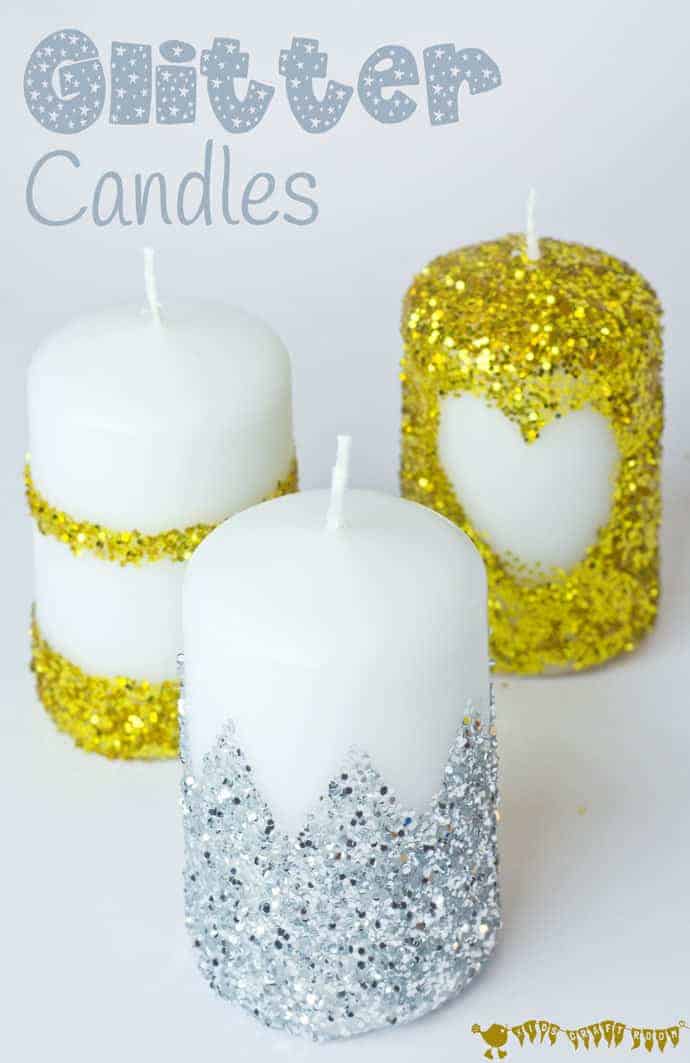
To make our glitter candles we masked off the areas and shapes that we didn’t want covering with either painters tape or contact paper, both methods worked really well. For straight lines we used the masking tape and for the heart and zigzag we needed to cut the shapes so used the contact paper instead.
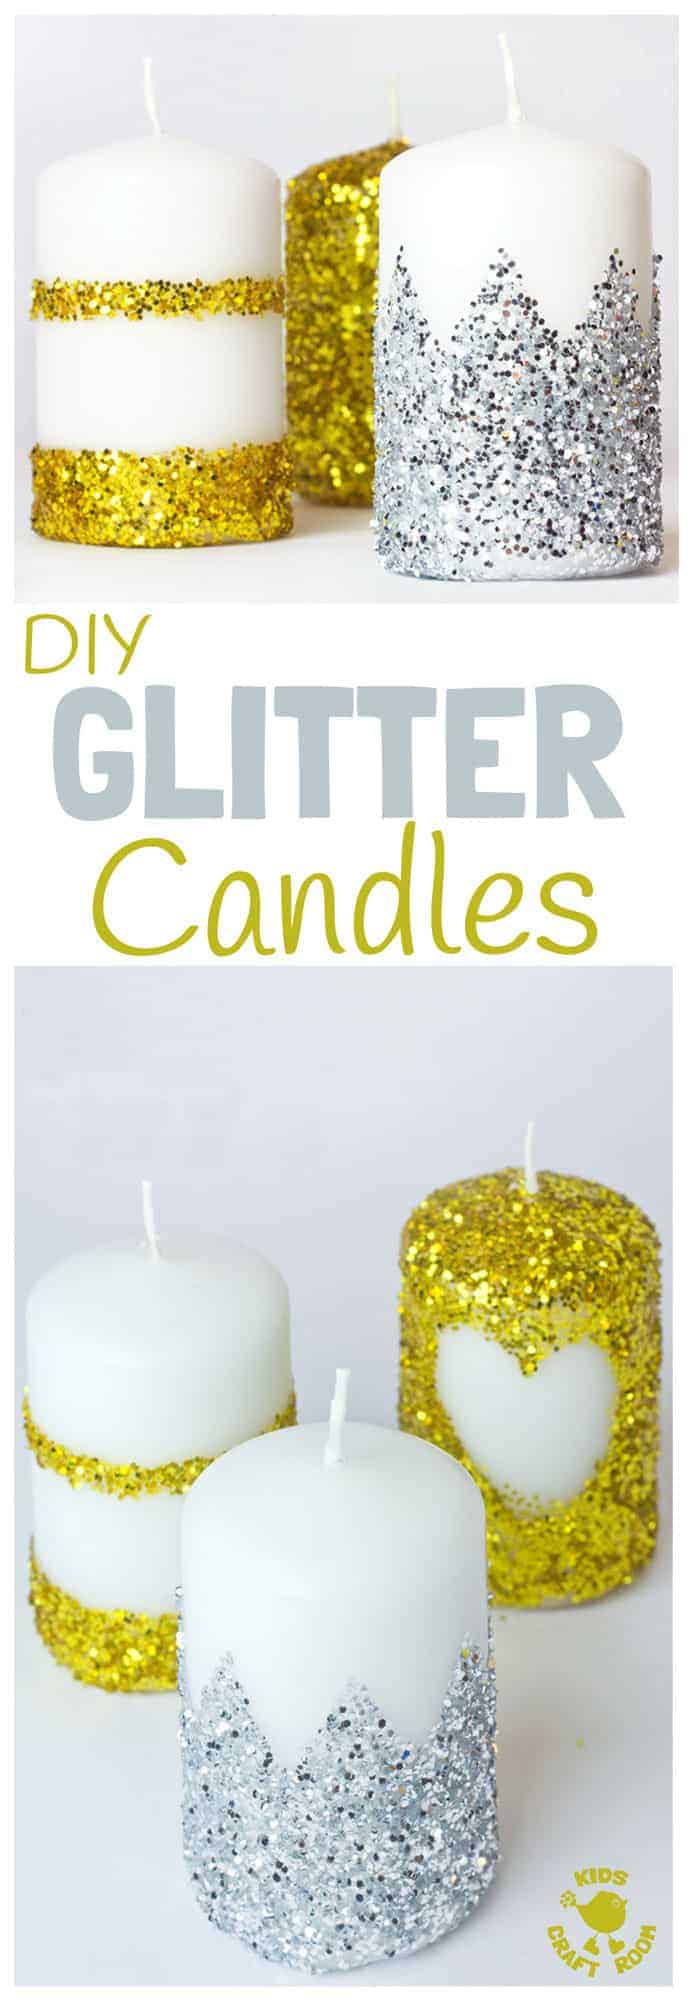
Then we brushed a thin layer of Mod Podge over all the candle parts that we wanted glittered and rolled it in glitter.
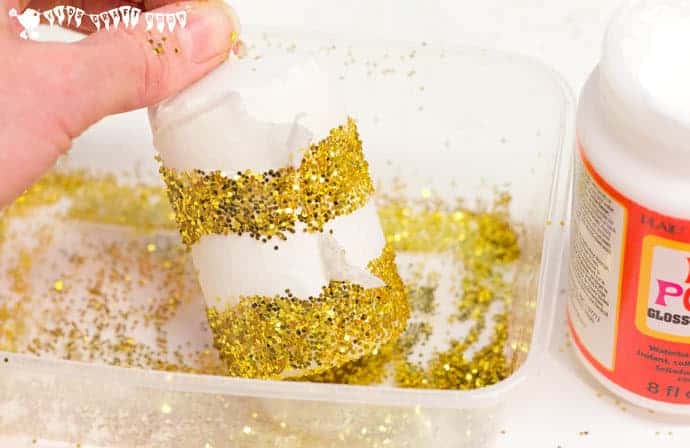
We used our fingers to sprinkle the glitter onto any missed bits. A top tip is to do it over a tray of some sort so the glitter doesn’t go everywhere and nothing is wasted.

We left it to set for just a couple of minutes and then pulled off the masking tape or contact paper. The first candle we glittered went wrong because we made the mistake of letting the Mod Podge dry completely; then when we tried to remove the masking tape it was impossible without taking off some of the glitter too! So remove the masking before the glue dries completely!
Once you’ve removed the masking tape or contact paper leave the candle to dry completely and then you can brush off any loose bits of glitter.
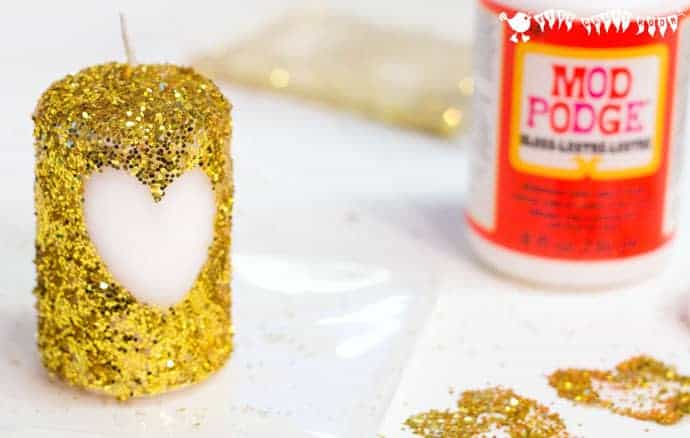
Now you know how to make glitter candles yourself you can experiment with different colours and designs. I love the golds and silvers for Christmas and Winter and plan to make some pink and red ones for Valentine’s Day too.
These are going to look so pretty on display with our Tin Can Lanterns and I think they make gorgeous gifts. You can some of our favourite homemade gift ideas here.
More Gift Ideas We Love:

Don’t forget to share this idea with your friends on Facebook and save it to Pinterest. To share on a desktop click on the social media icons in the images or on the left and to share on a mobile click the links at the start or end of the post.
More Fun Winter Crafts To Enjoy: