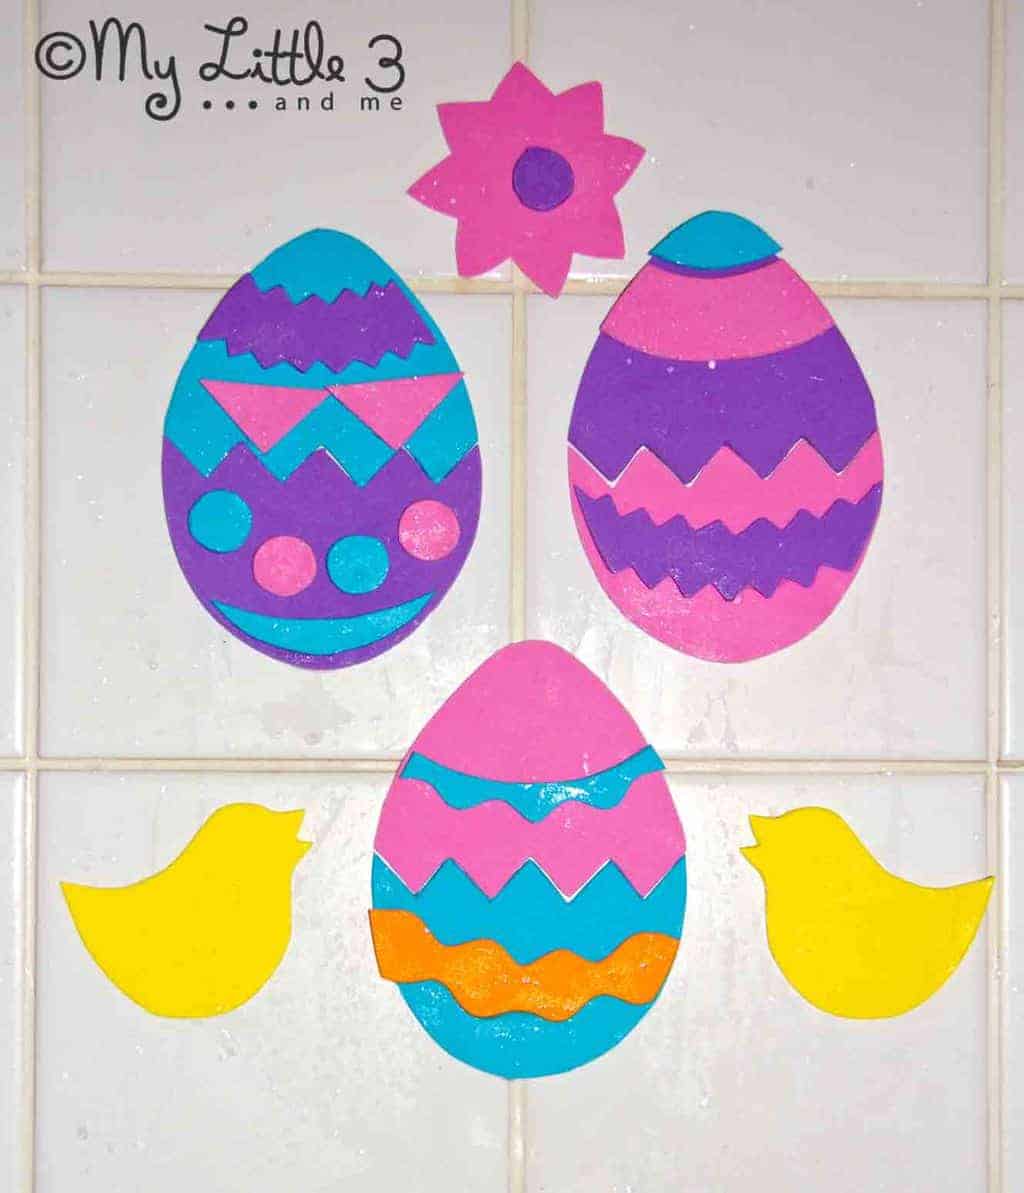
Here’s a really simple Easter craft activity. These Easter Foam Bath Shapes are simply cut out of foam craft sheets and when they’re damp they stick to the side of the bath and tiles. Children can enjoy mixing and matching the coloured tops, bottoms and decorations to make their own designs. It’s a great activity for talking about and exploring shapes, colours and matching.
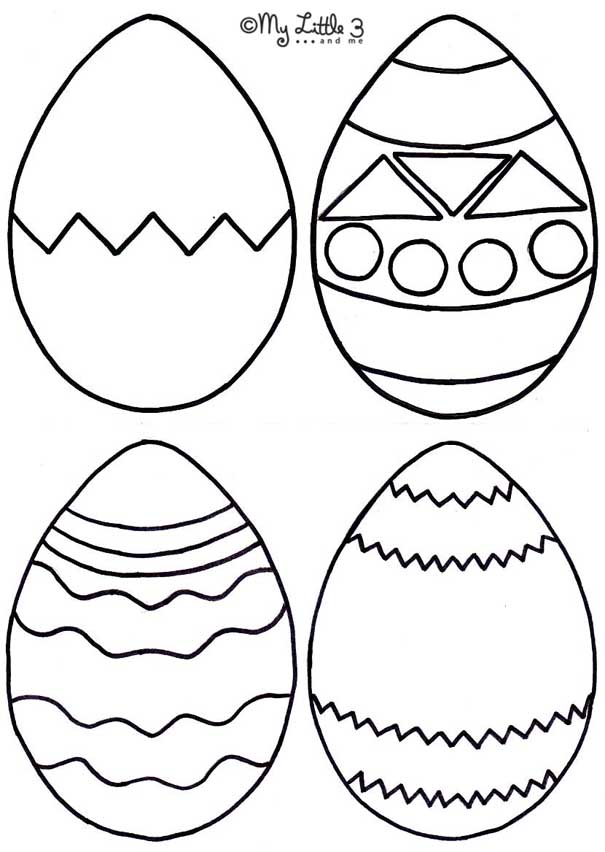
We’ve provided a free printable PDF for the Easter Foam Bath Shapes to make it really easy for you to have a go. Craft sheets can be picked up quite easily on the high street. These were actually from our local pound shop selling for just £1 for a pack of 10 assorted colours. So it’s a super cheap craft idea too.
How To Make Easter Foam Bath Shape Puzzles
Supplies To Make Easter Bath Shapes:

How To Make Easter Bath Shape Puzzles
1 – Print out the Easter Foam Bath Shapes Template and cut out the whole egg shapes. (Leave the little pieces uncut for now.)
2 – Place the 4 paper eggs onto a foam A4 sheet and draw round them in pencil. Repeat for all of your chosen foam sheet colours.
3 – Cut out your foam eggs so you will have 4 of each colour.
4 – Go back to your first paper egg template of the simple cracked egg. Cut carefully along the zigzag crack. Place one of these paper pieces onto an egg and draw on the zigzag in pencil. Repeat with one of each colour foam eggs.
5 – Cut along these simple zigzag cracks and you will see that these egg halves are now all interchangeable. These eggs are done so set to one side.
6 – You are now left with 3 eggs of each colour. Look at the other paper templates and cut out any shapes you want to use. Place them on your remaining foam eggs, draw around them and cut out. You might decide to make up your own, or add to the Easter collection with cut out chicks or Spring flowers. The possibilities are many.
More Fun Easter Crafts For Kids:
