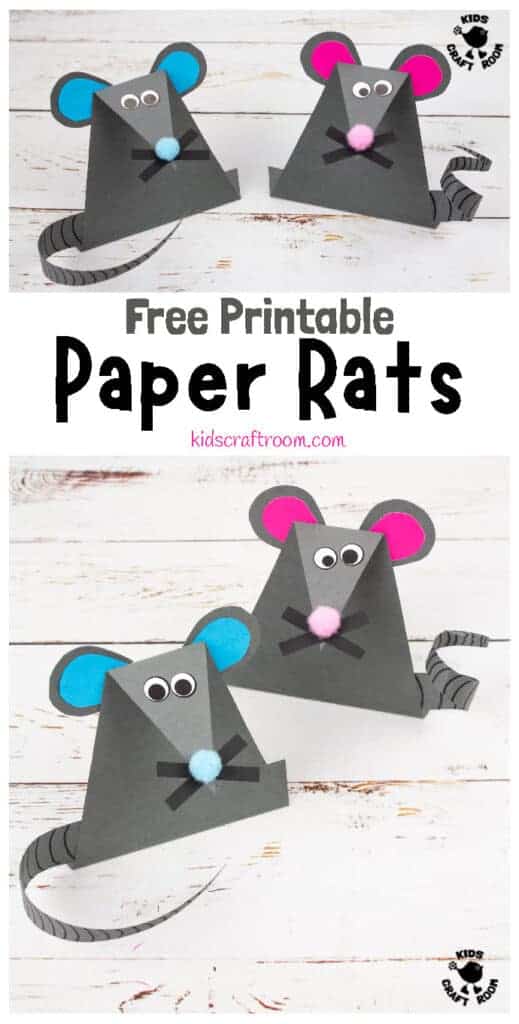
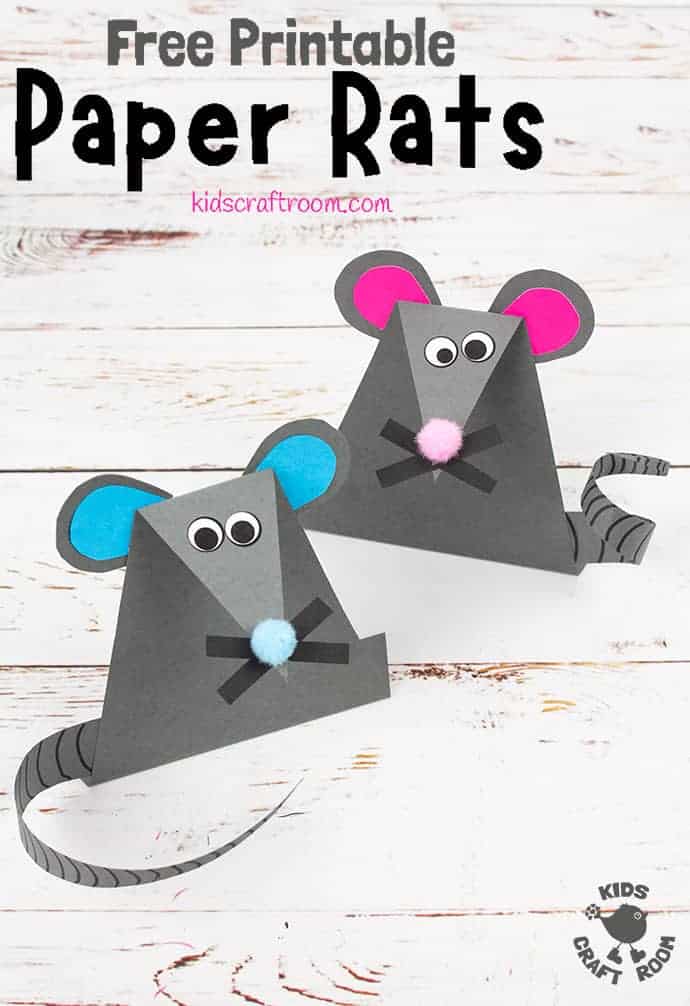
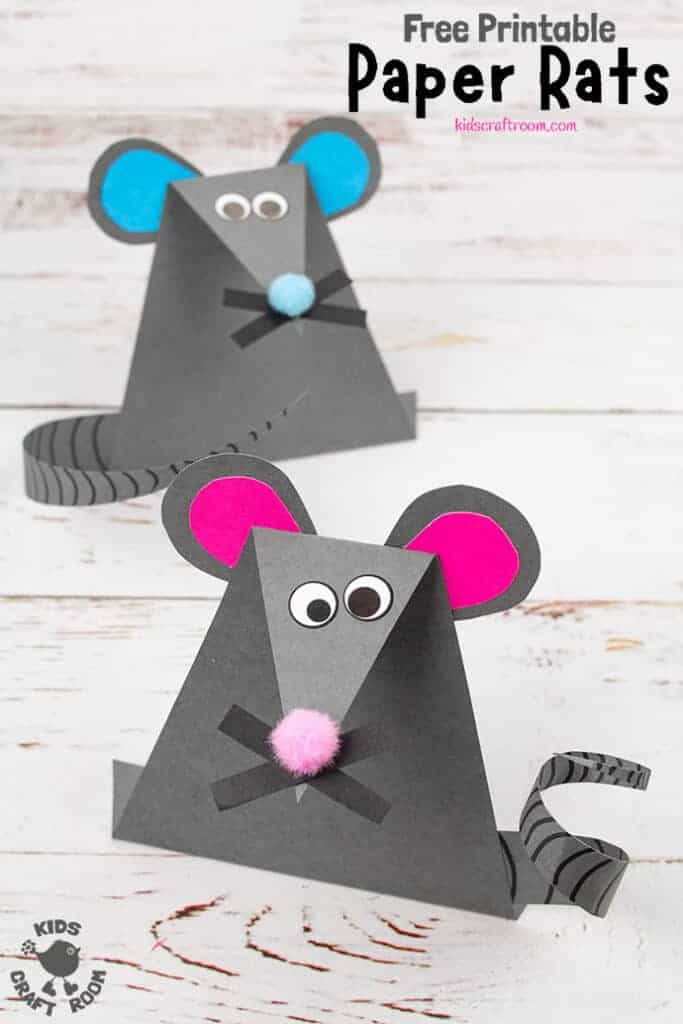
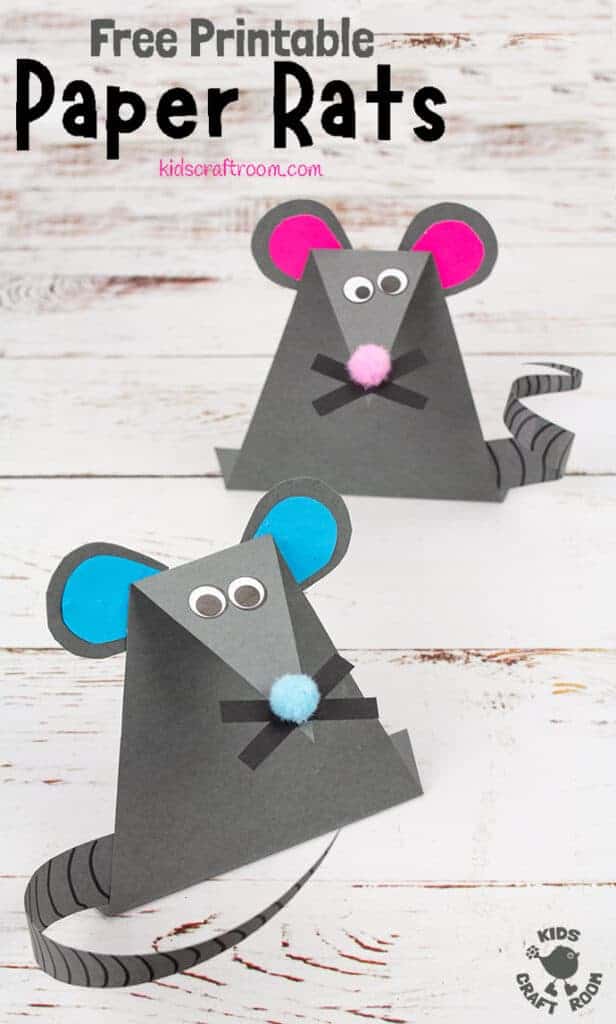
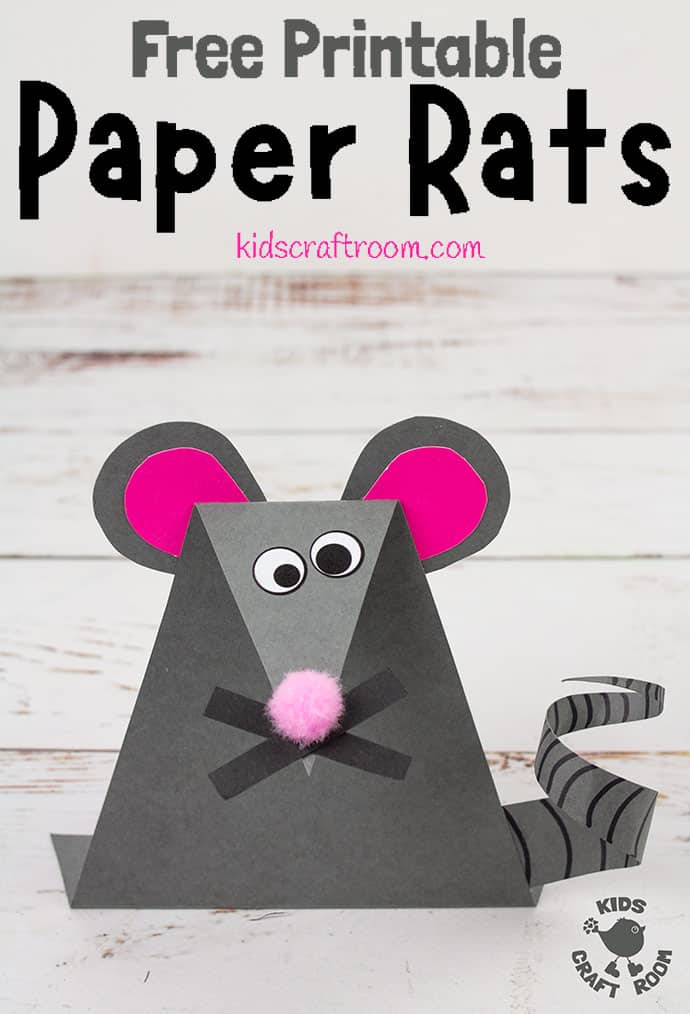
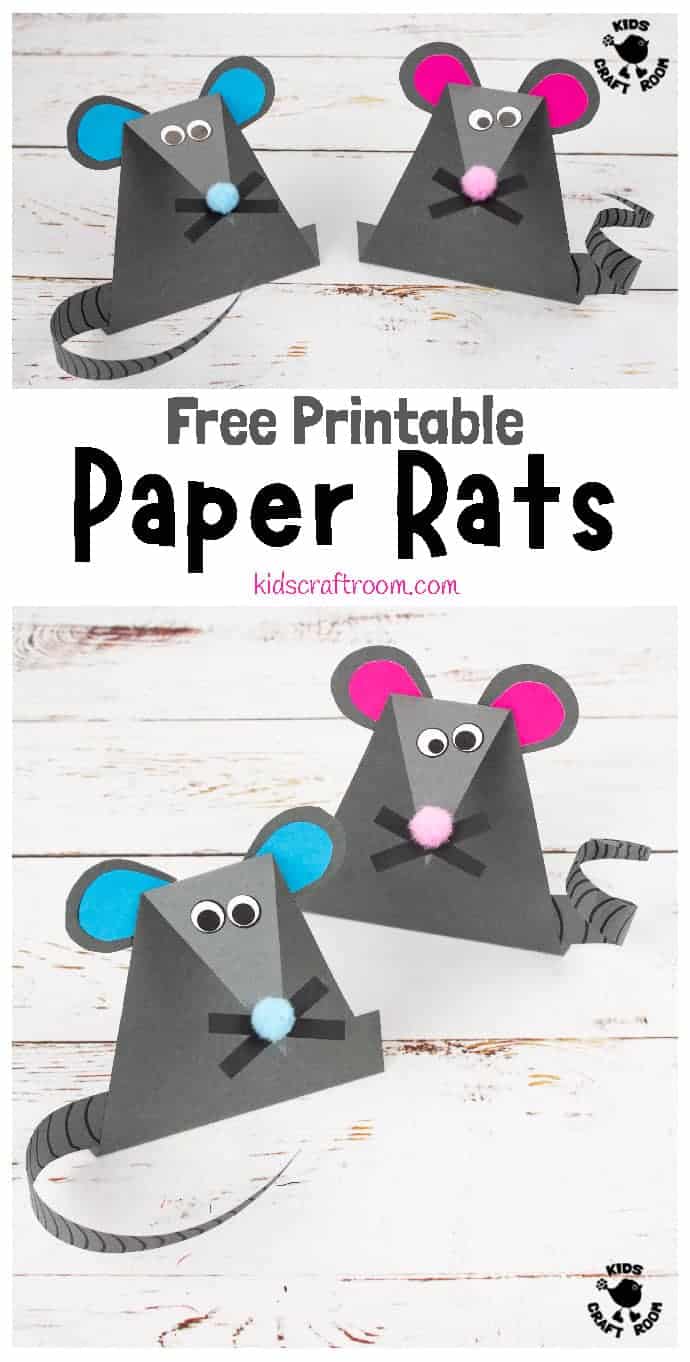
This EASY PAPER MOUSE CRAFT (or Paper Rat Craft) is so super simple you wouldn’t believe! What’s more there’s a FREE PRINTABLE TEMPLATE making it easier still!
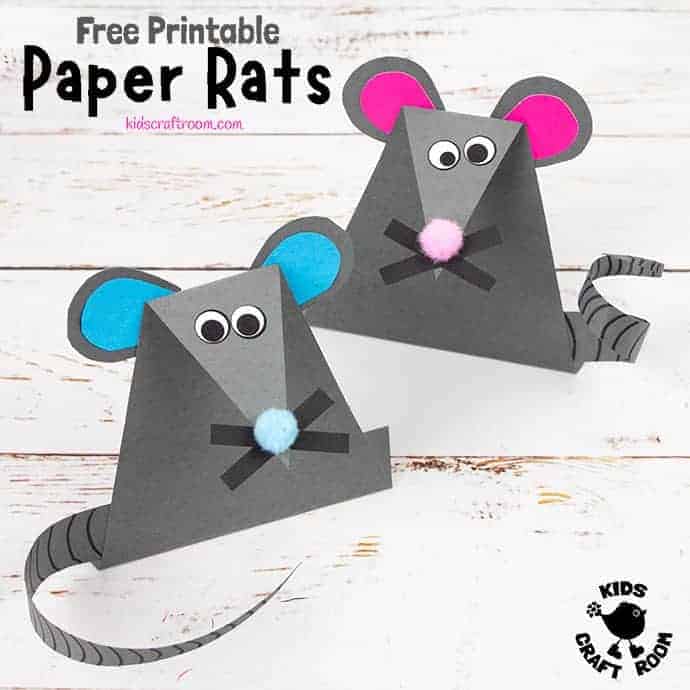
These fun paper mice, or paper rats if you prefer, stand upright which is so cute! They can be made in any colour you like and have adorable whiskers and long tails that can be curled.
It’s a great mouse craft to go with nursery rhymes and storybooks like Hickory Dickory Dock and Up The Tall White Candlestick. It’s also a fantastic rat craft to use for Chinese New Year and the Year of The Rat too!
If you’re looking for more rat or mice craft ideas why not try our teeny tiny Acorn Mice or these recycled glove Mice Finger Puppets from Craft Project Ideas. If your kids like interactive crafts why not make a Magnetic Cat and Mouse Chasing Game? So Fun!
Easy Paper Mouse Craft Tutorial
Supplies To Make Paper Mice:
- Free Printable Mouse Craft Template (Click the pink link at the end of the instructions to get yours.)
- Grey, Brown or White Construction Paper or Cardstock
- Pink,Blue and Black Paper Scraps
- Pink or Blue Mini Pom Poms
- Eye Stickers
- Black Marker Pen
- Glue
- Scissors
How To Make A Mouse With Paper
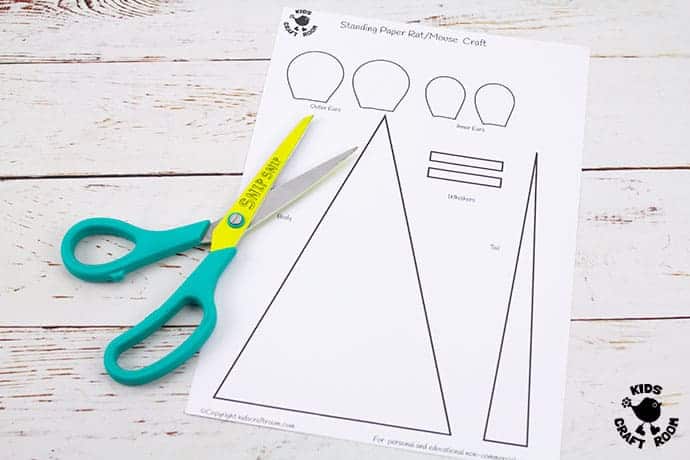
1 – Print out your free mouse template (Click the pink link at the end of the instructions to get yours.)
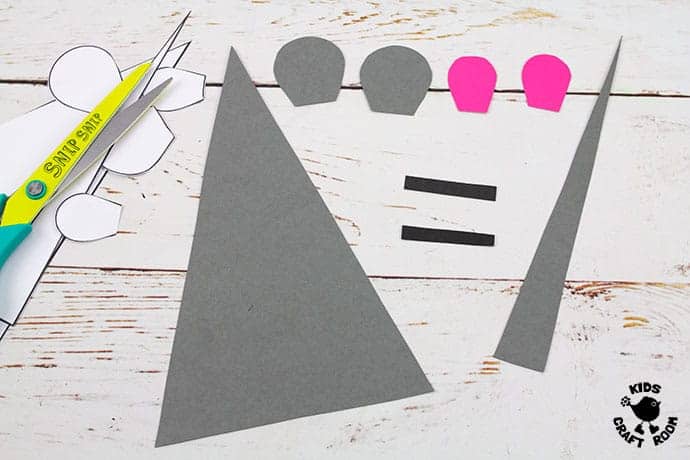
2 – Trace around the template onto heavy coloured paper or cardstock. Because we were making paper rats for Chinese New Year we chose grey for the body, ears and tail but you can choose any colours you like.
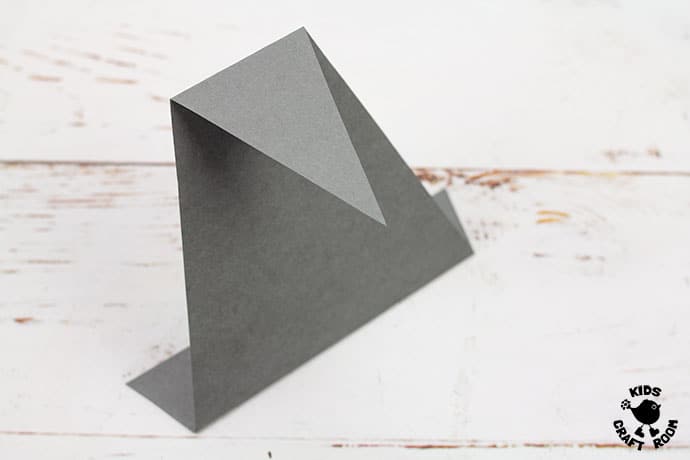
3 – Fold approx 2cm / 1 inch of the base of the triangle mouse body over. This makes a stand to support your upright mouse.
4 – Fold the point of the triangle over in the opposite direction to make your mouse head. (You can make this bigger or smaller by folding over different amounts.)
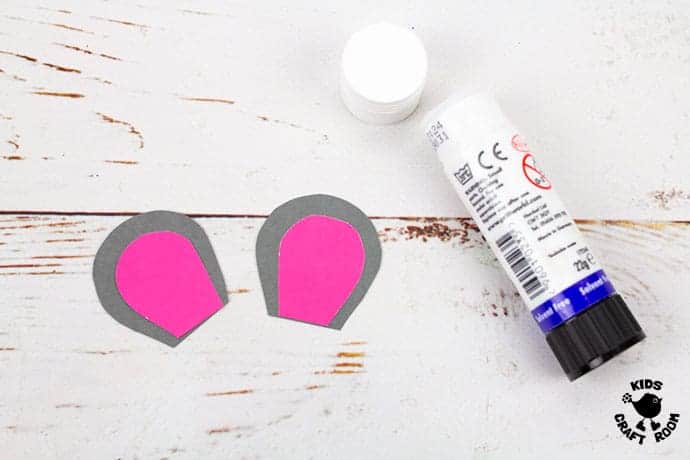
5 – Glue your coloured inner ears onto the bigger outer ears.
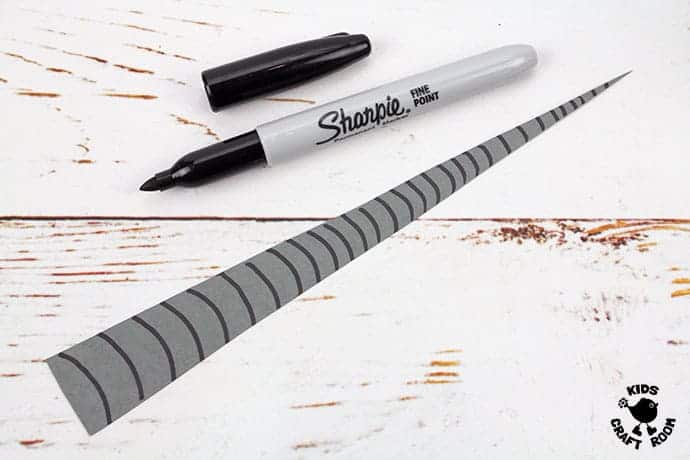
6 – Use marker pen to draw curves all along the tail on both sides.
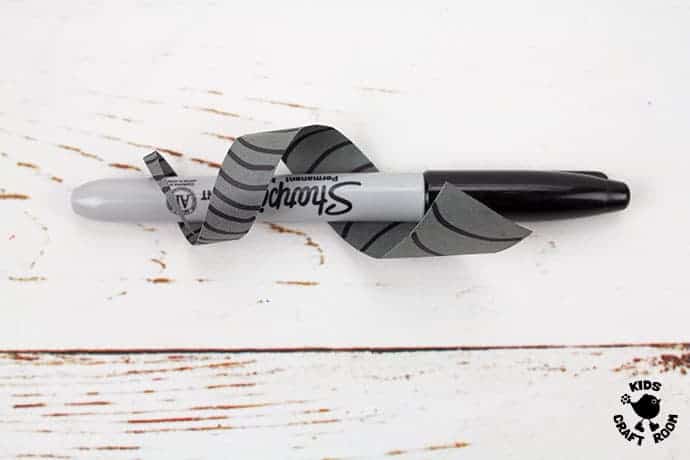
7 – If you want a curly tail for your paper mouse, gently wrap it around a marker pen or finger to curl it.
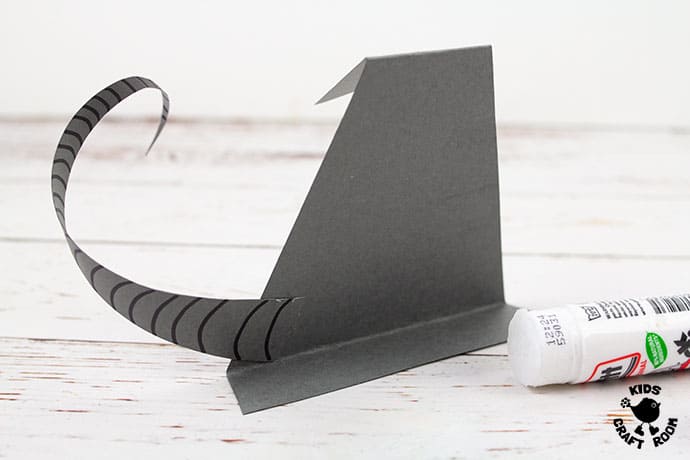
8 – Glue the base of the rat’s tail to the back of the rat’s body.
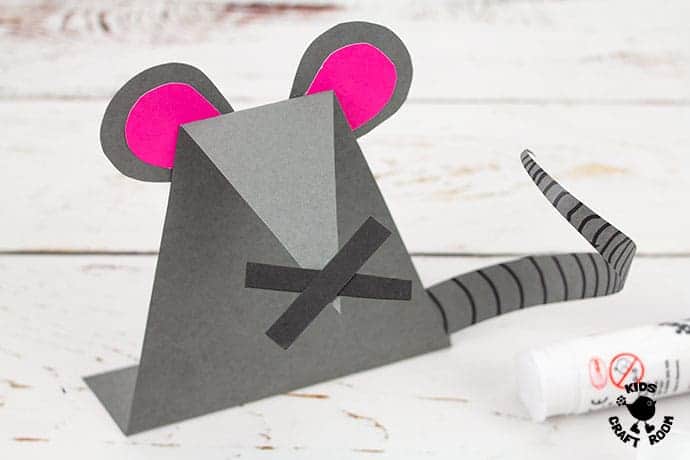
9 – Glue your two black whiskers in a cross onto the end of the mouse’s nose.
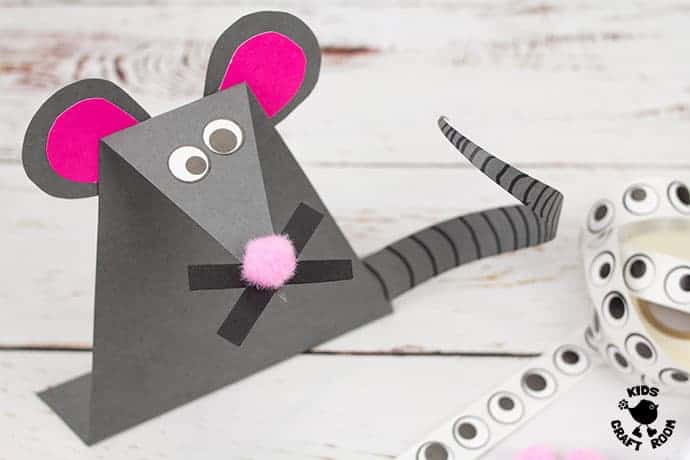
10 – Finish your paper mouse craft by glueing on the ears and adding two sticker eyes and a mini pom pom nose.
Click here to get your free printable Mouse Craft Template
Click the pink link above to get your printable template. (If you want a hard copy of the instructions (not the template) you can print those below.)
More Fun Animal Crafts To Try:
Easy Paper Mouse Craft

Make fun and easy Paper Mice (or rats!)
Materials
- Free Printable Mouse Craft Template
- Grey, Brown or White Construction Paper or Cardstock
- Pink,Blue and Black Paper Scraps
- Pink or Blue Mini Pom Poms
- Eye Stickers
- Black Marker Pen
- Glue
- Scissors
Instructions
- Print out your free mouse craft template.
- Trace around the template onto heavy coloured paper or cardstock.
- Fold approx 2cm / 1 inch of the base of the triangle mouse body over. This makes a stand to support your upright mouse.

- Fold the point of the triangle over in the opposite direction to make your mouse head. (You can make this bigger or smaller by folding over different amounts.)
- Glue your coloured inner ears onto the bigger outer ears.
- Use marker pen to draw curves all along the tail on both sides.

- If you want a curly tail for your paper mouse, gently wrap it around a marker pen or finger to curl it.
- Glue the base of the rat’s tail to the back of the rat’s body.
- Glue your two black whiskers in a cross onto the end of the mouse’s nose.

- Finish your paper mouse craft by glueing on the ears and adding two sticker eyes and a mini pom pom nose.
