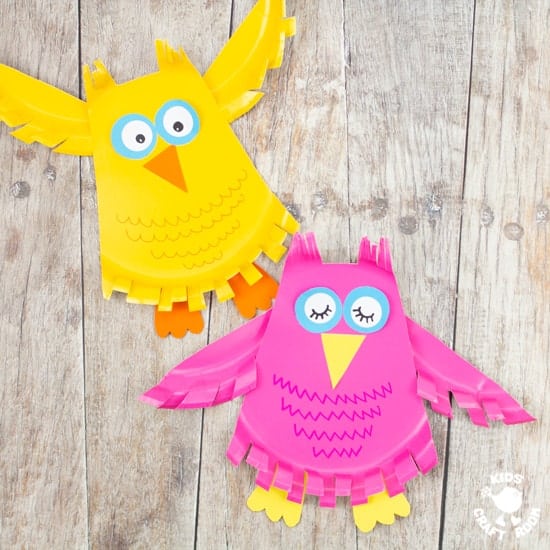
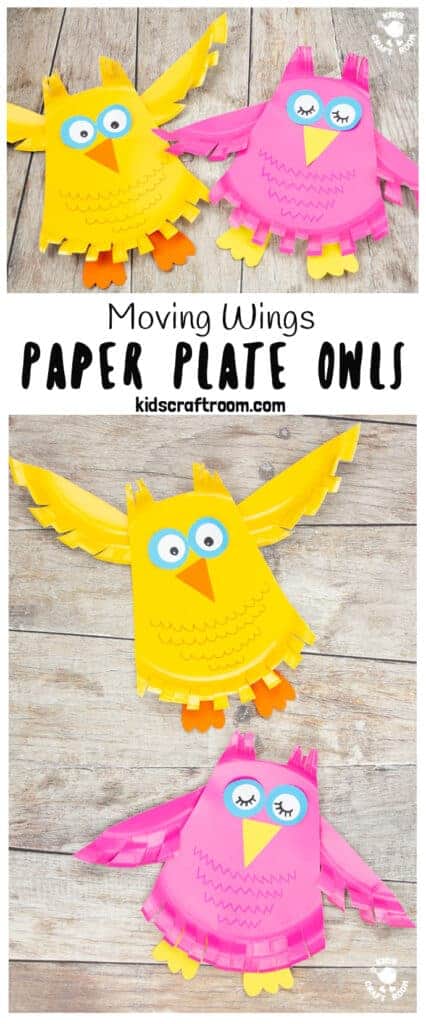

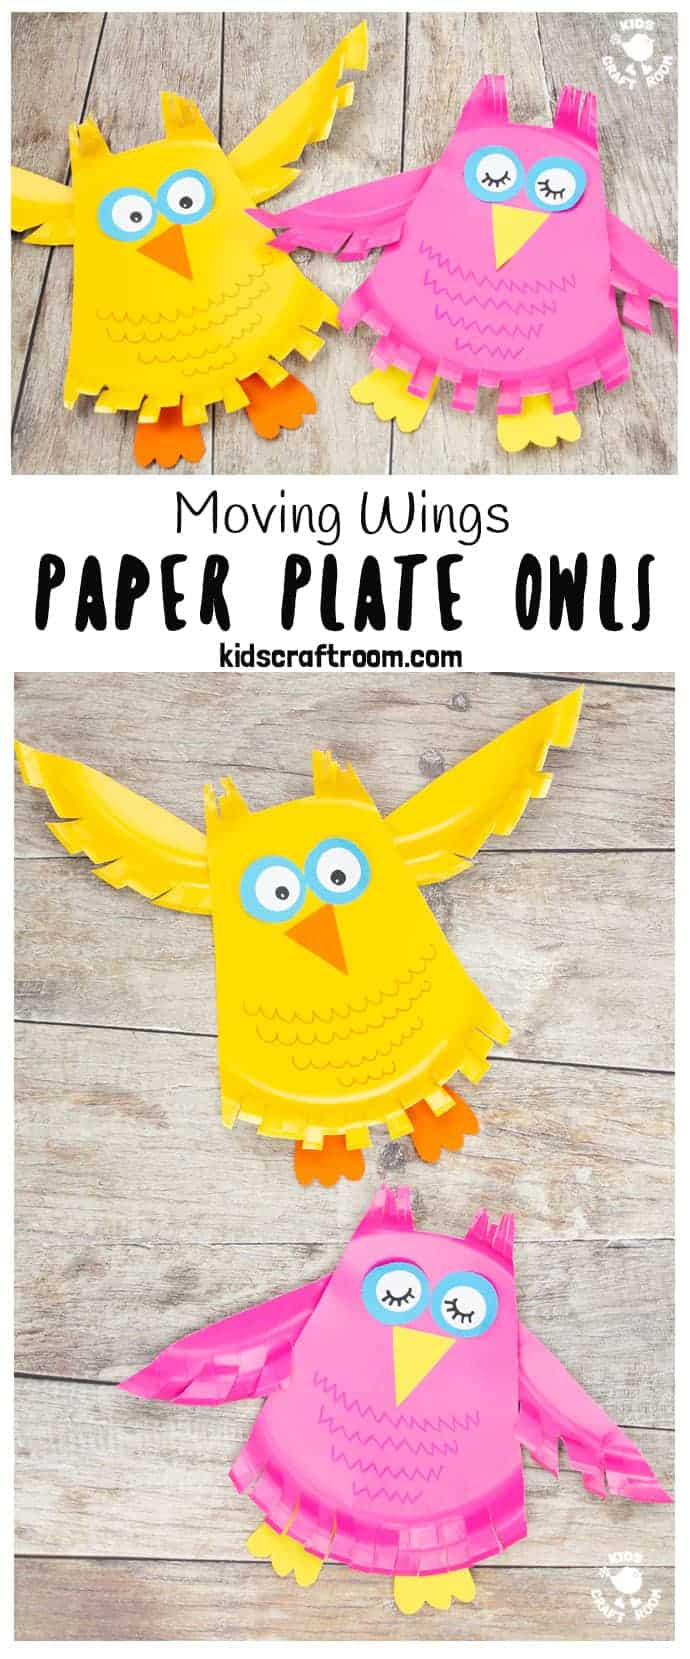
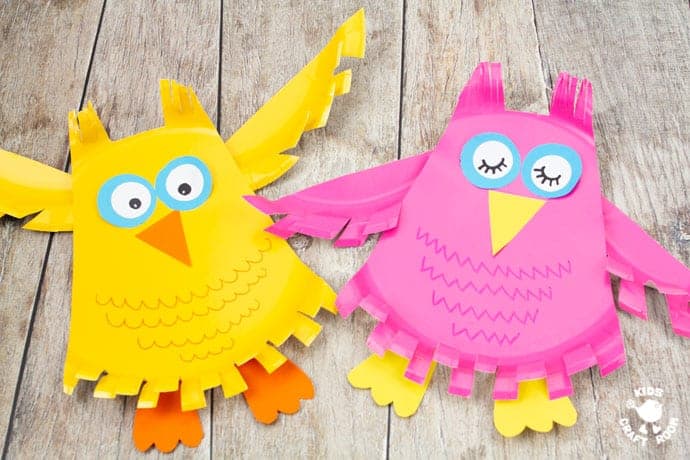
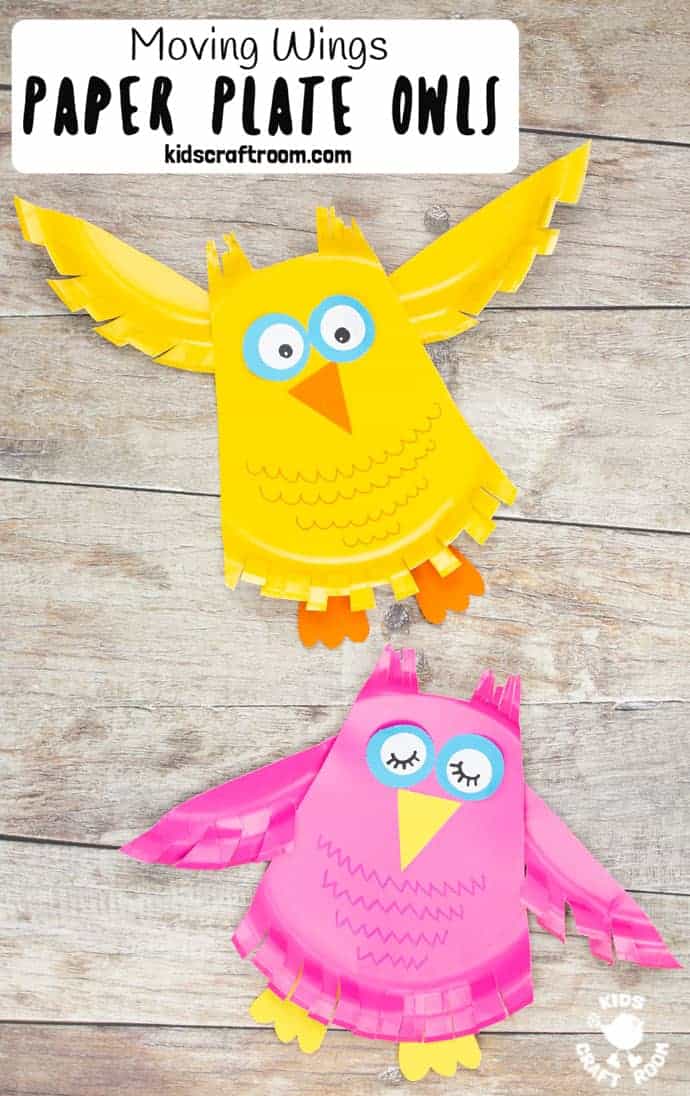
This Flying Paper Plate Owl Craft is so fun! The owls’ wings are hinged so they can be moved up and down to make the owl fly. What a hoot!
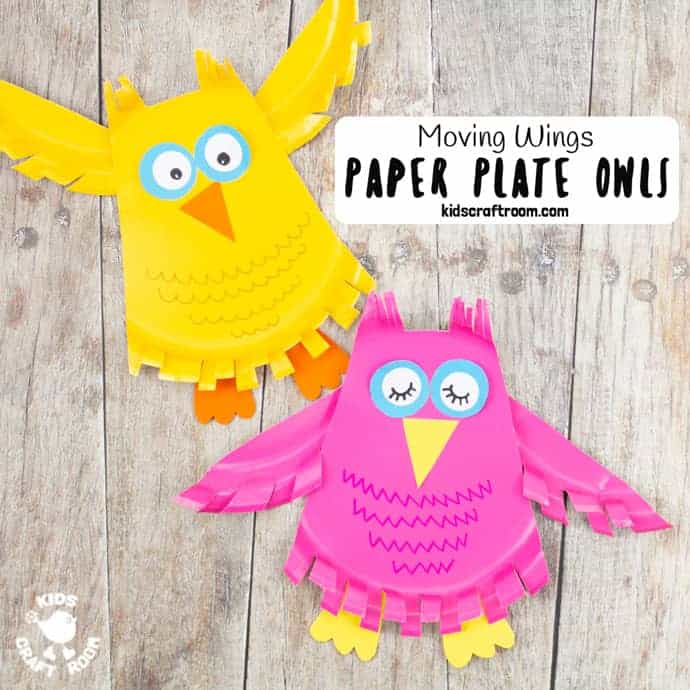
This owl craft is super easy to make using just one paper plate and a few paper scraps. We made our owl craft using ready coloured paper plates so it was super quick but you can of course use plain plates and paint your owls any colours you like.
We really love the textured wings and tummies. It gives a lovely 3D feather effect and is great scissor practise for little hands.
This Flying Paper Plate Owl Craft is a lovely Fall craft for kids or a fun activity all year round for owl fans.
While you’re here you might want to take a peek at our other favourite owl crafts too. We love:
- No Sew Burlap Owls
- Paper fan Owls
- Yarn Wrapped Paper Cup Owls
- Paper Bag Owl Puppets from Buggy and Buddy
Flying Paper Plate Owl Craft Tutorial
Supplies To Make Paper Plate Owls:
- Coloured or Plain Paper Plates
- Paper Scraps
- Glue
- Scissors
- Sharpie Pens
- Single Hole Punch
- Paper Fasteners
How To Make A Flying Owl Craft
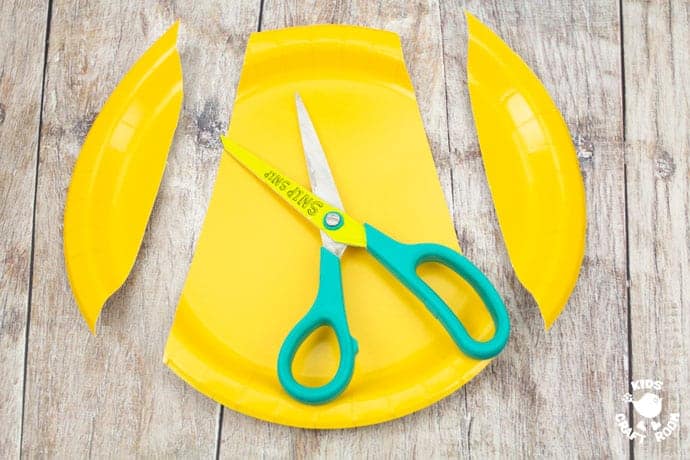
1 – Cut the opposite sides off a paper plate at an angle to make a sort of blunt triangle. Use the photo as a guide. Keep the cut off pieces to make the owl’s wings.
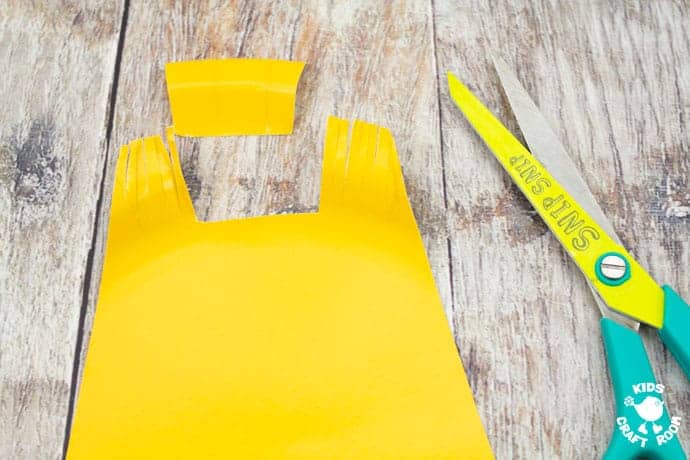
2 – At the top of your triangle cut out a rectangle to leave two ears. Snip into the ears to make them tufty and feathery.
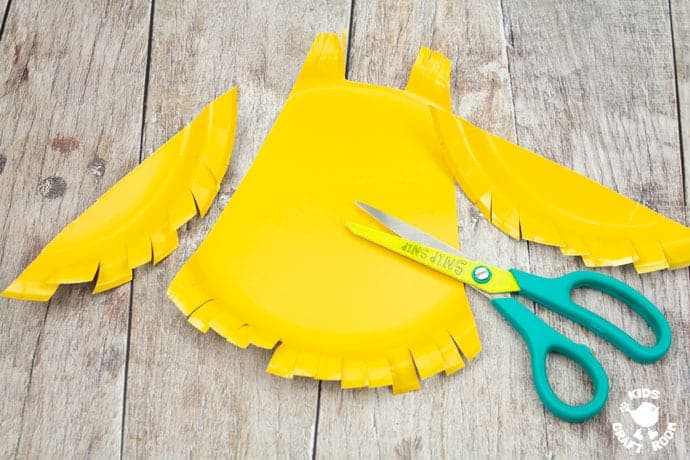
3 – Give your paper plate owl craft a lovely feathery effect by cutting short snips along the bottom of the owl’s tummy and the curves edges of the wings.
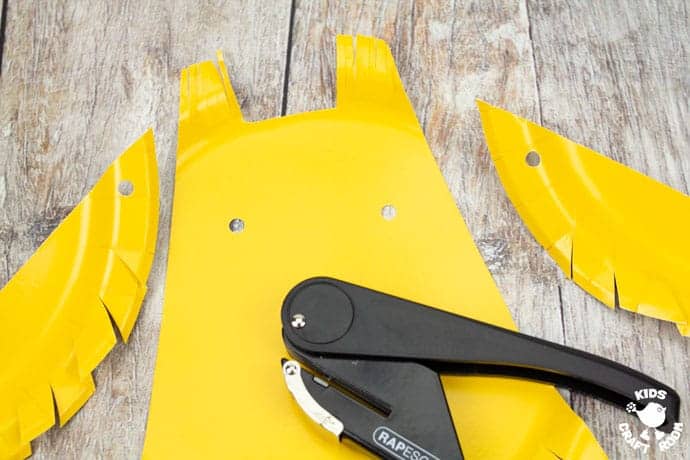
4 – Use the hole punch to make a hole in the end of each wing and on either side of the body.
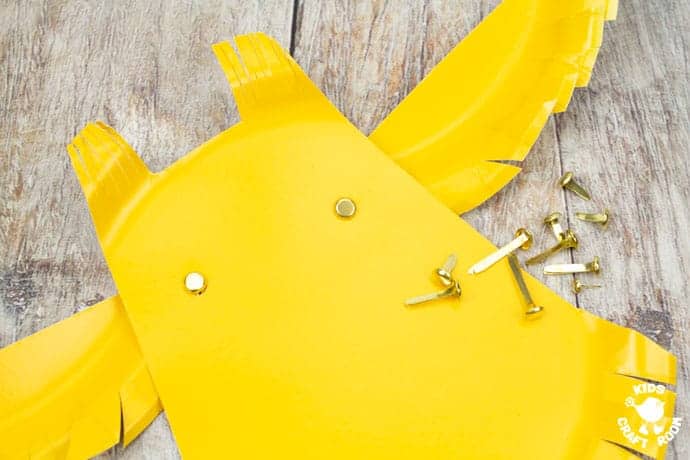
5 – Secure the wings to the owl’s body with split pins/paper fasteners.
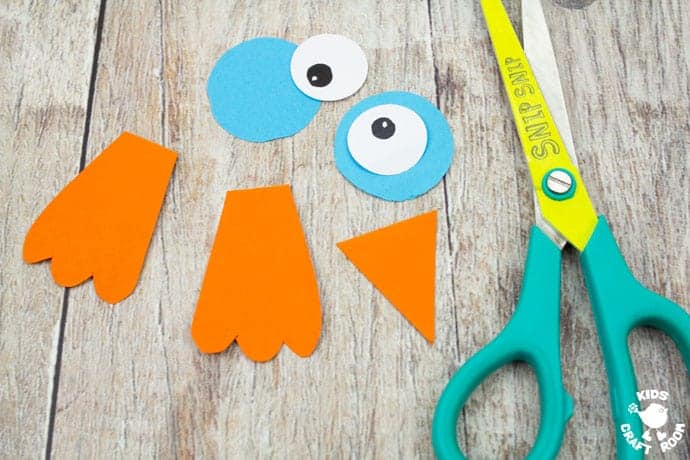
6 – Use your paper scraps to cut two large round owl eyes, a beak and two feet.
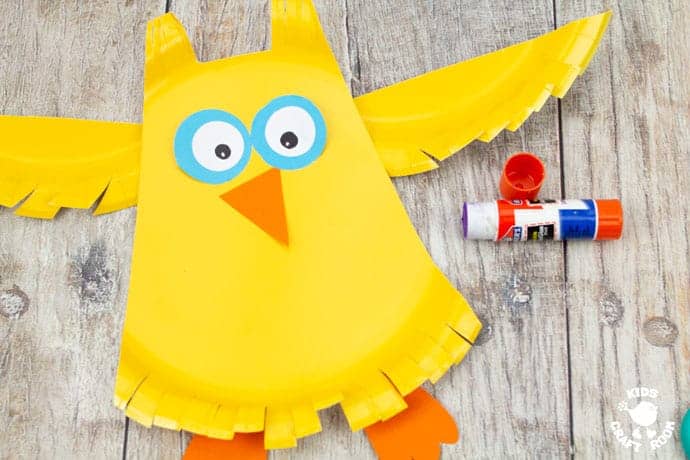
7 – Glue the features onto the front of your owl.
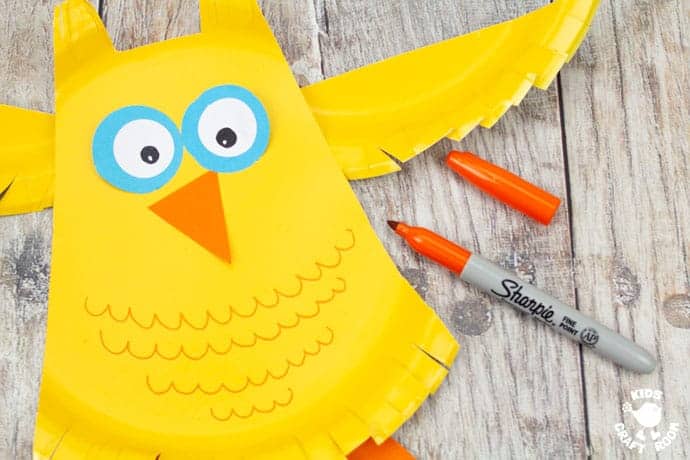
8 – Use your Sharpie pens to decorate your owl’s tummy.
Now your Flying Owl Craft is ready to take for the skies or have a little snooze! So fun.
More Fun Autumn Crafts For Kids:
