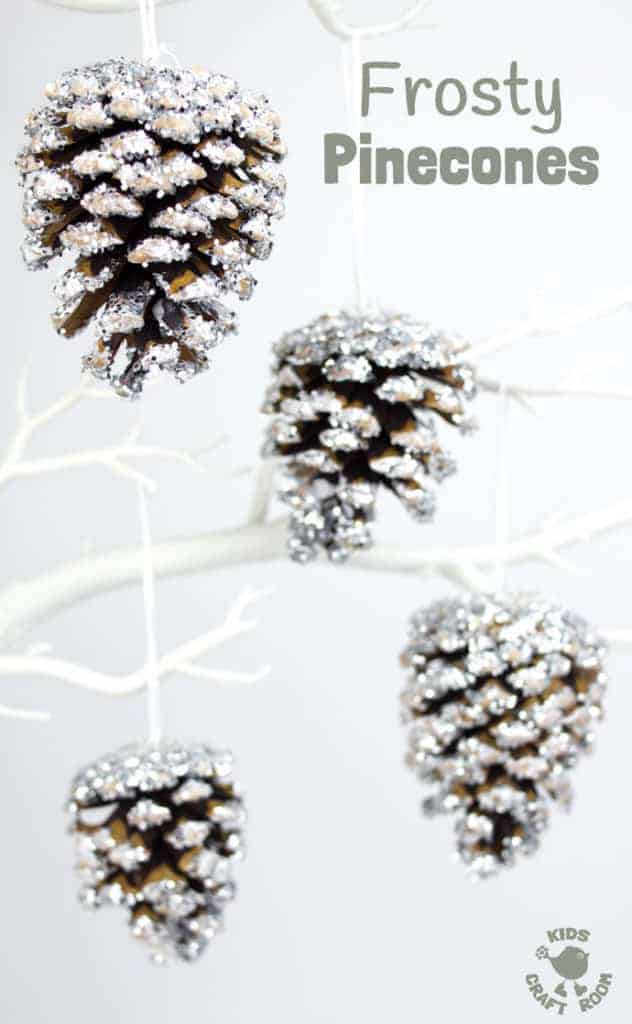
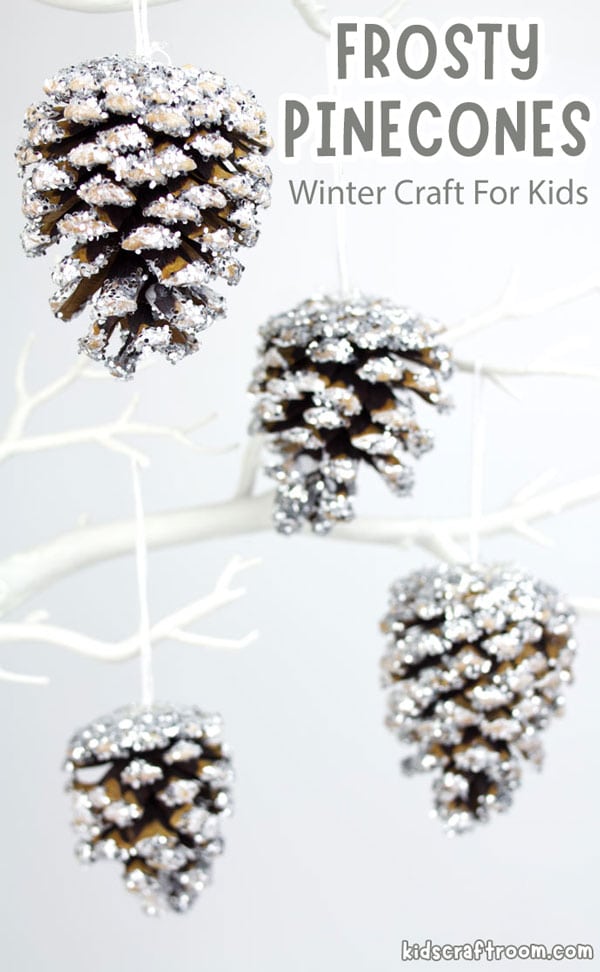
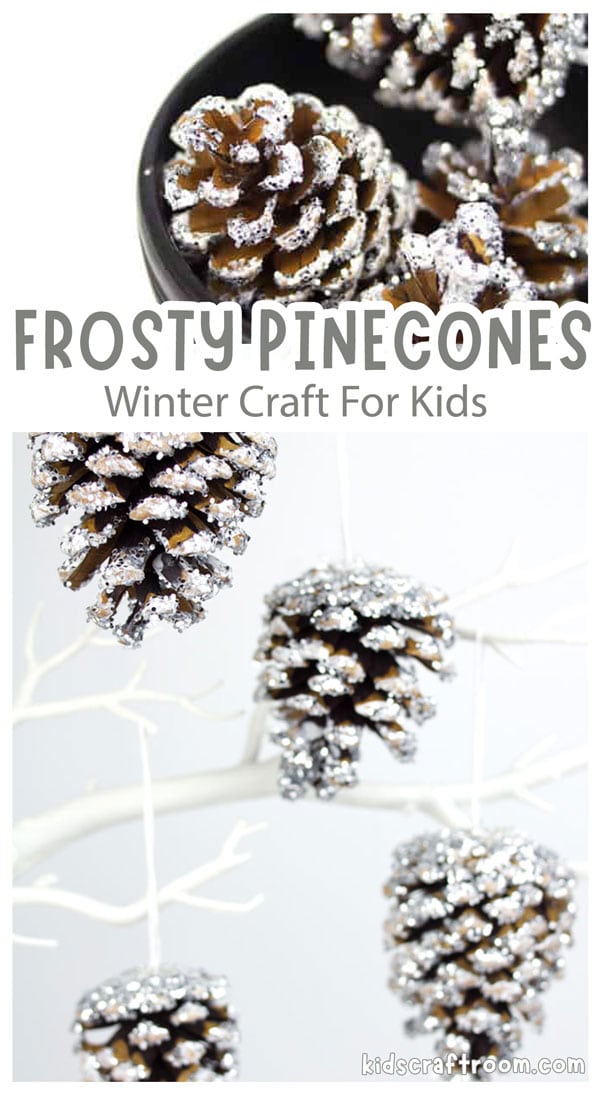
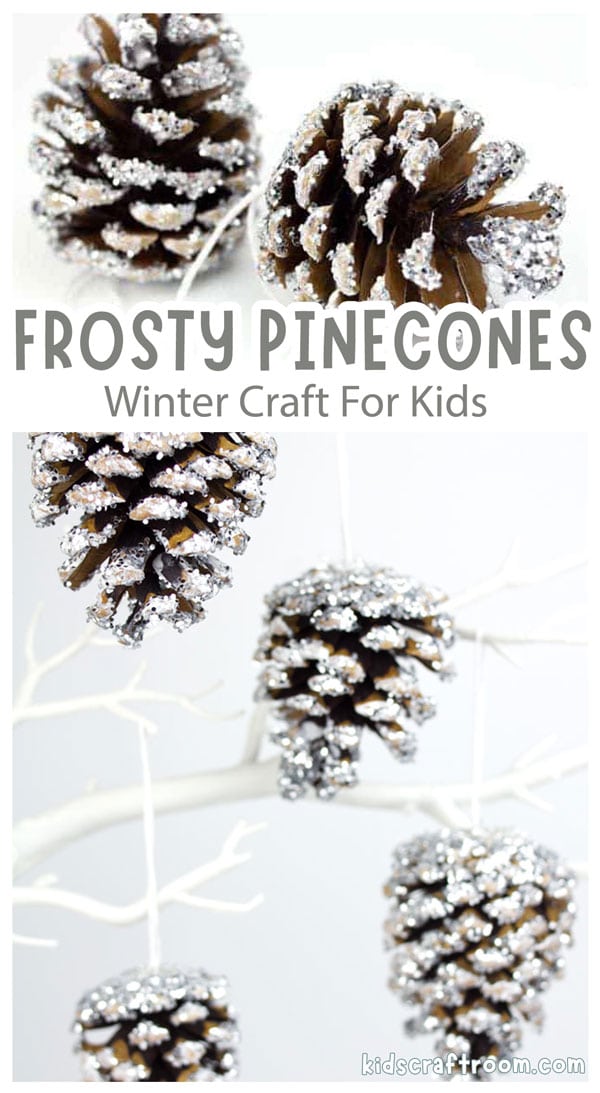
Kids will love how sparkly and wintery this GORGEOUS FROSTY PINECONE CRAFT looks! These pinecones are super frosty, super sparkly and super fun for little hands to make!
This is a super Winter craft for kids that will brighten up those dark, chilly months with some bling and sparkle!
There are some crafts that I remember doing when I was a girl that are now pretty iconic as childhood classics! This Frosty Pinecone Craft is one of those and I expect lots of adults reading this have made a variation of it during their childhood too.
However, our frosty pinecone craft is a little bit special! Although based on a classic kids craft, ours has a clever little twist that really gives its frosty appearance a really special edge!
Whether you’re at home or in the classroom, this frosty pinecone craft is an updated childhood classic not to be missed!
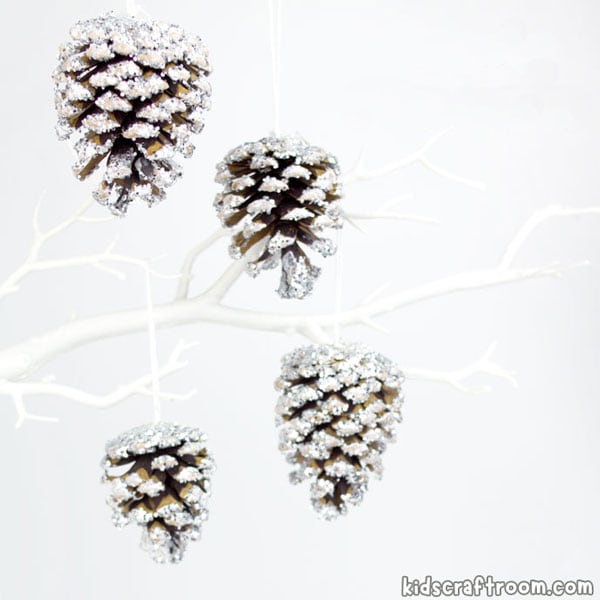
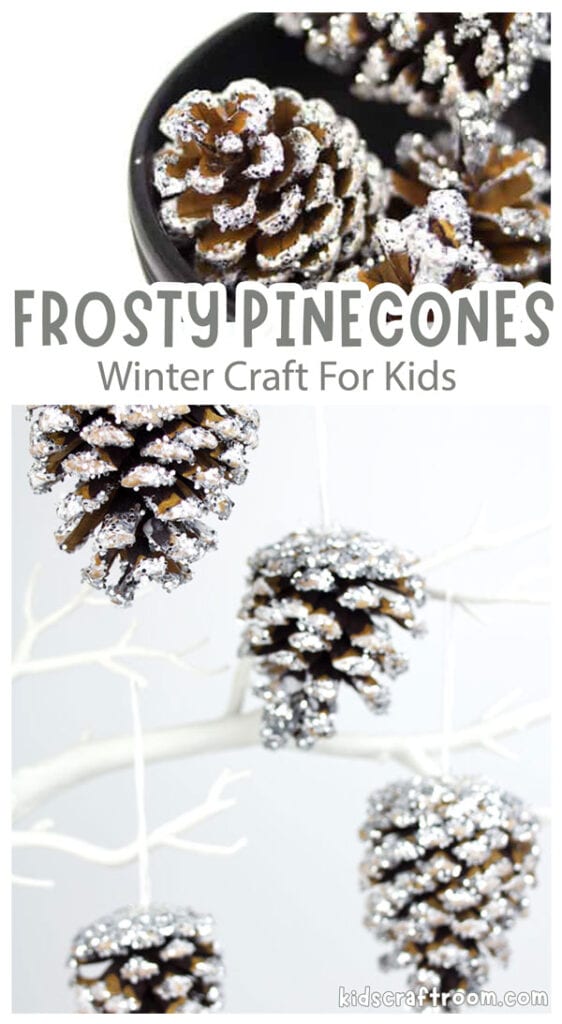
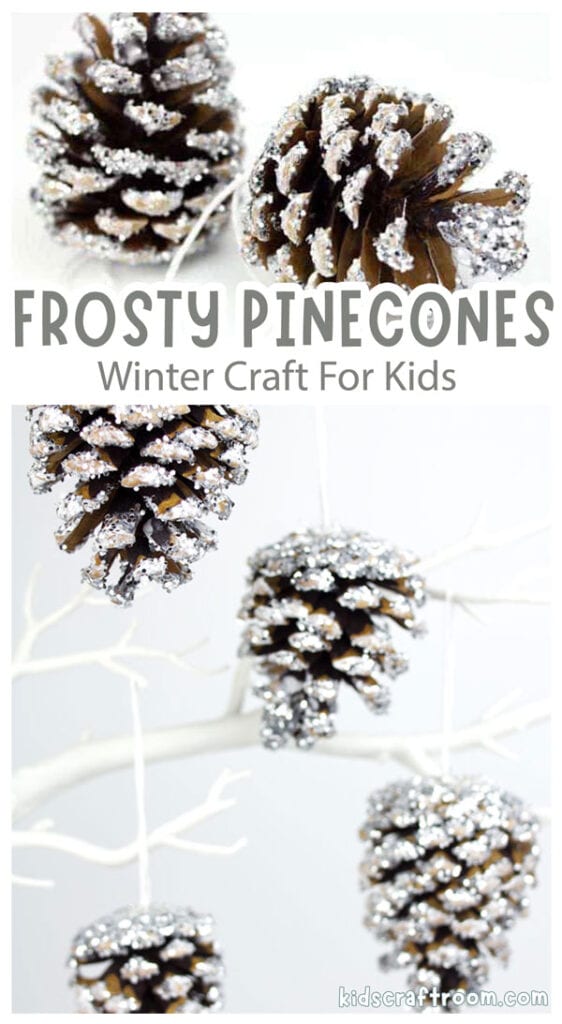
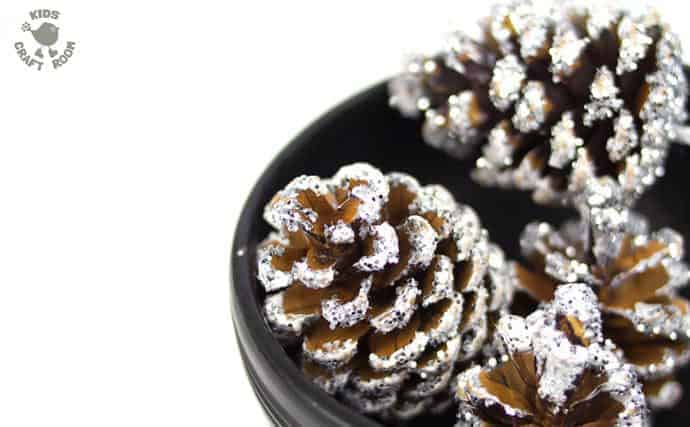
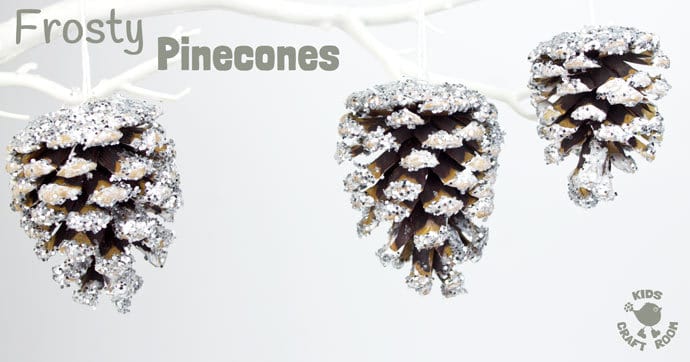
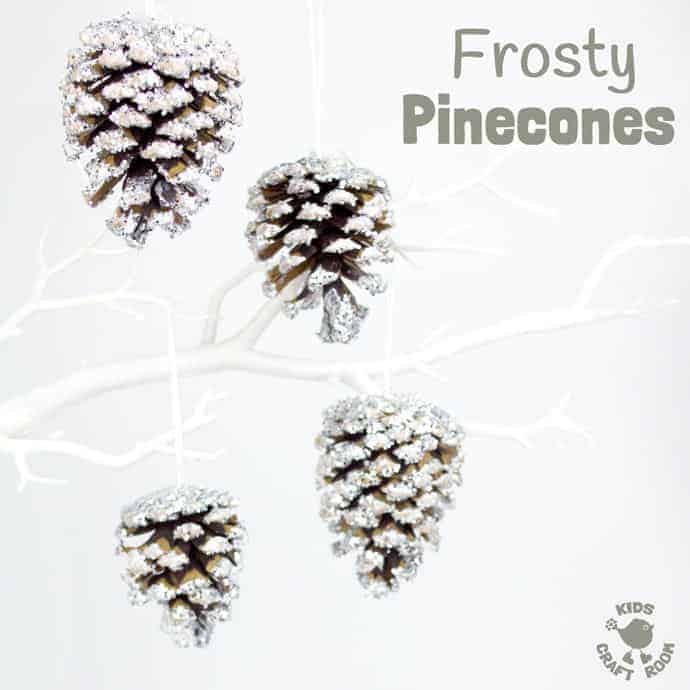
Frosty pinecones just shout out Winter and are great for hanging on the Christmas tree or gathering into bunches for a Winter display to hang on your door, or simply to display in a bowl as a pretty table centrepiece.
We’ve hung ours on our wishing tree, which gets new displays of crafted goodies throughout the year. I think they look just beautiful!
We’ve got lots of Winter crafts that go really well with these frosted pinecones. Why not try our 3D Snowflakes and Folded Paper Icicles? They both come with free printable templates!
Frosty Pinecone Craft Tutorial
Supplies To Make Frosty Pinecones:
- Pinecones
- White Acrylic Paint
- White PVA Glue
- Silver Biodegradable Glitter
- Silver Cord
- Optional – Wishing Tree
How To Make Frosty Pinecones

1 – In a bowl large enough for a pinecone to fit in mix together some white acrylic paint and PVA glue to a 60/40 ratio (approx).
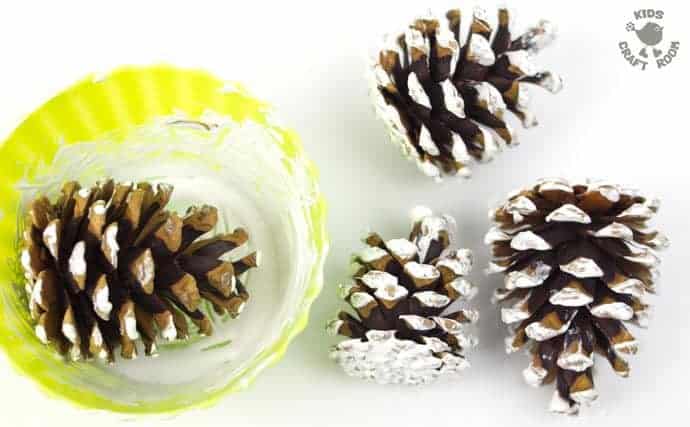
2 – Then roll the pinecones around in the paint and glue mixture.
You can use your hands to rub over each pinecone to get rid of any dripping blobs of mixture and to make sure the cone is evenly covered from top to bottom, leaving the inner parts paint free.
My kids love the feel of the lumpy, bumpy, slippery pinecones when they do this!
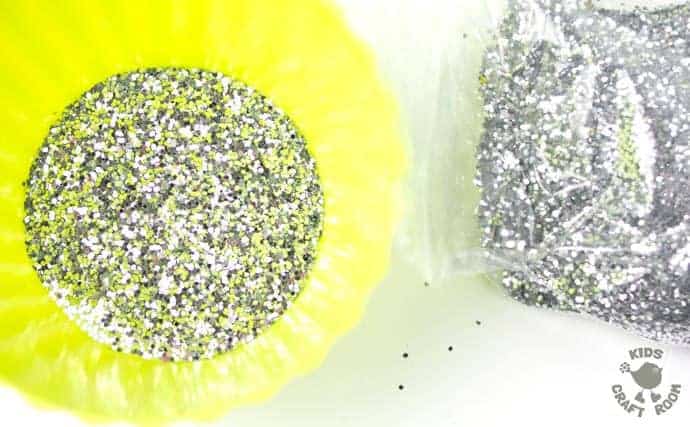
3 – In another bowl big enough to fit the pinecones pour in a shallow layer of bio glitter. (Keeping the glitter in the bowl saves a lot of mess!)
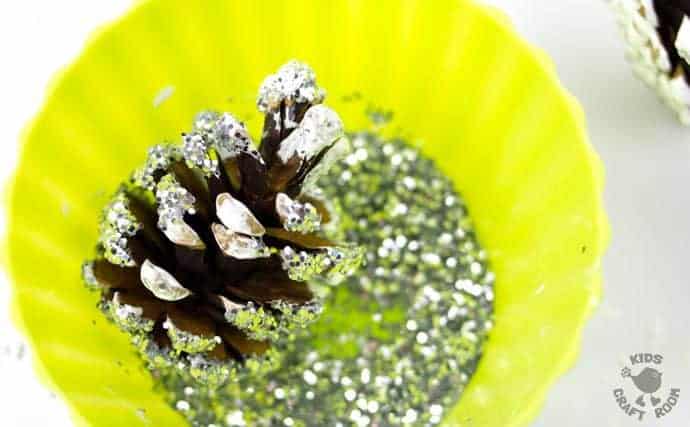
4 – While the paint and glue mixture on the pinecones is still wet, roll each one into the glitter.
When I was a girl this pinecone craft was traditionally done with just glue and glitter. Our modern twist of adding white paint to the glue gives your pinecones a snowy look. Then the addition of glitter gives a wonderfully icy effect on the pinecone edges. It looks much more frosty than just glitter and glue alone!
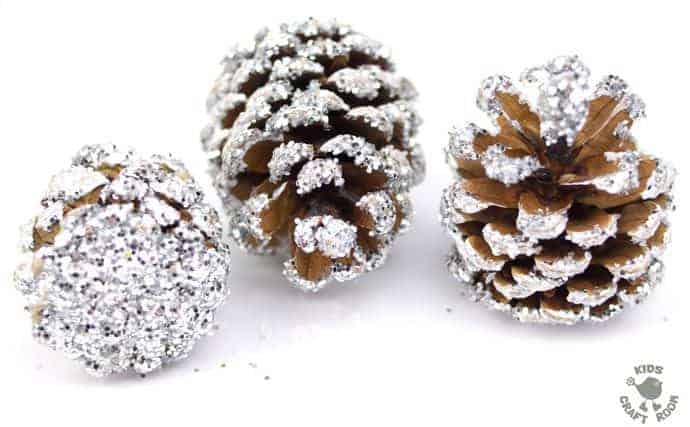
5 – Leave the pinecones to dry for a few hours. Once the glue is dry, tap the frosty pinecones onto a sheet of paper to catch any loose glitter.
If you are going to display the frosty pinecones in a bowl or on a tray then you don’t need to do anything else other than enjoy how gorgeous they look! If you want to hang them on display perhaps on your own wishing tree or as a pinecone Christmas ornament, then read on!
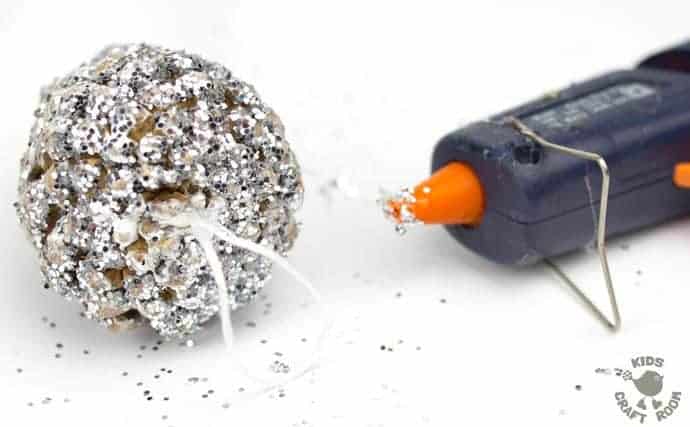
6 – If you want to hang your frosty pinecones up, then you’ll need to attach some silver cord. You can simply tie a loop of thread on if you want but we found it neater to glue it on.
We used a hot glue gun for speed (I’m a bit of an impatient crafter!) but you can use the white PVA glue if you prefer but it will need time to dry before you can put your gorgeous sparkly pinecones on display!
I hope you like this modern twist on a classic kids Winter craft. I think the end results are quite stunning!
We’re certainly going to be using some of our frosty pinecones as Christmas ornaments and will then enjoy them in a bowl on the coffee table for the Winter.
You can print the frosty pinecone craft instructions below.
More Fun Winter Crafts To Enjoy:

Gorgeous Frosty Pinecone Craft
Materials
- Pinecones
- White Acrylic Paint
- White PVA Glue
- Large Grain Silver Glitter
- Silver Cord
Instructions
- In a bowl large enough for a pinecone to fit in mix together white acrylic paint and PVA glue to a 60/40 ratio
- Roll the pinecones around in the paint and glue mixture.
- In another bowl big enough to fit the pinecones in pour a shallow layer of glitter.
- While the paint mixture is still wet roll each pinecone lightly into the glitter.
- Once the glue had dried tap the frosty pinecones onto a sheet of paper to catch any loose glitter.
- Display them in a bowl or tie on a thread to hang them from the tree.