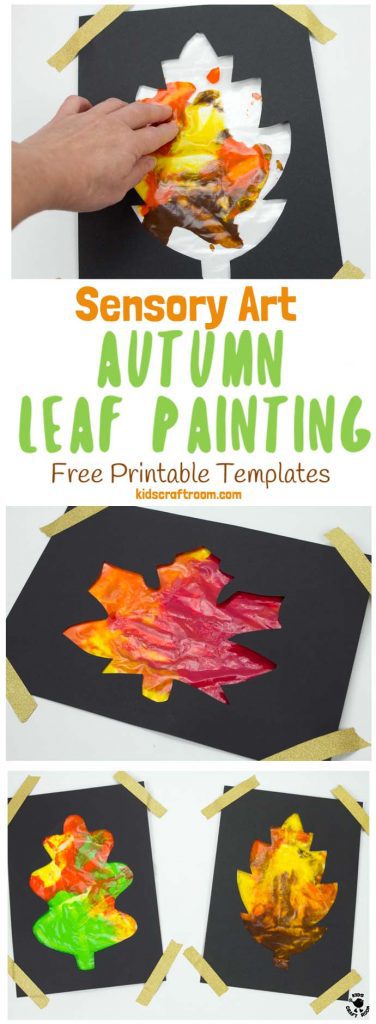
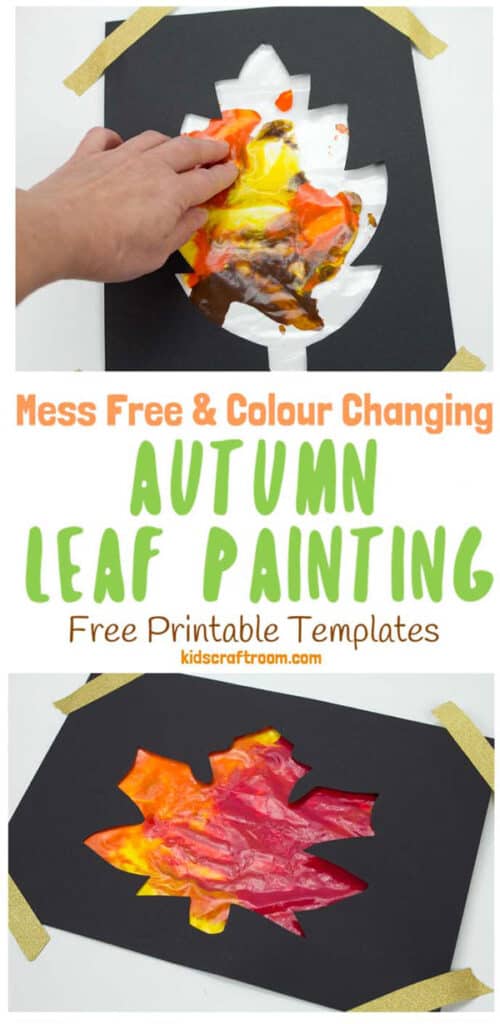
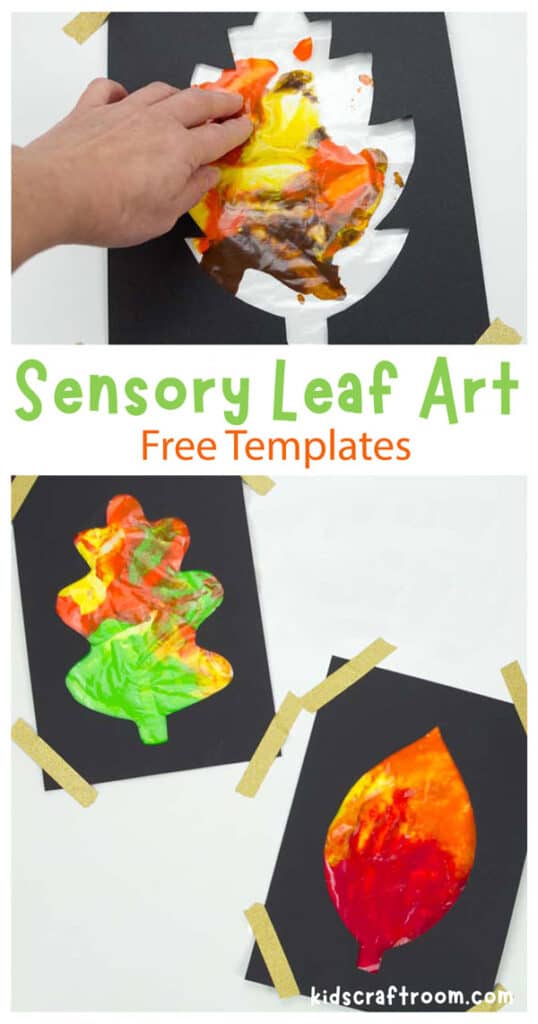
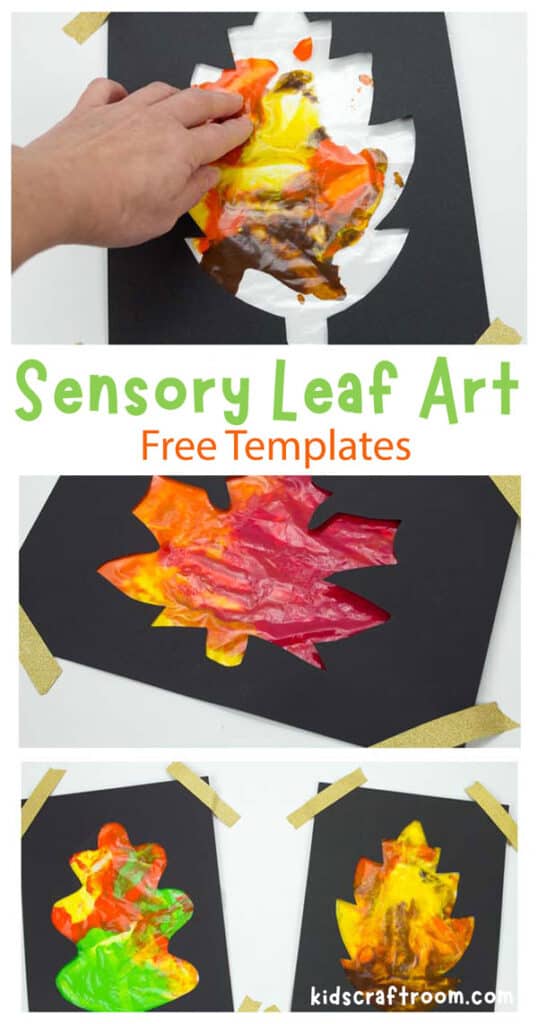
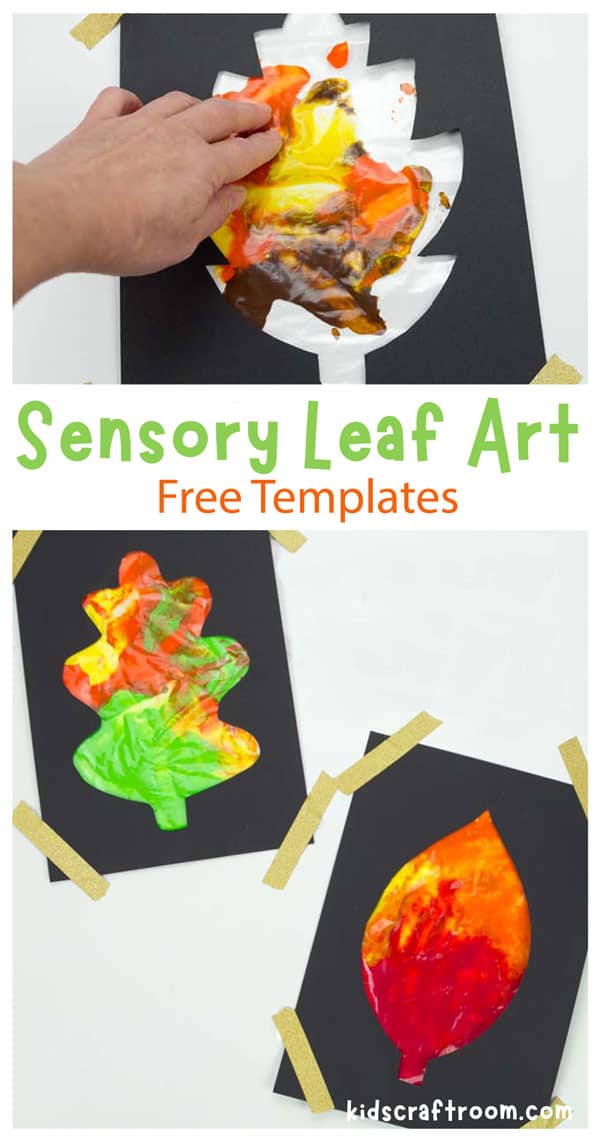
This Mess Free Sensory Autumn Leaf Painting idea is a wonderful activity to explore the changing colours of the season and engage the senses.
It’s always magical for children to watch the leaves changing colour and now they can make it happen right in front of their eyes with this hands-on Autumn art idea.
The paint is sealed away behind leaf cut outs, so little hands don’t get messy! Kids will love moving the colours around with their fingertips and watching them blend and change as they go.
This fun autumn art idea is really easy to set up as I’ve made 6 free printable leaf templates for you.
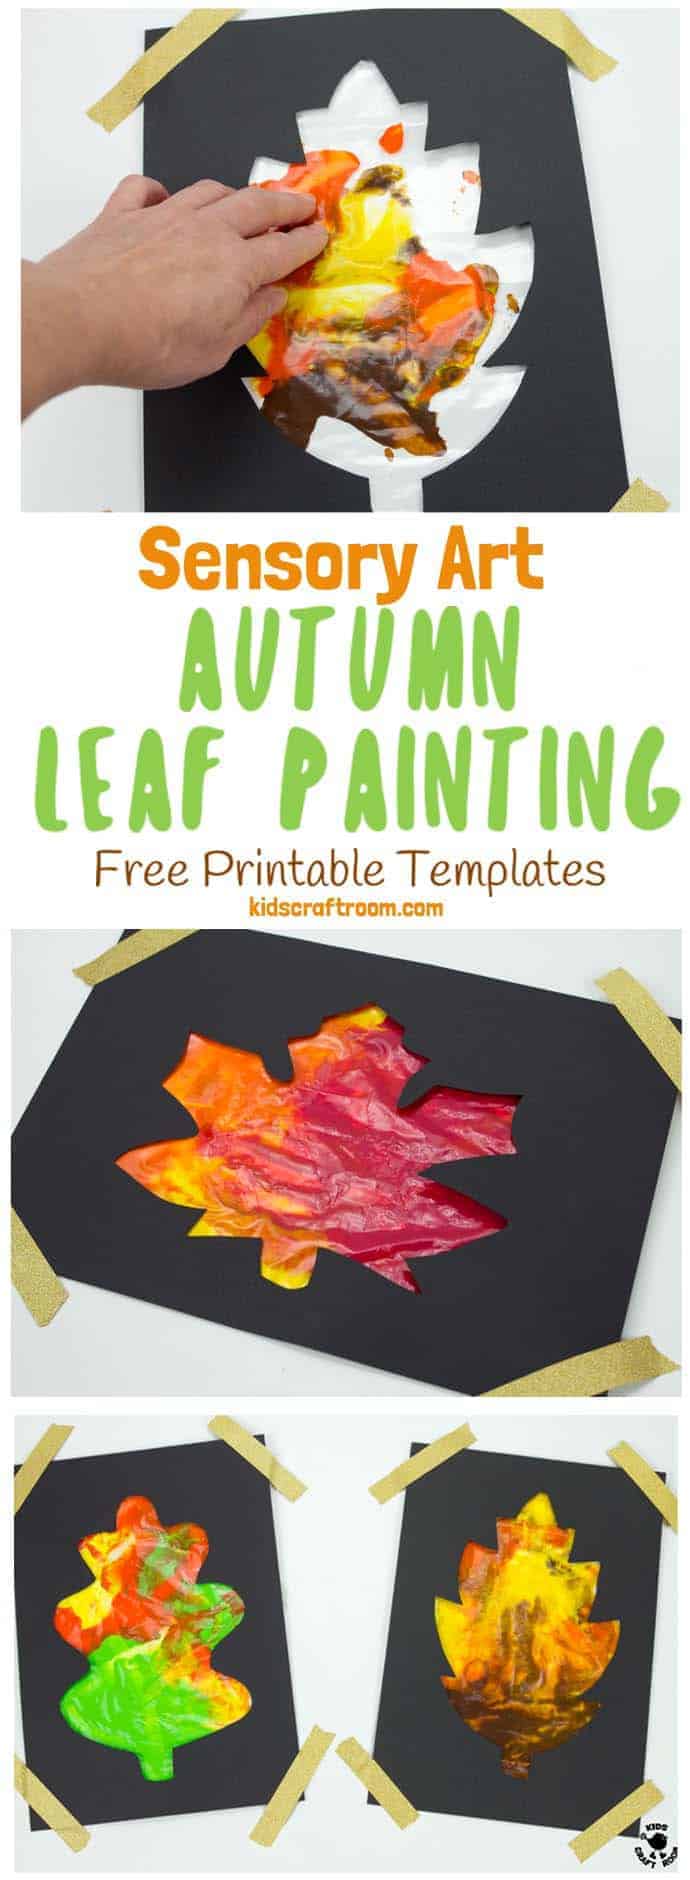
As the paint is sealed away, this Autumn painting idea lasts a while without the paint drying out. This means kids can revisited it again and again to create newly painted leaves, unique each and every time!
Mess Free Autumn Leaf Painting is lovely to set up on a table as an invitation to create with different colour combinations inside for children to explore.
It’s a wonderful sensory activity to engage kids sight, touch and hearing!
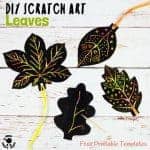
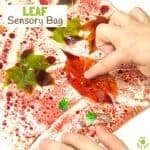
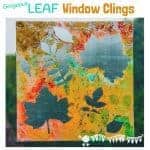
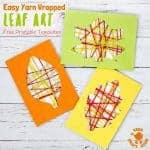
Why not combine it with some of our other favourite Autumn activities too? We adore Scratch Art Leaves, Leaf Sensory Bags, Leaf Window Clings, and Yarn Leaf Art.
Mess Free Sensory Autumn Leaf Painting Tutorial
Mess Free Sensory Autumn Leaf Painting is a super activity to set up on an old table top and leave out for a few days so kids can revisit it again and again.
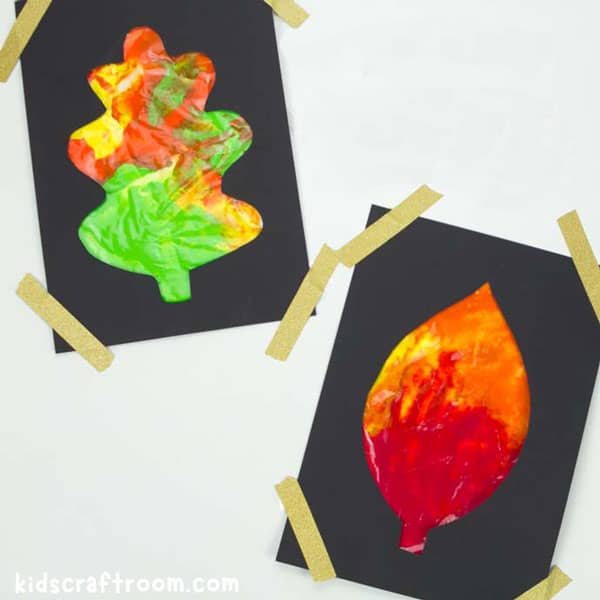
Supplies To Make Autumn Leaves Sensory Art
- Free Leaf Templates – 6 to choose from (Get yours at the bottom of this post.)
- Black Cardstock
- Small Zip Lock Bags
- Paint
- Sticky Tape
How To Set Up Sensory Autumn Leaf Painting
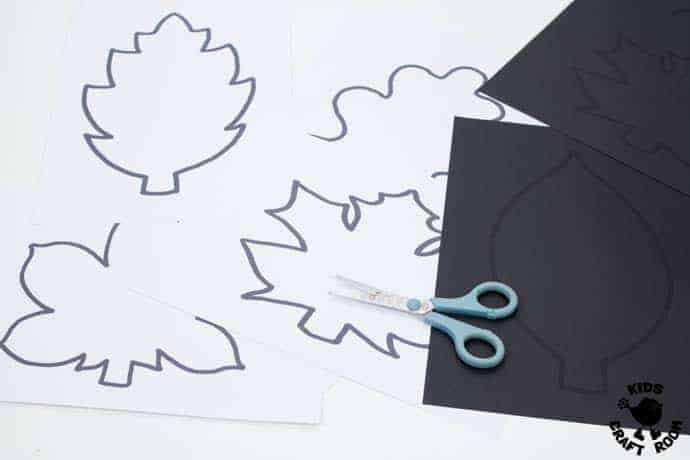
1 – Start by printing your free leaf templates (available at the bottom of this tutorial). We printed ours straight onto black card because it gave a fantastic contrast to the coloured paint but you can use any colour you like.
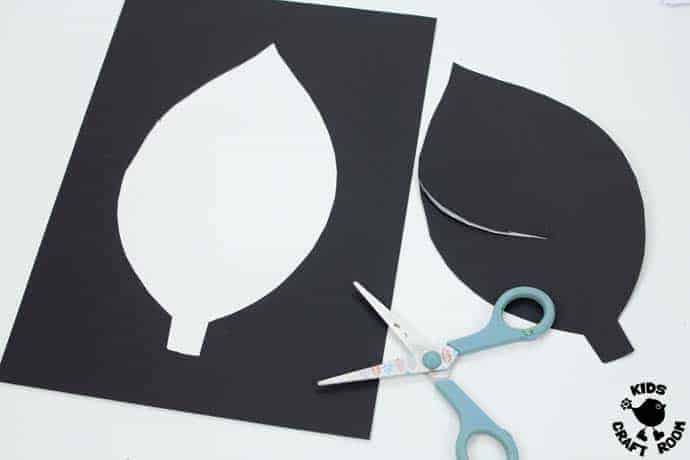
2 – Cut out the leaf from the middle of the printed sheets being careful to leave the frame whole.
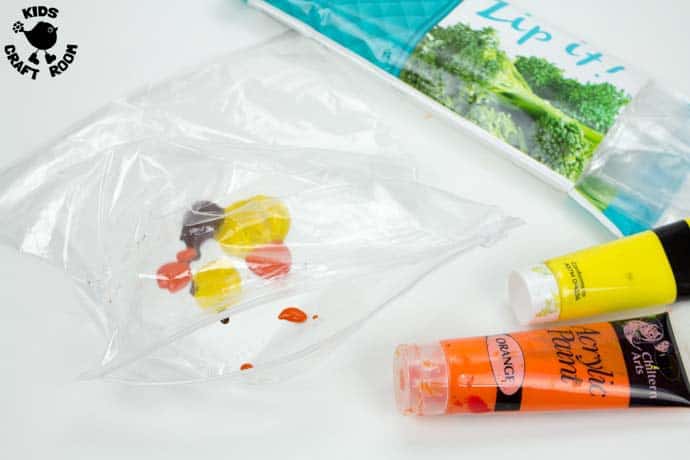
3 – Squirt some paint into your ziplock bag. We like to dot the paint around a bit. The more paint you put in the more easily the colours will mix and the more squishy and tactile the experience is for the children. We put in about three times the amount you can see in the photo above.
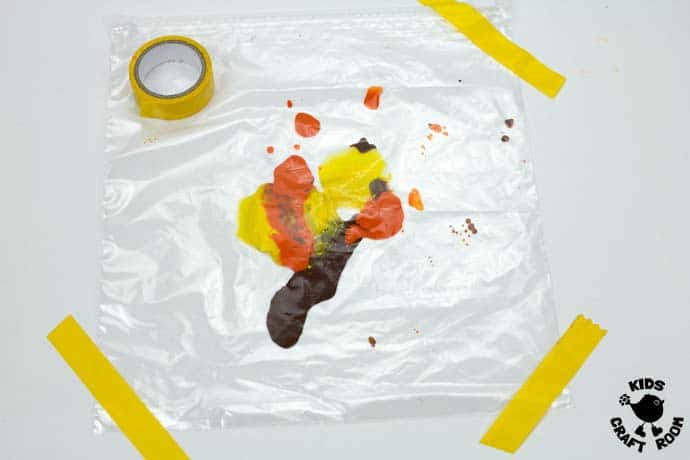
4 – Squash the air out of your zip lock bag and zip it up. If you want to you can add extra tape around the zip as well to help prevent leaks. Then tape your paint filled bag to the table top. We used clear tape but it didn’t show up in the photograph so I put on yellow tape just so you could see where I taped it across the corners.
If you are using this activity with young children you might prefer to tape all around the edges.
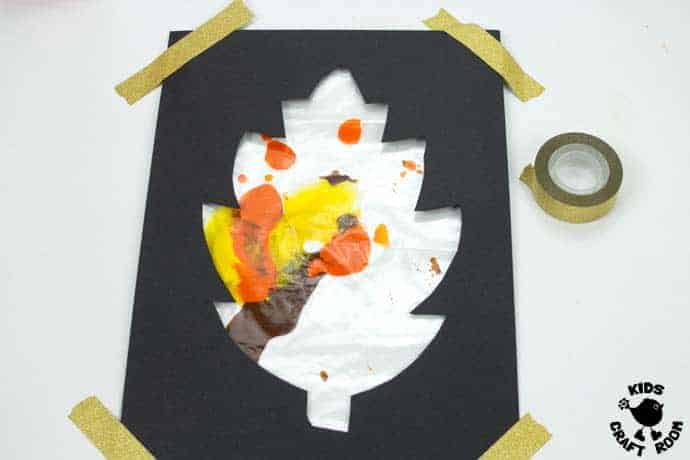
5 – Create the leaf shape by taping on the printable leaf cut out. We used gold glitter tape to add a bit of sparkle!
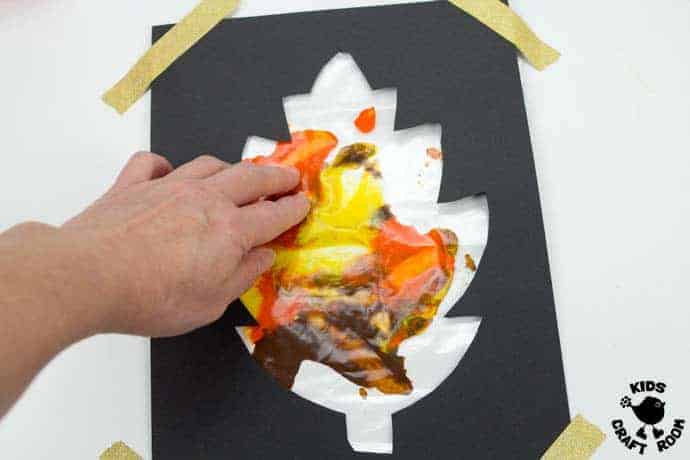
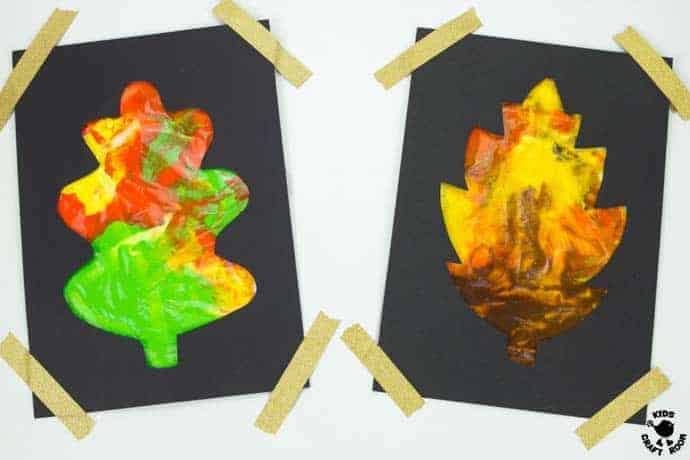
6 – Now kids can squish and squash the paint around to fill the leaf with colours.
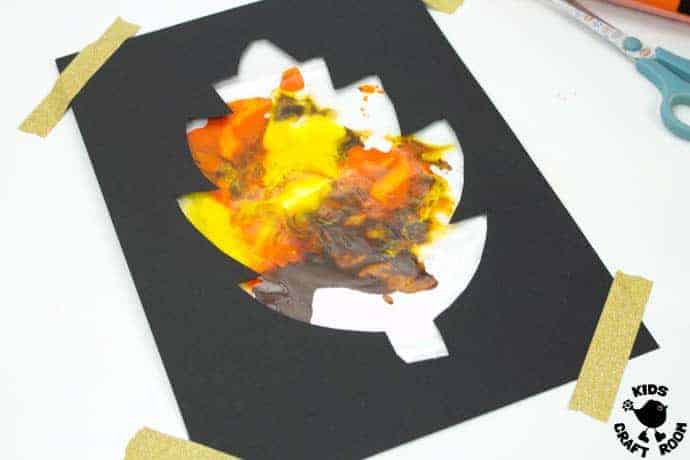
7 – Each time they touch and move the paint the picture in front of them will change. Kids can enjoy watching the colours mix and blend. This engages their sight and touch. You can encourage the children to listen really carefully as they move the paint around. Can they hear the squelchy sounds? Can they hear the plastic moving?
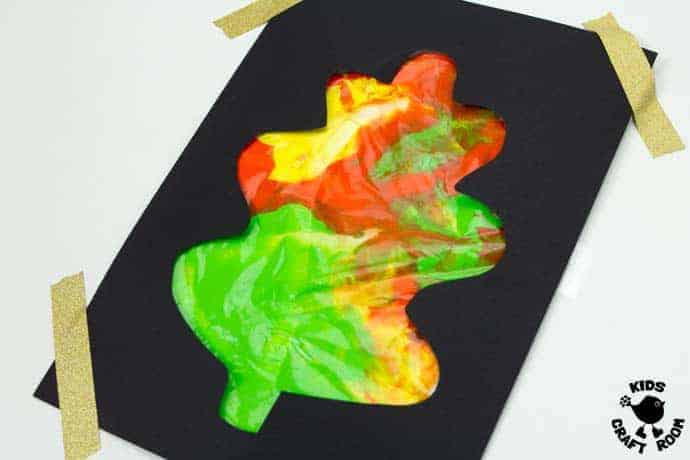
8 – You might like to experiment with different music playing in the background as children explore this sensory Autumn leaf painting activity. Do different tempos and moods effect how they feel and move the paint around?
Fill out the form above to get your free leaf templates sent straight to your inbox. You can also print the instructions below, if you need them.
(This post was first published Oct 2018 and has been updated August 2023)
More Fun Autumn Crafts For Kids:
Mess Free Sensory Autumn Leaf Painting
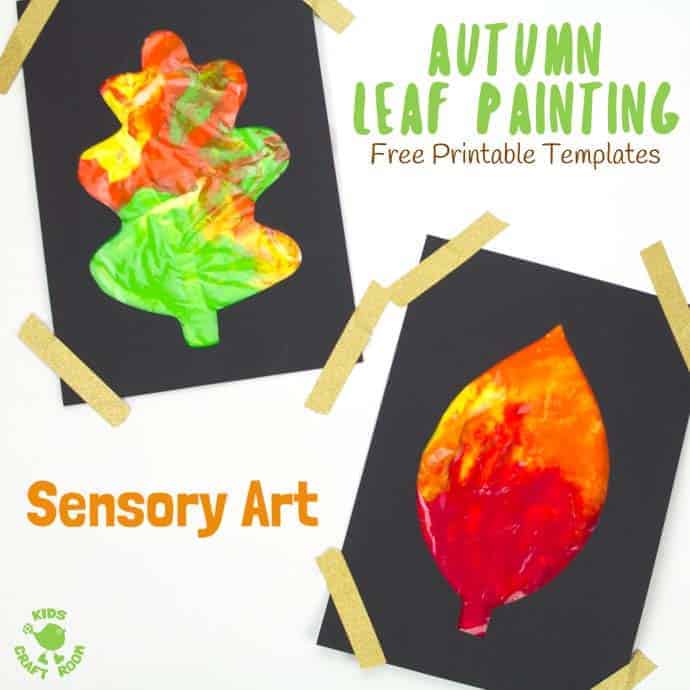
Mess Free Sensory Autumn Leaf Painting is a wonderful activity to explore the changing colours of the season and engage the senses. Kids can watch leaves change colour right in front of their eyes with this hands-on Autumn art idea! (Free leaf templates)
Materials
- Free Leaf Templates – 6 to choose from
- Black Cardstock
- Small Zip Lock Bags
- Paint
- Sticky Tape
Instructions
- Start by printing your free leaf templates. We printed ours straight onto black card because it gave a fantastic contrast to the coloured paint but you can use any colour you like.
- Cut out the leaf from the middle of the printed sheets being careful to leave the frame whole.

- Squirt some paint into your ziplock bag. We like to dot the paint around a bit. The more paint you put in the more easily the colours will mix and the more squishy and tactile the experience is for the children.
- Squash the air out of your zip lock bag and zip it up. If you want to you can add extra tape around the zip as well to help prevent leaks. Then tape your paint filled bag to the table top.
- Create the leaf shape by taping on the printable leaf cut out. We used gold glitter tape to add a bit of sparkle!
- Now kids can squish and squash the paint around to fill the leaf with colours.
- Each time they touch and move the paint the picture in front of them will change. Kids can enjoy watching the colours mix and blend. This engages their sight and touch. You can encourage the children to listen really carefully as they move the paint around. Can they hear the squelchy sounds? Can they hear the plastic moving?
- You might like to experiment with different music playing in the background as children explore this sensory activity. Do different tempos and moods effect how they feel and move the paint around?
