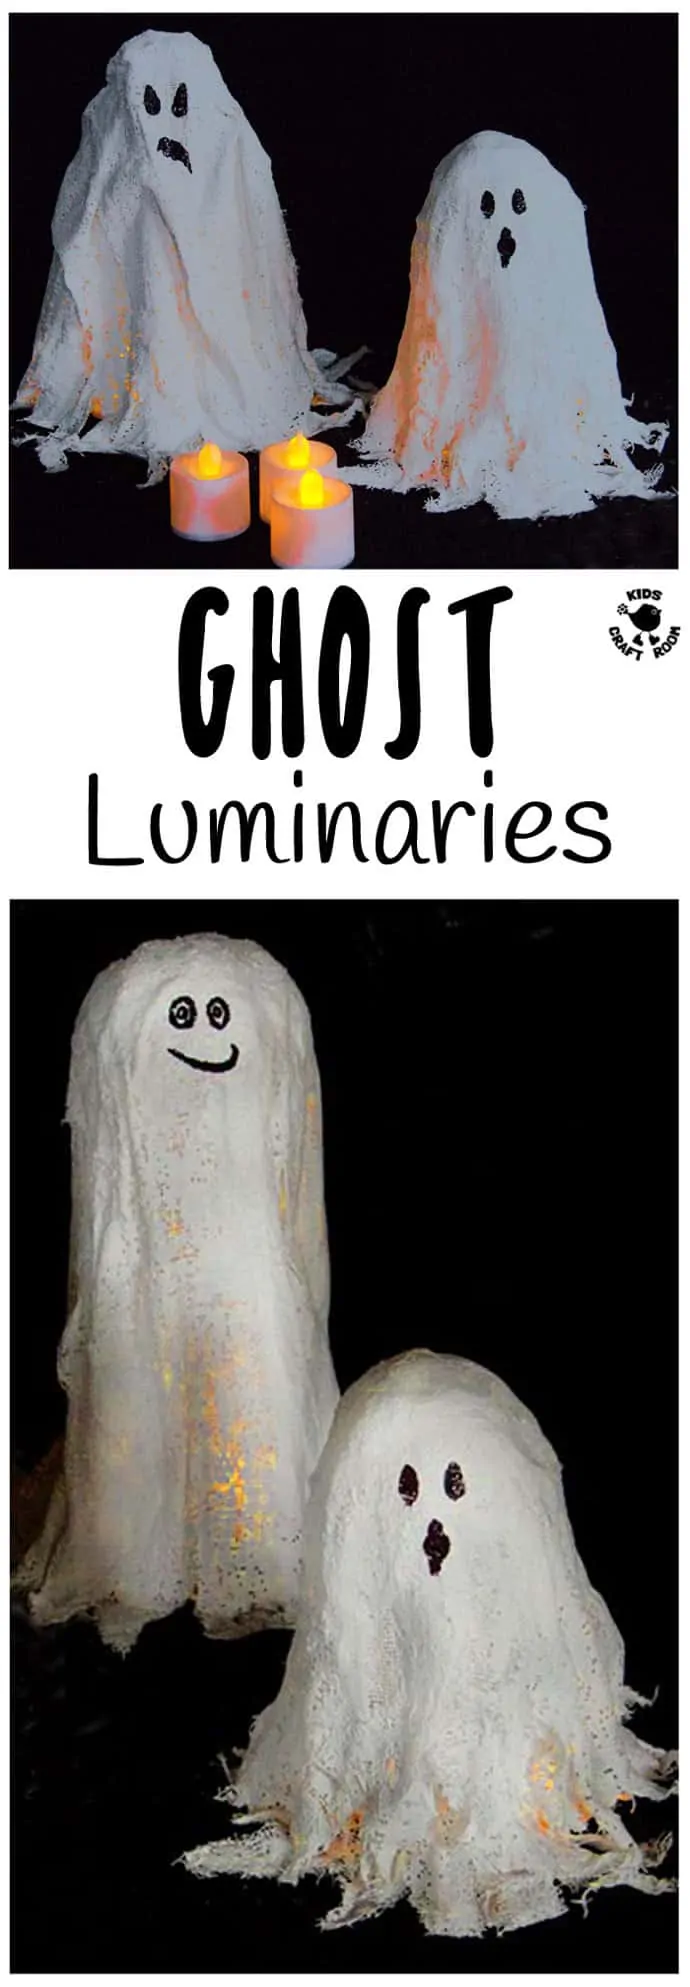
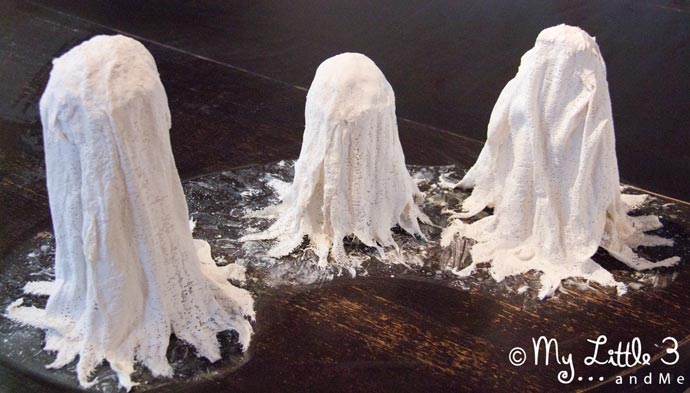
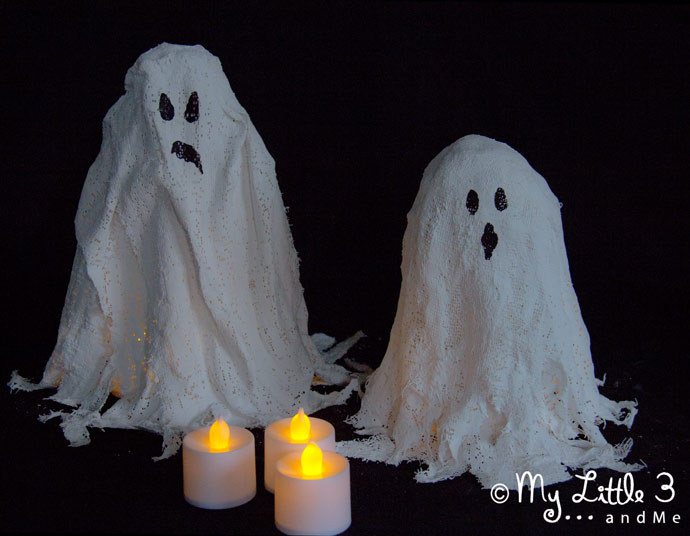
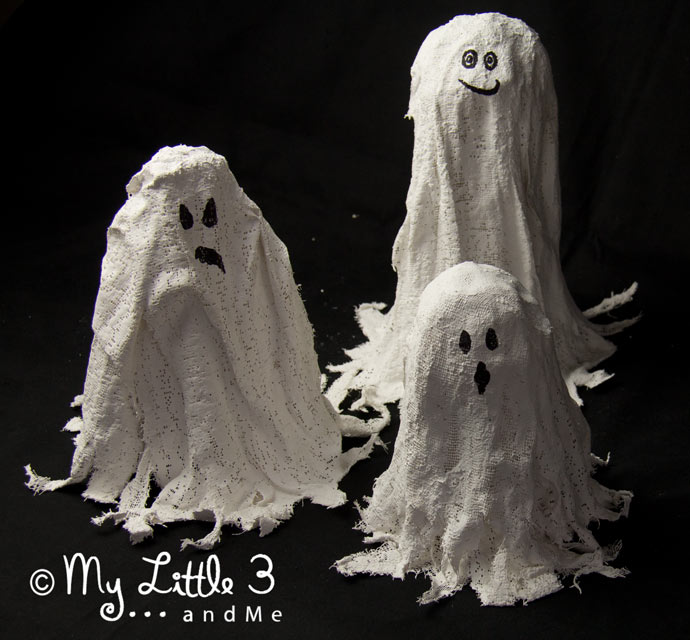
I’ve been trying to think of Halloween craft ideas that would appeal to my big boy as much as it would to little ones, and something that we could re-use year after year too. I came up with these Mod Roc Ghost Lights and have to say, I’m delighted with how well they turned out! (Although they proved very tricky to photograph well, lol! Sorry, I just couldn’t get their glow to glow on the photos!)
Halloween arts and crafts are always good fun and I loved that these ghost lights allowed us to use a different craft product to usual. Finally I could put the Mod Roc plaster of paris bandage that had been sitting in my cupboard for an age to good use and I just knew my boys would love the mess factor!
Supplies For a Mod Roc Ghost Light
-
- Mod Roc UK / US (you might see it called Mod Rock or Art Rock, Plaster Gauze or Plaster of Paris Bandage)
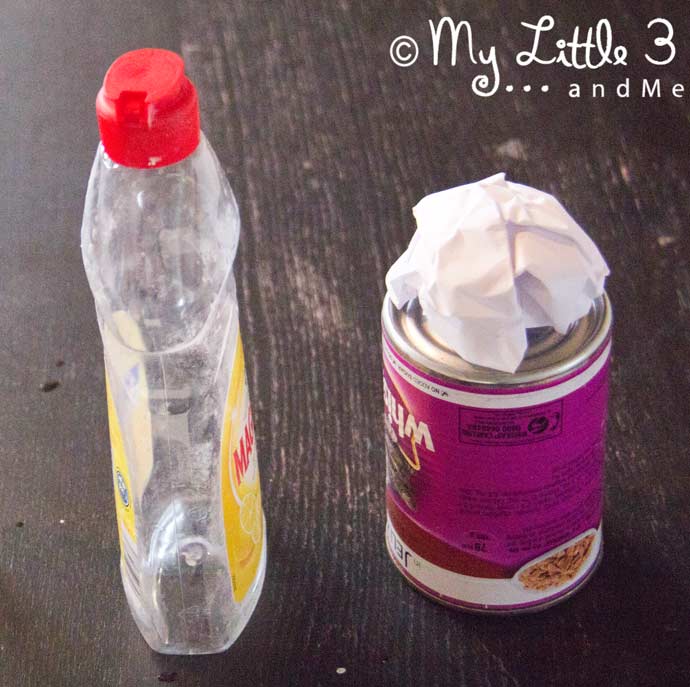
- Some old tins or bottles to mould around
- Bowl of Water
- Permanent markers/Sharpies UK / US
- Battery operated tea lights UK / US
How To Make a Mod Roc Ghost Light
1 – Simple Halloween craft ideas are great aren’t they and things don’t get much simpler than this! Choose something from your re-cycling tub that you can use as a base for your ghost craft. We chose a selection of bottles and tin cans of different heights. If your tin has a flat top it’s worth screwing up a piece of paper and balancing or taping it on to the top to give your ghost’s head a more rounded shape.
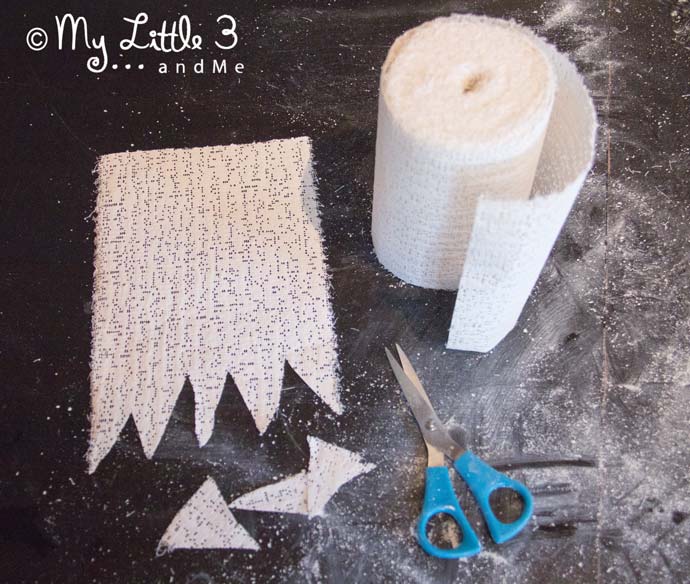
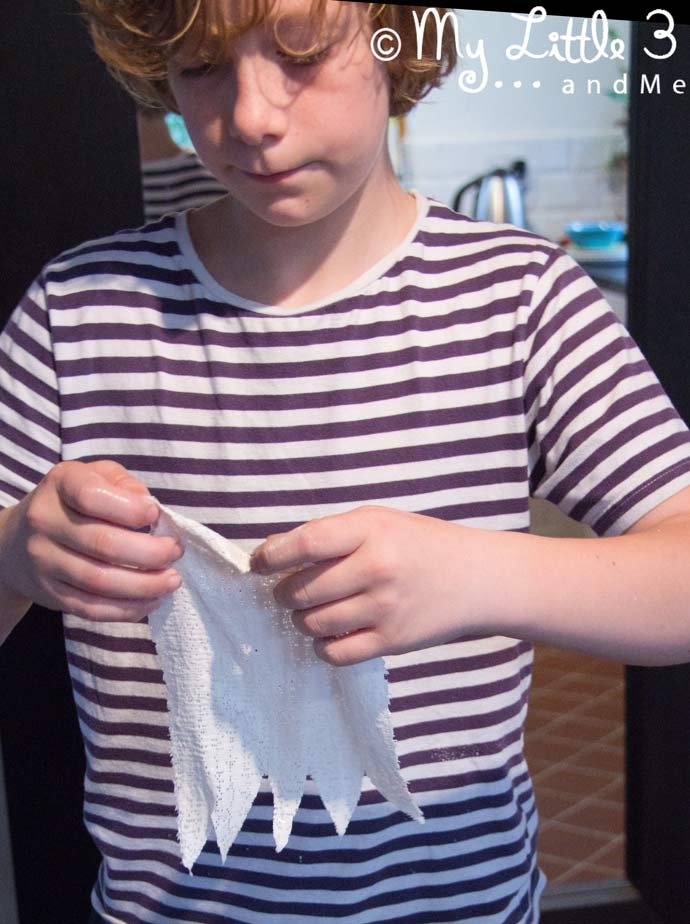
2 – Cut the Mod Roc into sections a little longer than the height of the bottle or tin you are using as the base. Chop zig-zags along one end to give the ghost craft a nice ragged bottom.
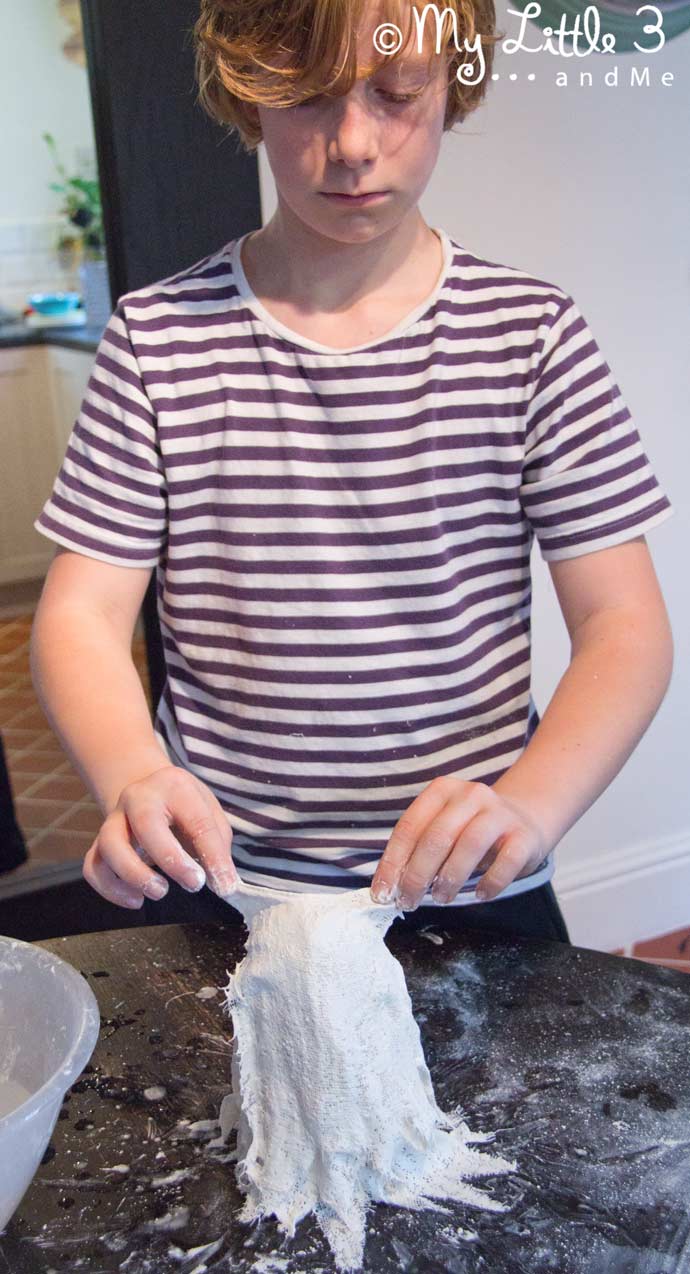
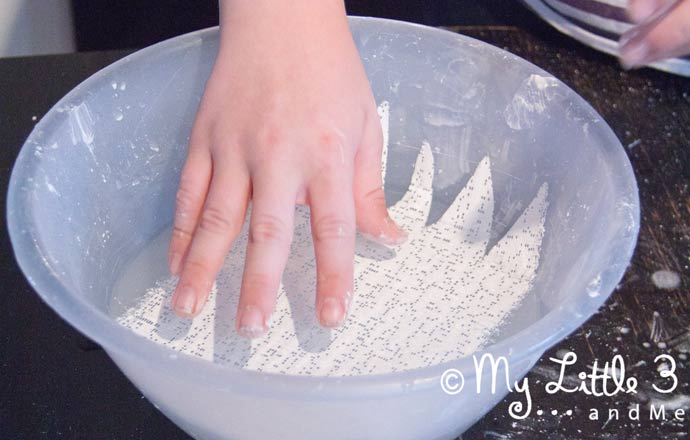
3 – Dip one piece of Mod Roc at a time into the bowl of water and quickly pull it out. gently run it between your thumb and fingers to squeeze out the excess water.
5 – Repeat the whole process working your way around until you’ve completely covered the frame. We made our ghost lights 2 layers thick to make them rigid enough to last a few years but still transparent enough to let the light shine though.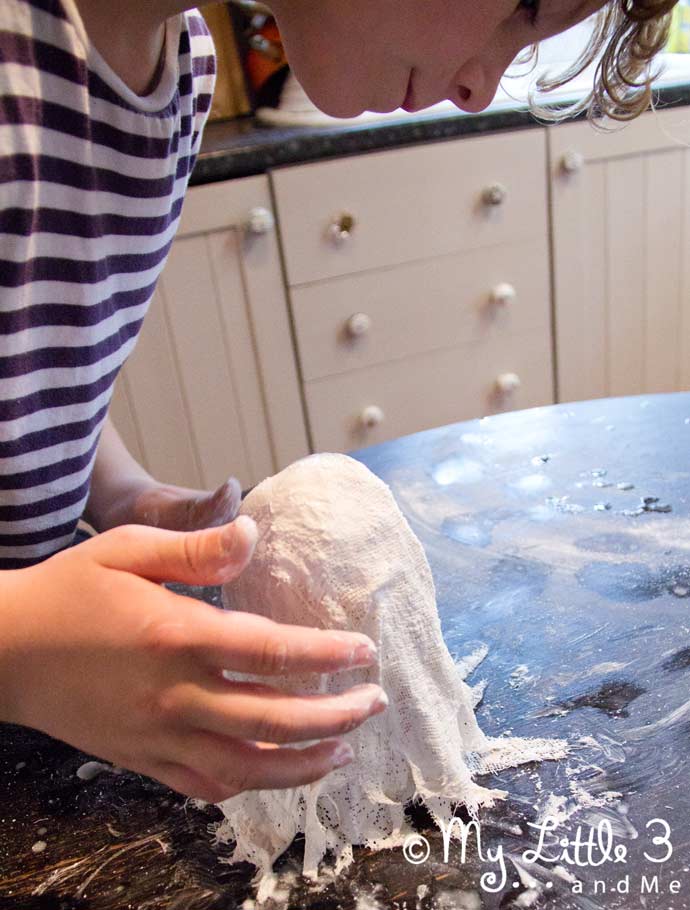
7 – When your ghosts are completely dry, draw on their features. You could use paint if you prefer but we liked the ease of using the permanent Sharpie markers. Then pop the ghosts over the top of the battery tea lights, turn off the room light and watch them glow!
I love that the Mod Roc plaster of paris bandage is so cheap, it means you can make these ghost lights at a fraction of the cost of anything similar shop bought and of course you can make them as big or small as you like.
It’s not always easy finding Halloween craft ideas that really appeal to my eldest son, aged 11, but he really loved working with the Mod Roc, a new hands on material for him and he thought the ghost lights were “Pretty Cool”.
Mod Roc plaster of paris bandage is great for smaller children to use too, it’s quite messy and feels amazing in your hands which is lots of fun but you might need to support them a bit because of the speed needed. This stuff sets pretty fast so you do need to work quite quickly!
These Mod Roc Ghost Lights will be sitting beside our Giant Frankenstein’s Monsters and Painted Pumpkins this Halloween, it’s going to look great! Click through here to see lots more of our kid friendly Halloween craft ideas.
More Fun Halloween Crafts For Kids:
