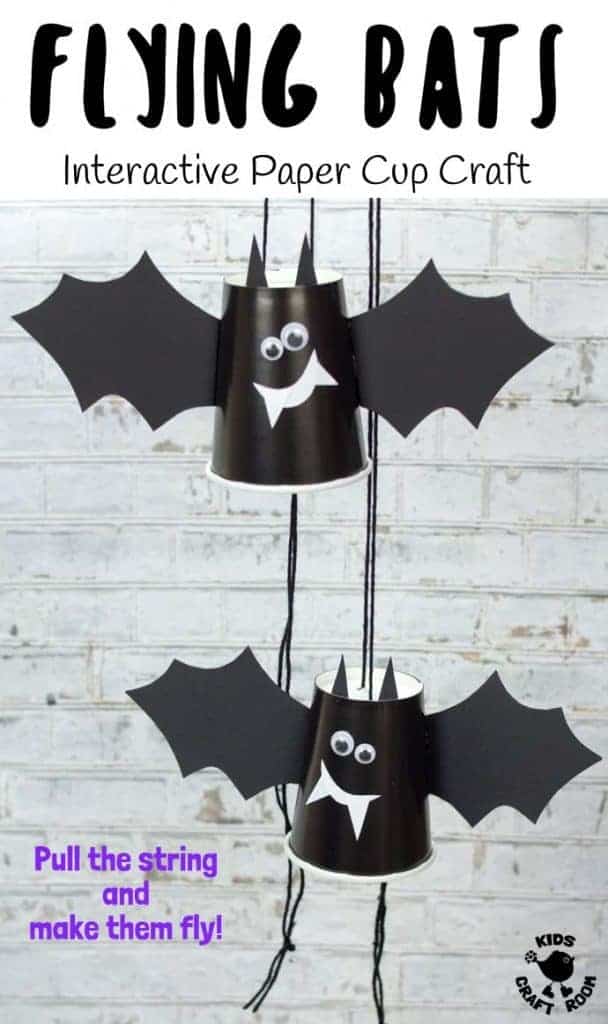
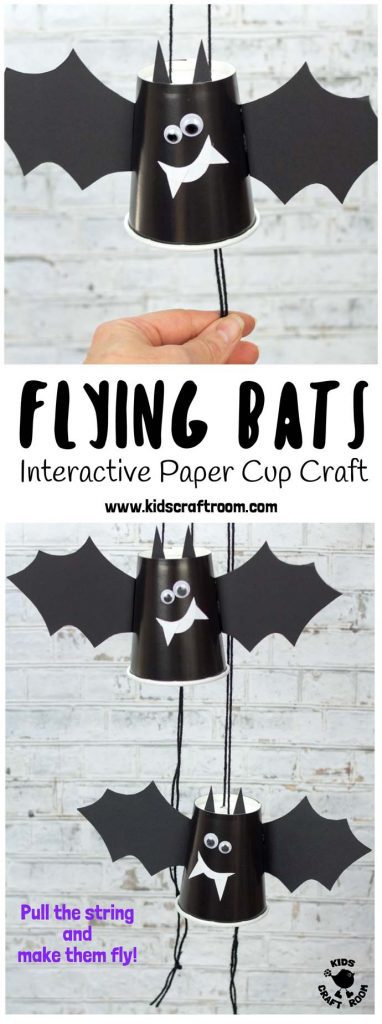
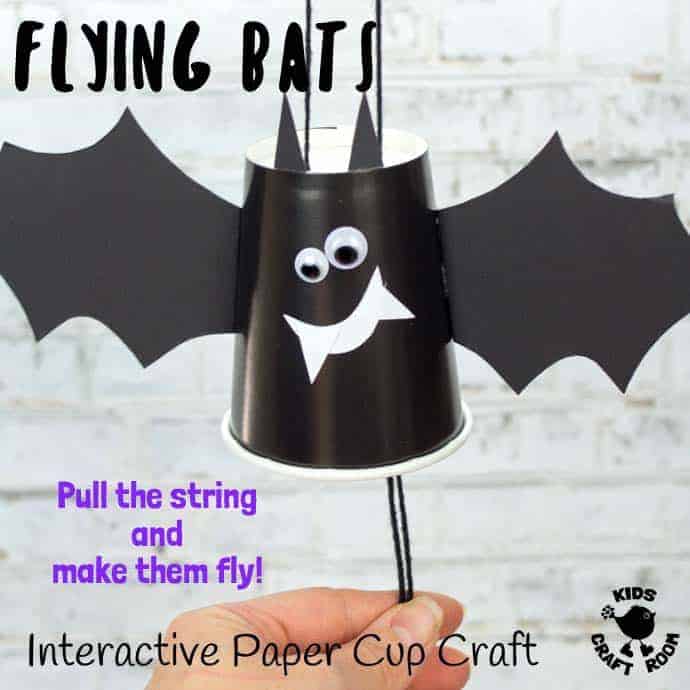
This Paper Cup Flying Bat Craft is super simple to make and is super fun! We love that it’s an interactive STEM craft so kids get to be creative and get to have a homemade bat toy to play with too.
Built around a paper cup, these little bats cleverly fly up and down when you pull the strings. It’s a lovely bat craft to make for Halloween, if you are studying nocturnal animals or if you are just a huge bat fan like us!
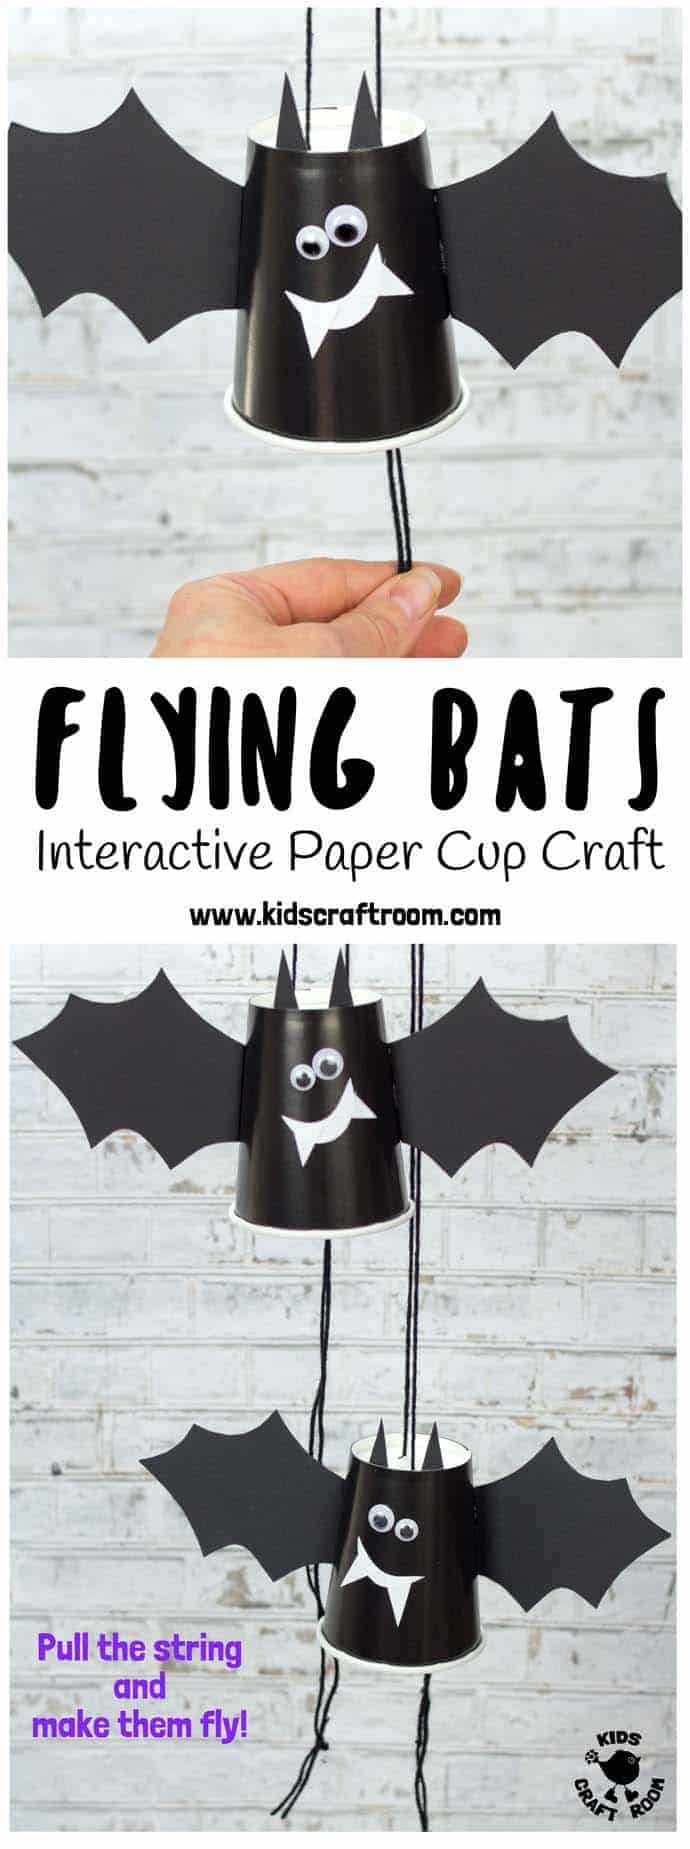
These paper cup flying bats are really quick and easy to make so it’s a great craft to do with kids of all ages from toddlers to tweens.
Hang your flying bat crafts from a door handle or hook, pin them to the wall or ceiling then pull the strings and watch them go! Such a fun flying bat halloween craft!
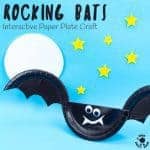
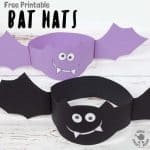
While you’re making these fun flying bats you might want to think about trying a few more bat crafts too. We love Paper Plate Bat Puppets (free printable template), Handprint Bats (just the cutest!), Rocking Bats (super fun) and adorable free printable Bat Hats.
Paper Cup Flying Bat Craft Tutorial
Supplies To Make Bats That Can Fly:
- Black Paper Cups
- Black Cardstock
- Googly Eyes
- White Paper
- Back Yarn
- Glue
- Scissors
How To Make Paper Cup Flying Bat Crafts
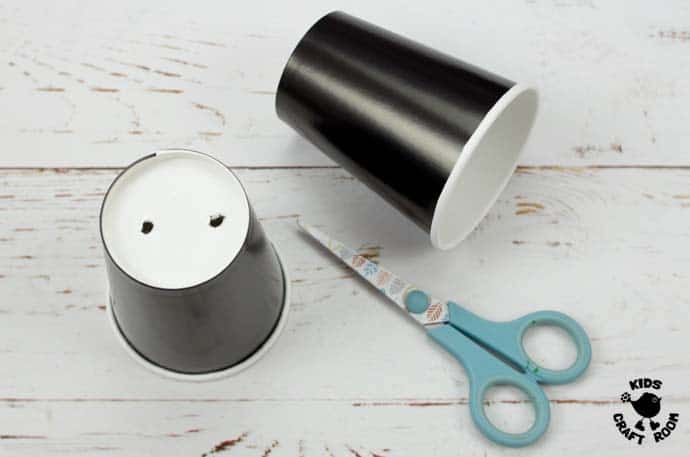
1 – Start to make the body of your flying bat by up ending a black paper cup and making two small holes in its base. We used a small pair of scissors to carefully poke through. (Grown ups only for that part.)
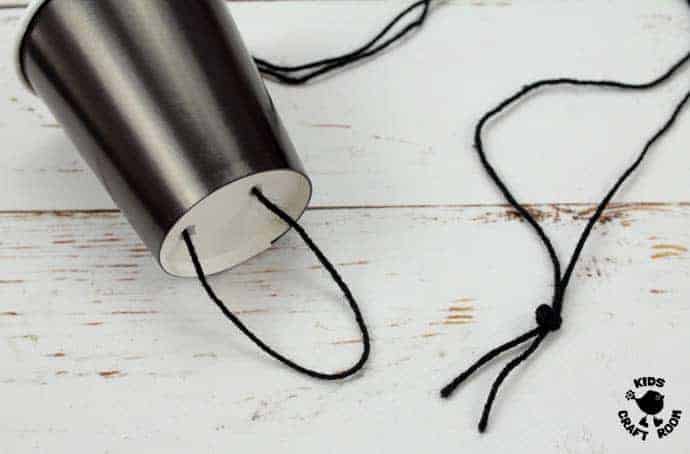
2 – Next cut a length of black yarn about 2 metres long. Thread each end through the holes in the base of the paper cup. Pull them through the inside of the cup and tie the ends together.
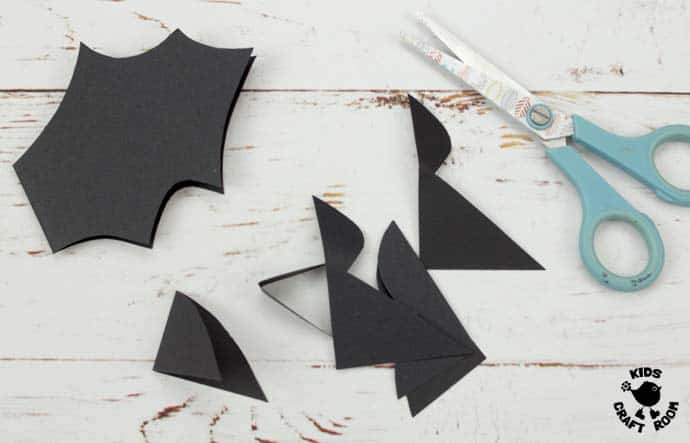
3 – Fold a piece of black cardstock in half and draw a bat wing shape on it about the same height as your paper cup. Cut through both layers of paper to get two wings the same shape.
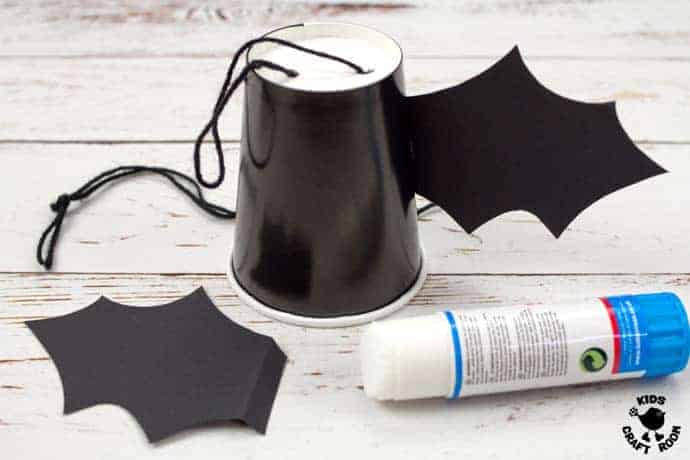
4 – Fold the flat edge of your bat wings over to make a little tab and glue the tab of both wings on to the sides of the paper cup.
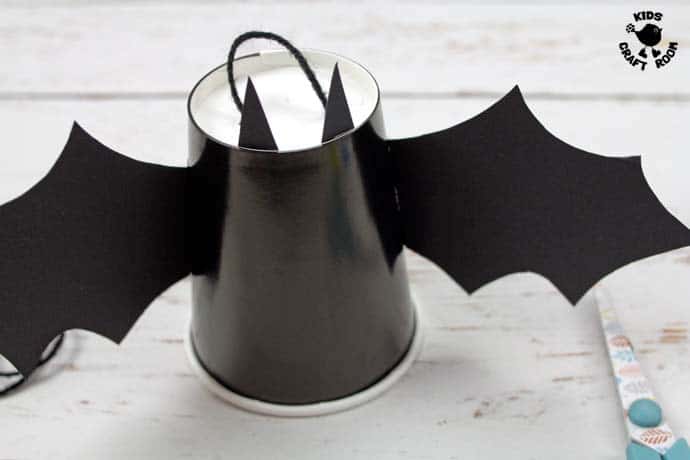
5 – Cut two small triangle ears from back cardstock and glue them on to your flying bat craft.
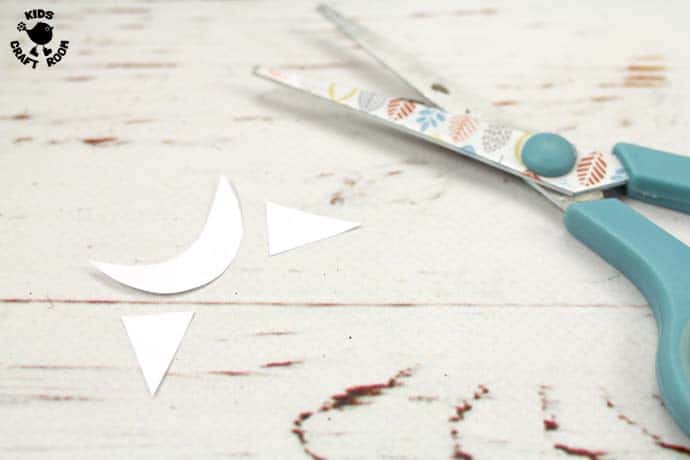
6 – Next cut a small mouth and two triangular fangs from white paper.
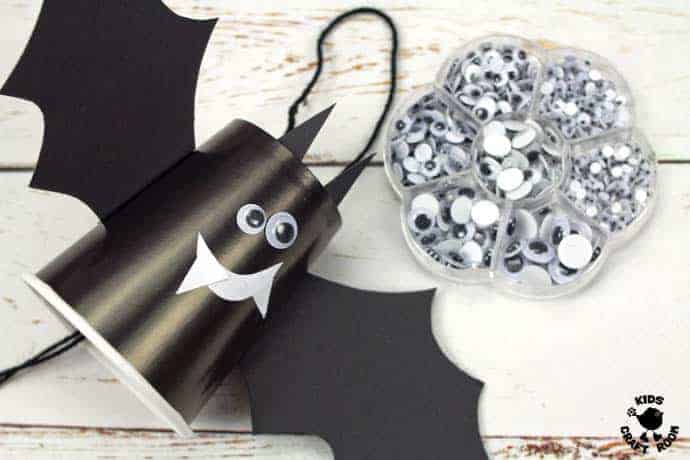
7 – Glue the bat fangs, mouth and googly eyes onto the front of your flying bat craft.
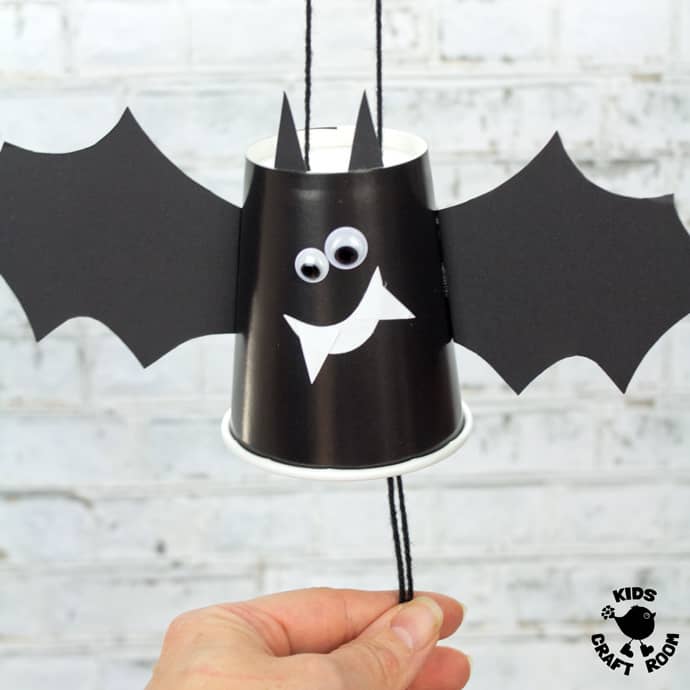
8 – Now your paper cup flying bat craft is ready to take off! Firstly hang the bat up on a door knob or hook and then take a thread from the bottom in either hand.
Next move your hands out to the side. As they move away from each other the bat will be pushed up the string. You’ll see that when you bring your hands together again the bat will fall back down the string!
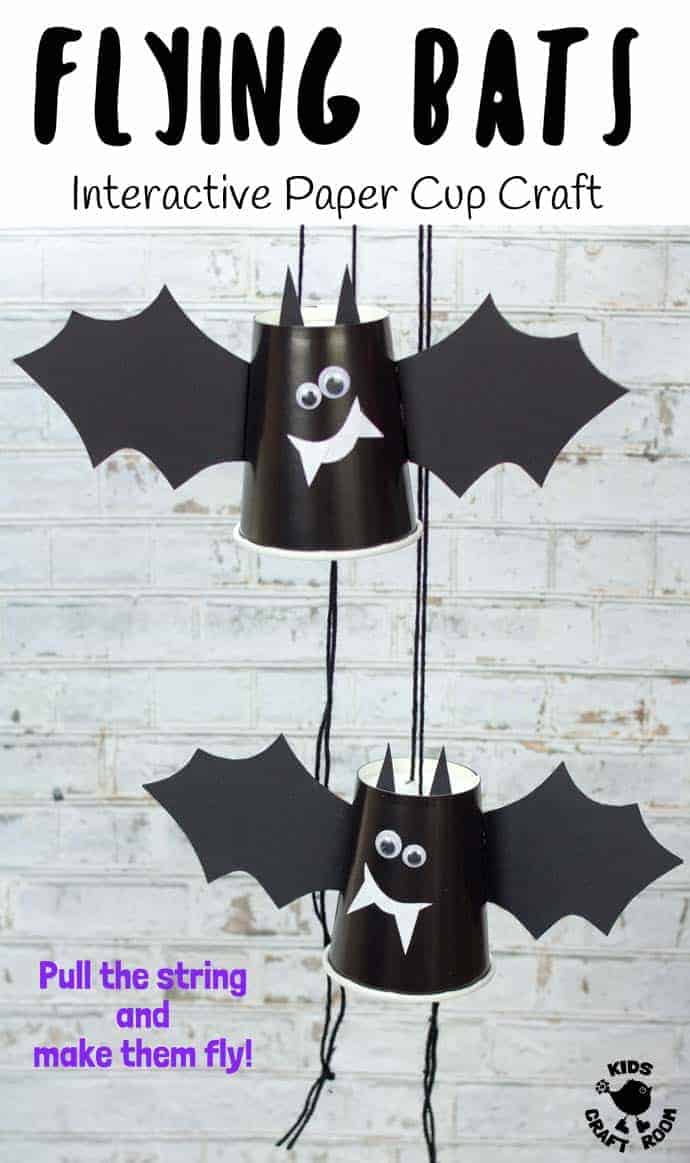
Kids can have lots of fun flying the bat up and down the string and when they’ve finished playing the bats make great Halloween decorations!
More Fun Halloween Crafts For Kids:
