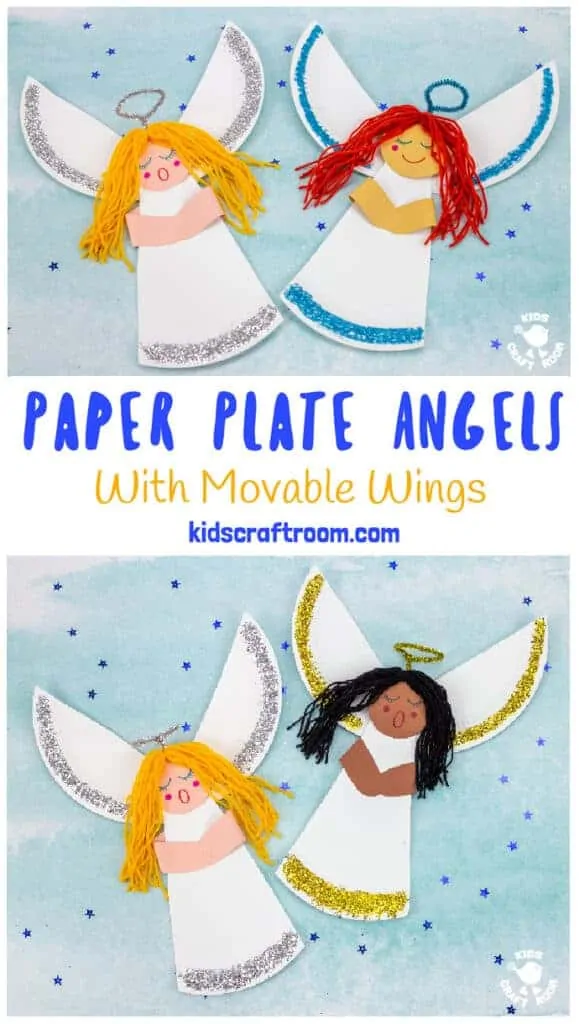
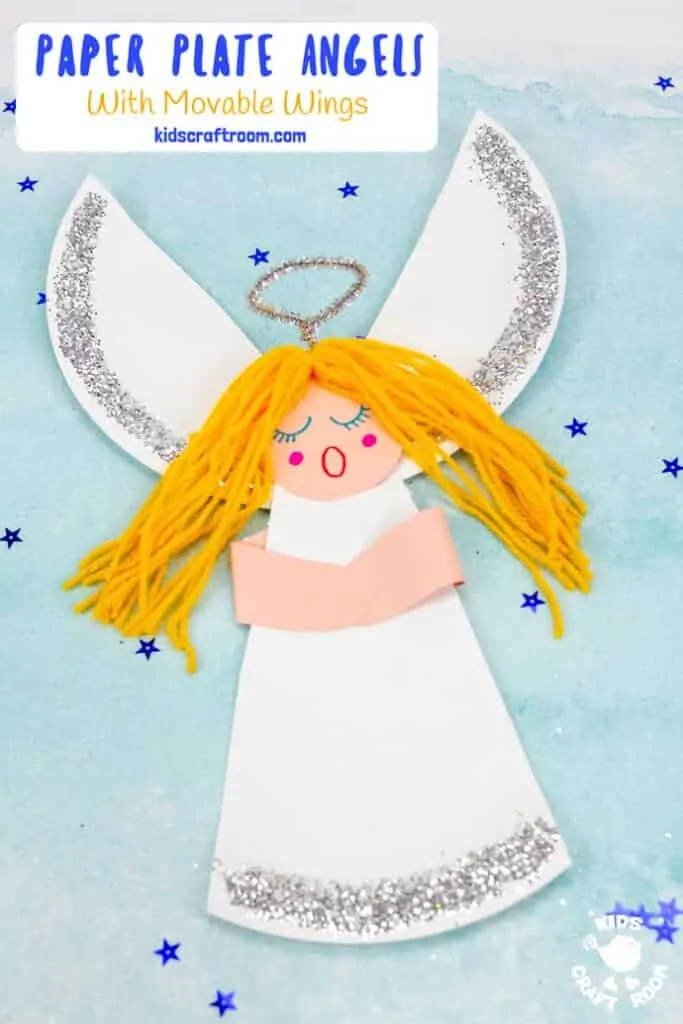

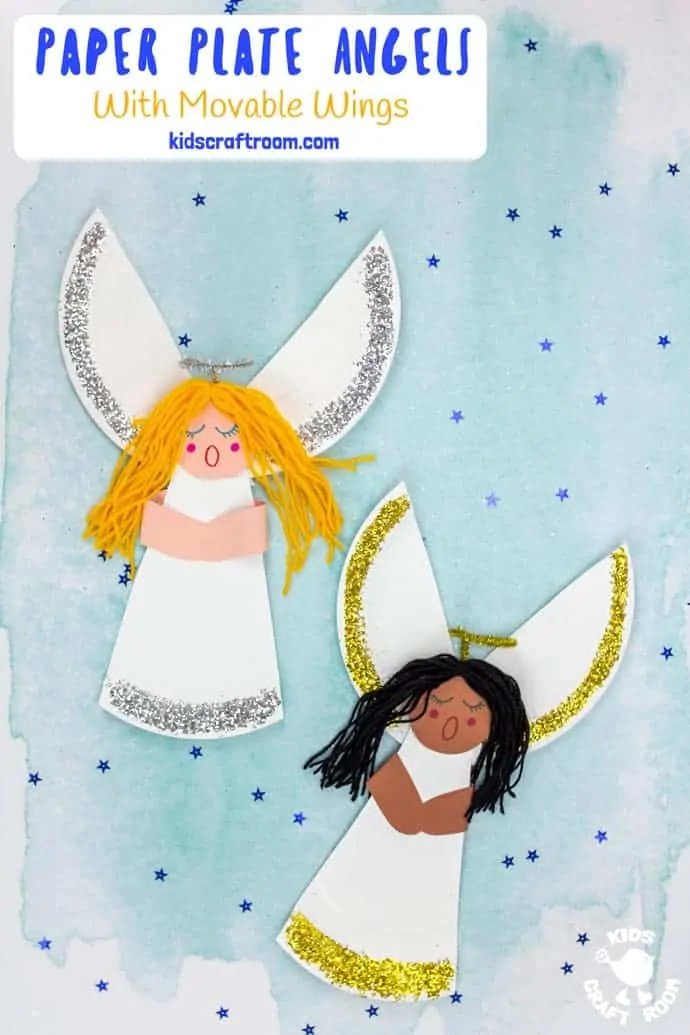
I think this Paper Plate Angel Craft For Kids is so sweet and hope that you will too. Our paper plate angels are super simple to make and they have movable wings which are loads of fun for little hands!
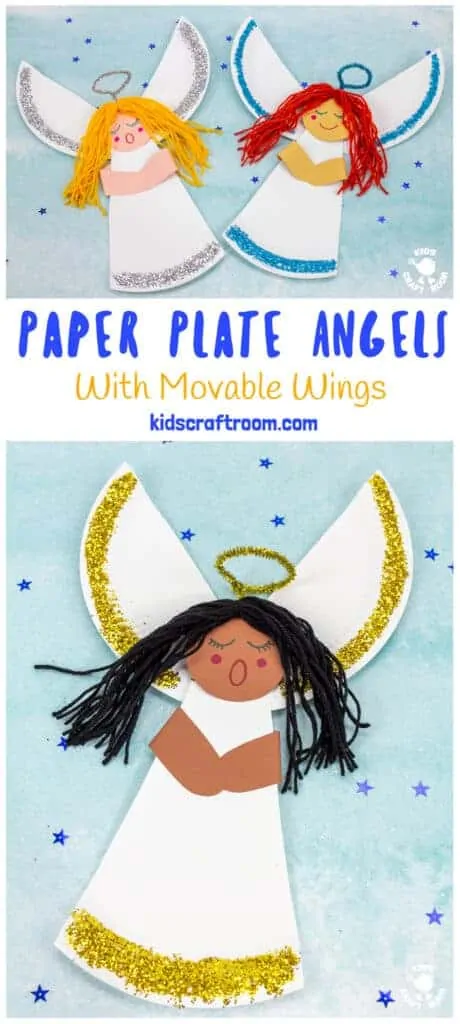
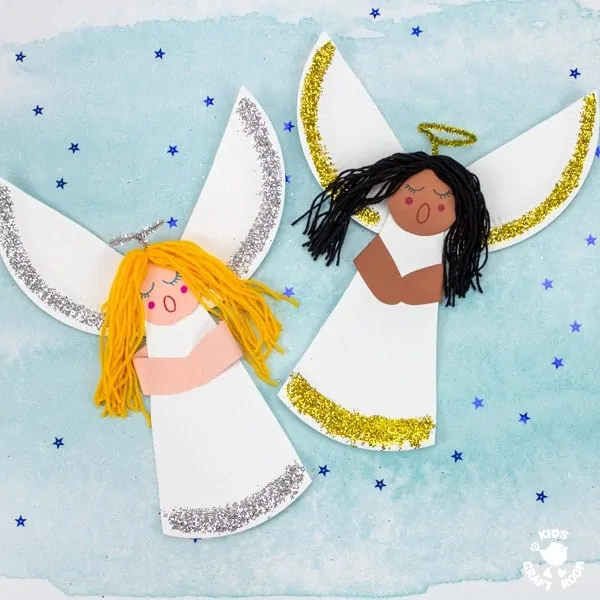
This is a great Christmas craft for kids and I just love that it’s really easy to give the angels any skin and hair colour you like!
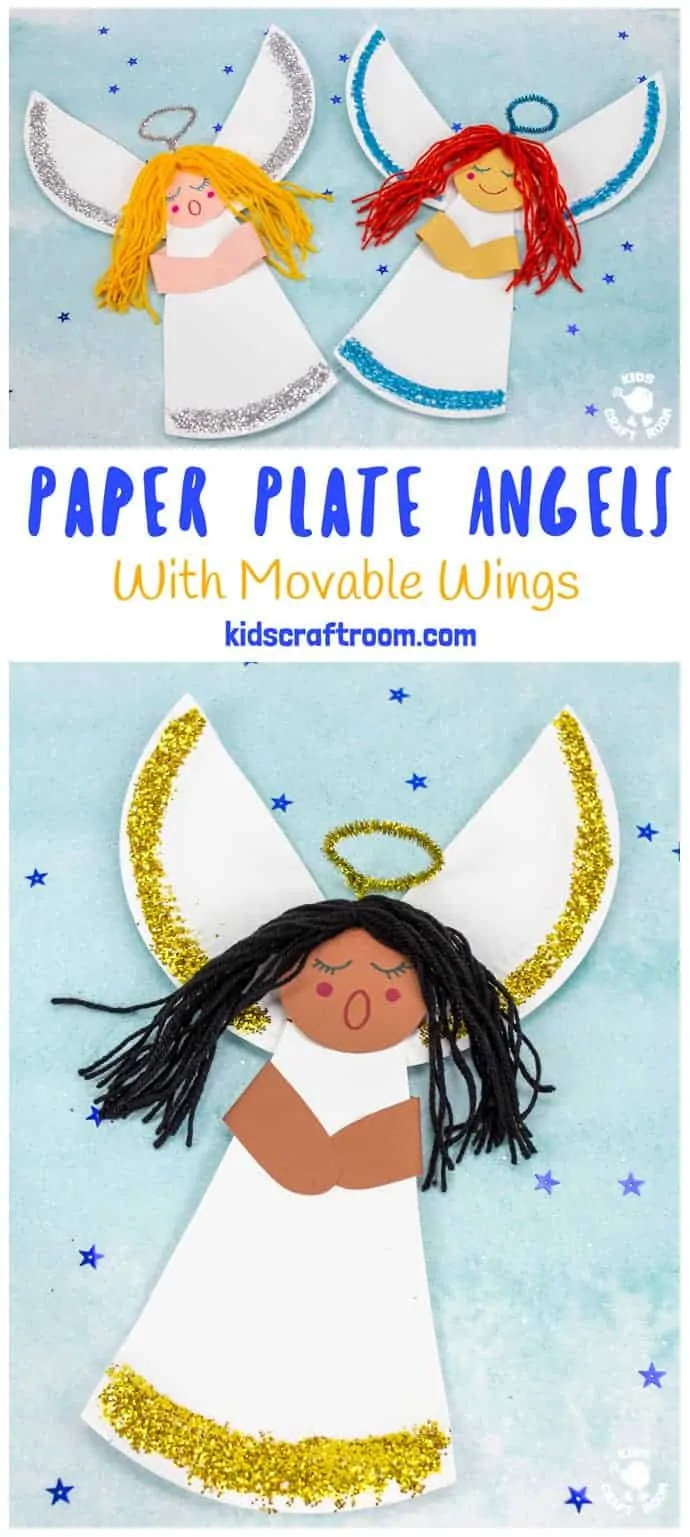
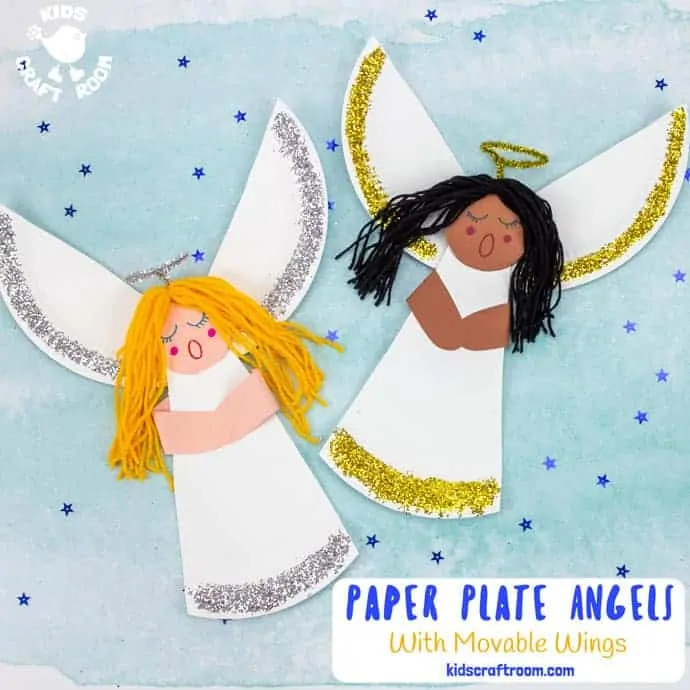
Kids can have lots of fun making their angel craft look unique. They can chose different coloured hair and skin and add different embellishments.
We loved adding glitter to the angels’ wings and dresses, but pompoms, buttons and sequins etc would look just as adorable too.

These paper plate angels are loads of fun for kids to play with. They have movable wings so kids can pretend they are actually flying!
We’ve got lots of other angel crafts for kids too. I think they’re an absolute must in the build up to Christmas.
Here are some of our favourites you can try too.
Paper Plate Angel Craft For Kids Tutorial
This paper plate angel craft for kids is a lovely activity to do at home or as a Sunday school or classroom activity. Because it’s so easy and frugal to make it works well as a group activity.
Supplies To Make Christmas Angels:
- White Paper Plates
- Skin Tone Construction Paper
- Glitter Pipe Cleaners
- Biodegradable Glitter
- Yarn
- Hole Puncher
- Glue
- Paper Fasteners/Split Pins
- Sharpie Marker Pens
- Scissors
How To Make Christmas Angels
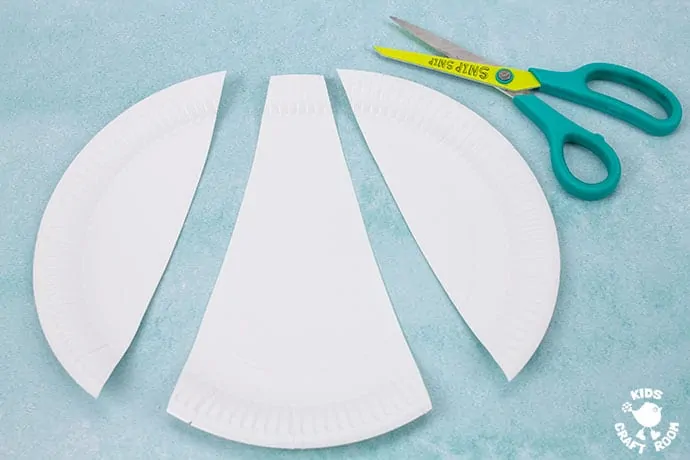
1 – Cut two sides off your paper plate to leave a sort of triangle in the middle. The sides will become the angel’s wings and the middle will become the angel’s body. Use the photo above as a guide.
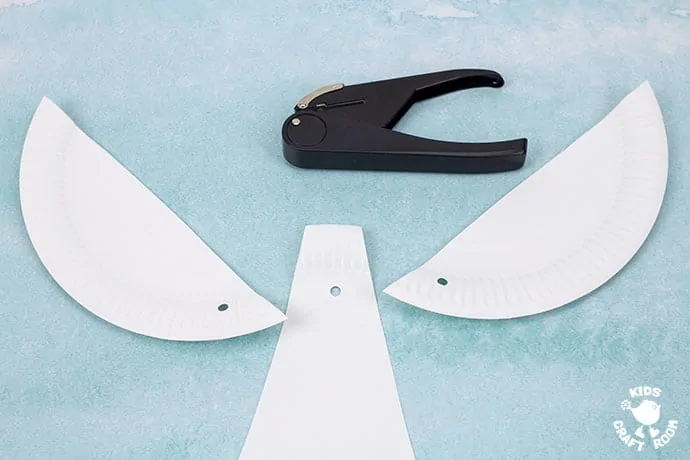
2 – Lay your paper plate pieces out so you can check the orientation of your wings. (We’ve made our Christmas angels with the flat edge of the wing upwards but you could have the arch edge upwards if you prefer.) Use your hole puncher to make a hole in one end of each wing where it is going to attach to the body. Make a hole in the middle of the angel’s body about an inch from the top of the triangle.
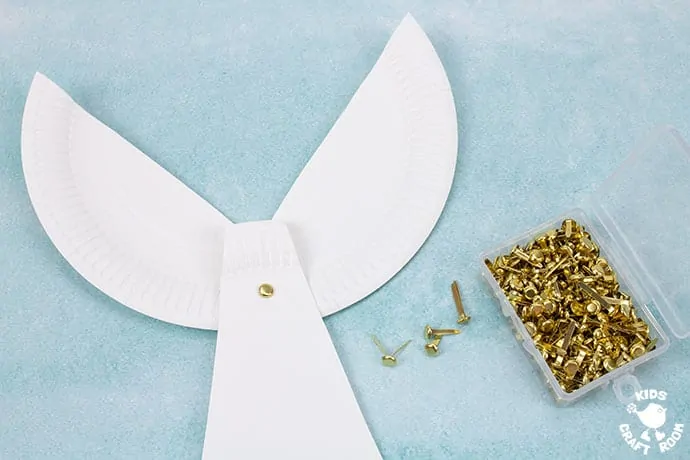
3 – Attach the wings behind the body with a split pin / paper fastener.
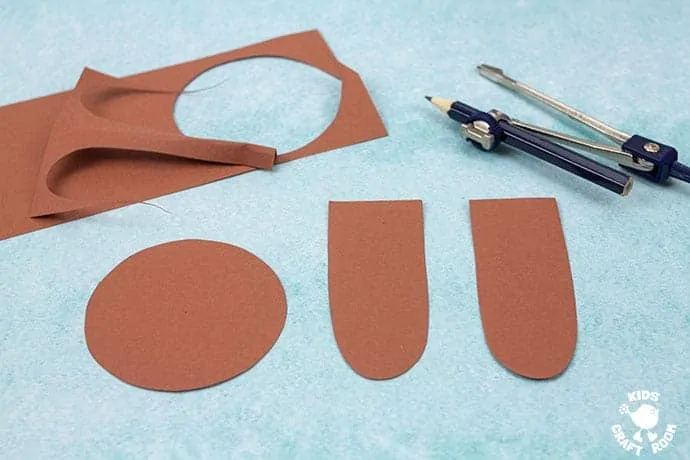
4 – Using skin coloured paper cut a circle for the angel’s face and two rectangles for the angel’s arms. Round off one end of each arm to make hands.
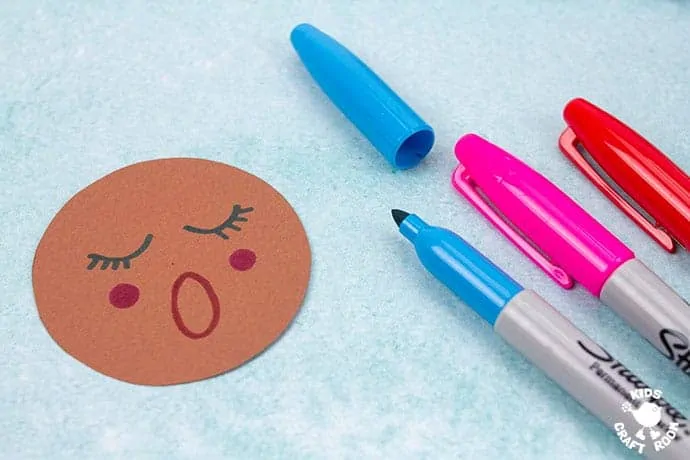
5 – Use Sharpie marker pens to draw a face for your angel craft. We made ours with shut eyes and smiles or singing mouths.
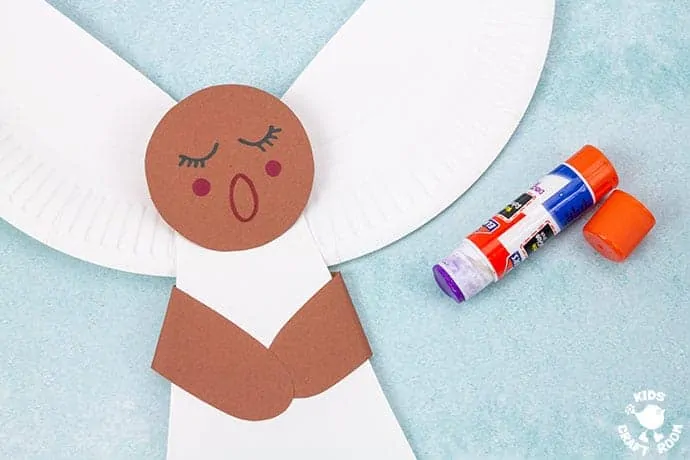
6 – Glue the head onto the top of your angel’s body. This will hide the head of the split pin. Glue the arms onto the back of the angel, loop them round to the font and glue the hands down.
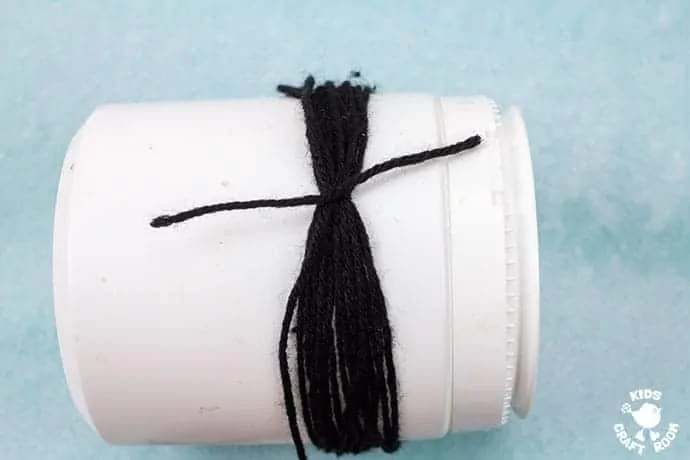
7 – To make your angel’s hair wrap your chosen yarn around something multiple times. We used a plastic pot but a small book would work just as well. When you have hair as thick as you would like it, gather the strands together and tie a short piece of yarn around them tightly.

8 – Slide the loop of yarn off your pot or book. Keeping the tied section at the top cut through all the strands opposite it.
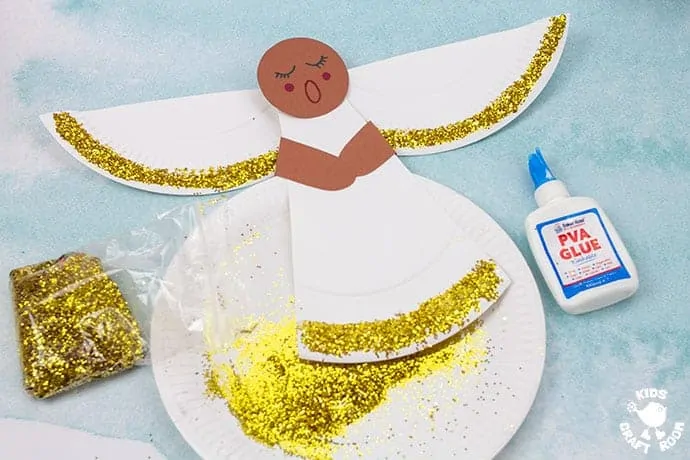
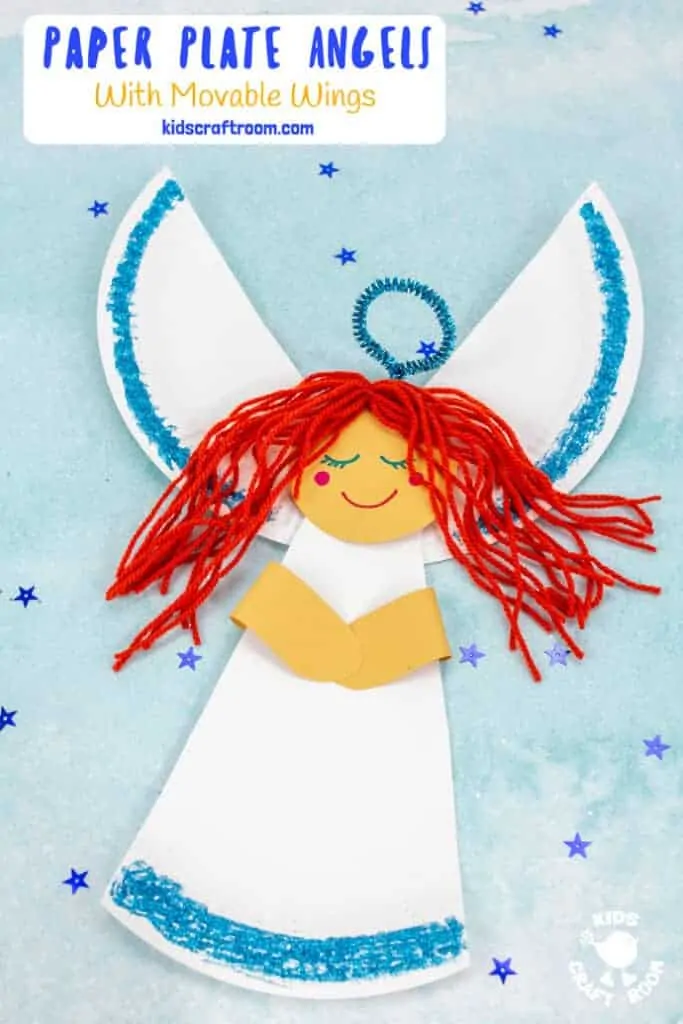
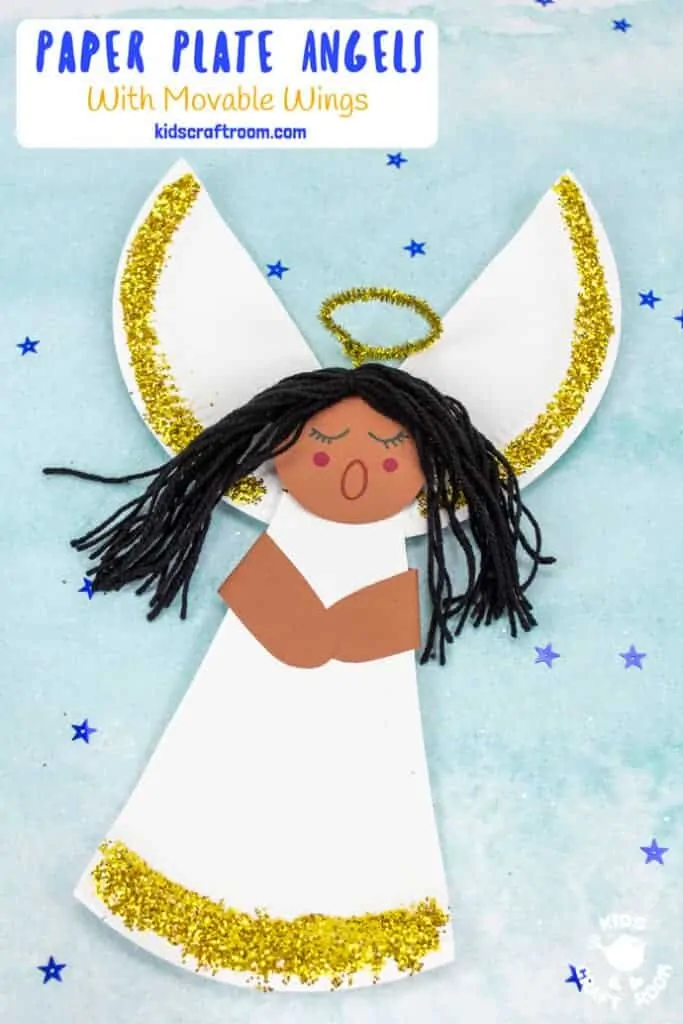
9 – Decorate your angel by glueing on some glitter or any other embellishment you like. We added glitter along the bottom of the dress and to the curved edge of each wing.
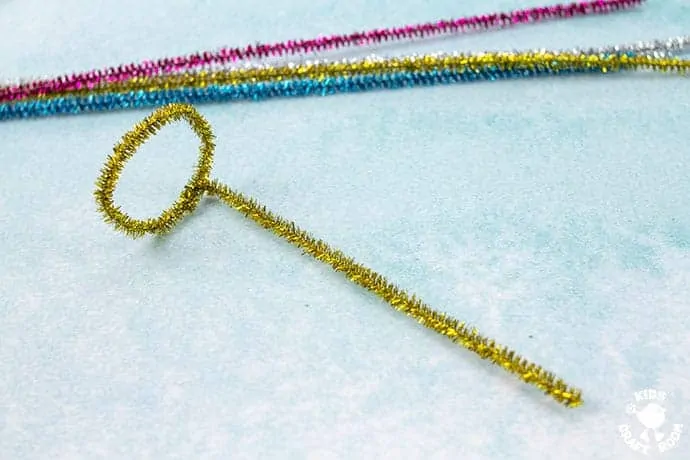
10 – Twist your glitter pipe cleaner to make a halo loop. Cut off the excess stem leaving about two inches.
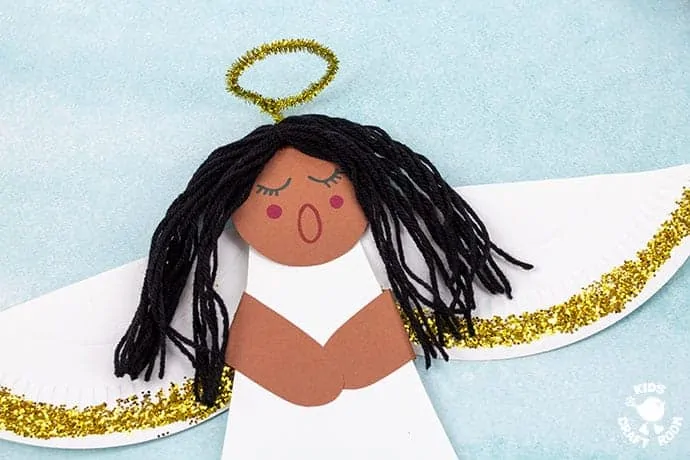
11- Finish off your paper plate angle craft by glueing on the hair to the top of the head and the halo onto the back of the head.
You can print the angel craft instructions below.
More Fun Christmas Crafts To Try:

Paper Plate Angel Craft For Kids
Make a cute Paper Plate Angel with movable wings.
Materials
- White Paper Plates
- Skin Tone Construction Paper
- Glitter Pipe Cleaners
- Glitter
- Yarn
- Hole Puncher
- Glue
- Paper Fasteners/Split Pins
- Sharpie Marker Pens
- Scissors
Instructions
 Cut two sides off your paper plate to leave a sort of triangle in the middle. The sides will become the angel’s wings and the middle will become the angel’s body. Use the photo above as a guide.
- Use your hole puncher to make a hole in one end of each wing where it is going to attach to the body. Make a hole in the middle of the angel’s body about an inch from the top of the triangle.
- Attach the wings behind the body with a split pin / paper fastener.
- Using skin coloured paper cut a circle for the angel’s face and two rectangles for the angel’s arms. Round off one end of each arm to make hands.
- Use Sharpie marker pens to draw a face for your angel craft. We made ours with shut eyes and smiles or singing mouths.
- Glue the head onto the top of your angel’s body. This will hide the head of the split pin. Glue the arms onto the back of the angel, loop them round to the font and glue the hands down.
- To make your angel’s hair wrap your chosen yarn around something multiple times. We used a plastic pot but a small book would work just as well. When you have hair as thick as you would like it, gather the strands together and tie a short piece of yarn around them tightly.
- Slide the loop of yarn off of your pot or book. Keeping the tied section at the top cut through all the strands opposite it.
- Decorate your angel by glueing on some glitter or any other embellishment you like. We added glitter along the bottom of the dress and to the curved edge of each wing.
- Twist your pipe cleaner to make a halo loop. Cut off the excess stem leaving about two inches.
- Finish off your paper plate angle craft by glueing on the hair to the top of the head and the halo onto the back of the head.