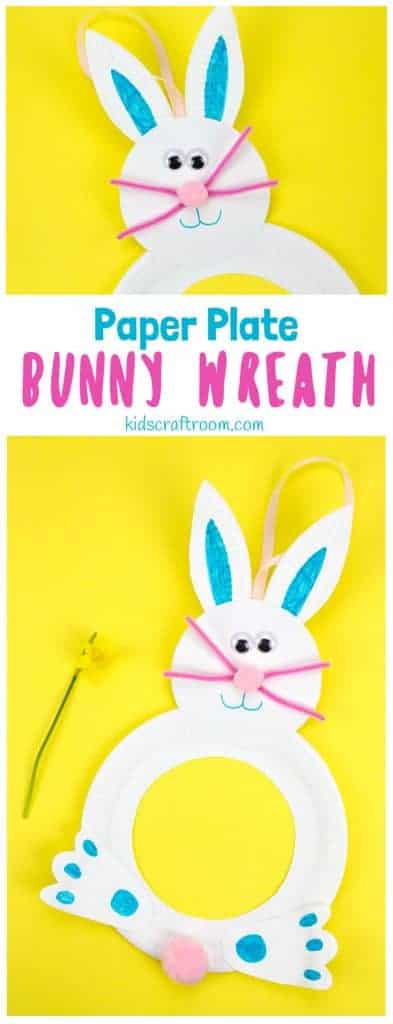
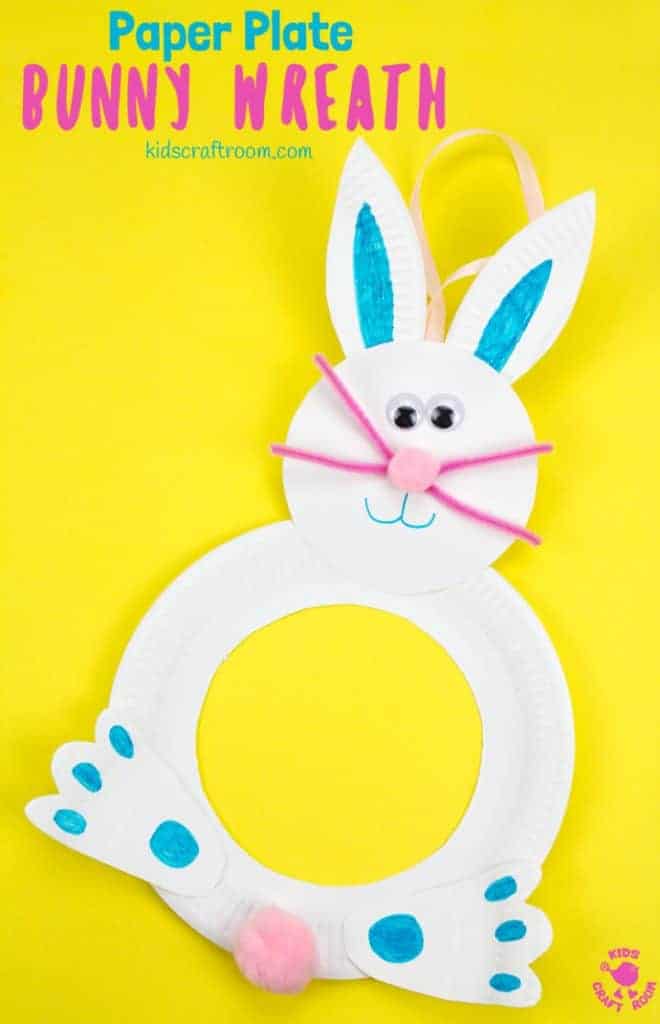

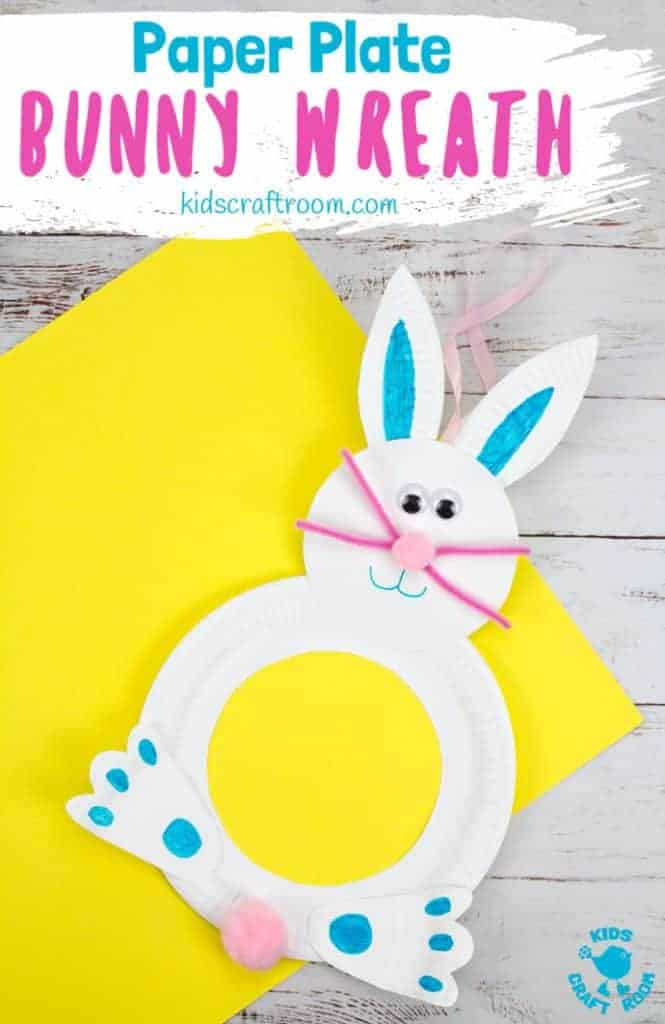
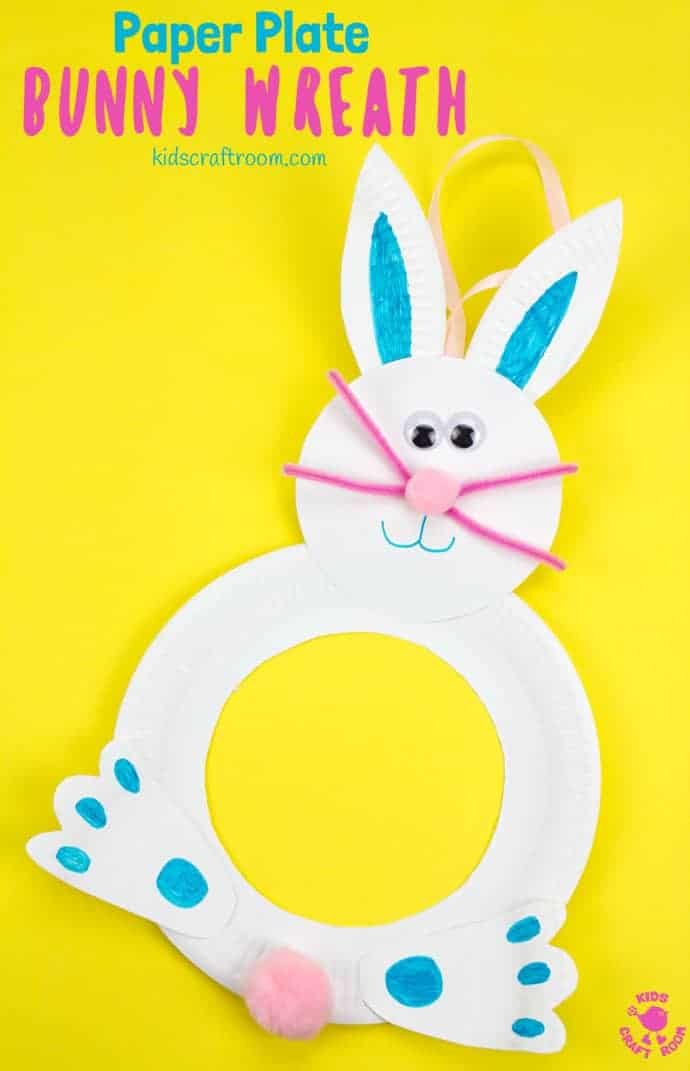
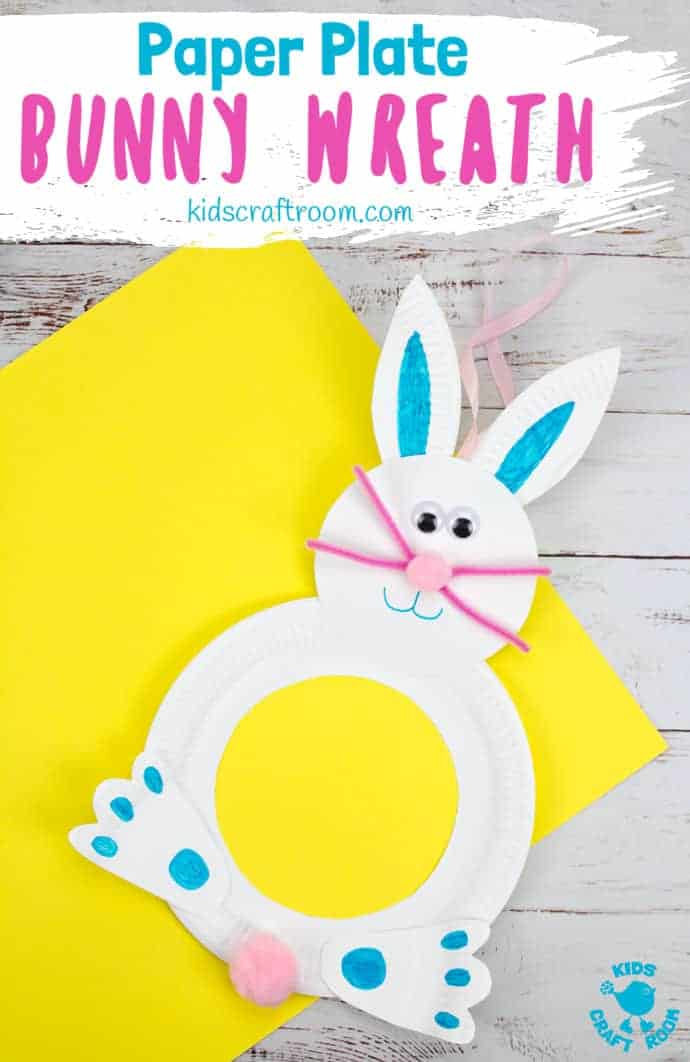
We love to decorate the house at Easter time. Who can resist all those cute bunnies and chicks! Today we’re sharing a Paper Plate Easter Bunny Wreath craft we’re sure you’ll adore as much as we do. This Easter Bunny Wreath DIY is super easy to make and looks so adorable hanging on your door. A super Easter craft for kids to welcome friends and family into the home!
Each Easter wreath is made from just 2 paper plates and a few simple craft supplies you’re bound to have already. We’ve added blue embellishments to our paper plate bunny craft but you can of course choose your favourite colour. Or why not make a whole family of Easter Bunny wreaths in lots of different colours to decorate every door in the house!
If you love Easter bunny crafts take a peek at some of our other favourites while you’re here too.
- Yarn Wrapped Easter Bunny Cards
- Printable 3D Paper Easter Bunnies
- Easy Easter Bunny Nose Masks
- Pop Up Bunnies
- Paper Plate Easter Bunny Baskets from The Girl Creative
Paper Plate Easter Bunny Wreath Tutorial
Supplies To Make A Paper Plate Easter Bunny Wreath Craft:
- 2 Paper Plates For Each Easter Bunny Wreath
- Pipe Cleaners
- Pink Pom Poms
- Wiggle Eyes
- Marker Pen
- Ribbon
- Glue Scissors
- Sticky Tape
How To Make Easter Bunny Wreaths
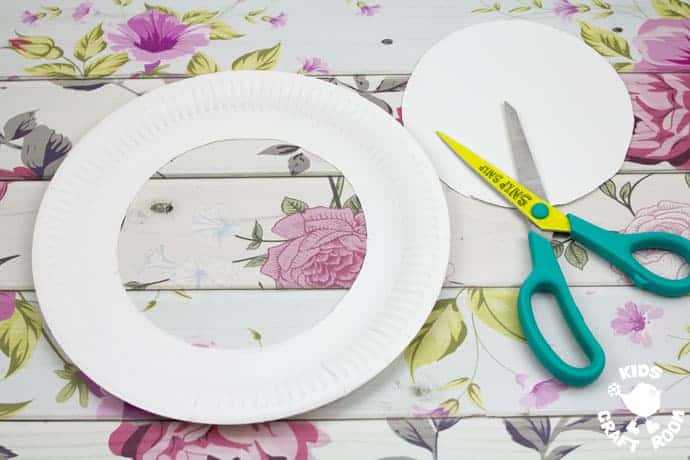
1 – Cut the centre out of a paper plate. The outer ring will make the rabbit wreath body and the inner circle will be the Easter’Bunny’s head.
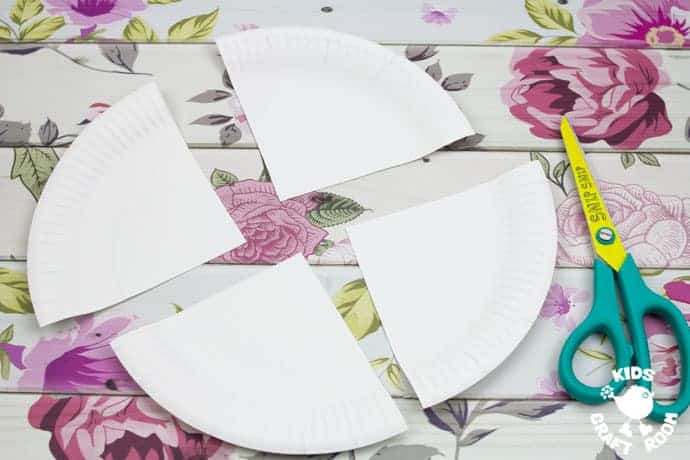
2 – Cut a second paper plate into quarters.
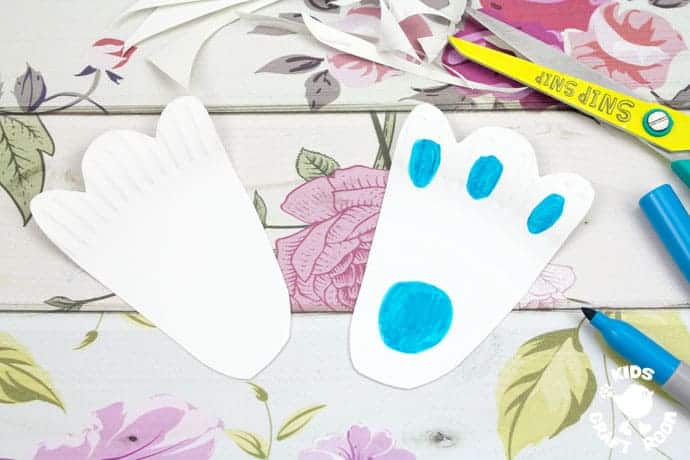
3 – Trim two of the quarters into the shape of rabbit feet and use your marker pen to draw on the foot pads.
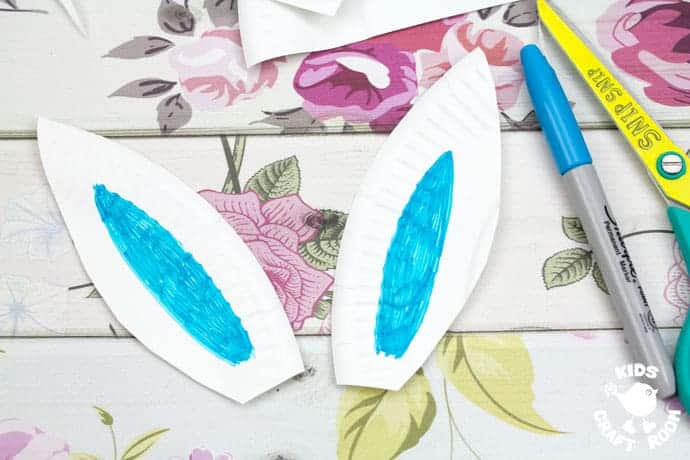
4 – Cut the other two quarters of paper plate into ears for your bunny wreath. Colour the middles in with marker pen.
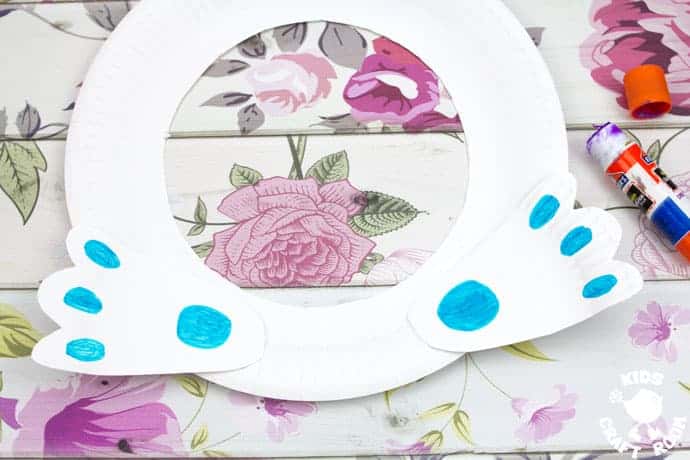
5 – Glue the rabbit feet onto the bottom of the Easter wreath ring.
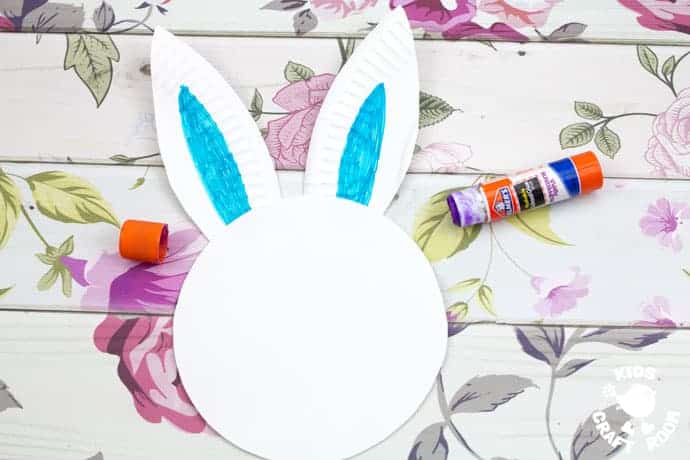
6 – Glue the rabbit ears onto the back of the head.
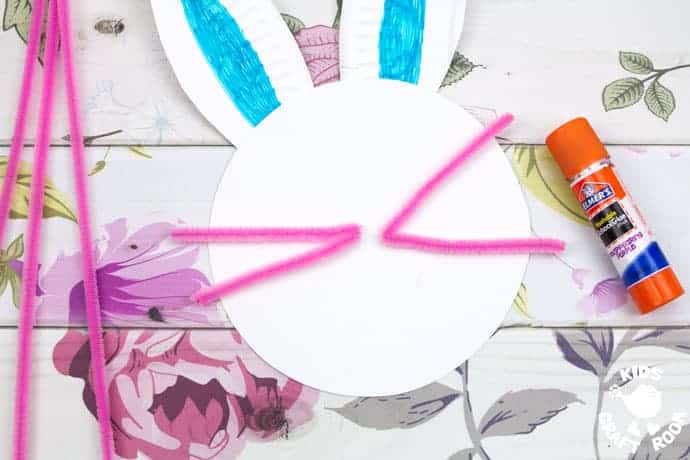
7 – To make whiskers for your Easter Bunny wreath cut a long 30cm pipe cleaner in half. Fold each section in half and glue them onto the bunny’s face.
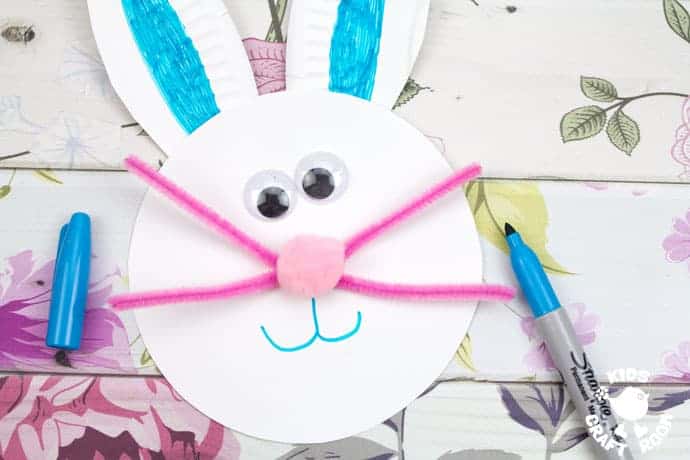
8 – Glue on some wiggle eyes, a cute pink pom pom snuffly nose and finish off by drawing on a happy smile.
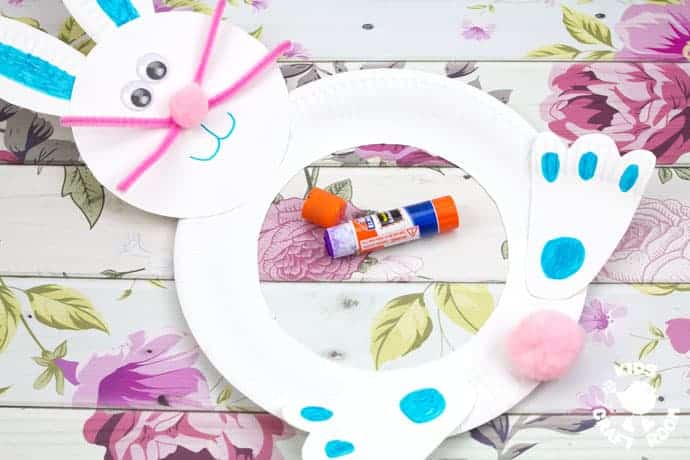
9 – Glue the rabbit’s head onto the top of the wreath and add a cute pink pom pom tail at the bottom.
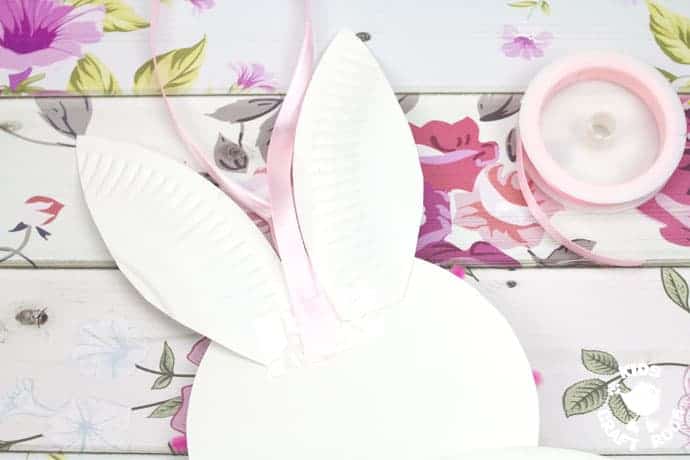
10 – Finish off your paper plate Easter Bunny Wreath by sticky taping some ribbon onto the back of the head do you can hang it on a door.
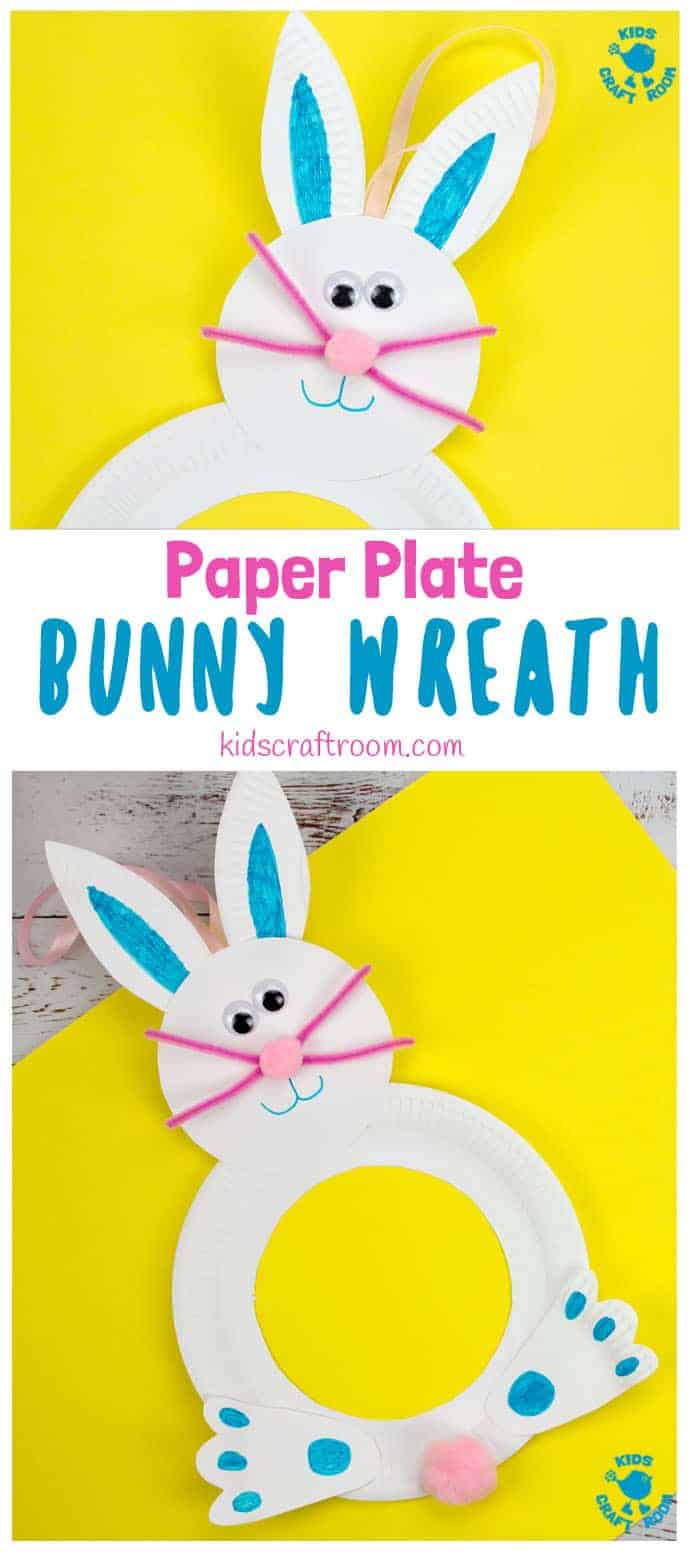
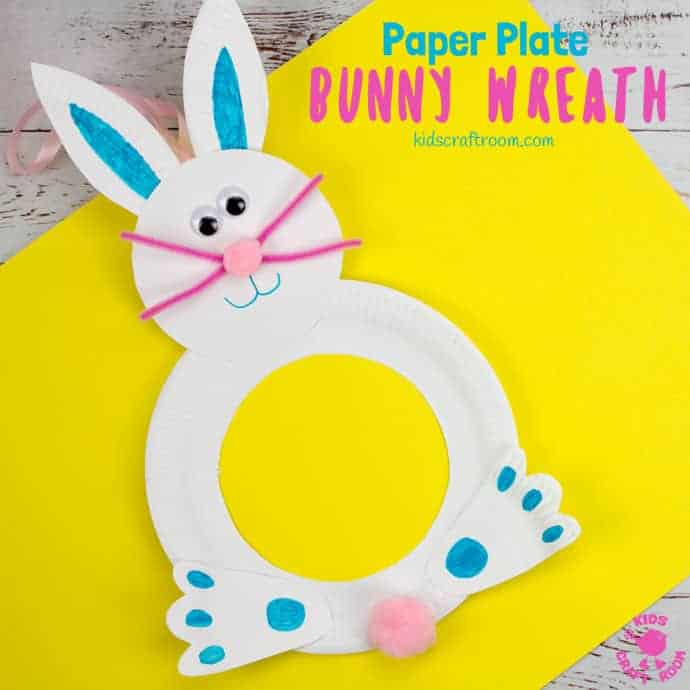
I’m sure you’ll agree these easy Easter Bunny wreaths are super sweet! A fun and quick way to decorate this Springtime!
You can print the Easter craft instructions below.
More Fun Easter Crafts For Kids:

Paper Plate Easter Bunny Wreath Craft
Materials
- Paper Plates
- Pipe Cleaners
- Pink Pom Poms
- Wiggle Eyes
- Marker Pen
- Ribbon
- Glue Scissors
- Sticky Tape
Instructions
- Cut the centre out of a paper plate. The outer ring will make the rabbit wreath body and the inner circle will be the Easter’Bunny’s head.
- Cut a second paper plate into quarters.
- Trim two of the quarters into the shape of rabbit feet and use your marker pen to draw on the foot pads.
- Cut the other two quarters of paper plate into ears for your bunny wreath. Colour the middles in with marker pen.
- Glue the rabbit feet onto the bottom of the Easter wreath ring.
- Glue the rabbit ears onto the back of the head.
- To make whiskers for your Easter Bunny wreath cut a long 30cm pipe cleaner in half. Fold each section in half and glue them onto the bunny’s face.
- Glue on some wiggle eyes, a cute pink pom pom snuffly nose and finish off by drawing on a happy smile.
- Glue the rabbit’s head onto the top of the wreath and add a cute pink pom pom tail at the bottom.
- Finish off your paper plate Easter Bunny Wreath by sticky taping some ribbon onto the back of the head do you can hang it on a door.