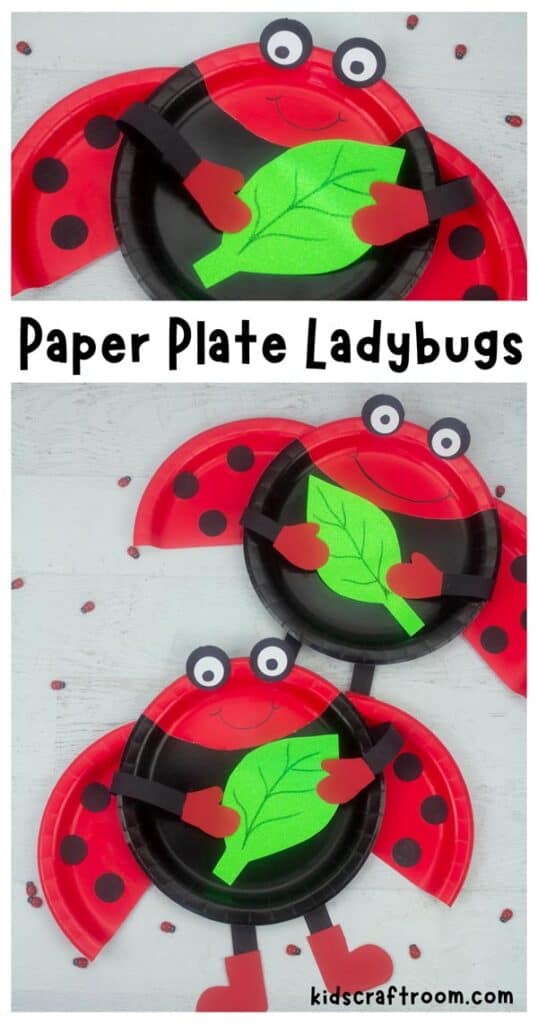
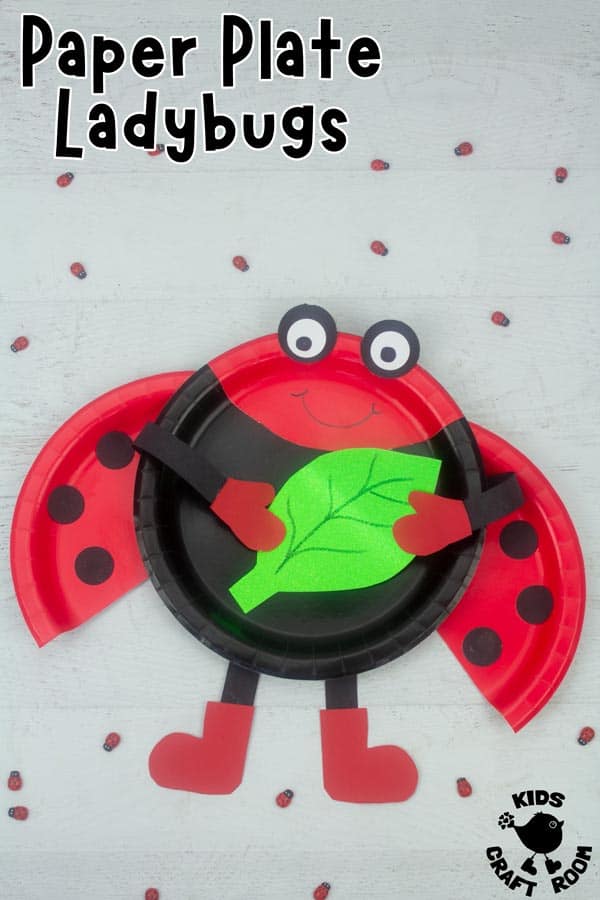
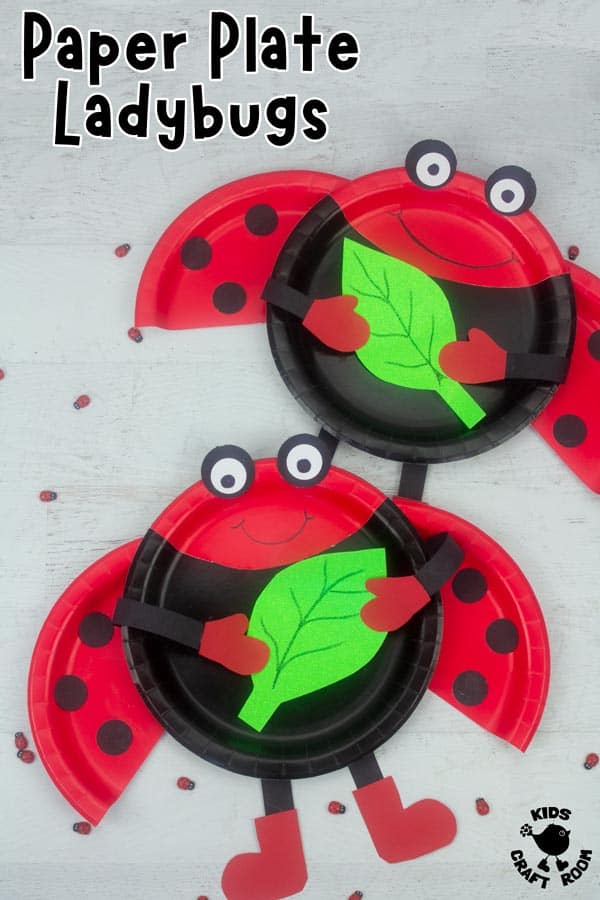
Regular readers will know what a huge fan of paper plate crafts I am. They are a staple in my craft cupboard and I love how versatile they are. With a little bit of imagination you really can make pretty much anything out of paper plates. Today I’m sharing our latest PAPER PLATE LADYBUG CRAFT. Isn’t it adorable?
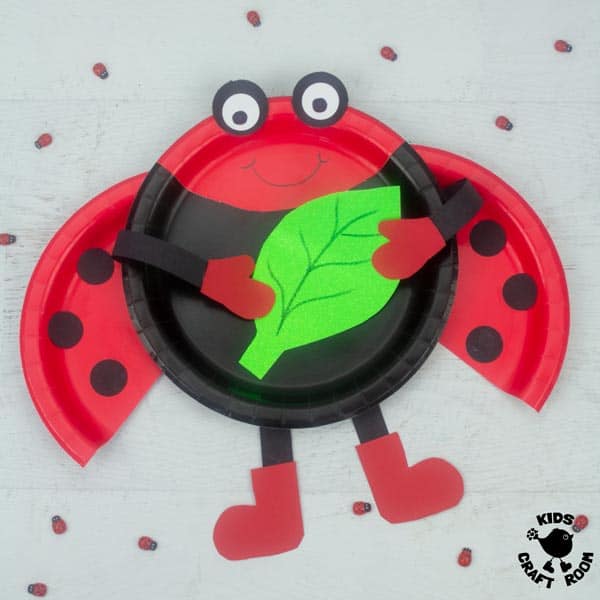
This paper plate ladybird is just perfect as a summer craft! If you’re anything like us you’ll love watching the ladybug life cycle unfold in your garden. It’s truly fascinating!
This ladybird craft is a great addition to your home or school learning and nature observation studies. Why not team it up with our Printable Insect Symmetry Worksheets for some more hands on insect themed fun and learning?
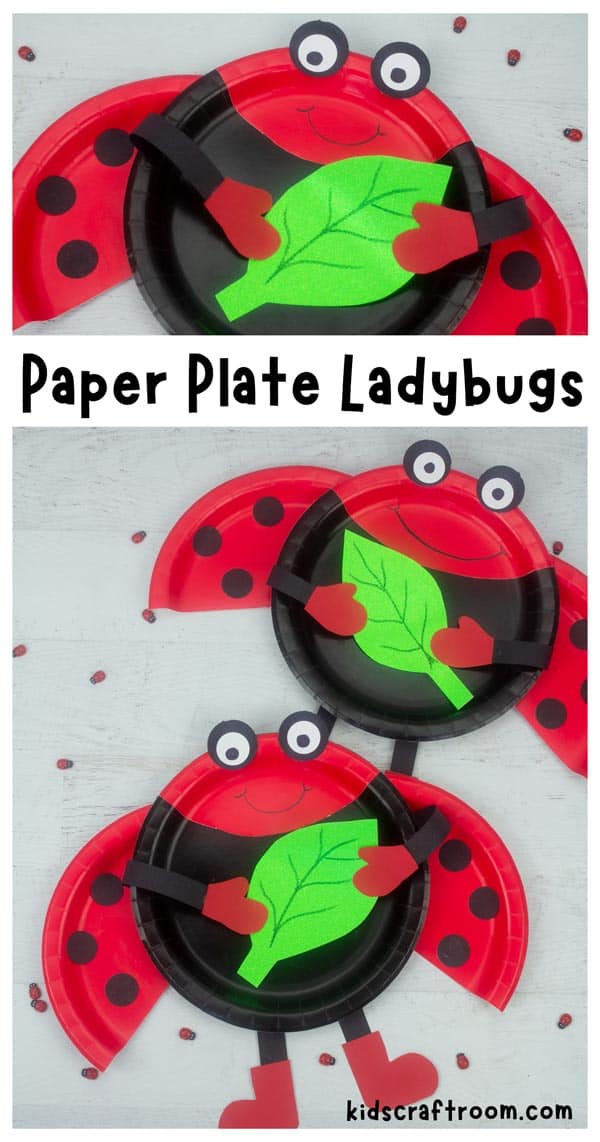
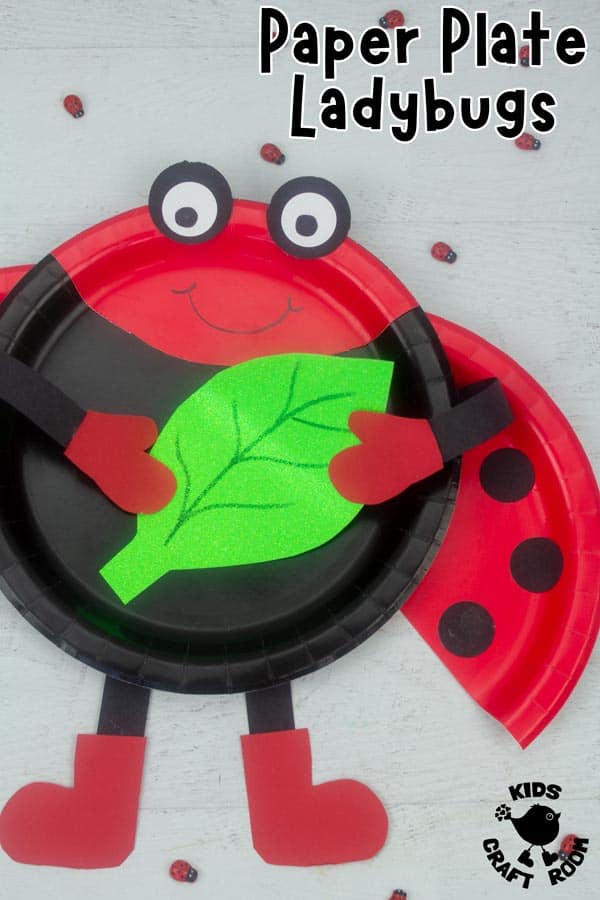
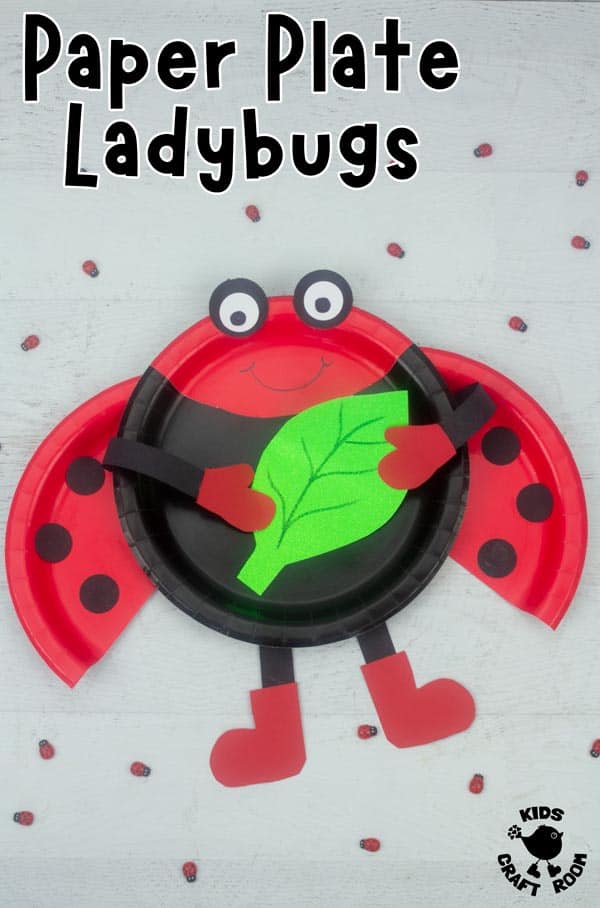
This paper plate ladybug craft is easy, cute, and lots of fun. She wears lovely red boots and has a big happy smile!
We’ve got our ladybug holding a paper leaf which looks adorable. It’s actually made out of green glitter card but unfortunately it doesn’t show that well in photos! (You could of course make your ladybug hold anything you fancy!)
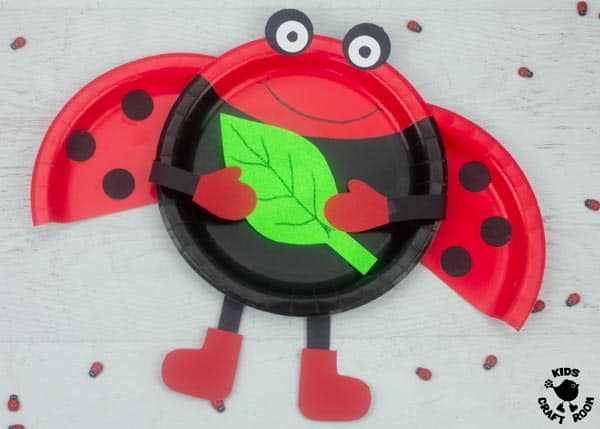
This is such an easy ladybug craft for preschoolers and the kids are sure to love it! So grab your construction paper and paper plates and let’s get ready to have some insect themed fun!
How To Make a Paper Plate Ladybug
Craft Supplies:
- Red and Black Paper Plates (or you can paint them)
- Red, Black and White Construction Paper
- Green Glitter Card
- Marker Pen
- 1 and 2 Inch Hole Puncher
- Scissors
- Glue
How To Make a Ladybug Out Of Paper Plates
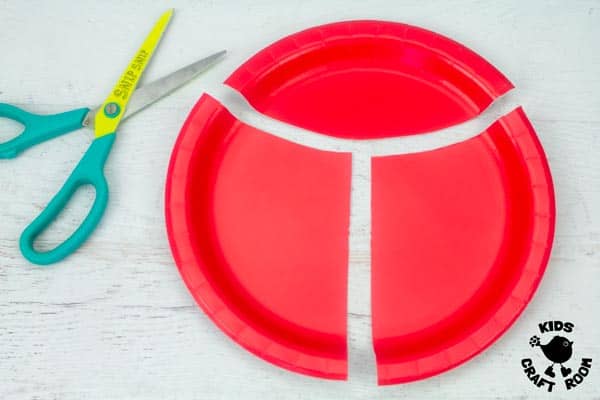
1 – To make your ladybug’s wings and head, cut a red paper plate into three parts using the photo above as a guide.
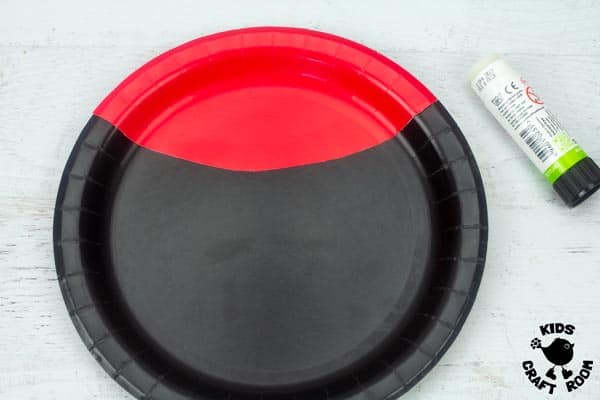
2 – Glue the head onto a black paper plate.
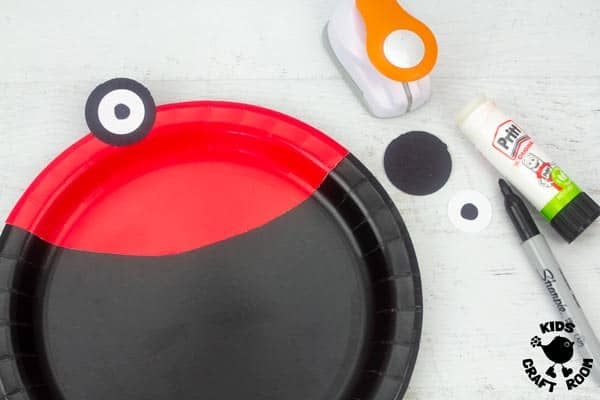
3 – To make eyes for your ladybug, use a 2 inch hole puncher to cut out two black circles. Then cut two smaller 1 inch white circles. Glue the white circles onto the black circles. Draw on pupils and glue the eyes onto the edge of the red head.
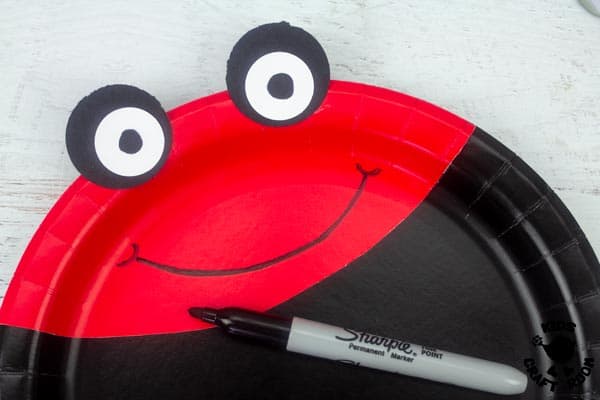
4 – To make your ladybug craft cute and fun, draw on a big happy smile.
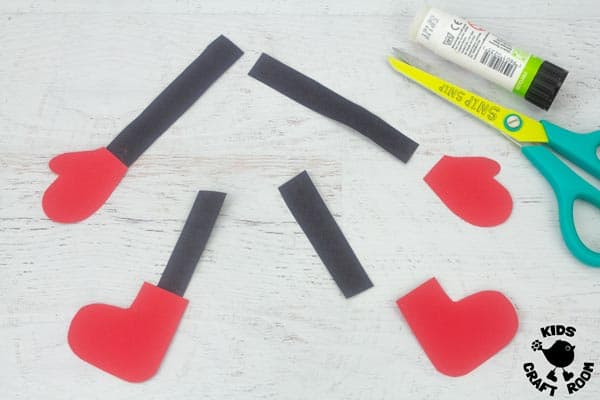
5 – Cut out 4 thing black rectangles for the arms and legs. Then cut out two red boots and two red gloves. Glue them together. (Top tip: make the arms long enough to be glued onto the back and reach round to the front to hold the leaf.)
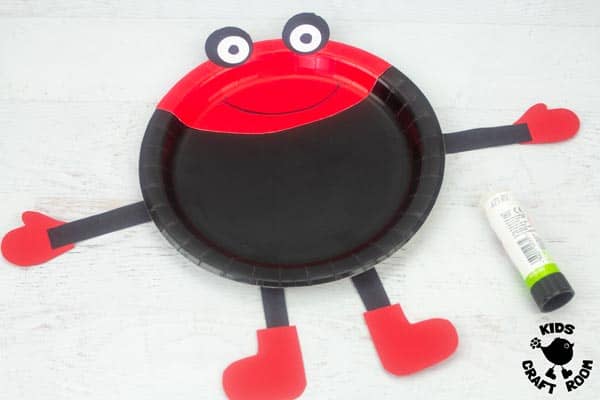
6 – Glue the ladybug’s arms and legs onto the back of the paper plate.
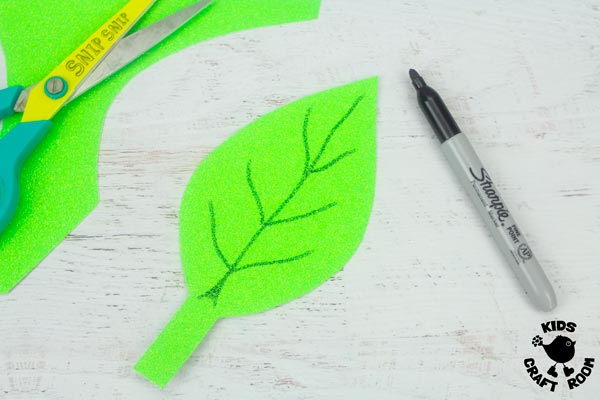
7 – To make the leaf that the ladybug holds simply cut out a leaf shape from green glitter card and draw on the leaf veins with a black Sharpie.
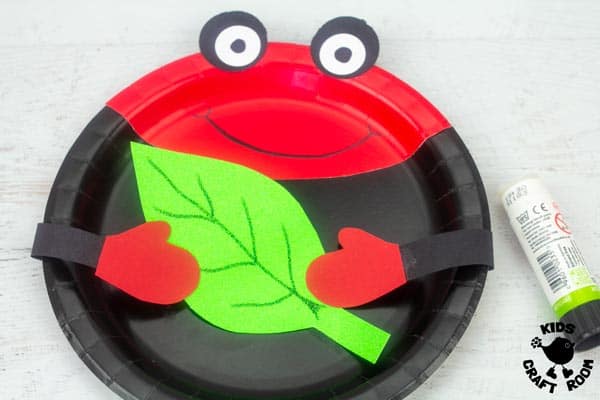
8 – Glue the stem of the leaf onto the ladybug’s tummy and then curl round her hands and glue them onto the leaf. Bend the rest of the leaf upwards, off her tummy, to give a 3D effect.
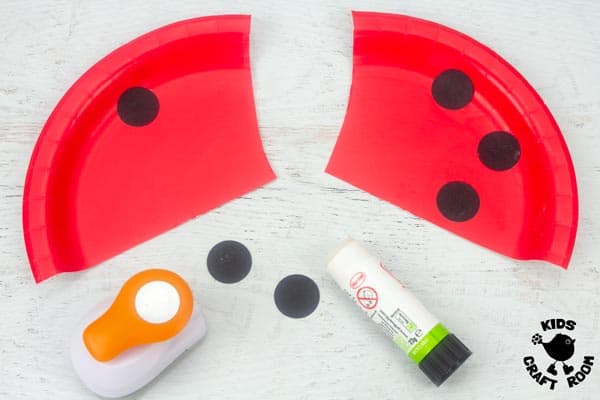
9 – To make her spotty wings use the 1 inch hole punch to cut out black circles. Next glue the on to the red paper plate wings you cut out in step 1.
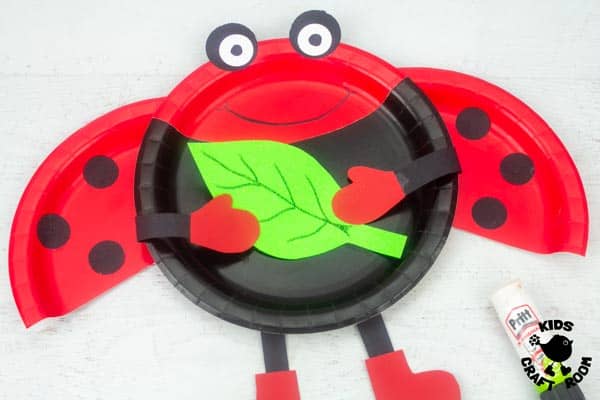
10 – Finish your ladybug craft by gluing her wings onto the back of her body so that they poke out on either side.
Your paper plate ladybug is ready to be admired and enjoyed! If you’d like another ladybug craft idea, take a look at our adorable Ladybug Hats. they have a free printable template so they’re super easy to make.
Come and chat with us on Facebook, Pinterest , Instagram or YouTube or subscribe to our weekly craft newsletter.
More Fun Summer Crafts To Enjoy:
Paper Plate Ladybug Craft

Grab your paper plates to make this fun ladybug craft!
Materials
- Red and Black Paper Plates (or you can paint them)
- Red, Black and White Construction Paper
- Green Glitter Card
- Marker Pen
- 1 and 2 Inch Hole Puncher
- Scissors
- Glue
Instructions
- Cut a red paper plate into three parts using the photo as a guide.

- Glue the head onto a black paper plate.

- To make the eyes use a 2 inch hole puncher to cut out two black circles. Then cut two smaller 1 inch white circles. Glue the white circles onto the black circles. Draw on pupils.
- Glue the eyes onto the edge of the head and draw on a smile.

- Cut out 4 thin black rectangles for the arms and legs. Then cut out two red boots and two red gloves. Glue them together.
- Glue the arms and legs onto the back of the paper plate.

- Cut a leaf shape from green glitter card and draw on veins with a black Sharpie.
- Glue the stem of the leaf onto the ladybug’s tummy and then curl round her hands and glue them onto the leaf. Bend the rest of the leaf upwards, off her tummy, to give a 3D effect.

- Use the 1 inch hole punch to cut out black circles. Next glue them on to the red paper plate wings you cut out in step 1.

- Finally glue the wings onto the back of the body.
