
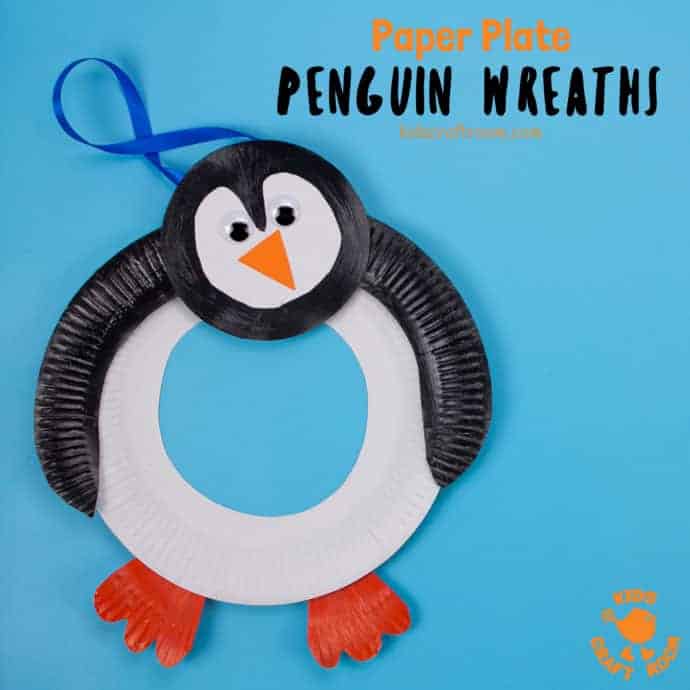
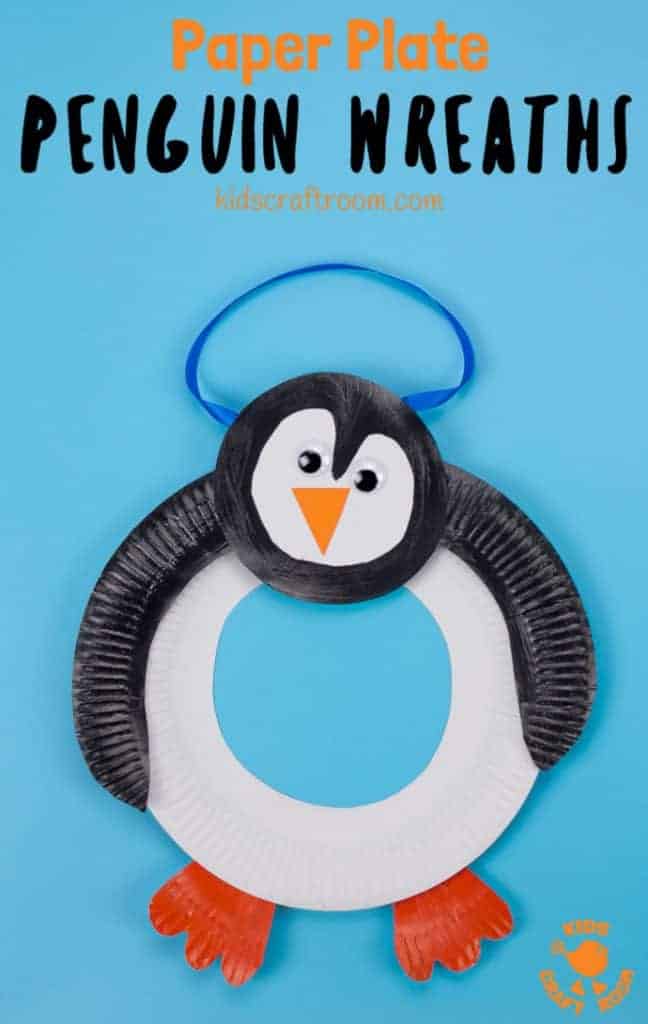
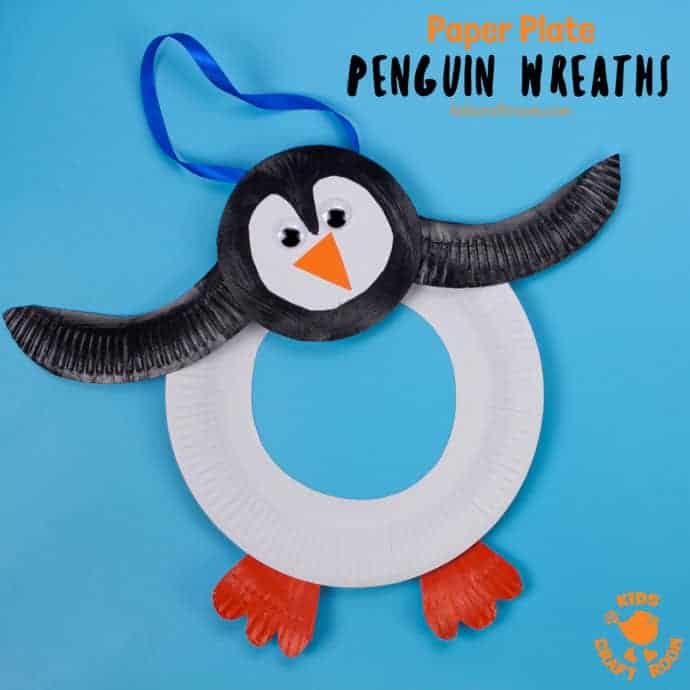
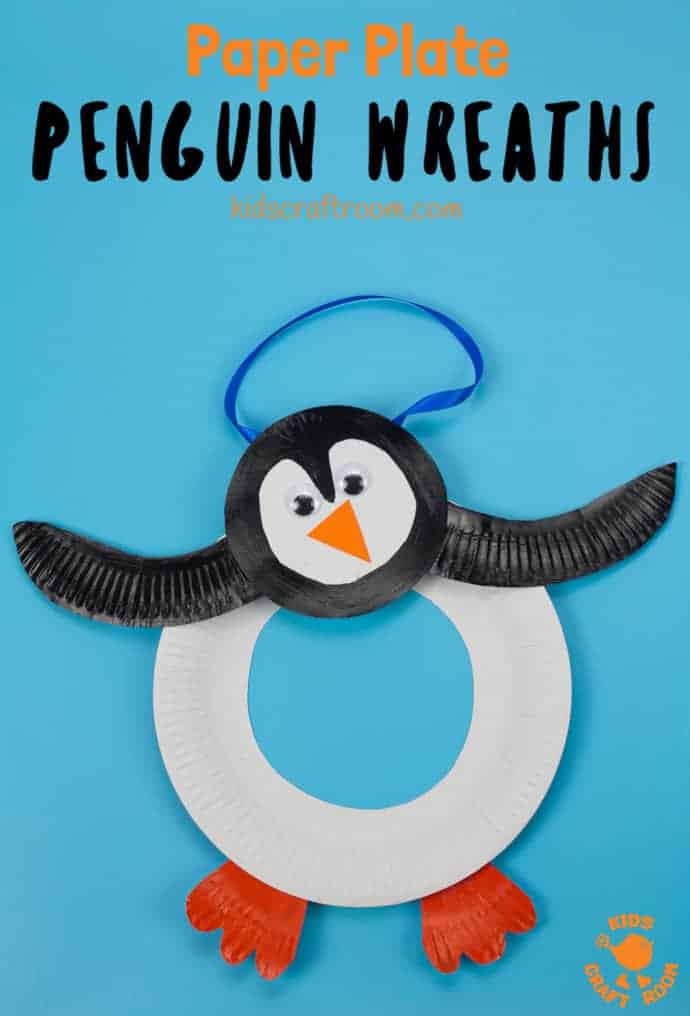
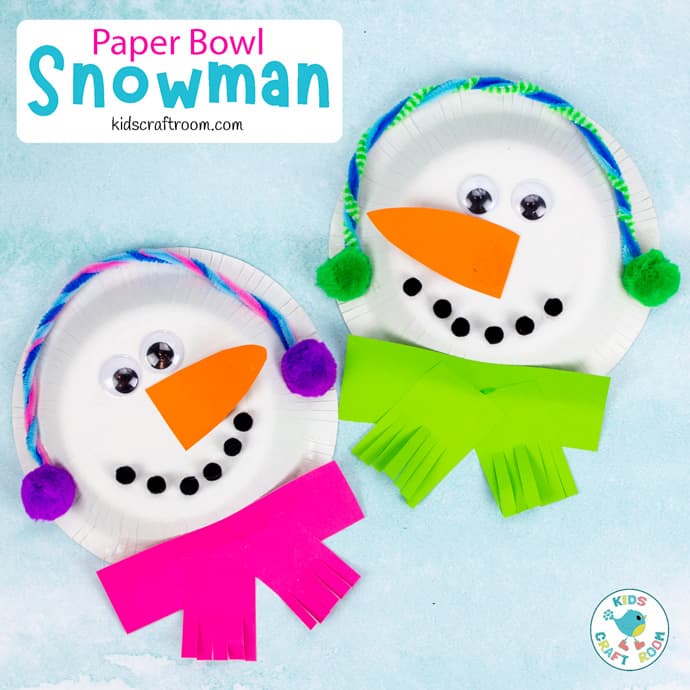
You guys fell so in love with our Paper Plate Snowman Wreath we thought we’d add another variation of this wreath craft with an adorable Paper Plate Penguin Wreath. This paper plate penguin craft is the cutest! We adore how you can place the wings and head in different positions to make each one look unique and so characterful!
This paper plate wreath craft is simple to make from 2 paper plates so it’s ideal for toddlers and preschoolers and frugal to make even if you are doing Winter crafts with a whole class of children.
This is a lovely paper plate Christmas wreath but just as fun for Winter decorations and ideal if you are studying penguins or the polar regions.
Craft activities with paper plates are so fun! We are big fans and you can see some of our favourite paper plate crafts here. We also adore penguin crafts. Aren’t penguins so comical and cute! Who can resist?
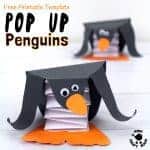
If you’re a penguin fan too check out our Printable Pop Up Penguin Toys, Penguin Chick Puppets and simple Penguin Ornaments. We also think these Plastic Spoon Penguins from I Heart Crafty Things are super cute for big kids.
Paper Plate Penguin Wreath Tutorial
Grab your paper plates and scroll down to see how to make adorable paper plate penguins!
Supplies To Make Paper Plate Penguins:
- Paper Plates
- Black Paint
- Orange Paint
- Wiggle Eyes
- Orange Paper
- Ribbon
- Scissors
- Glue
- Sticky Tape
How To Make Paper Plate Penguin Wreaths
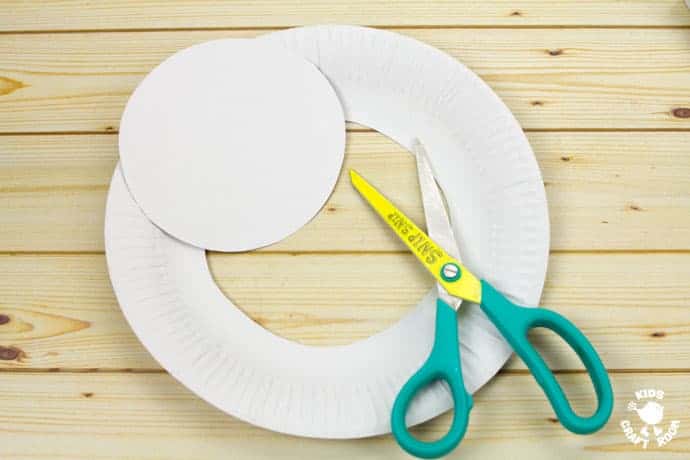
1 – Carefully cut out the middle of your first paper plate. The middle will become the penguin’s head and the outer section will be the penguin’s body.
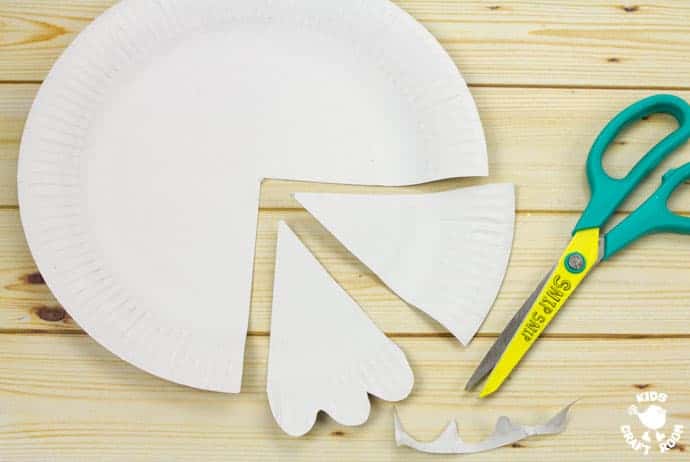
2 – Cut out a quarter section of your second paper plate to make your penguin’s feet. Cut the quarter in half to make two cake slice shapes and scallop cut the outer edge of each one.
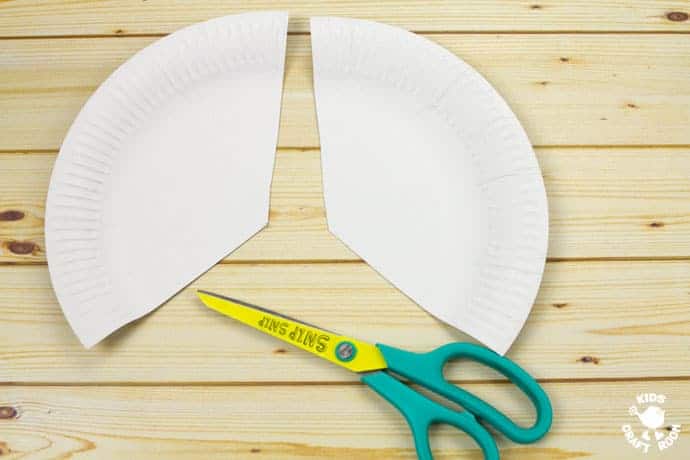
3 – Cut the remaining part of plate number two in half to make two big cake slices.
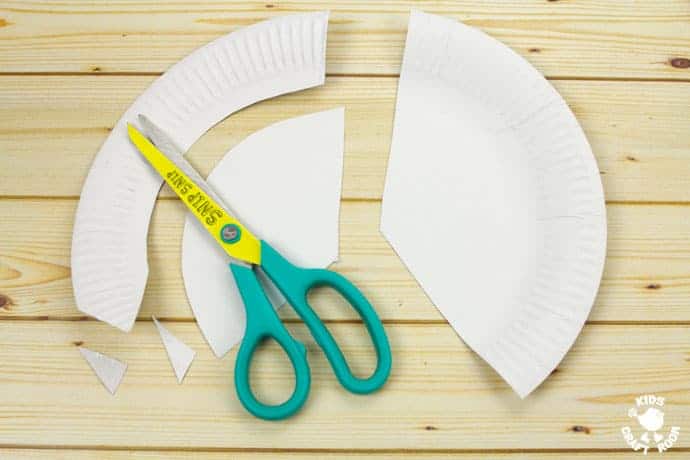
4 – To make your penguin’s wings, cut off the corrugated rims and trim one end of each one into a point.
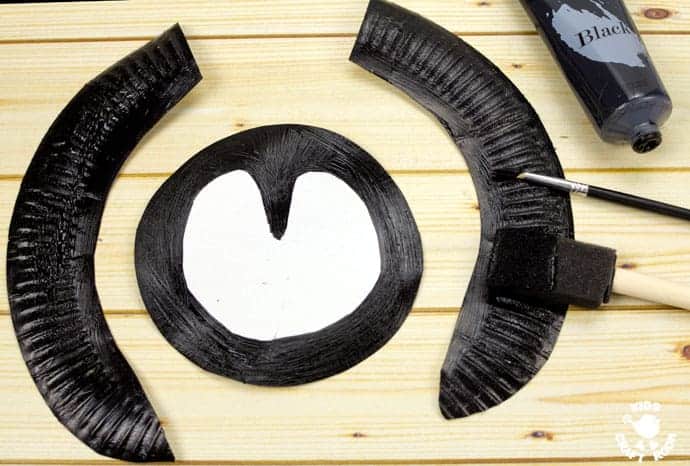
5 – Paint the penguin’s wings and face black, leaving a white rounded heart shape in the middle of the face.
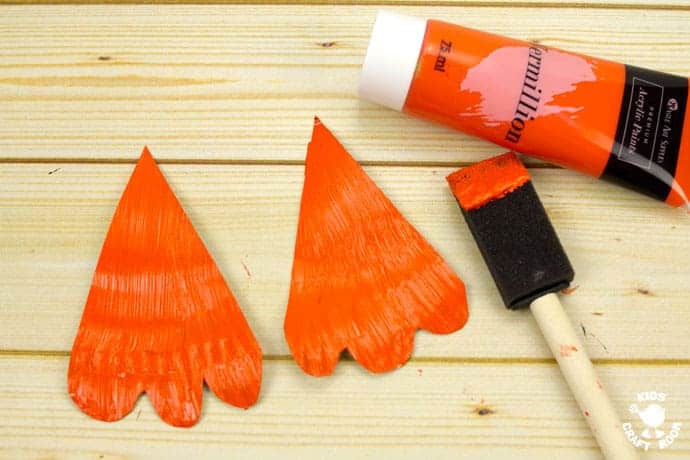
6 – Paint the penguin’s flippers orange.
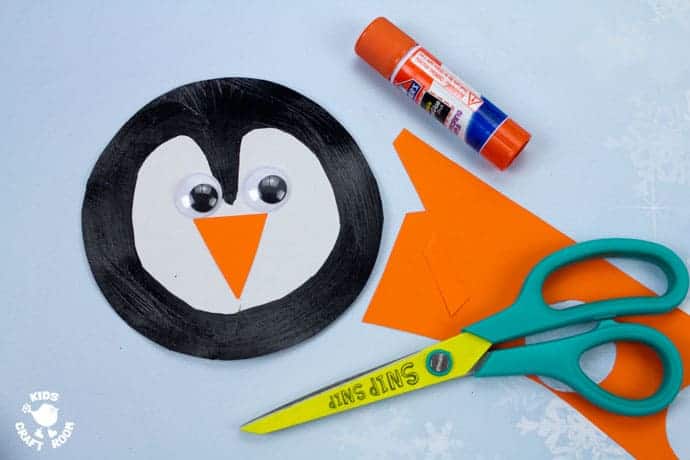
7 – When the penguin craft’s paint is dry glue on some wiggle eyes and an orange triangle paper beak.
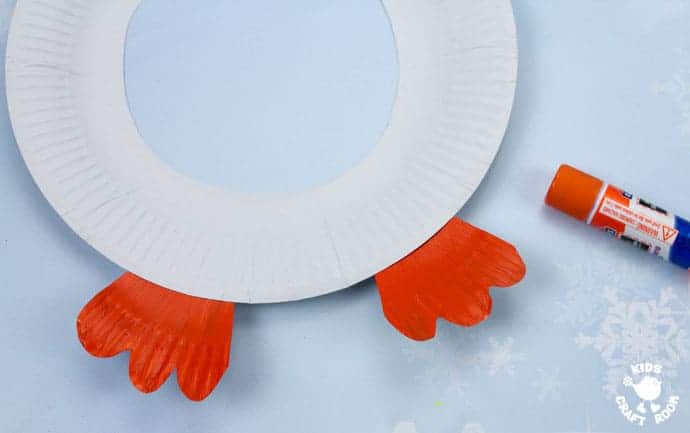
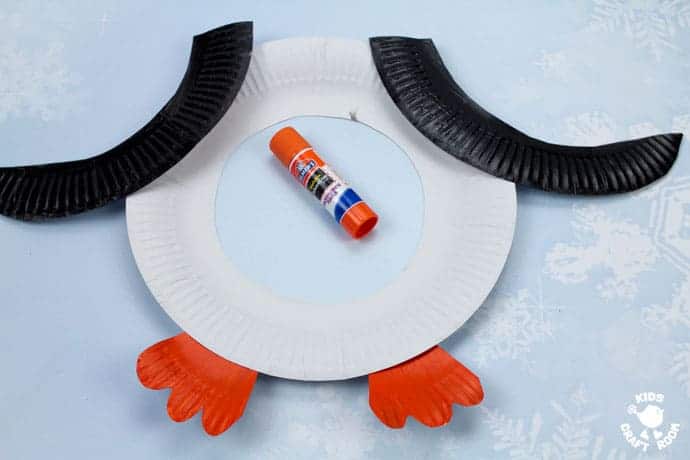
8 – Glue the penguin’s feet onto the paper plate body.
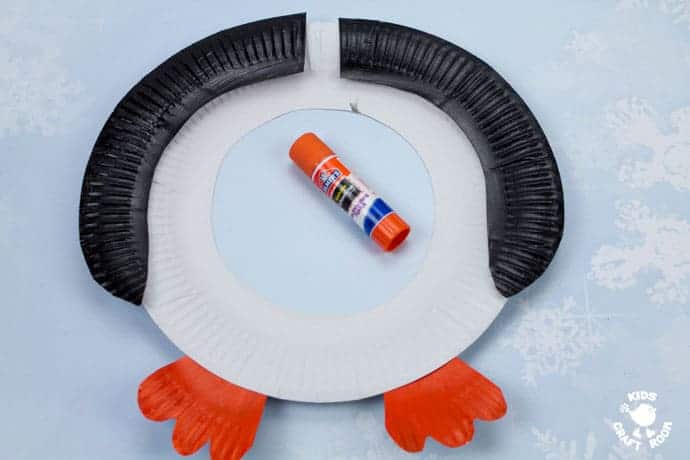
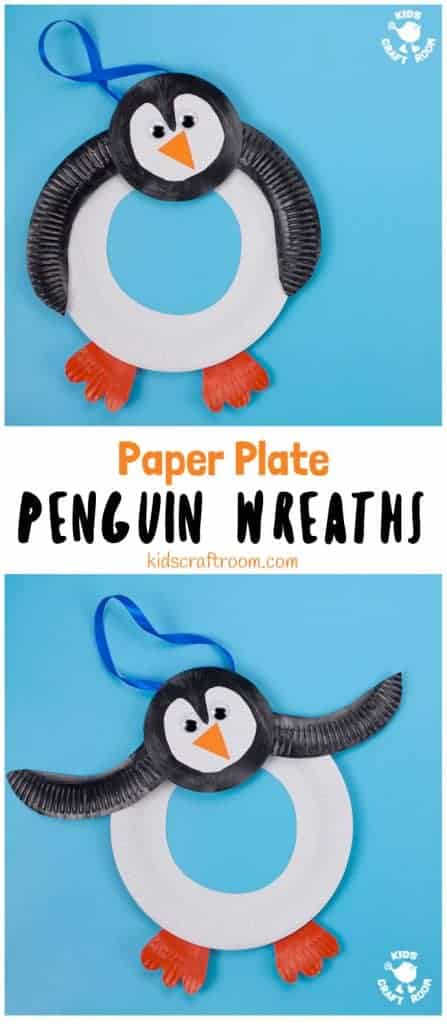
9 – Choose what position you want the penguin’s wings and glue them into place. One option is to have them flat against the body like the photograph above.
10 – The second option is to have them flipped the other way so they are sticking out like the photo above.
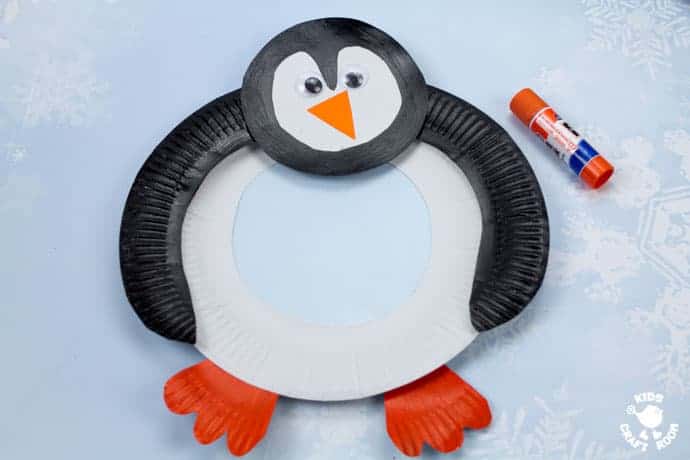
11 – Glue on the penguin’s head. It is fun to try this in different positions and angles to give a range of expressions!
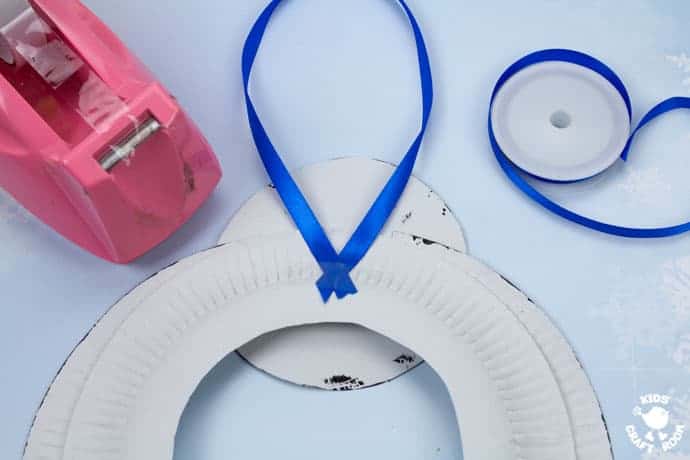
12 – Flip your paper plate penguin craft over and sticky tape a ribbon loop onto the back.
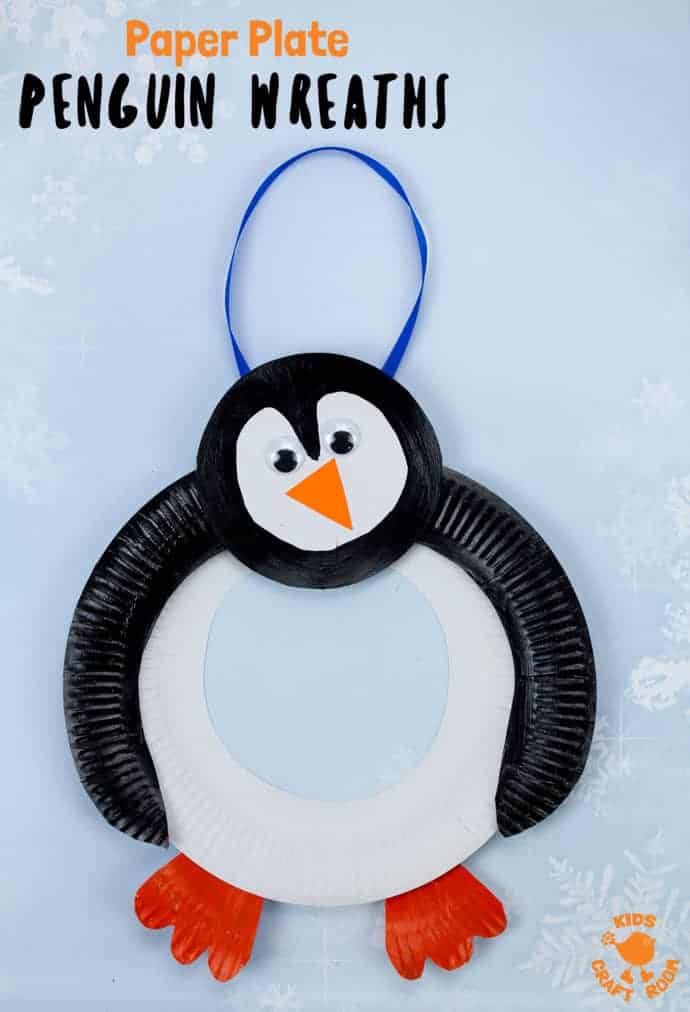
Now your paper plate penguin wreath can be hung up and enjoyed! Such a fun and cute Winter craft for kids.
You can print the penguin craft instructions below.
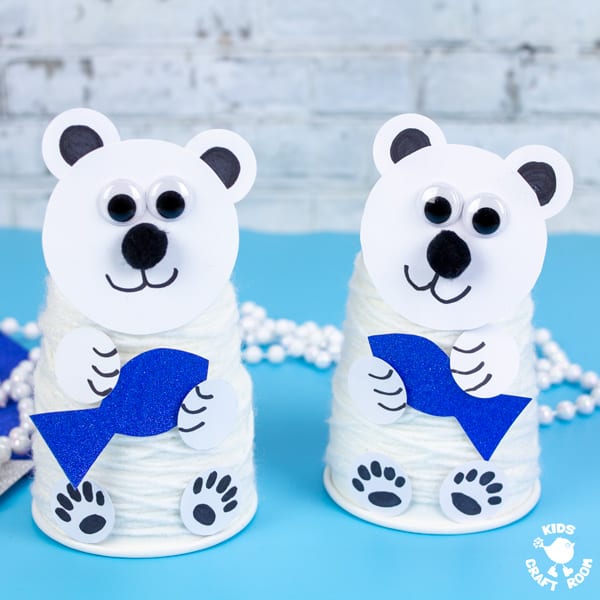
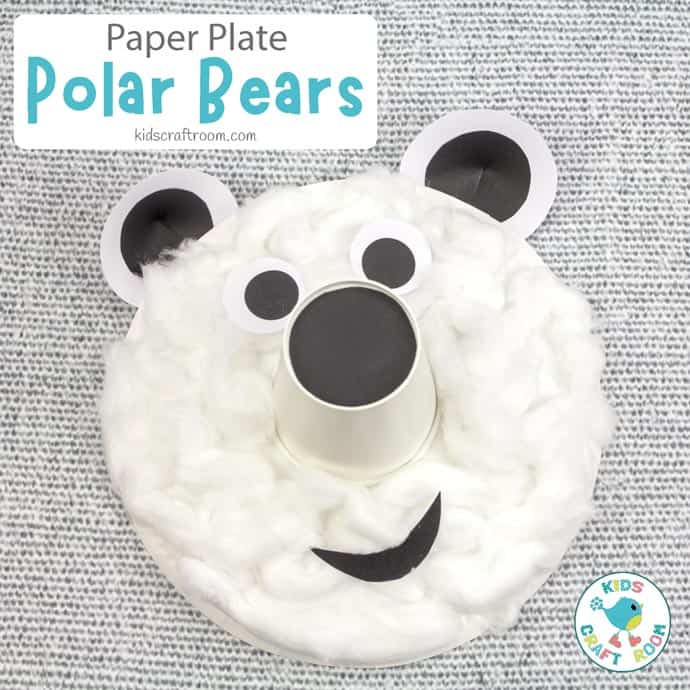
More Fun Winter Crafts To Enjoy:

Paper Plate Penguin Wreath
Materials
- Paper Plates
- Black Paint
- Orange Paint
- Wiggle Eyes
- Orange Paper
- Ribbon
- Scissors
- Glue
- Sticky Tape
Instructions
- Carefully cut out the middle of your first paper plate. The middle will become the penguin’s head and the outer section will be the penguin’s body.
- Cut out a quarter section of your second paper plate to make your penguin’s feet. Cut the quarter in half to make two cake slice shapes and scallop cut the outer edge of each one.
- Cut the remaining part of plate number two in half to make two big cake slices.
- To make your penguin’s wings, cut off the corrugated rims and trim one end of each one into a point.
- Paint the penguin’s wings and face black, leaving a white rounded heart shape in the middle of the face.
- Paint the penguin’s flippers orange.
- When the penguin craft’s paint is dry glue on some wiggle eyes and an orange triangle paper beak.
- Glue the penguin’s feet onto the paper plate body.
- Choose what position you want the penguin’s wings and glue them into place. One option is to have them flat against the body like the photograph above.
- The second option is to have them flipped the other way so they are sticking out like the photo above.
- Glue on the penguin’s head. It is fun to try this in different positions and angles to give a range of expressions!
- Flip your paper plate penguin craft over and sticky tape a ribbon loop onto the back.