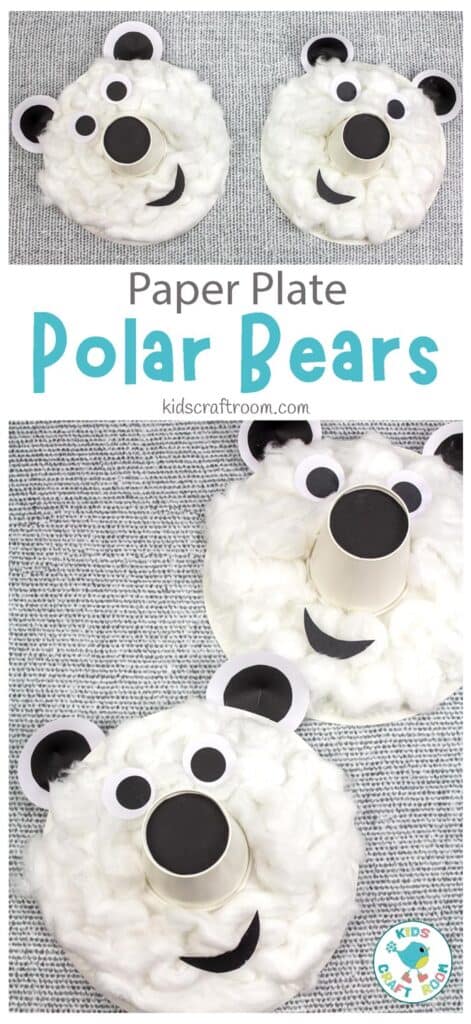
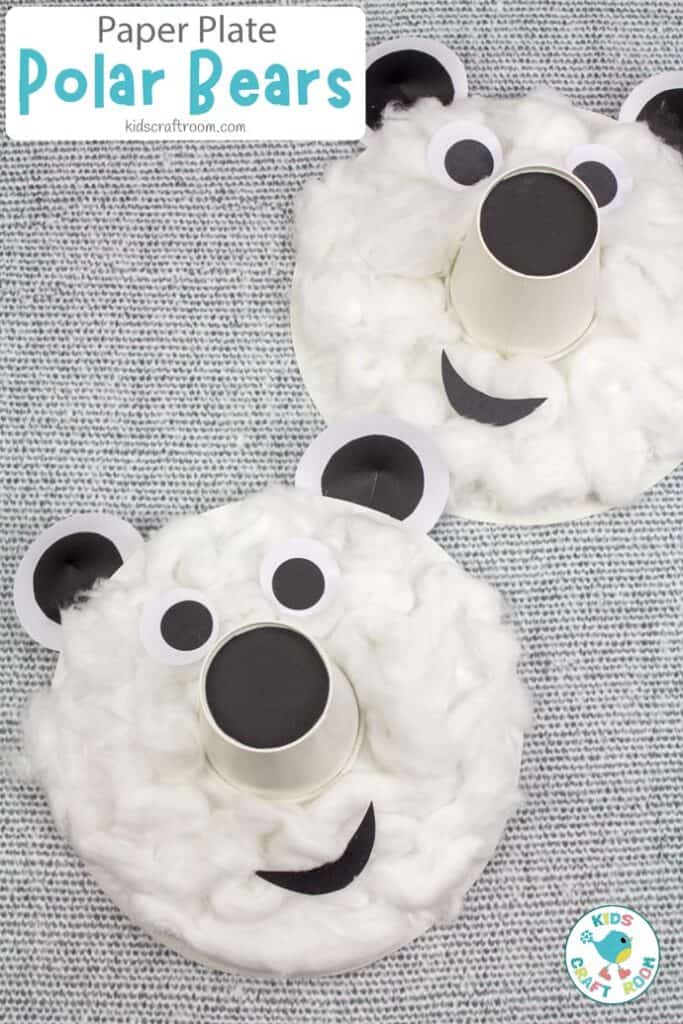
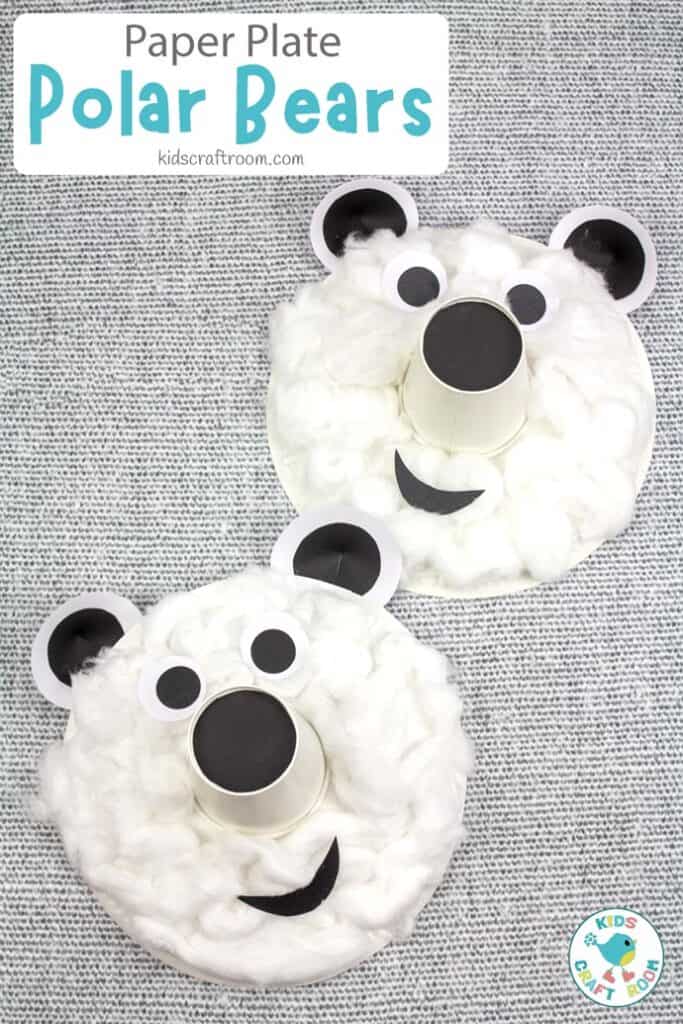
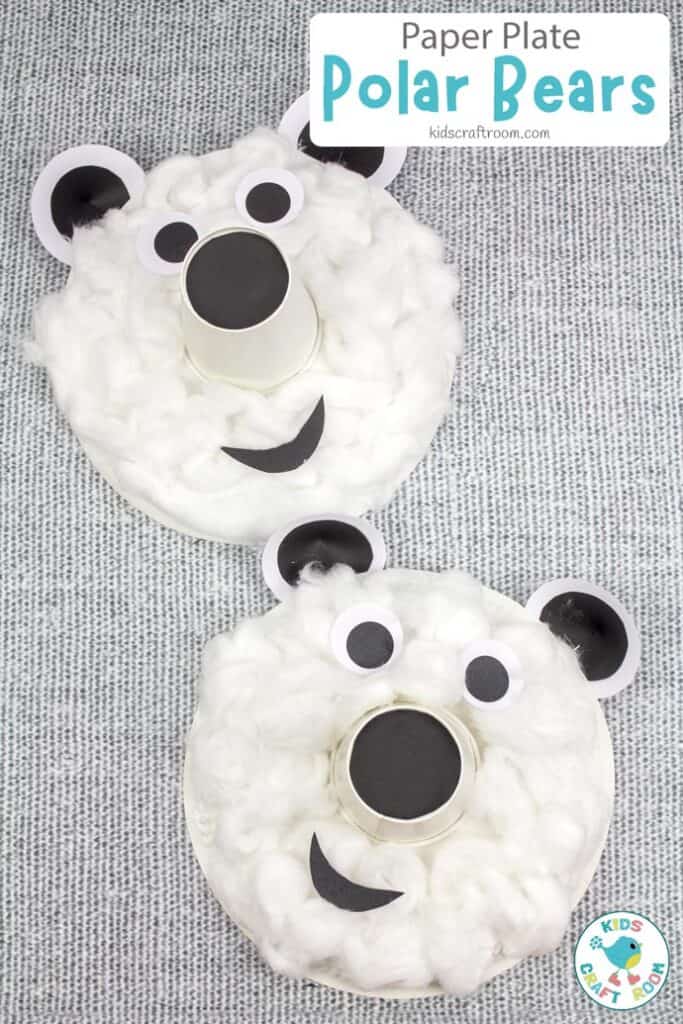
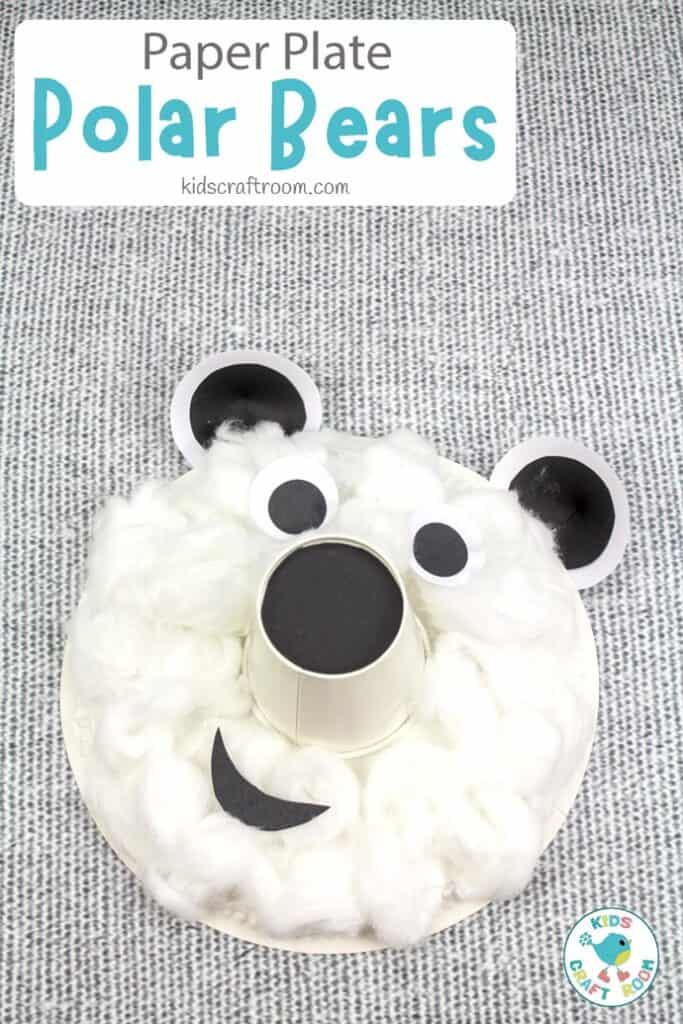
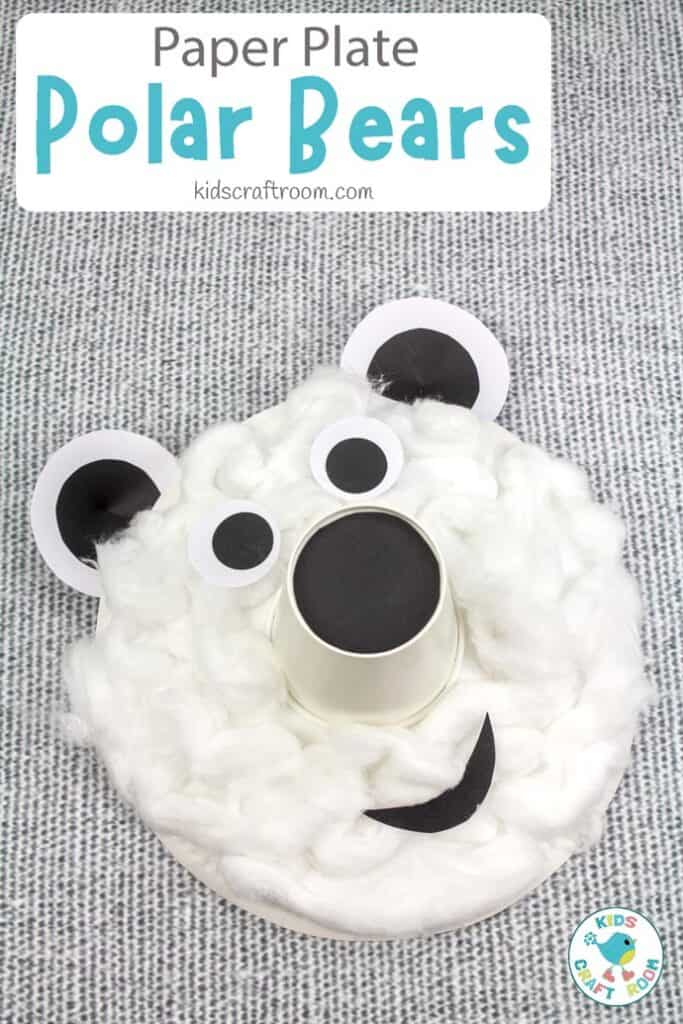
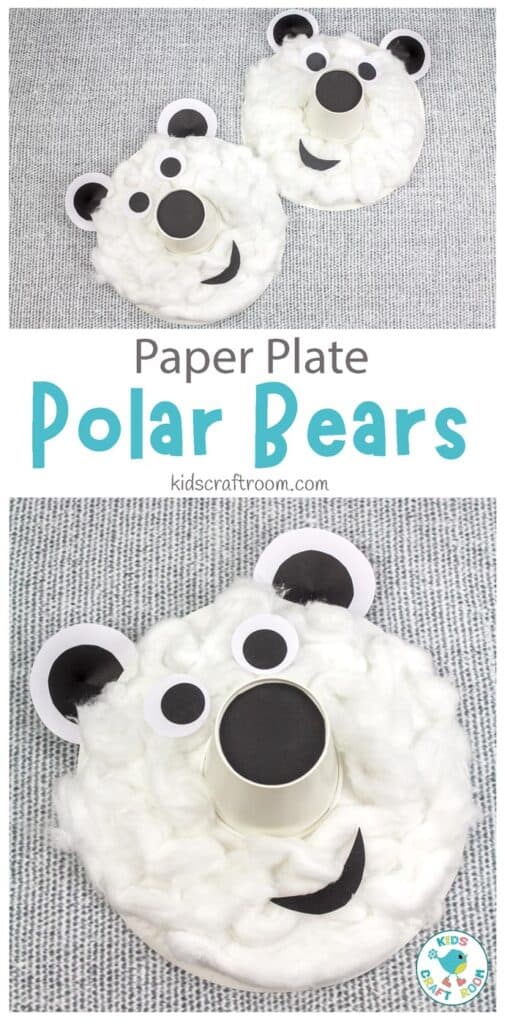
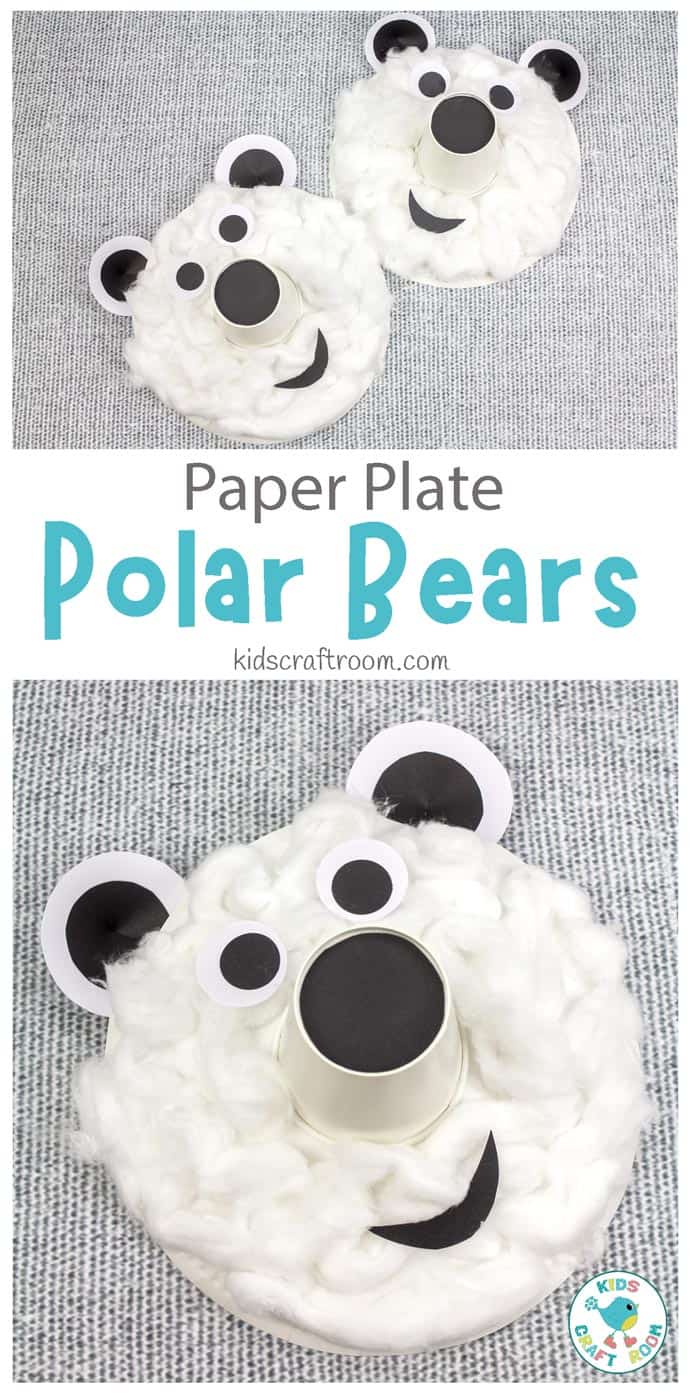
This PAPER PLATE POLAR BEAR CRAFT is adorably cute and wonderfully 3D! It has soft fur and a long paper cup nose which really brings it to life and gives it lots of character!
This is an easy paper plate polar bear craft to make with your toddlers and preschoolers and is a wonderful winter craft to decorate the home or classroom.
If you love polar bear crafts as much as we do then do take a look at our Polar Bear Puppets, Polar Bear Twirlers and Movable Polar Bear Cubs. They are so cute and loads of fun to make and play with!
If your kids fancy painting some polar bears too, we love this handprint polar bear art from Learn Create Love.
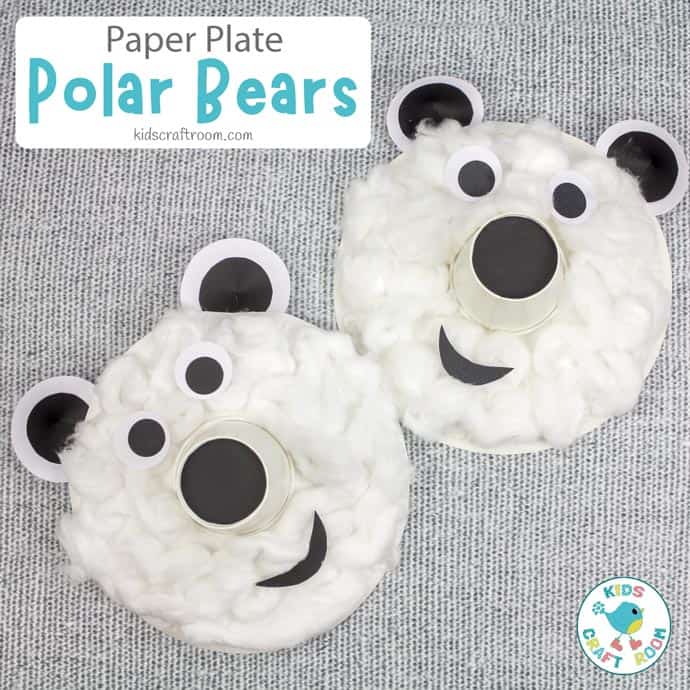
Fun 3D Paper Plate and Paper Cup Polar Bear Craft For Kids
Polar Bear Craft Supplies:
- Paper Plate
- Paper Cup
- White Cardstock
- Black Cardstock
- Cotton Wool Balls
- Glue
- Stapler
- Scissors
- Pencil
How To Make A Paper Plate Polar Bear Craft
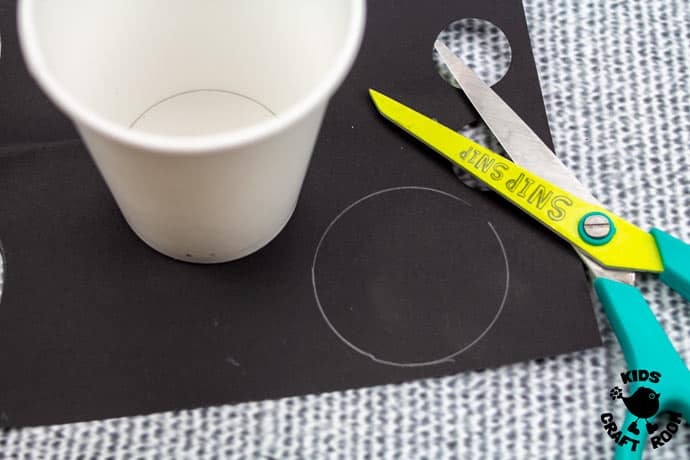
1 – To make the black nose for your polar bear craft, draw around the base of your paper cup on to black cardstock and cut it out.
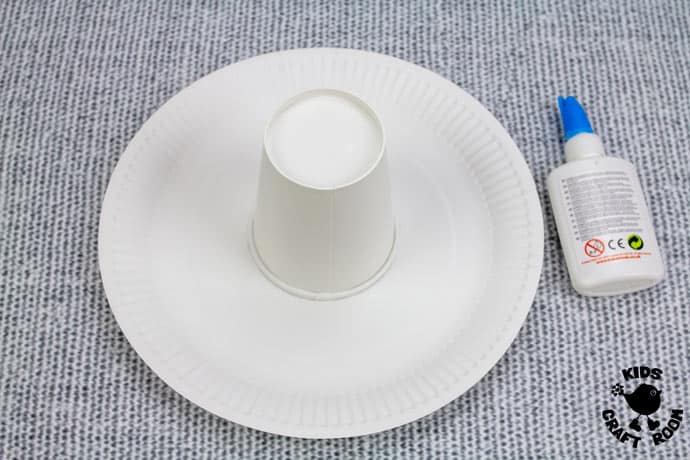
2 – Up end your paper cup and glue it onto the middle of the paper plate. (You can choose which way up to have your paper plate. If it is upside down it will give the polar bear a more 3D domed appearance.)
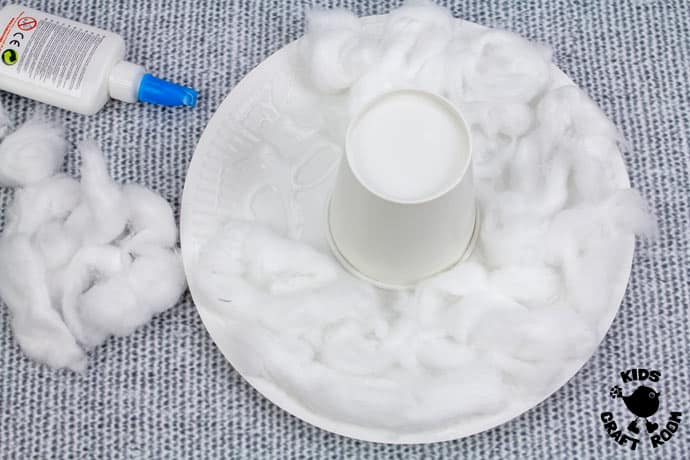
3 – To make the polar bear’s white fur coat, tease out some cotton wool balls and glue them onto the plate.
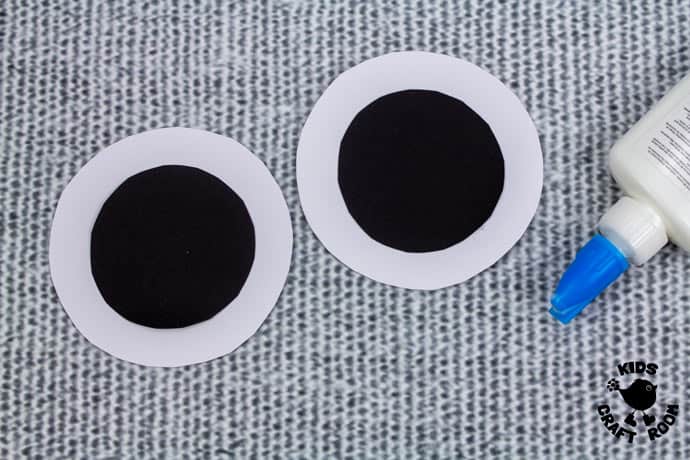
4 – The bear’s ears are made by cutting out two white cardstock circles approximately 10cm and two slightly smaller black circles. Glue the black circles into the middle of the white circles.
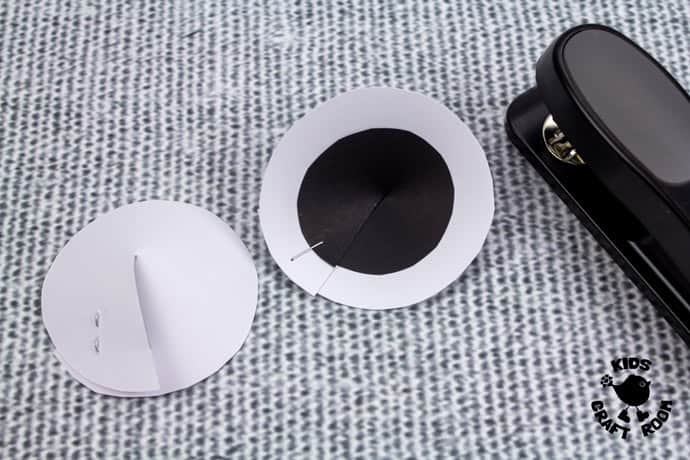
5 – To curve the ears and make them more 3D, cut a slit from the outside into the middle. Over lap the cut edges to make a shallow cone and staple together.
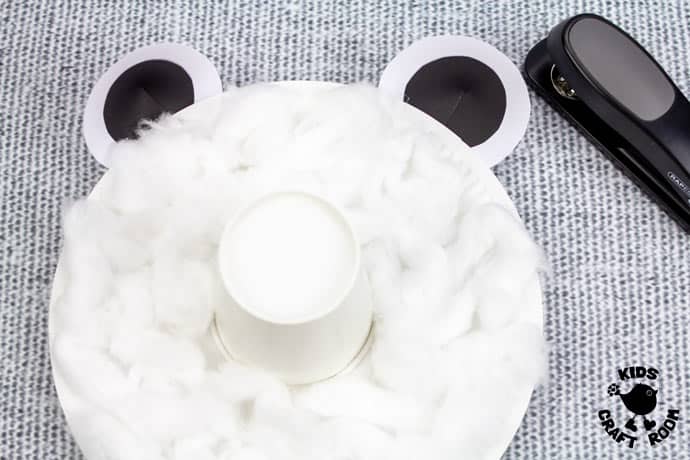
6 – Staple the ears onto the back of the paper plate polar bear.
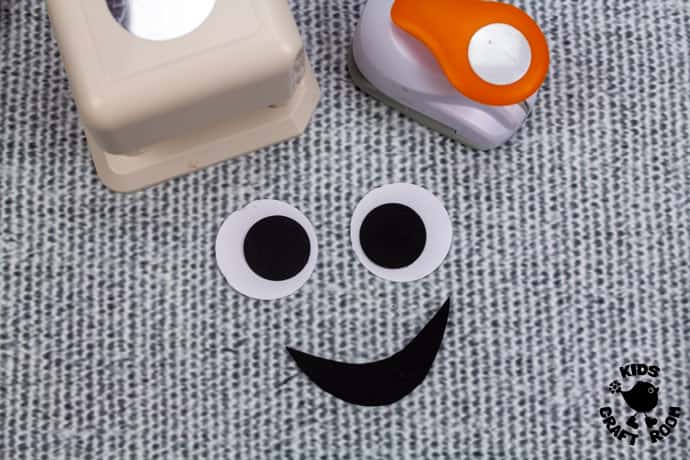
7 – Cut out two small white circles to make the eyes and two slighter smaller black circles to make the pupils. Glue them together.
8 – Cut out a black cardstock smile.
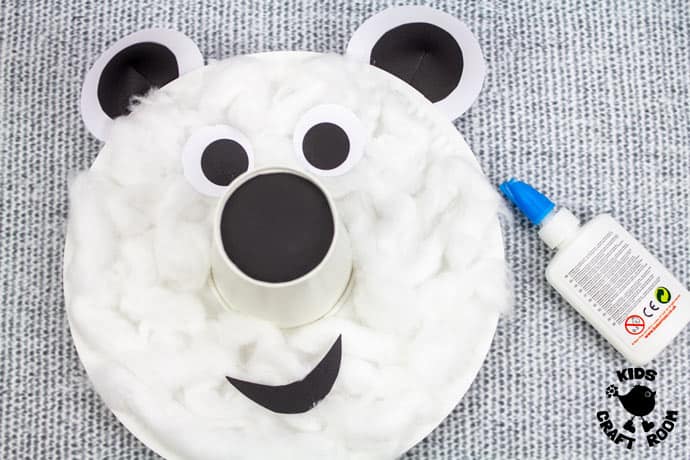
9 – Glue the eyes, nose and smile onto the bear’s face.
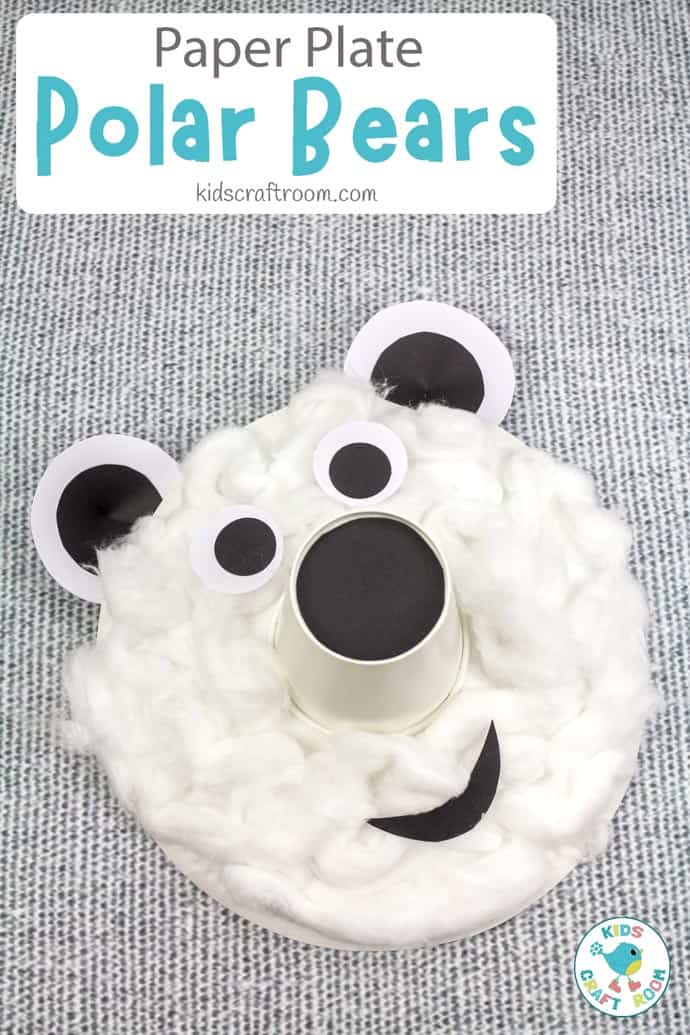
Now your paper plate polar bear craft is ready to go on display!
Fancy Making A Paper Plate Polar Bear Mask?
This polar bear craft could easily be turned into a mask for dramatic play instead. Simple cut out two eye holes instead of gluing them on and also attach an elasticated head strap at either side.
You can print the instructions below.
More Fun Winter Crafts To Enjoy:
Paper Plate Polar Bear Craft

These fun paper plate polar bears are wonderfully 3D and super cute!
Materials
- Paper Plate
- Paper Cup
- White Cardstock
- Black Cardstock
- Cotton Wool Balls
- Glue
- StaplerOut
- Scissors
- Pencil
Instructions
- To make the black nose for your polar bear craft, draw around the base of your paper cup on to black cardstock and cut it out.
- Up end your paper cup and glue it onto the middle of the paper plate. (You can choose which way up to have your paper plate. If it is upside down it will give the polar bear a more 3D domed appearance.
- To make the polar bear’s white fur coat, tease out some cotton wool balls and glue them onto the plate
- The bear’s ears are made by cutting out two white cardstock circles approximately 10cm and two slightly smaller black circles. Glue the black circles into the middle of the white circles
- To curve the ears and make them more 3D, cut a slit from the outside into the middle. Over lap the cut edges to make a shallow cone and staple together.
- Staple the ears onto the back of the paper plate polar bear.
- Cut out two small white circles to make the eyes and two slighter smaller black circles to make the pupils. Glue them together.
- Cut out a black cardstock smile.
- Glue the eyes, nose and smile onto the bear’s face.
