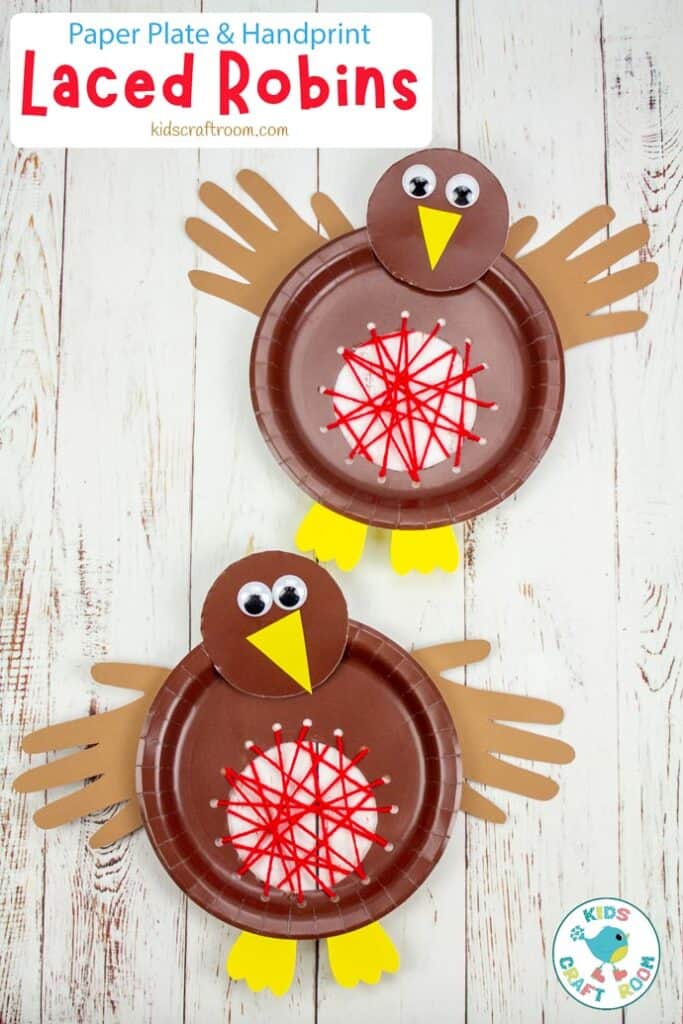


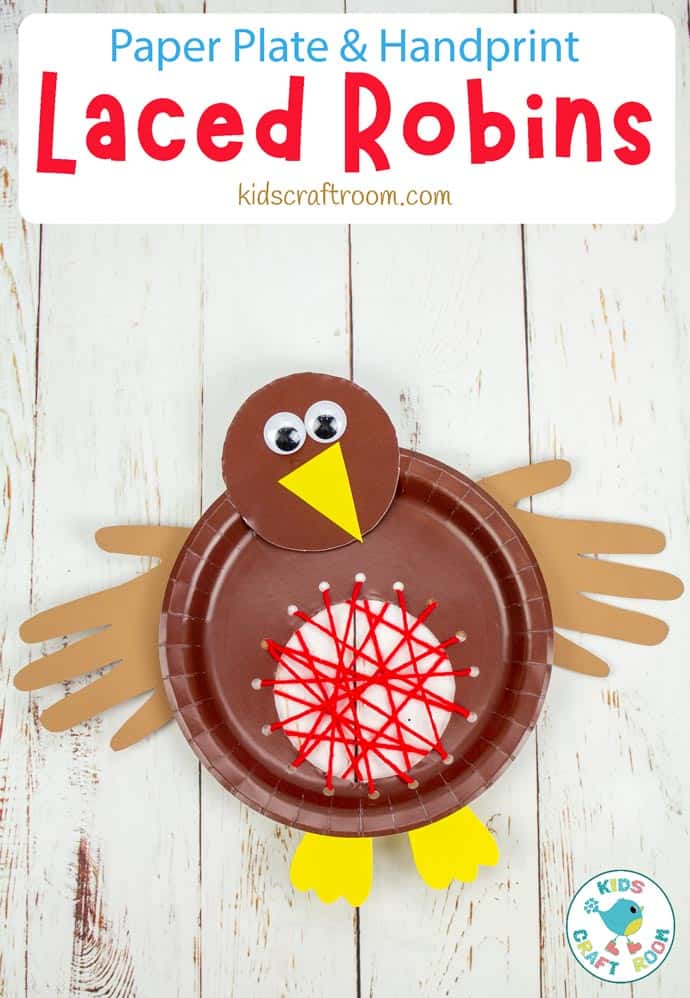
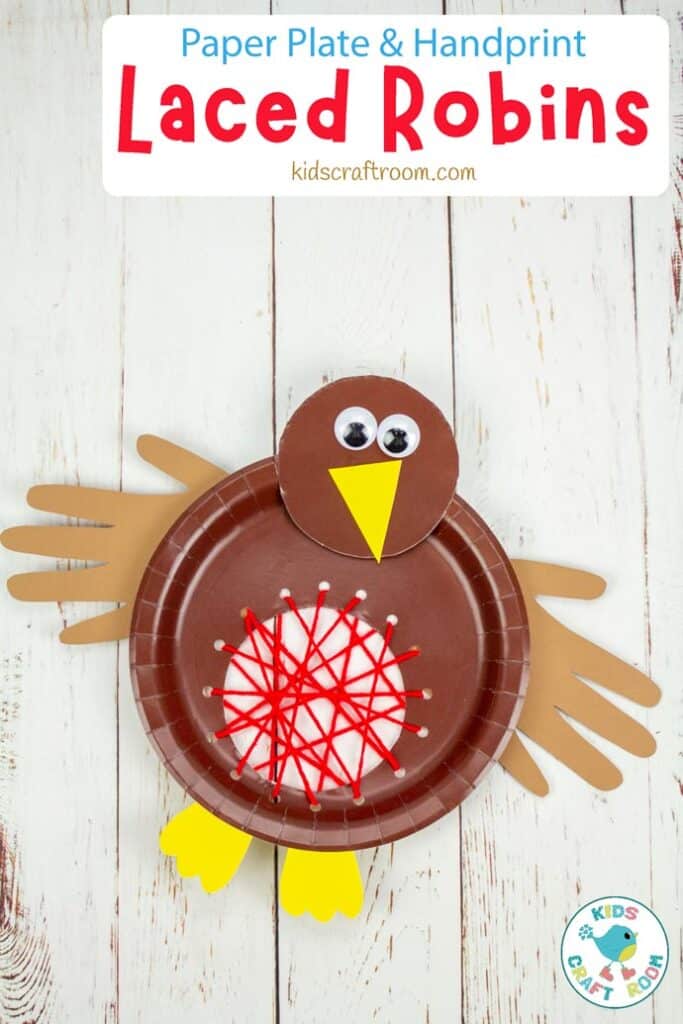
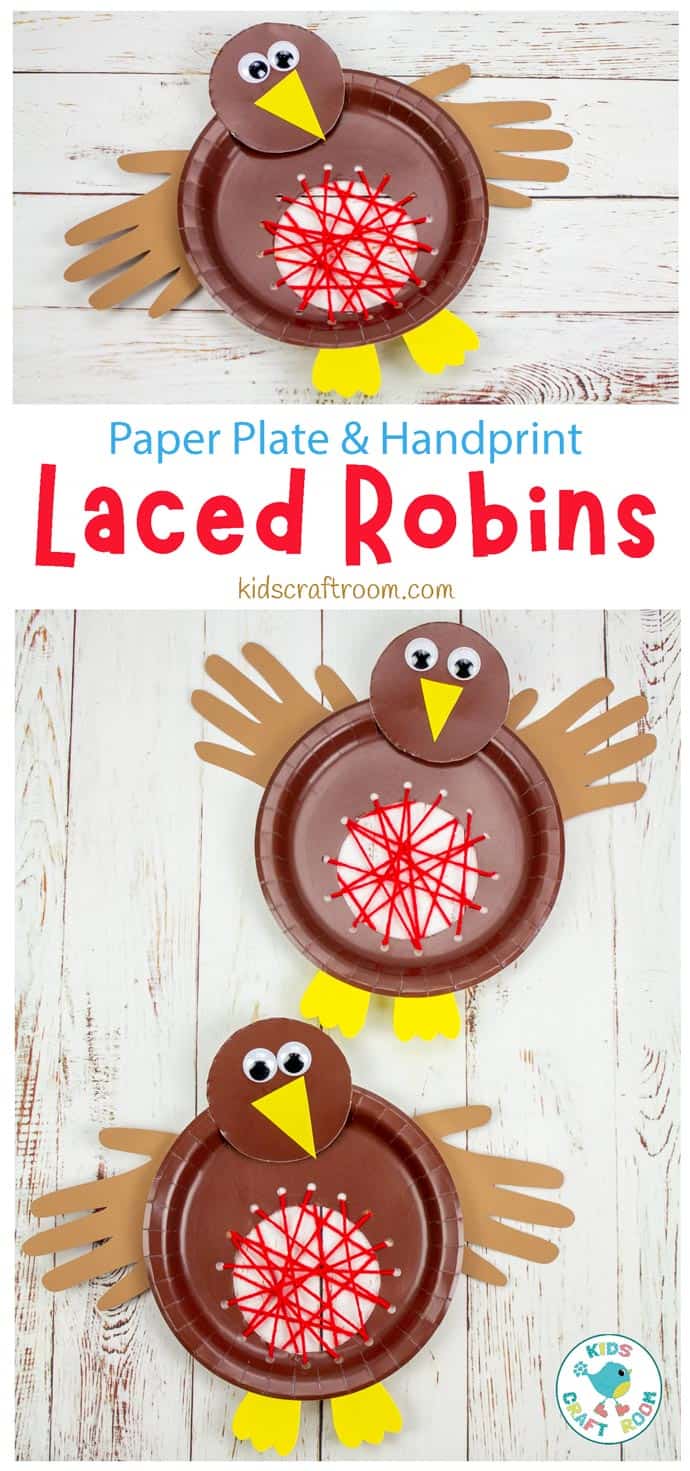
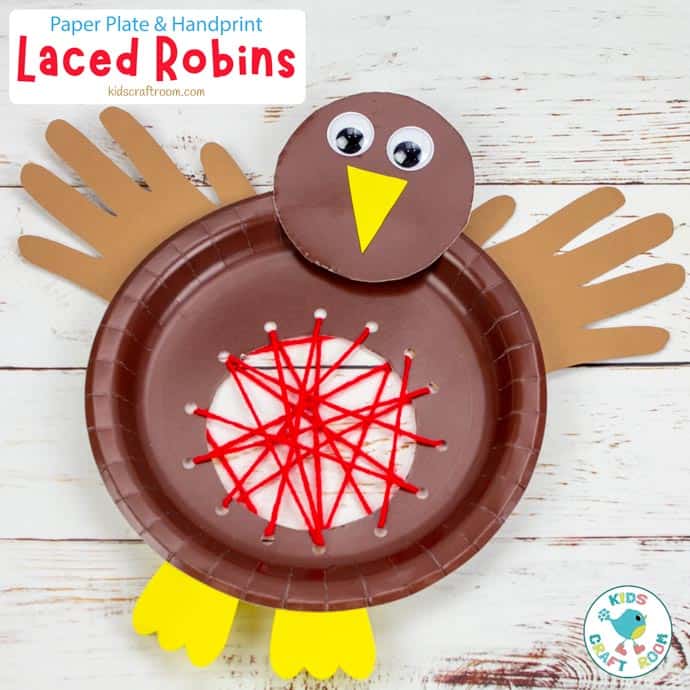
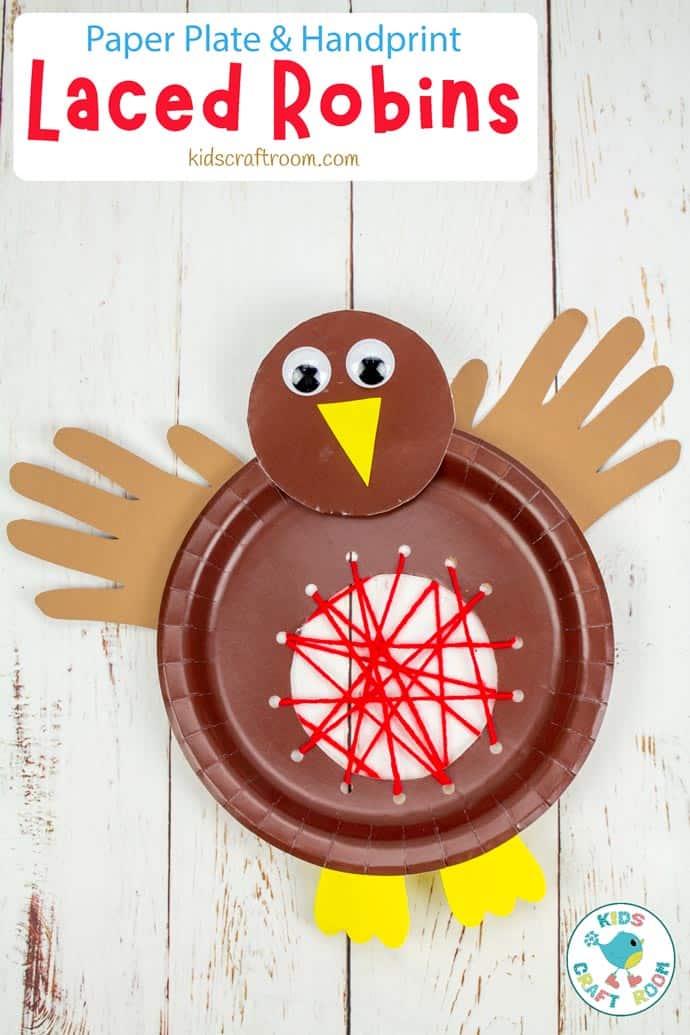
This Paper Plate Robin Lacing Craft is nice and easy to make and lots of fun for little hands. This robin craft has a gorgeous yarn laced tummy which gives kids lots of opportunity to build their fine motor skills and hand-eye coordination.
The paper plate robins also have lovely handprint wings which give them a personal touch and lots of character. We can never resist handprint crafts, they make such darling keepsakes.
Each robin lacing activity uses just one paper plate so it’s a great frugal craft for the home or classroom.
These Robin Red Breasts are a lovely paper plate craft for Winter or for Springtime and are suitable for preschoolers or elementary grades.
(If you’re working with very young children who might find the threading a bit tricky, it could always be substituted with a piece of red construction paper or fabric instead.)
We’ve got some other lacing crafts that you might enjoy at other times of year too. They are all wonderful for building fine motor skills. Take a peek at our:
- Apple Lacing Activity
- Laced Pineapples
- Walrus Lacing
- Pumpkin Lacing
- Threaded Sharks
- Handprint Acorn Sewing
We also have a no-sew a paper plate robin craft you might like too.
Paper Plate Robin Lacing Craft Tutorial
Laced Robin Craft Supplies:
- Brown Paper Plates
- Red Yarn
- Yellow Cardstock
- Brown Cardstock
- Wiggle Eyes
- Hole Puncher
- Scissors
- Glue
- Sticky Tape
- Pencil
How To Make A Robin Sewing Craft
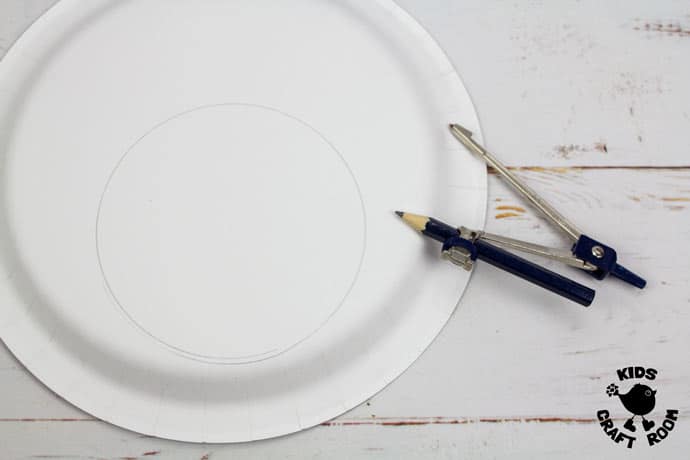
1 – Draw a circle off centre on the back of the brown paper plate. We used a compass but you could draw around a bowl or similar.

2 – Carefully cut out the circle without cutting through the plate rim.
3 – Use your hole puncher to make threading holes all around the outside of the hole.
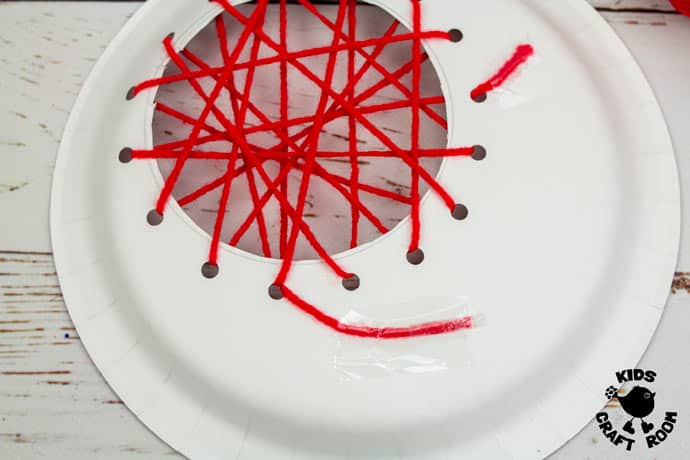
4 – Cut a length of red yarn and sticky tape one end onto the back of the plate.
5 – Thread the yarn back and forth between the holes to make the robin’s red breast. (You can make it easier to thread by wrapping a tiny piece of sticky tape around the threading end of yarn to make it more rigid.) When you’re finished secure the other end of yarn onto the back of the plate with sticky tape.

6 – Cut out some feet and a beak from yellow cardstock.
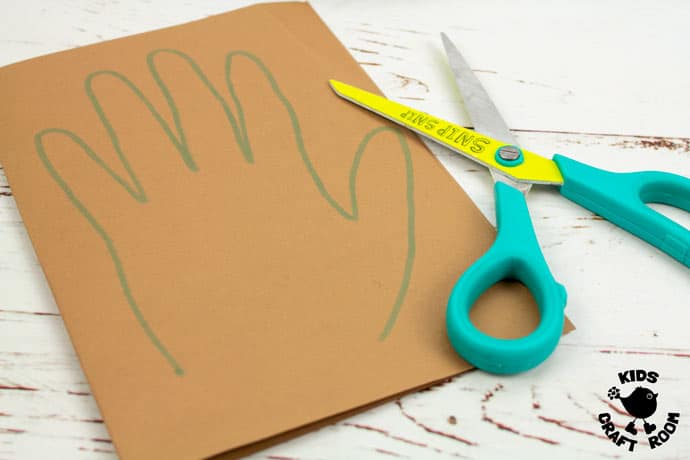
7 – Fold a piece of brown cardstock in half and trace around your hand. Then cut out the two handprints.
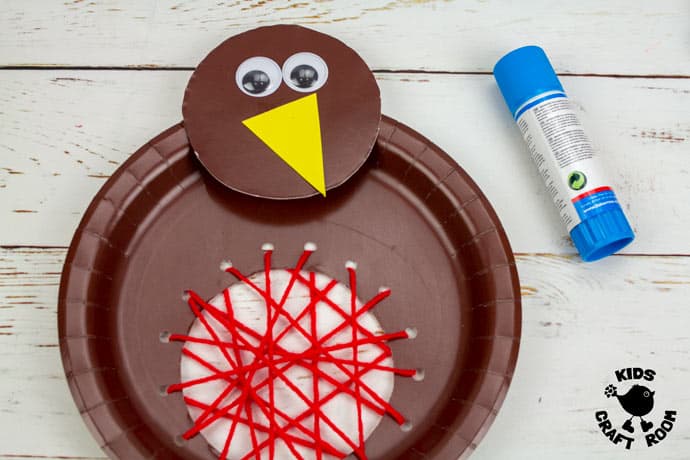
8 – To make the robin’s head, glue the circle you cut out of the brown paper plate onto the rim. Then glue on the wiggle eyes and yellow beak.
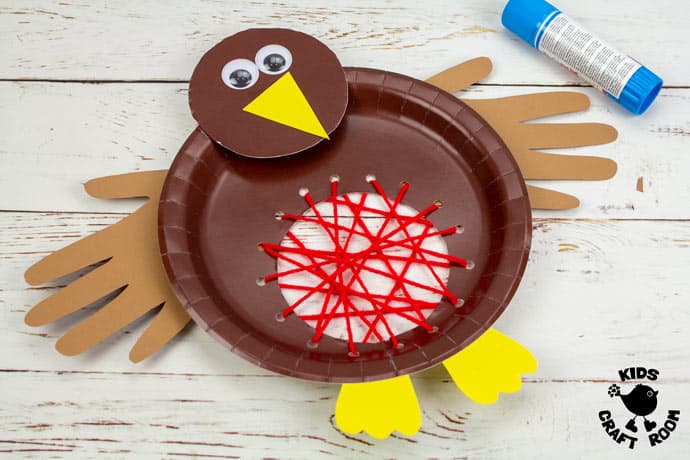
9 – Finish off your robin lacing craft by gluing the handprint wings and yellow feet onto the back of the paper plate.
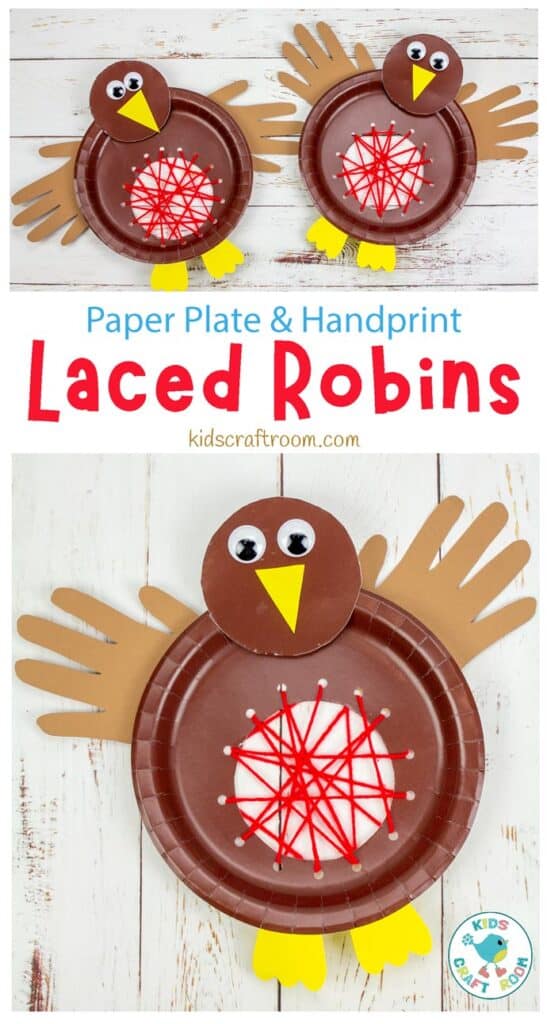
Now your paper plate robins are ready to go on display, aren’t they cute!
You can print the robin craft template below.
More Fun Spring Crafts For Kids:

Paper Plate Robin Lacing Craft
These Laced Robins are lots of fun and a great way to build fine motor skills.
Materials
- Brown Paper Plate
- Red Yarn
- Yellow Cardstock
- Brown Cardstock
- Wiggle Eyes
- Hole Puncher
- Scissors
- Glue
- Sticky Tape
- Pencil
Instructions
- Draw a circle off centre on the back of the brown paper plate. We used a compass but you could draw around a bowl or similar
- Carefully cut out the circle without cutting through the plate rim.
- Use your hole puncher to make threading holes all around the outside of the hole
- Cut a length of red yarn and sticky tape one end onto the back of the plate.[mv_img id="187775"
- Thread the yarn back and forth between the holes to make the robin’s red breast. (You can make it easier to thread by wrapping a tiny piece of sticky tape around the threading end of yarn to make it more rigid.) When you’re finished secure the other end of yarn onto the back of the plate with sticky tape.
- Cut out some feet and a beak from yellow cardstock.
- Fold a piece of brown cardstock in half and trace around your hand. Then cut out the two handprints.
- To make the robin’s head, glue the circle you cut out of the brown paper plate onto the rim. then glue on the wiggle eyes and yellow beak.
- Finish off your robin lacing craft by gluing the handprint wings and yellow feet onto the back of the paper plate.