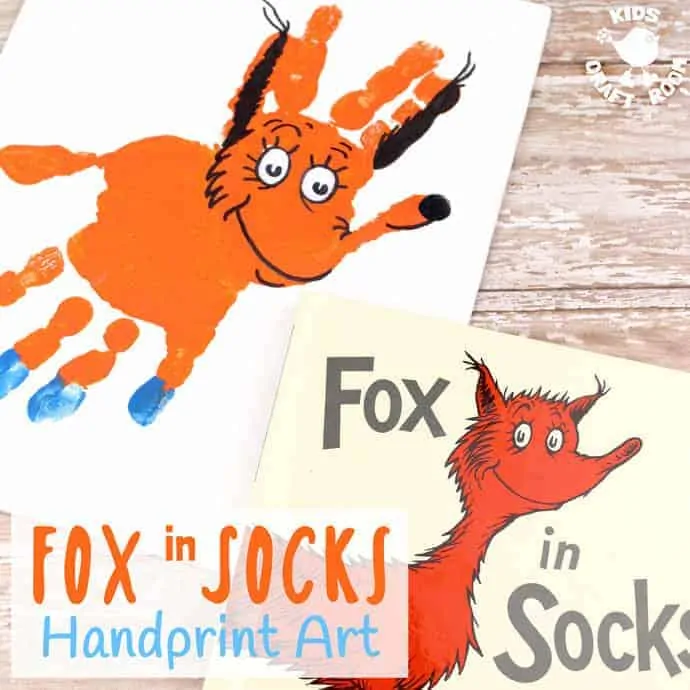
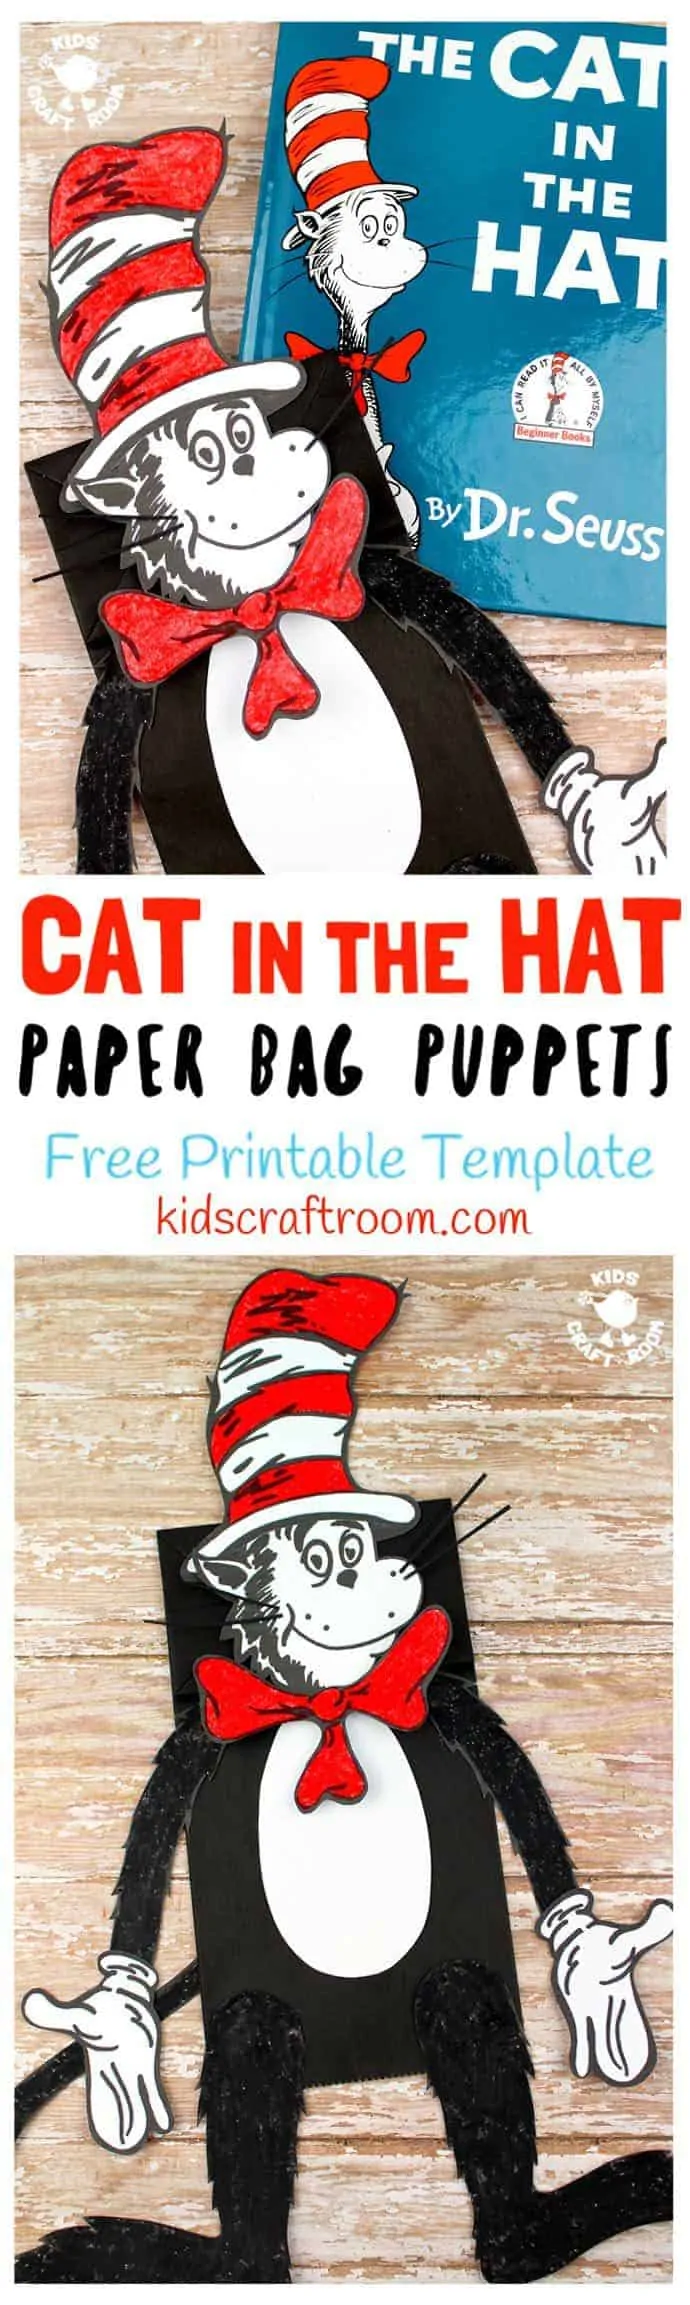
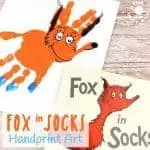
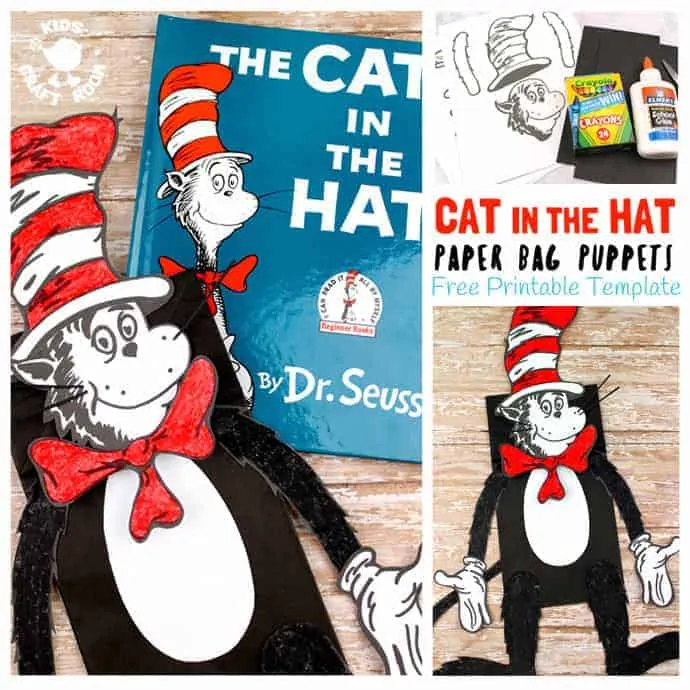
We’ve had so much fun getting ready for World Book Day and Dr Seuss Day this year. We’ve made Thing 1 and Thing 2 Puppets, Cat In The Hat and Fish Handprint Art, Fox In Socks and Knox Handprints and today we finish off with these adorable Paper Bag Cat In The Hat Puppets.
These Cat In The Hat Puppets look quite amazing but are super simple to make with our free printable. They’re a great craft to go with your story telling time and a fun way to encourage children to recount stories they’re familiar with as well as invent their own. If you’ve got a little Dr Seuss fan then this Cat In The Hat craft is not to be missed!
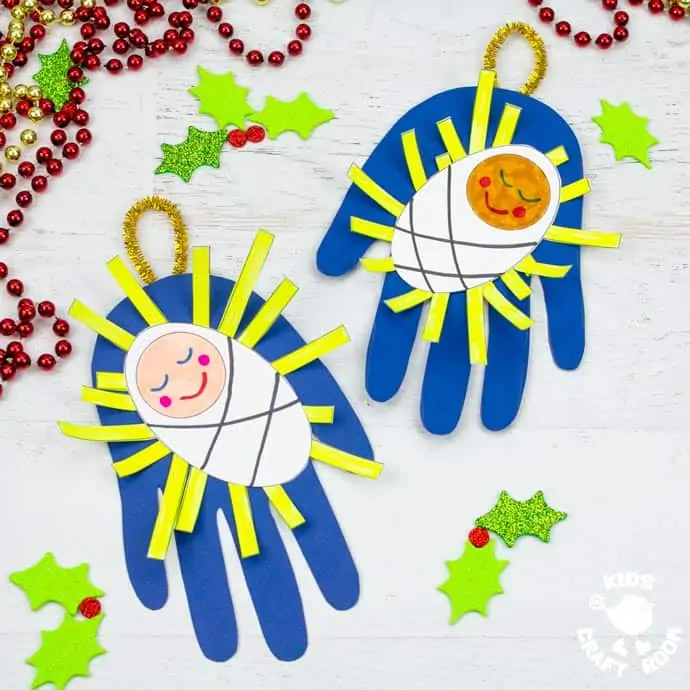
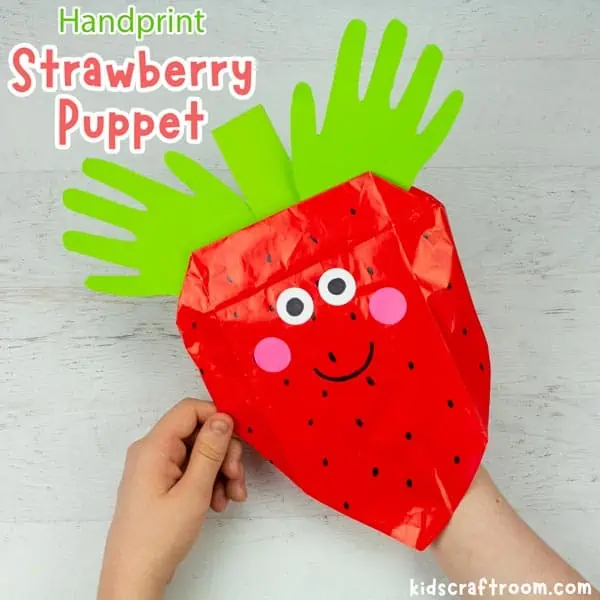
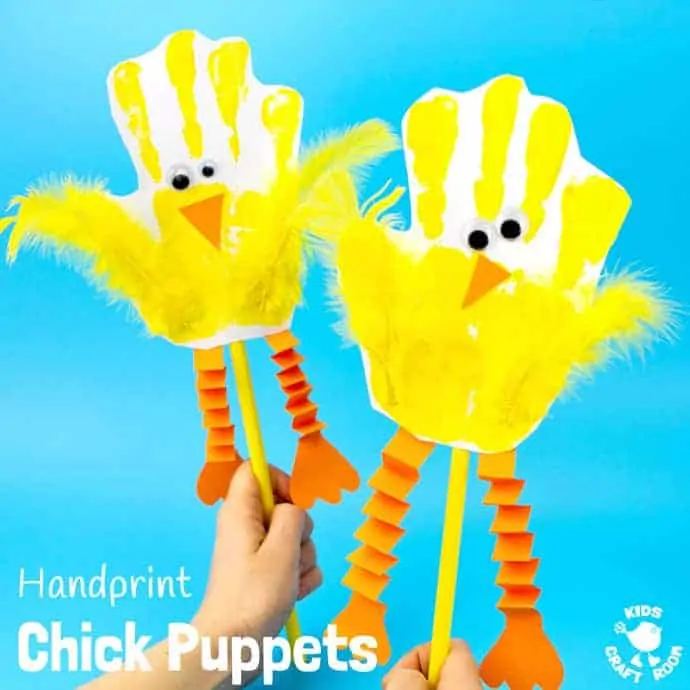
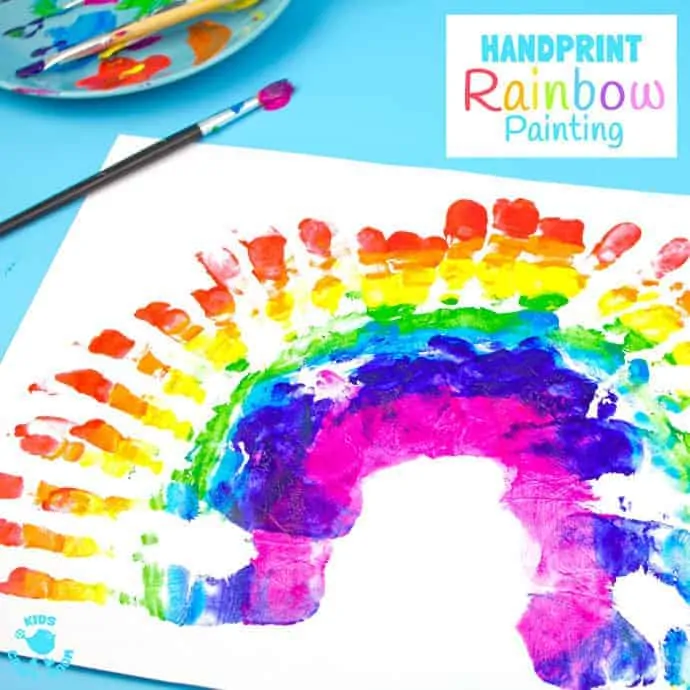
Love Dr Seuss? Who doesn’t! Check out our some of our other Seuss inspired crafts while you’re here too. (Click on the photos to go straight to each craft tutorial.)
How To Make Paper Bag Cat In The Hat Puppets
Grab your little Cat In The Hat fan, print out our free template (available at the bottom of this post), and let’s get crafting!
Cat In The Hat Puppets Supplies
- Printable Template (Available at the bottom of this tutorial.)
- Black Paper Bags
- White & Black Card
- Crayons
- Scissors
- Glue
- Craft Knife (optional)
How To Make Cat In The Hat Paper Bag Puppets
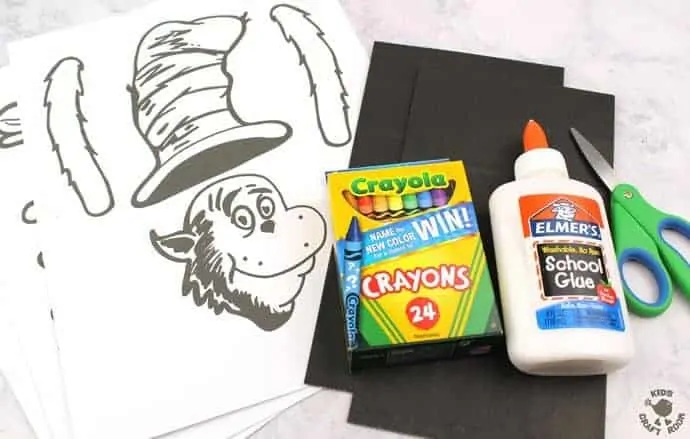
1 – Download and print the free Cat and the Hat template. (Get yours at the bottom of this post.)
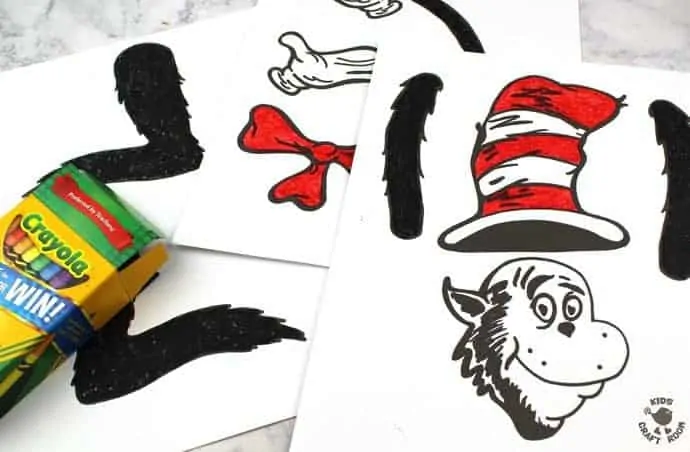 2 – Colour in the template and cut out the pieces. Your children might like to use traditional Cat In The Hat colours or maybe they’d like to give a new spin to his design. He could be any colour they like!
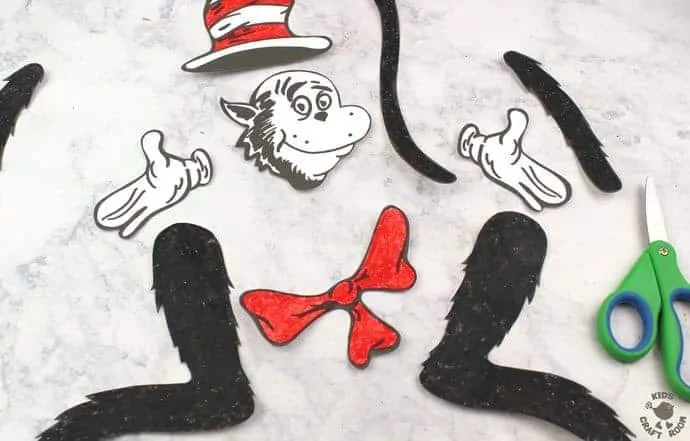 3 – Carefully cut out all the coloured in pieces.
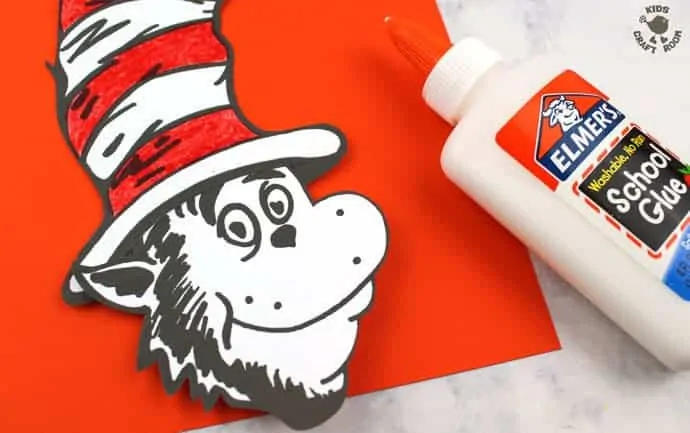
 4 – Adults only for this step – We want the cat’s head to sit inside his hat so we need to cut a slit across the bottom of the hat. I used a craft knife but you could do it with scissors if you prefer. Use the photo above as a guide.
 5 – Pop the cat’s head inside its hat and glue it into place. We can’t have a cat without his hat can we!
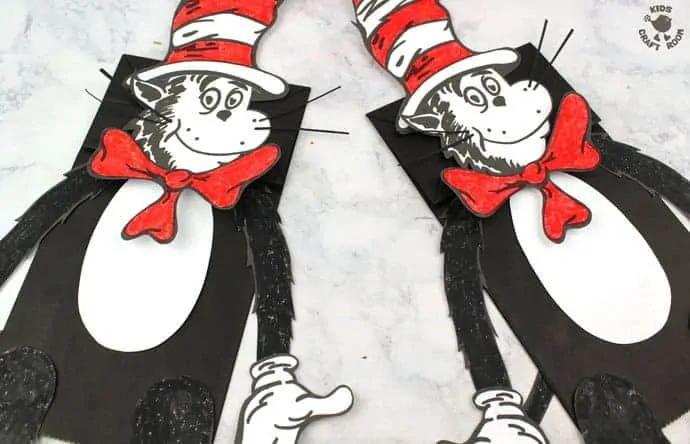
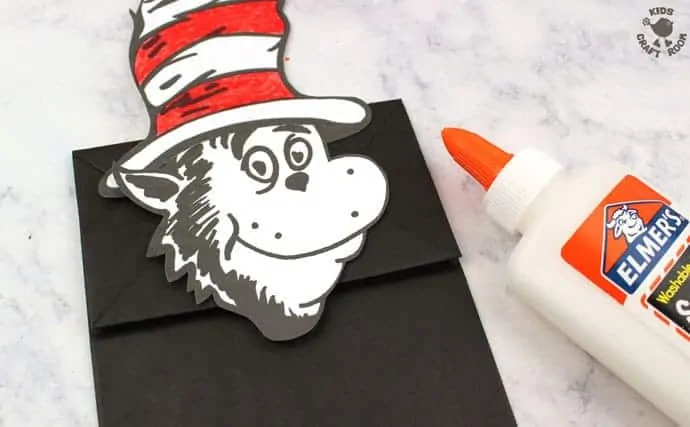 6 – Now to put the paper bag puppet together. Start by glueing on the cat’s head at the top of the closed bottom end of the black paper bag. (The part that flaps up.)
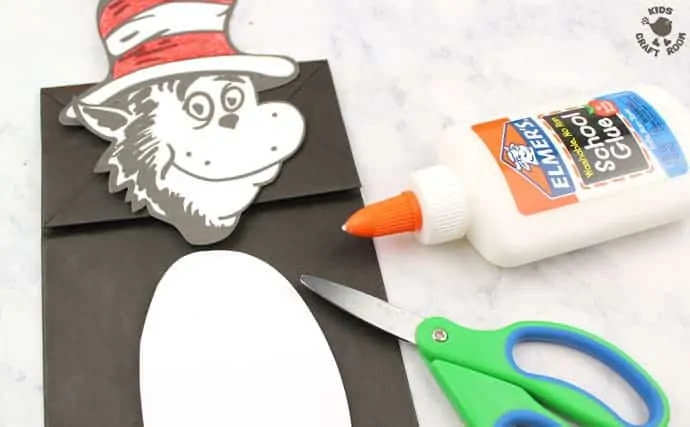 7 – Using your white card cut the cat’s tummy and glue it on. Traditionally this is an oval but you could always make different Cat In The Hat Puppets with different tummy shapes if you liked. It would be a fun way to reinforce shape learning.
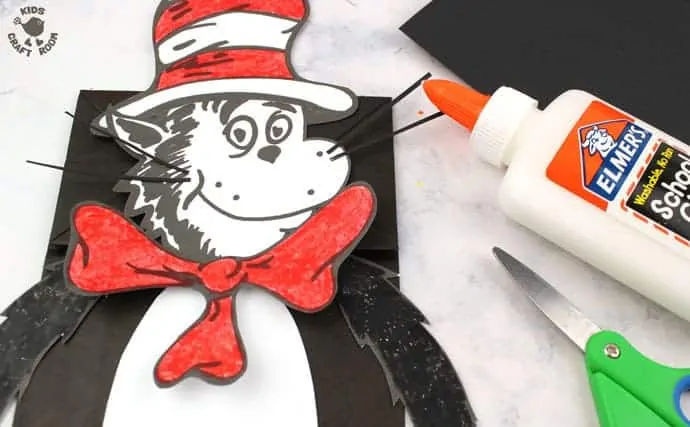 8 – Now glue the cat’s big fancy bow into place on his neck and cut some thin strips of black card to make cat whiskers.
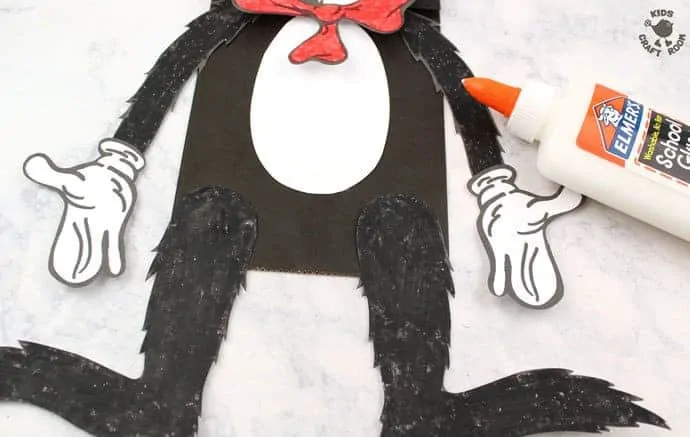 9 – Next glue on the cat’s arms, hands and feet.
 10 – Finish off your Cat In The Hat Puppets by flipping them over and glueing on the tail.
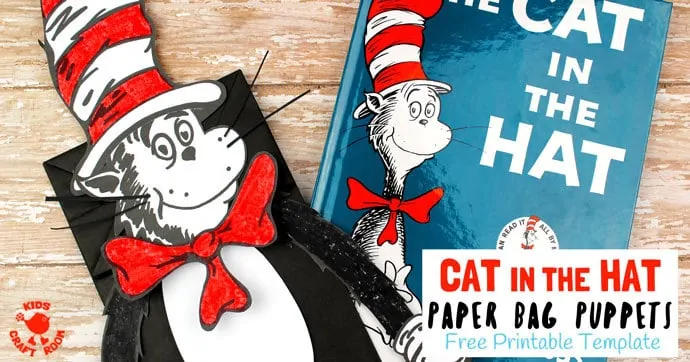
Your paper bag Cat In The Hat puppet is ready. Grab your Cat In The Hat book and play!
We hope you and your little Cat In The Hat fan enjoy this puppet craft! Do you have other favourite Dr Seuss book characters too?
Click Here To Get Your Free Cat In The Hat Puppet Template
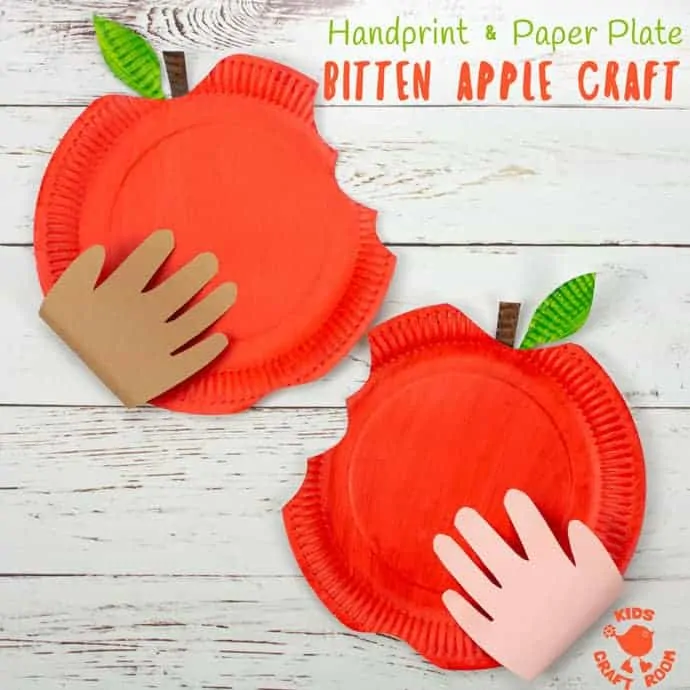
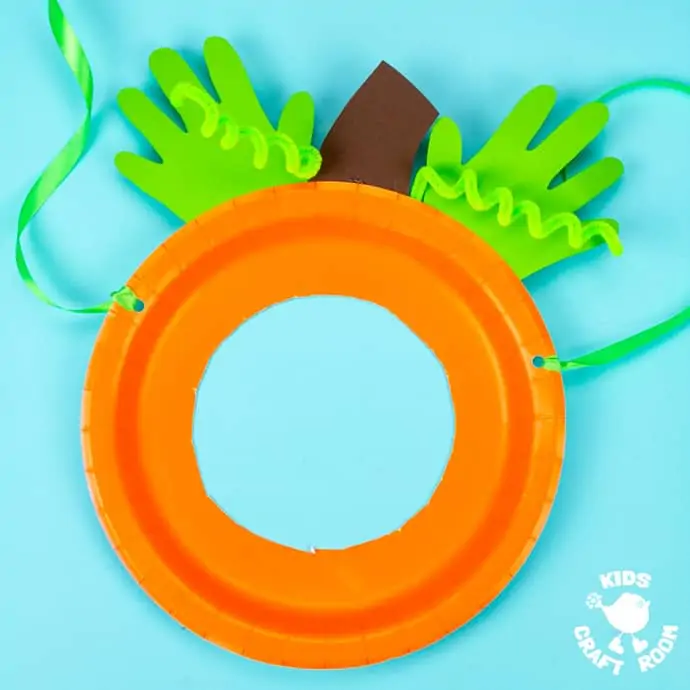
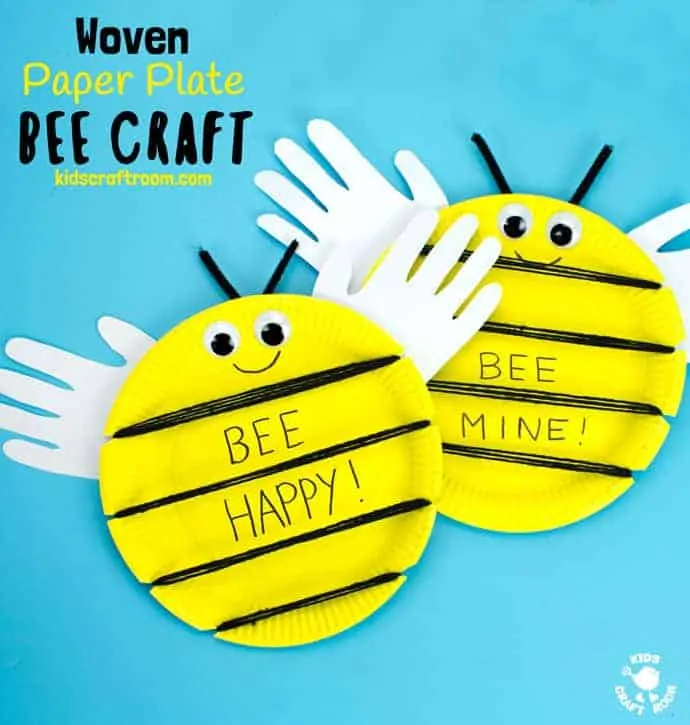
More Fun Handprint Crafts: