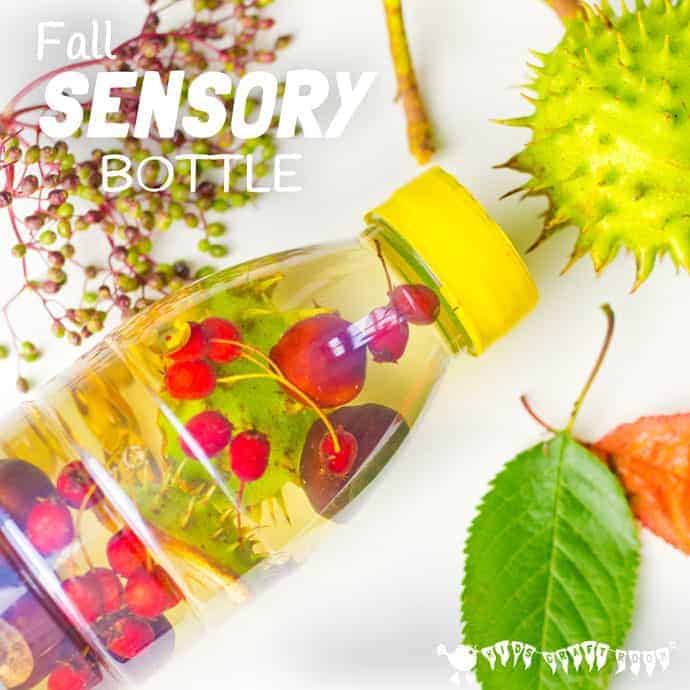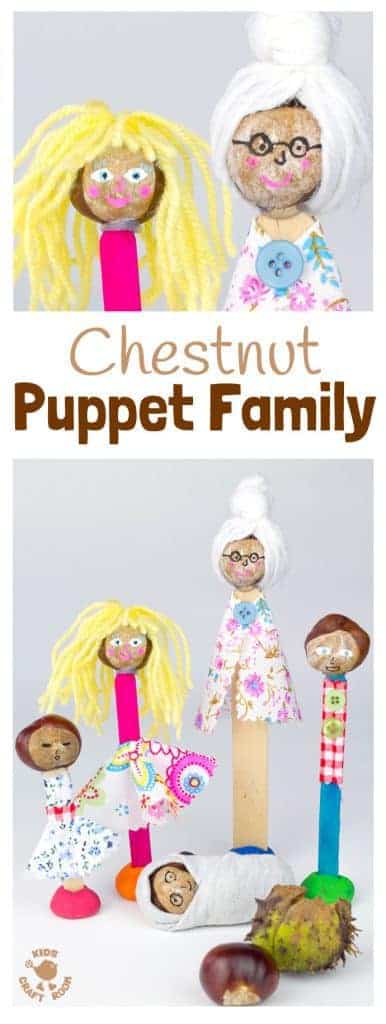
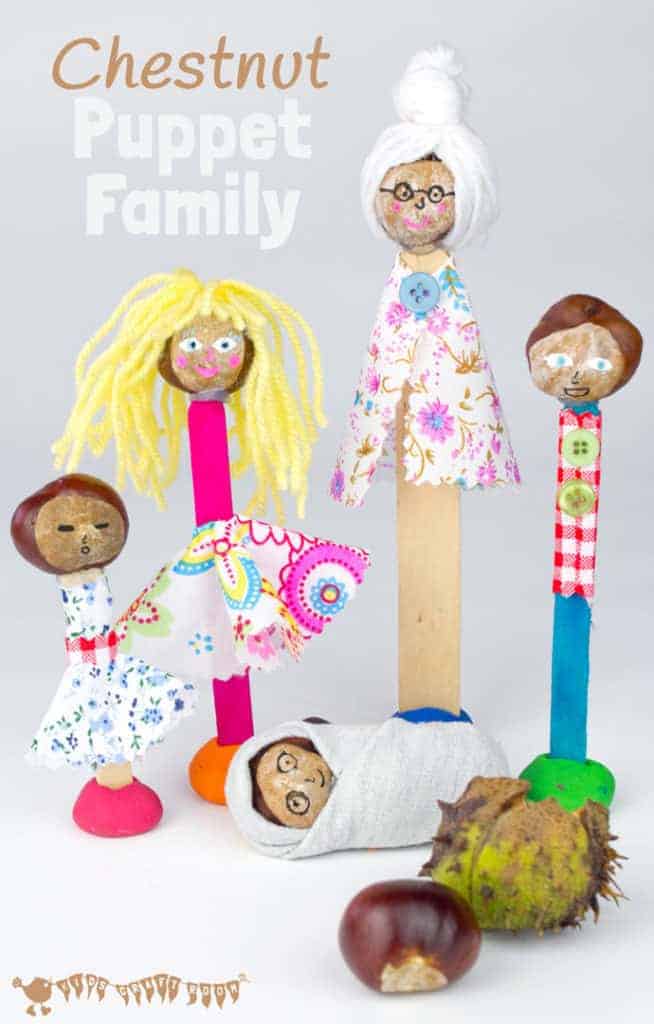
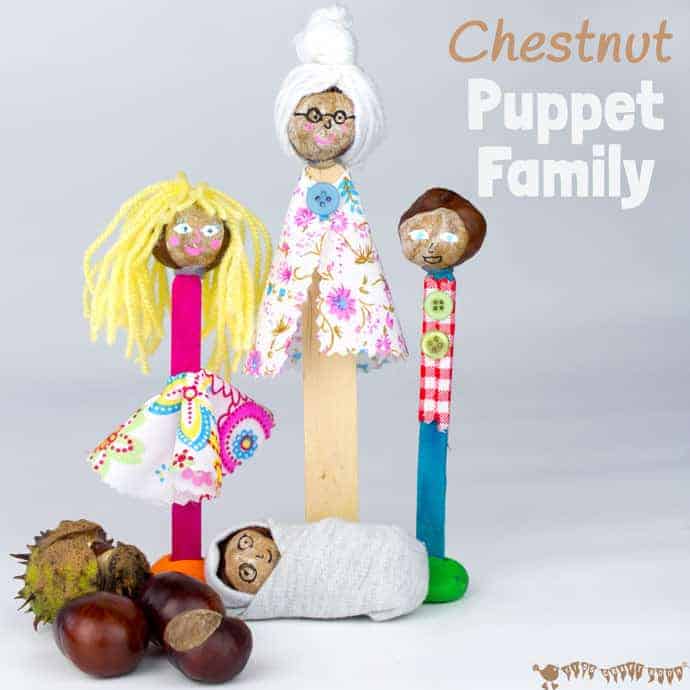
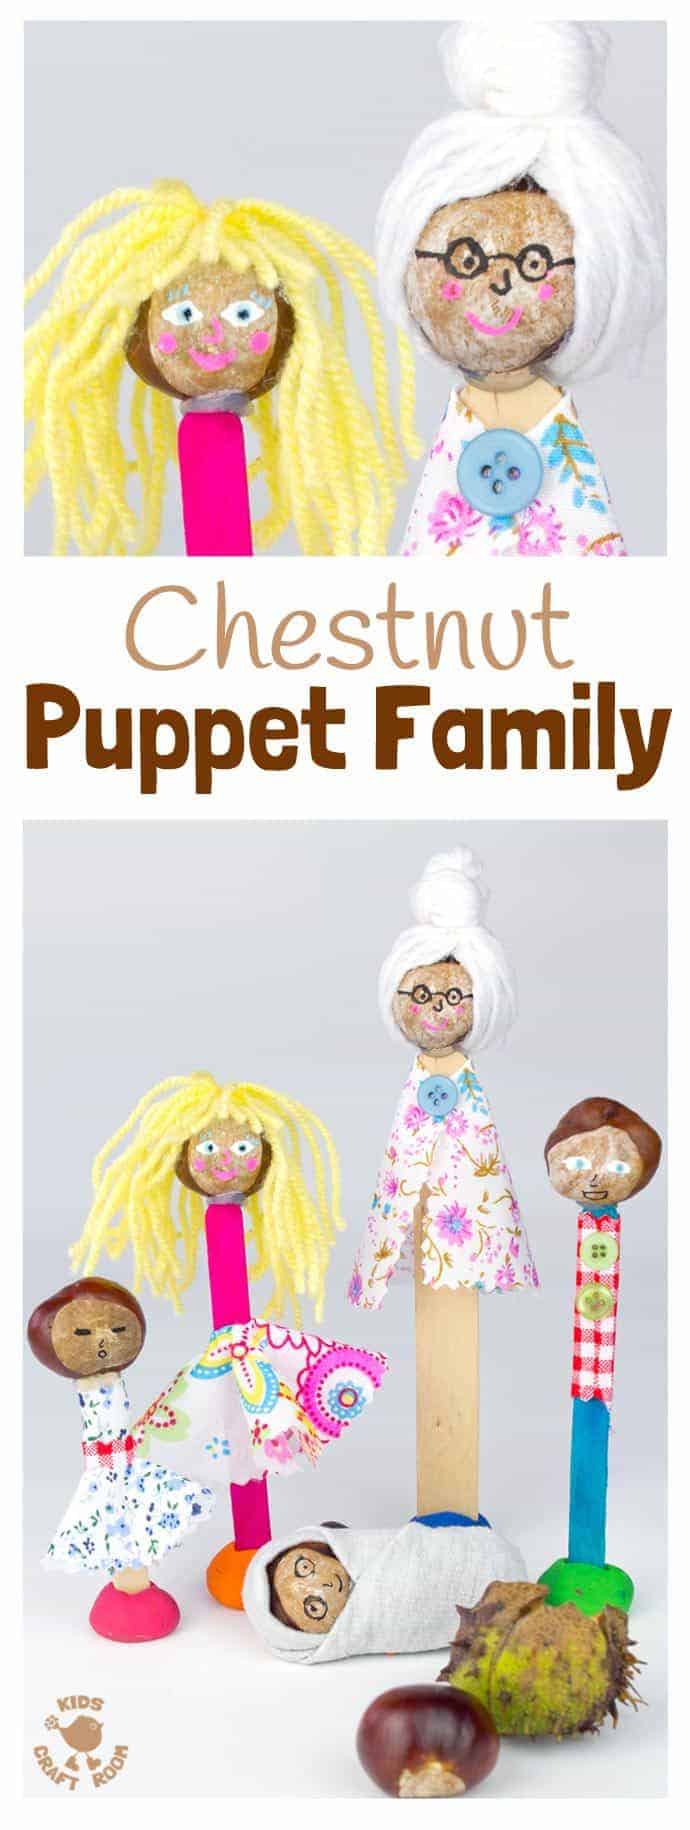
Are you looking for a creative way to use chestnuts (buckeyes or conkers)? The kids and I collect hoards of horse chestnuts every year because there’s so many fun things to do with them and they look beautiful! Favourite ways to use them have been in Fall Sensory Bottles, Conker Play Activities and Nature Paintings. Today I’m sharing a little project we’ve been working on to create a fun Puppet Family made with chestnut heads! So far we’ve got Mr and Mrs Chestnut, Grandma Chestnut, Little Girl Chestnut and even cute bundled Baby Chestnut! I think this chestnut craft is just adorable!
These little conker people are really easy to make and kids can have fun creating just one buckeye buddy or a whole chestnut puppet family! This is a chestnut craft that’s sure to inspire lots of imaginative play and story telling.

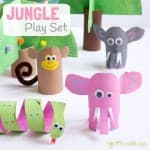
Before you get started on the Chestnut Puppet Family Tutorial you might like to look at some of my other favourite homemade toys to inspire imaginative play too. They’re all really easy and frugal crafts your kids are sure to love.
Now let’s get back to making that lovely Puppet Family, you can’t beat a fun chestnut craft!
Chestnut Craft Puppet Family Materials
- Horse Chestnuts / Conkers / Buckeyes
- Popsicle Sticks US / UK
- Posca Paint Pens US / UK
- Low Temp Glue Gun US / UK
- Scrap Fabric US / UK
- Yarn Scraps
Chestnut Craft Puppet Family Tutorials
Because this chestnut craft involves no sewing what-so-ever *Happy Dance*, it’s super simple to make the whole puppet family in no time at all! Just cut and stick my crafty friends, cut and stick!
How To Make Conker People
Pop outside and gather those gorgeous conkers!
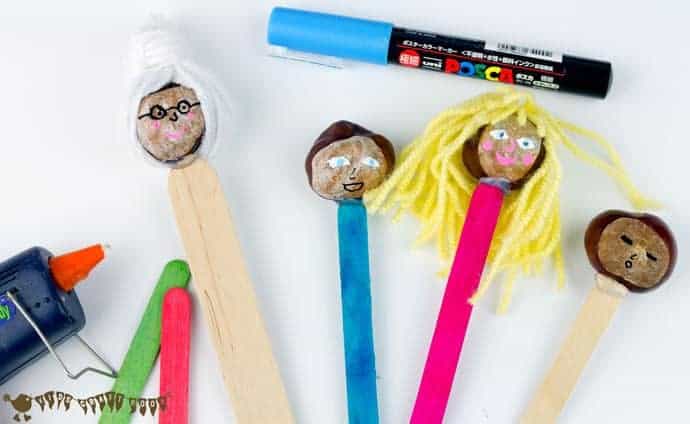
Use a glue gun to stick a chestnut head onto the top of a coloured popsicle stick body and add yarn scraps for hair if you want to.
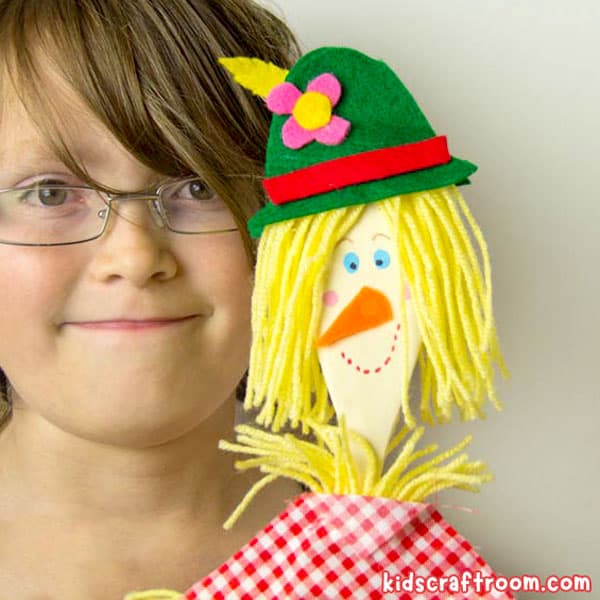
Draw on your conker faces. We used Posca Paint Pens, regular readers will know how much the kids and I LOVE them. They can draw on pretty much anything and have a denser coverage and much brighter colours than permanent markers.
Use your fabric scraps to make simple clothes. I always have a selection of fabric patchwork squares like this lovely set for kids crafts. They’re really cheap to buy and give us such a great selection of fabrics for all sorts of different crafts.
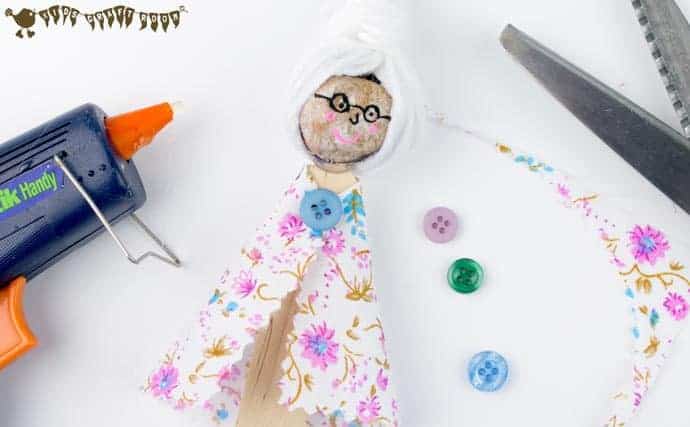
To make Grandma’s shawl we cut a circle of fabric, folded over the top and draped it over her shoulders. We used the glue gun to hold it in place and finished it off with a cute button.
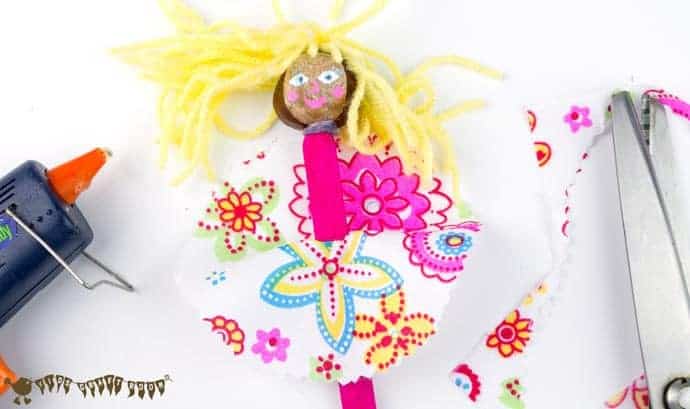
To dress Mrs Chestnut we cut another circle of fabric, snipped a tiny hole in the middle and threaded it onto the pink popsicle stick to make a skirt. We held it in place at her waist with a dab of glue from the glue gun.
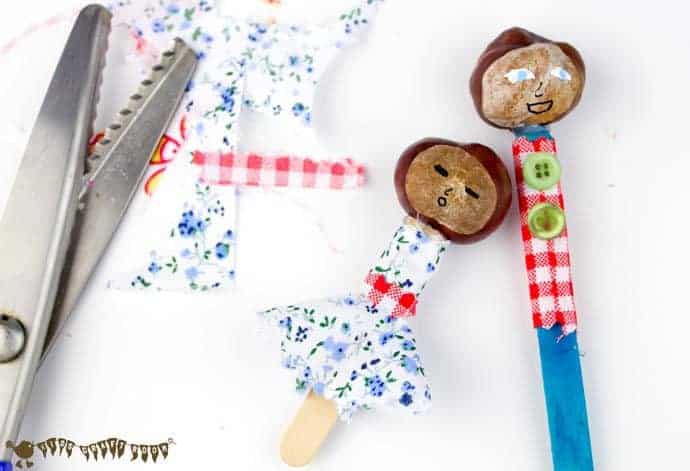
Mr Chestnut was dressed in a rectangle of checked fabric wrapped round the blue popsicle stick to make a shirt. We glued it into place and added 2 shirt buttons too.
Little Girl Chestnut was made with just half a popsicle stick. Her skirt was made in the same way as Mummy Chestnut’s above and the top of her dress was a rectangle of fabric wrapped round like Daddy Chestnut’s shirt. We finished it off with a fabric belt.
How To Make A Chestnut Baby
Oh my goodness this wide eyed chestnut baby makes me giggle. My son discovered that if he pushed the Posca Pen nib in to release more ink it also left a round print on paper. He decided to use it for the baby’s eyes!
To make your Chestnut Baby use the glue gun to stick two horse chestnuts together, one for the head and one for the body.
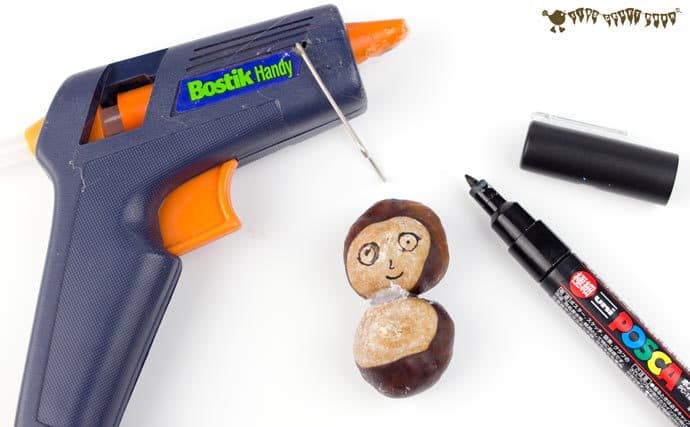
Draw on the baby’s face with Posca Pen.
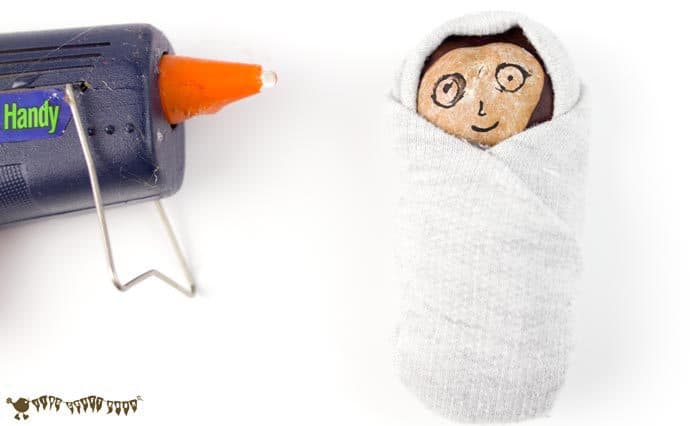
Cut out a rectangle of fabric and swaddle the baby, using the glue gun to secure it into place.
Would your kids enjoy making their own puppet family too?
This puppet family really is such a simple chestnut craft and is so much fun to play with! You could even make a little theatre or house out of an old shoebox to go with them.
More Fun Autumn Crafts For Kids: