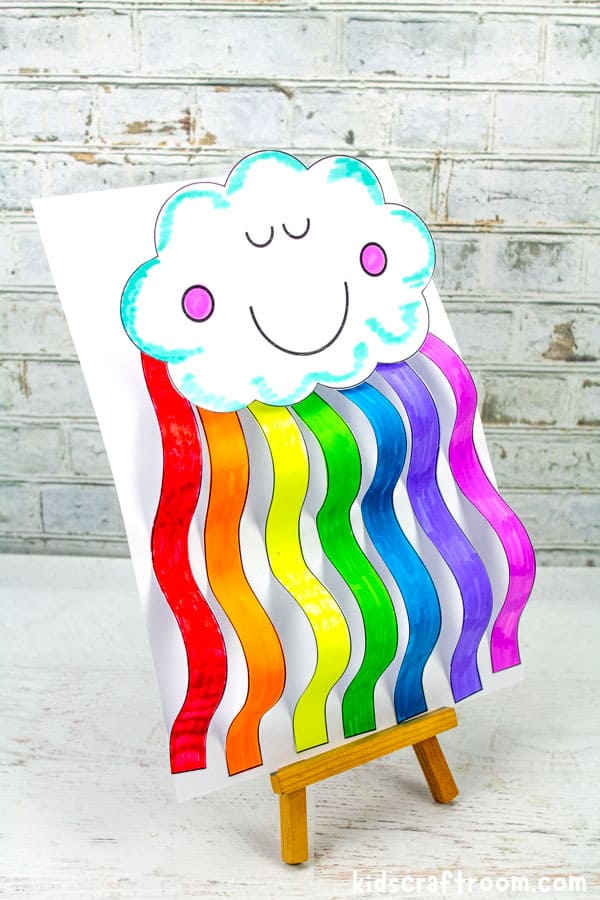
The easy to use rainbow cloud craft template makes this a really simple craft to make. So it’s absolutely perfect for your preschoolers and toddlers, and I’m sure bigger kids will enjoy it too.
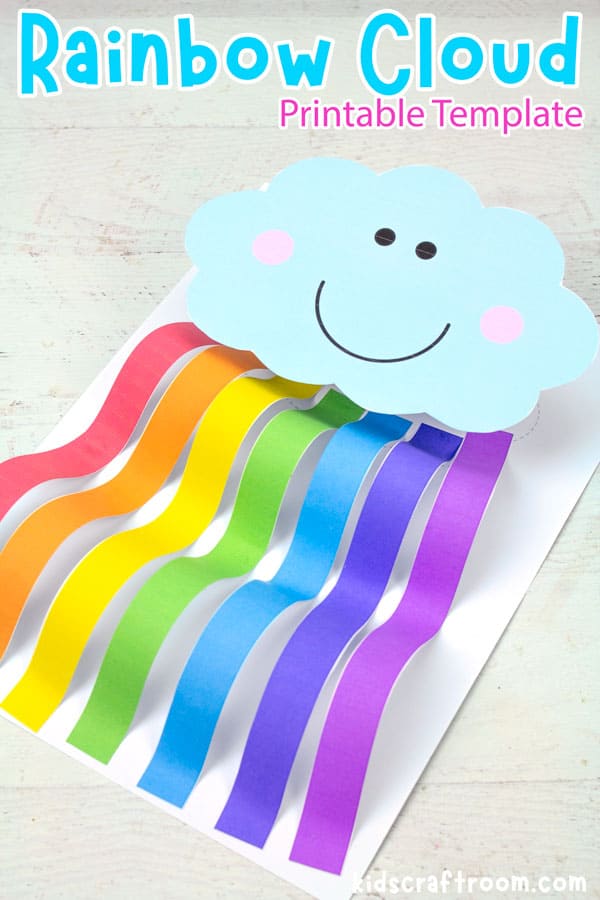
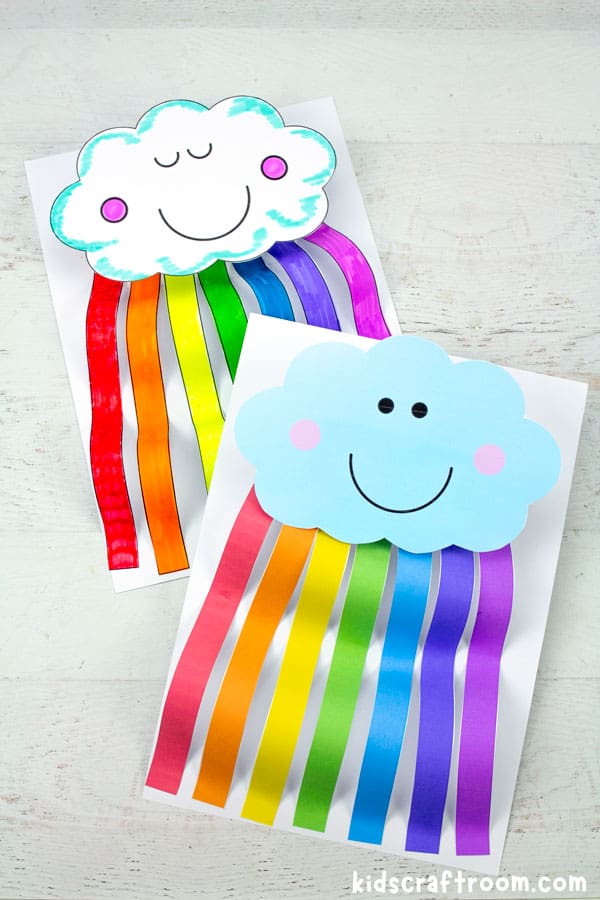
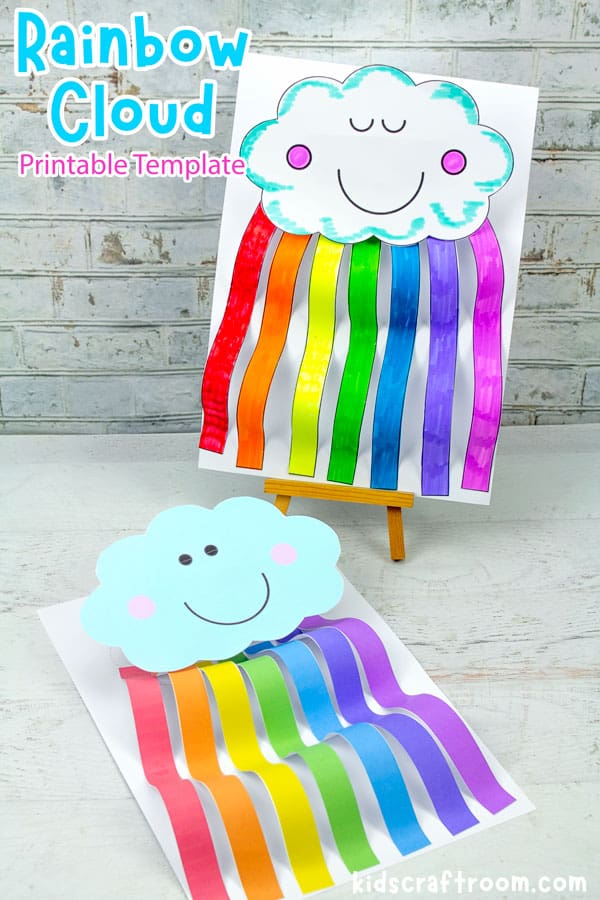
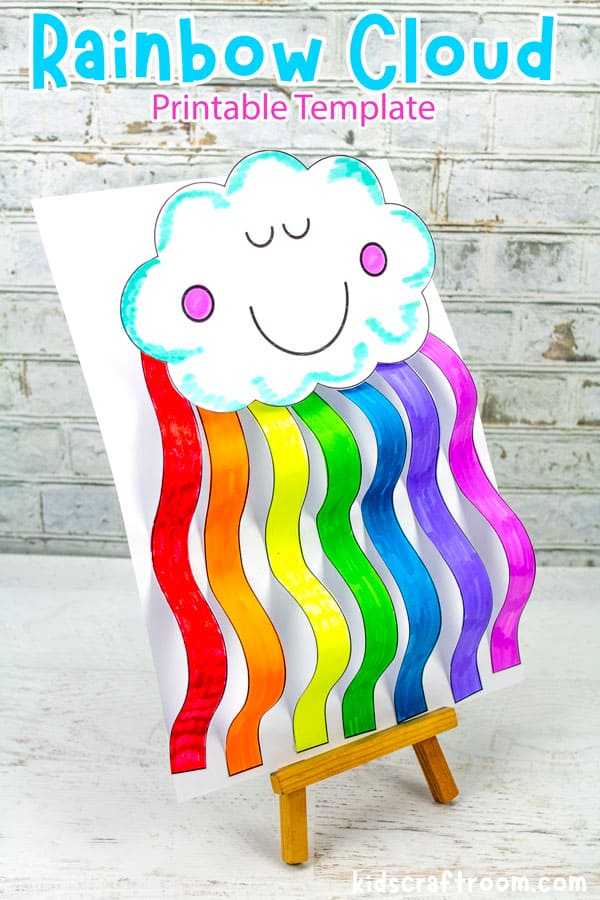
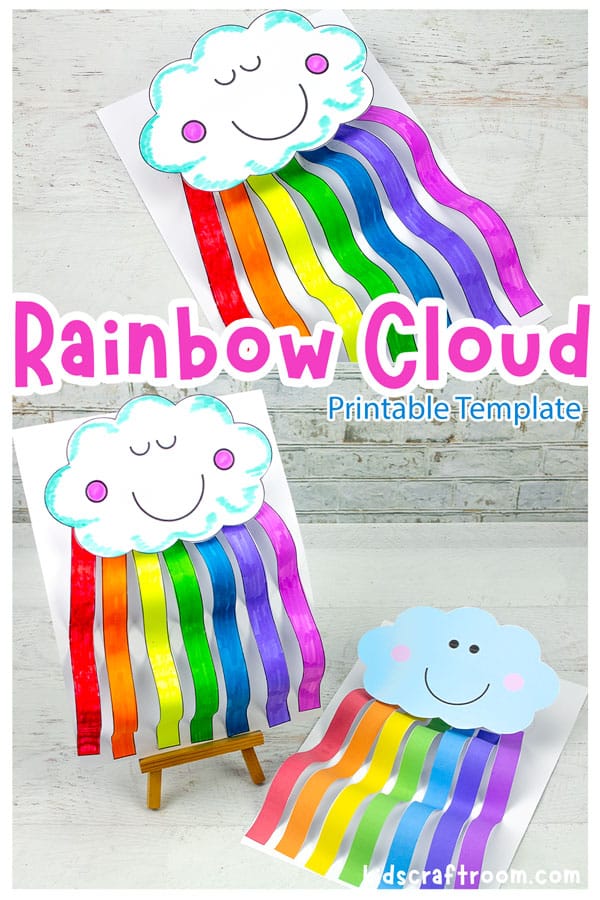
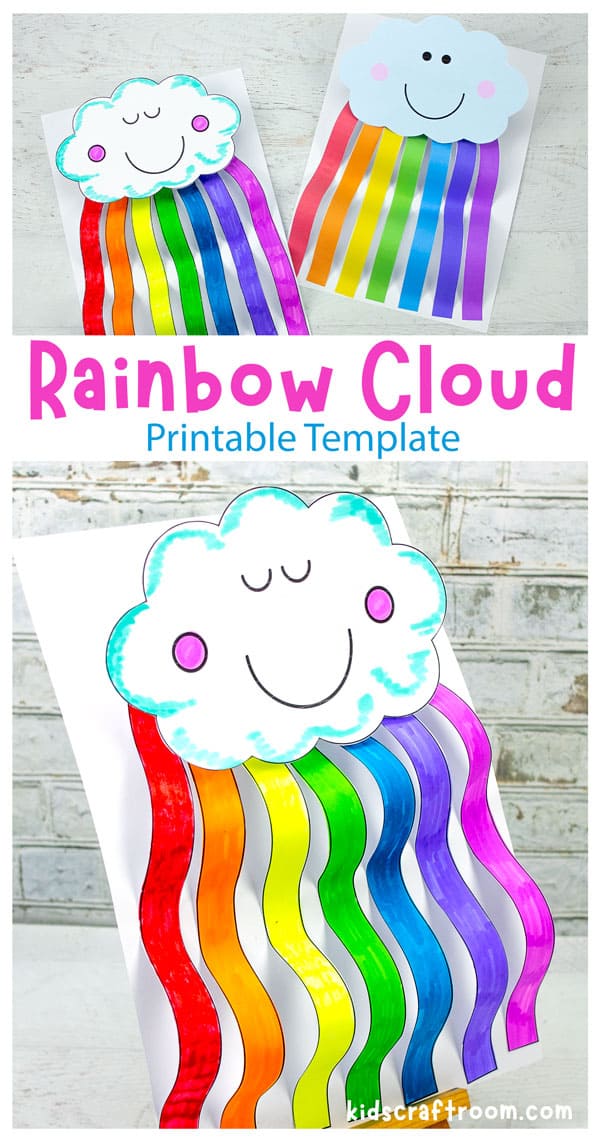
This rainbow cloud craft will add a wonderful splash of colour to the home or classroom and kids will love how easy it is to make it 3D!
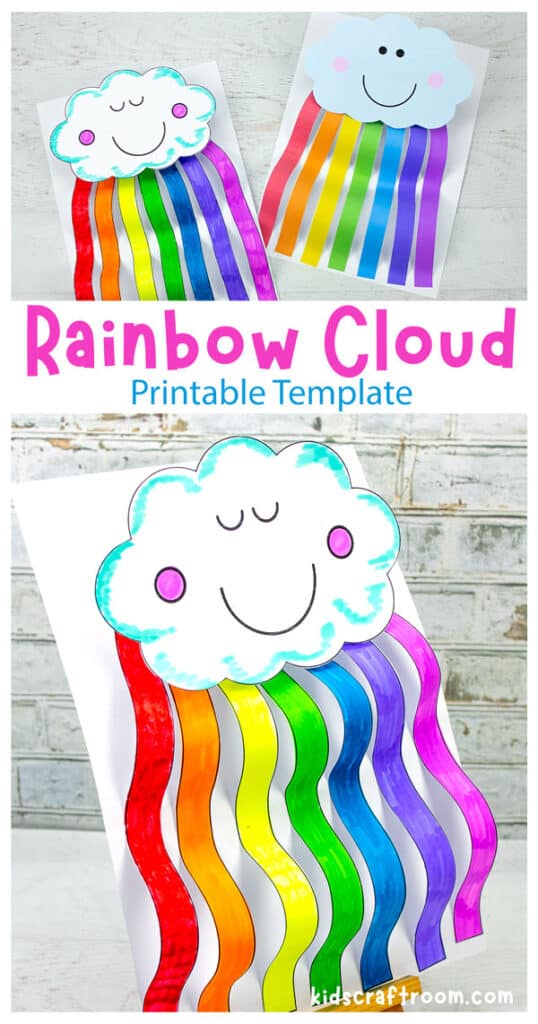
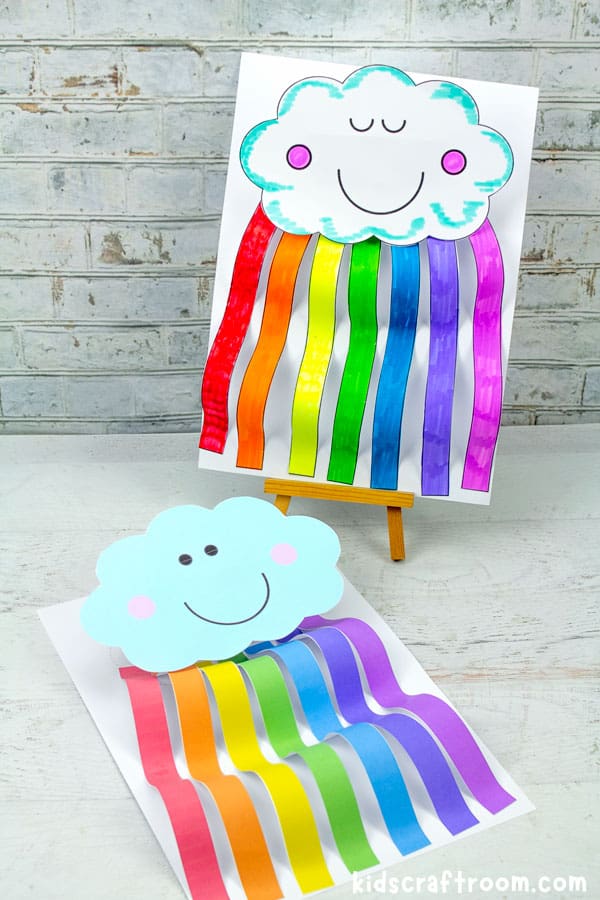
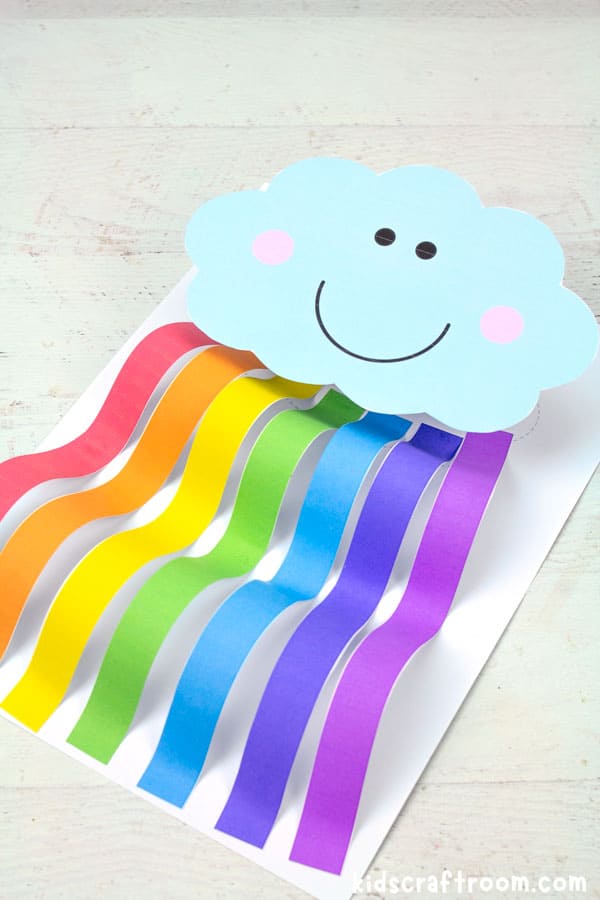
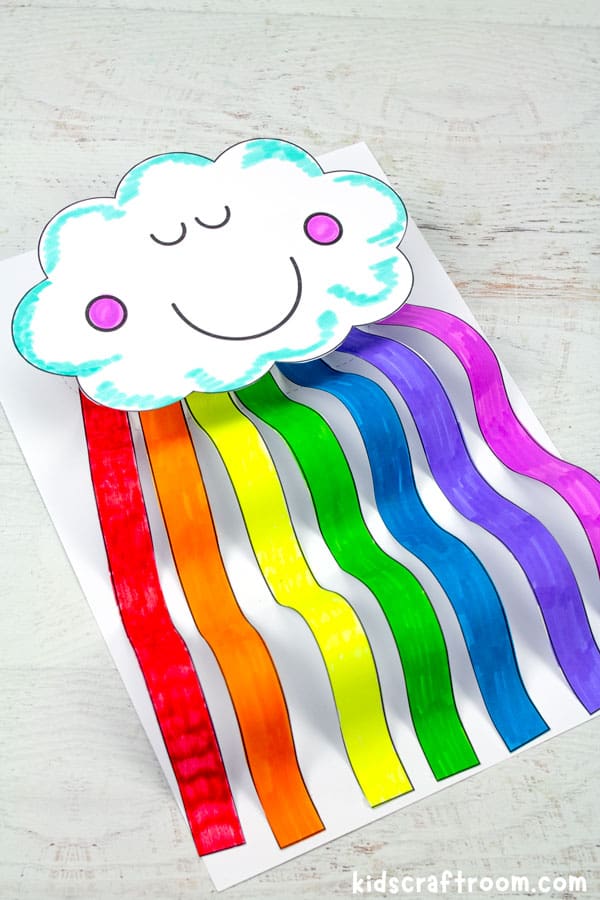
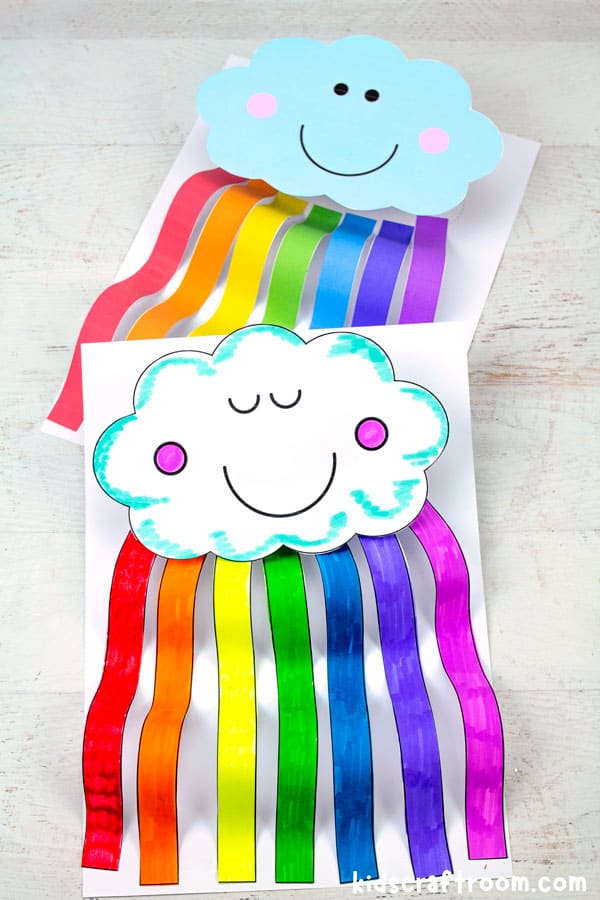
They’ll also enjoy interacting with the craft because the smiling cloud sits on a simple paper spring. You can push it down and it pops back up and wobbles around. It’s so adorably cute!
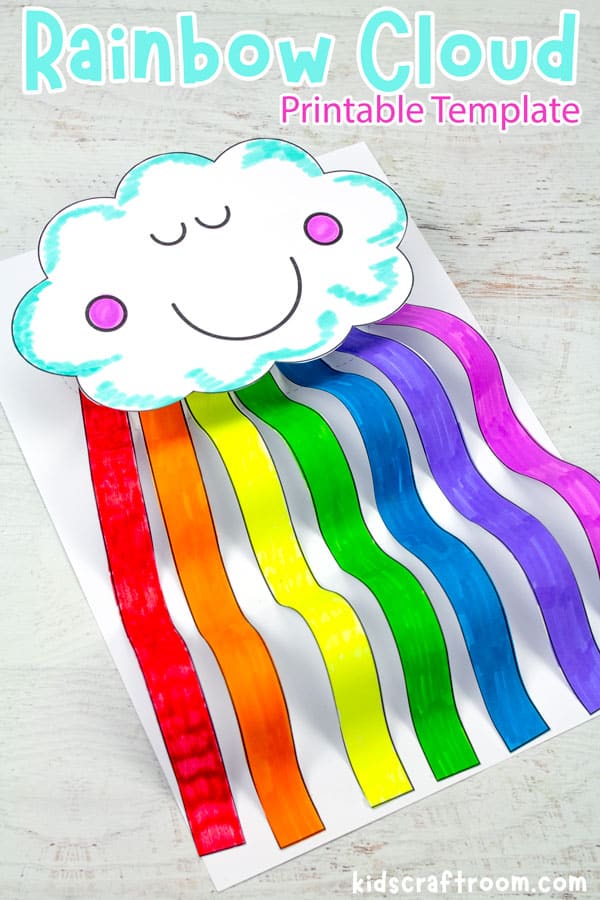
This is a lovely 3D cloud and rainbow craft to make at springtime, for St Patrick’s Day or to accompany a weather study theme.
It’s also a lovely craft to go with your favourite rainbow storybook or rhyme, or simply just for fun! I know we’d enjoy these happy little clouds all year round!
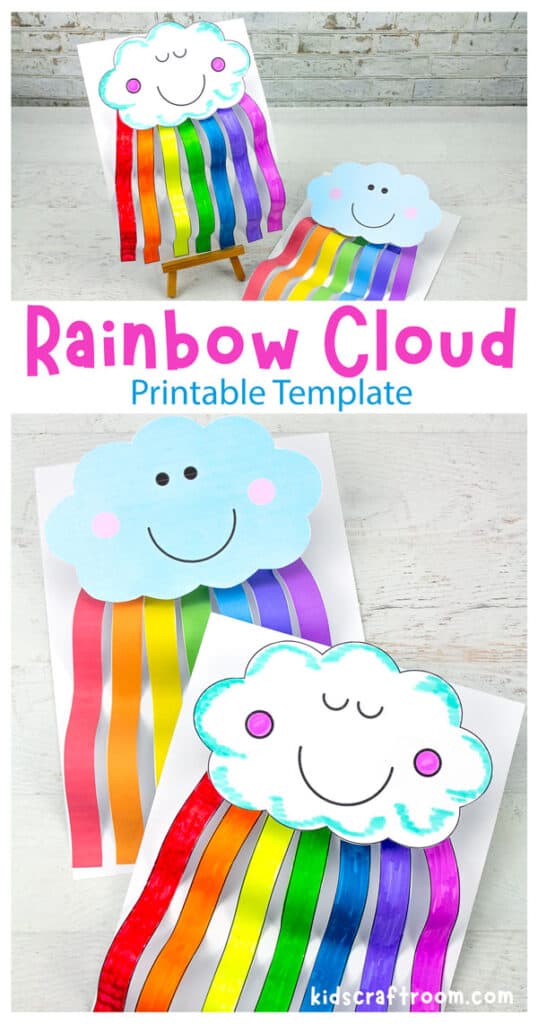
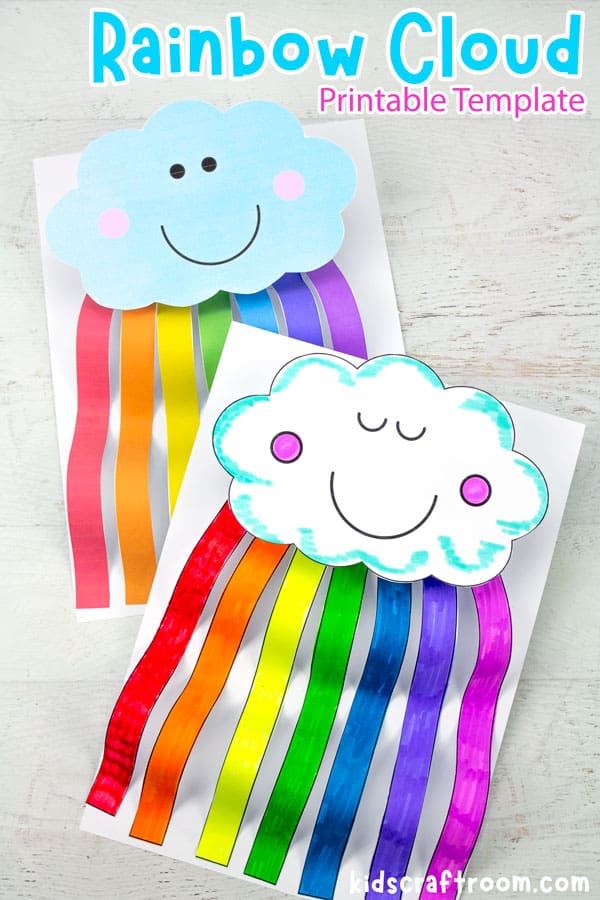
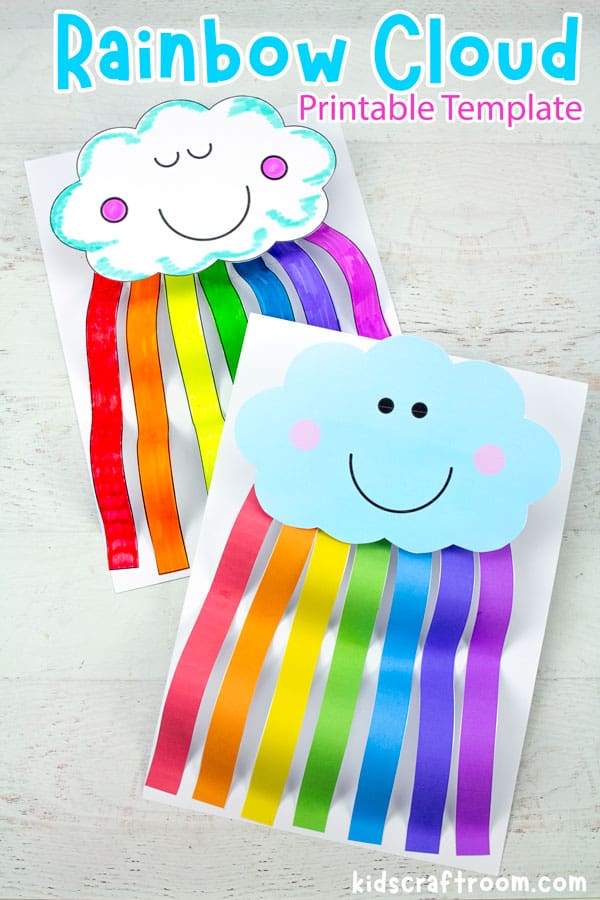
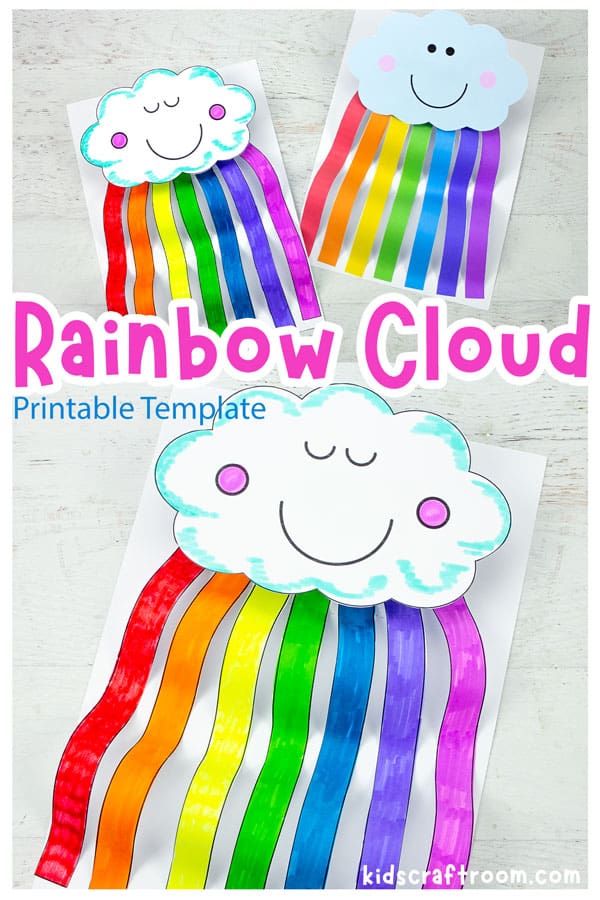
Make a Bobble Head Cloud and Rainbow Craft
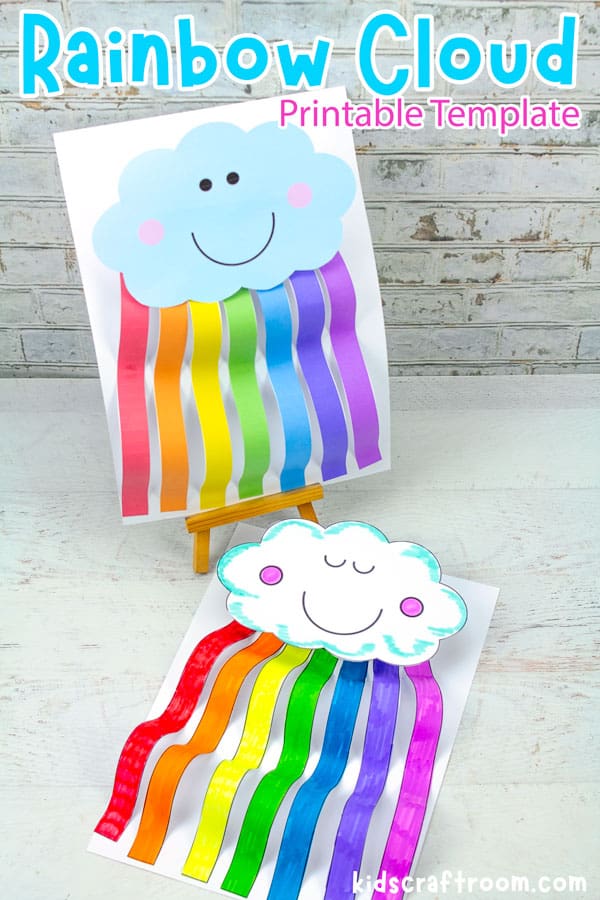
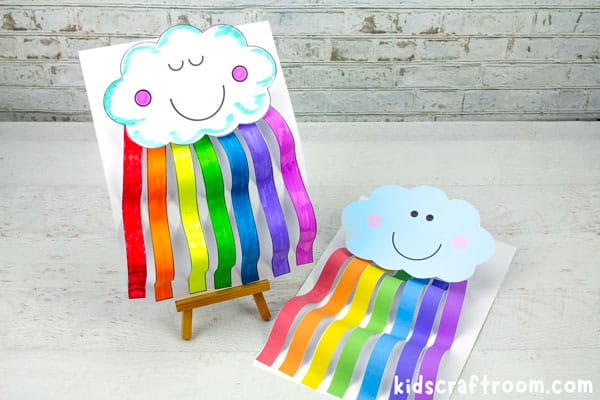
This Rainbow Cloud Craft is very easy to make with the printable template which comes with 4 different options to meet your needs, whether you are making this craft with just one child or a whole class.
- Template To Colour In
- Template To Trace Onto Coloured Paper
- Template To Print Onto Coloured Paper
- Ready Coloured Template
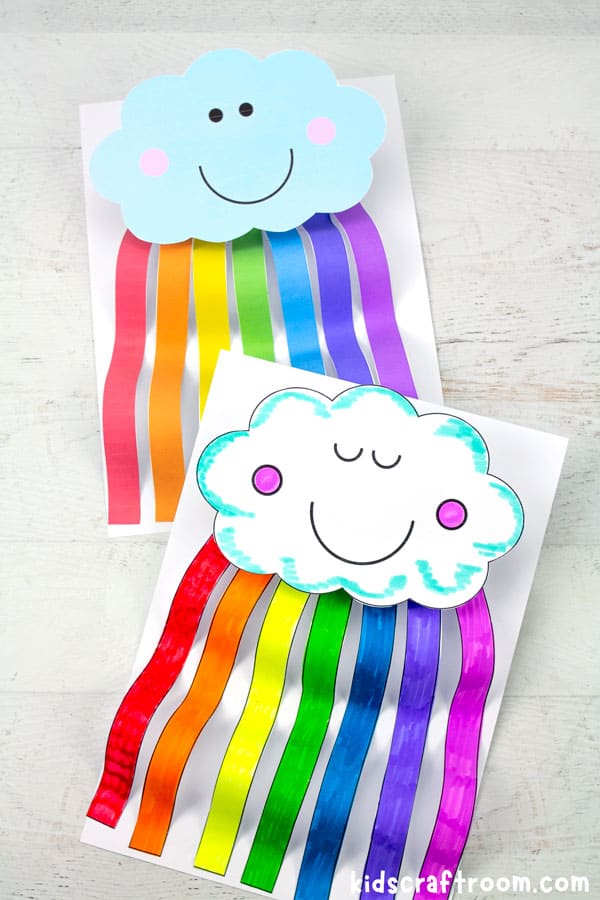
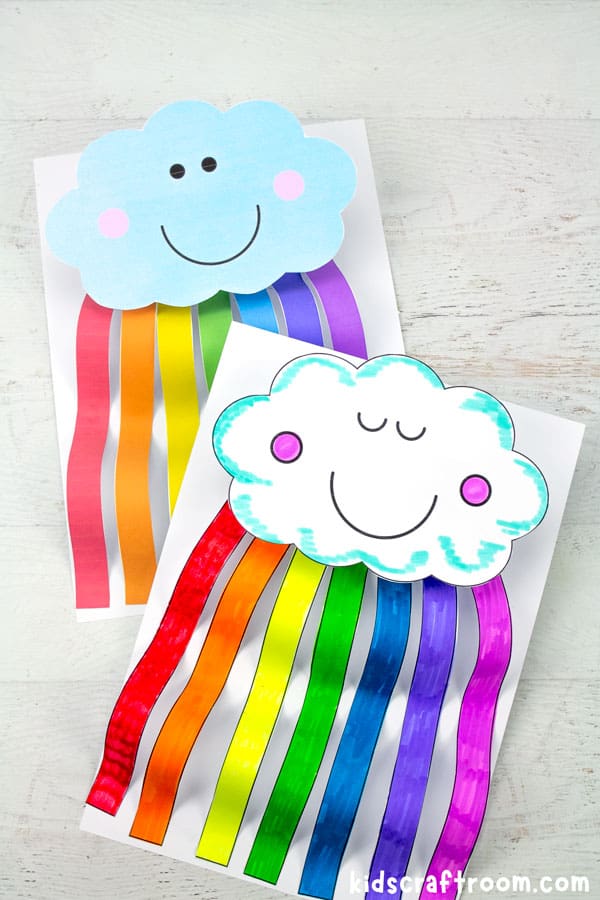
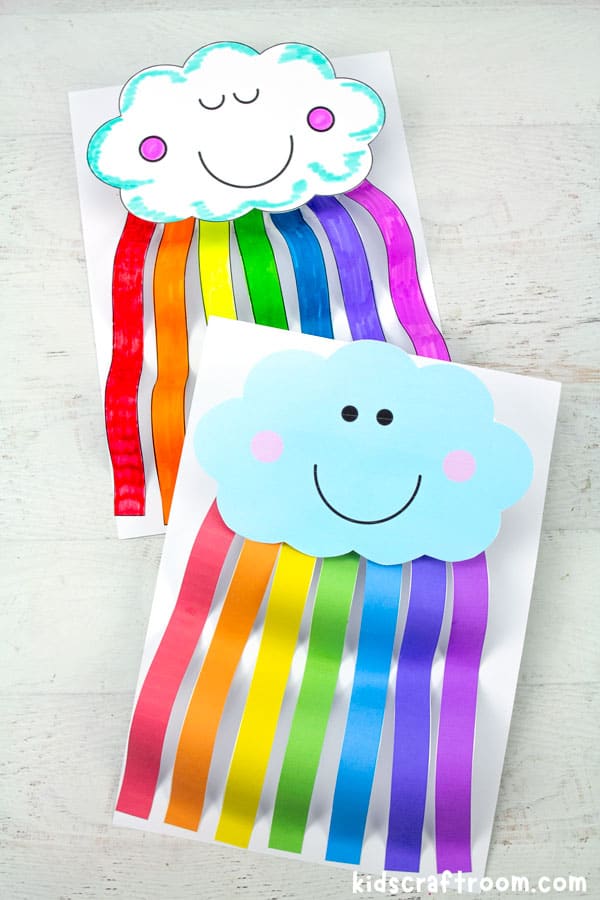
The rainbow cloud craft template also comes with a choice of three clouds. There’s two with faces. One with its eyes open and another with its eyes closed. There’s also a third cloud that is blank, so children can enjoy drawing their own face design.

Craft Supplies:
- Rainbow Cloud Craft Template (Click to get yours from our store)
- Printer Cardstock
- Scissors
- Glue
- Optional: Colouring Pens/Pencils/Coloured Paper
How To Make a 3D Rainbow Cloud Craft
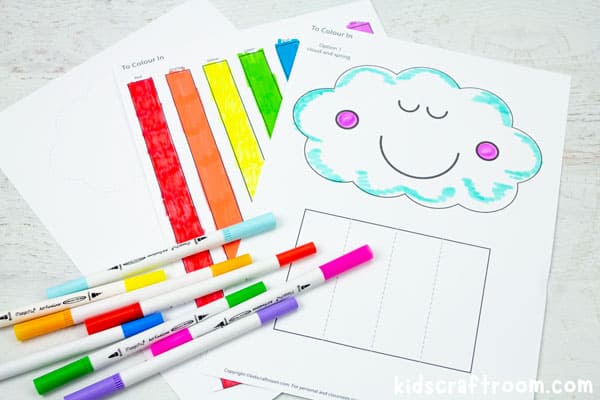
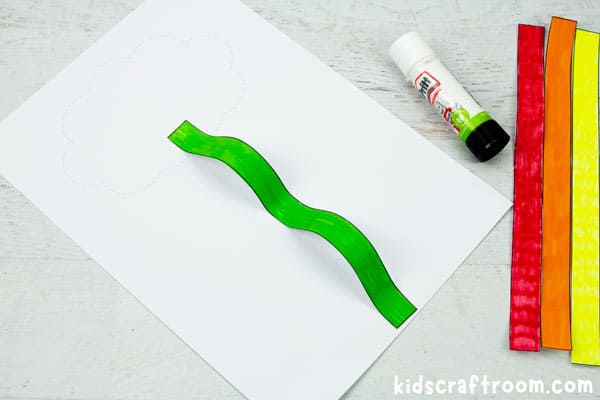
1 – Choose your template and print, trace or colour in as required.
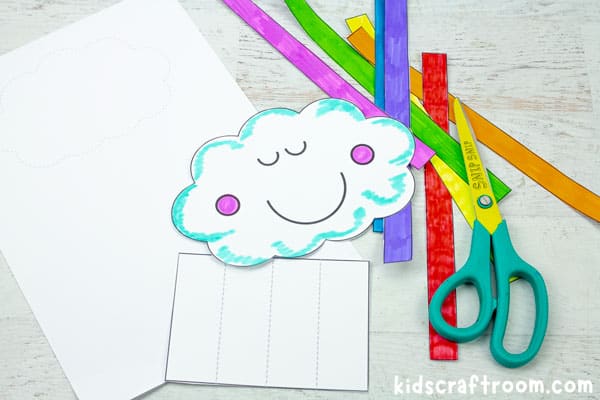
2 – Cut out the rainbow cloud template pieces.
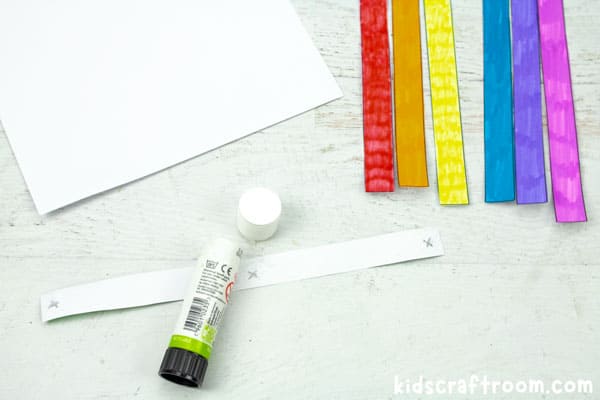
3 – On the back of each rainbow colour strip, put a dot of glue at the ends and in the middle. (I’ve marked the positions with an X in the photo above.)
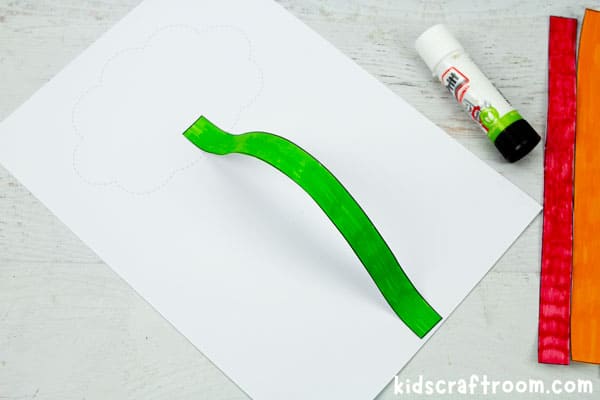
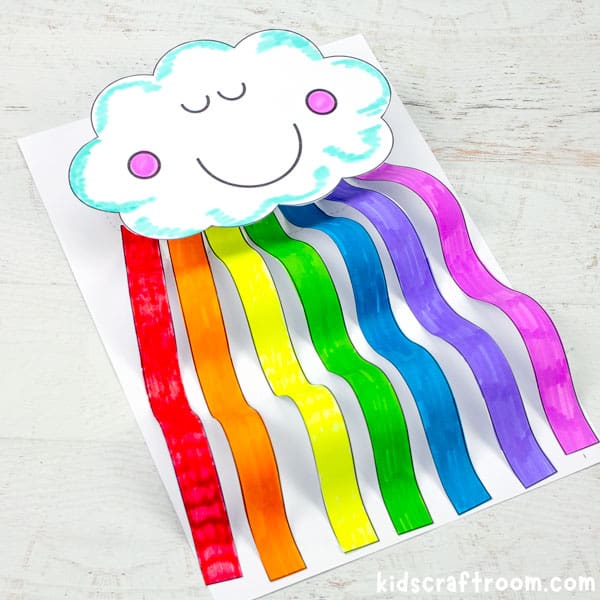
4 – Start with your middle colour. Glue one end of it onto the middle of the dotted line cloud (backing sheet). Glue the other end at the bottom of the backing sheet to make an arch.
5 – Push down the middle of the rainbow colour to make two smaller arches.
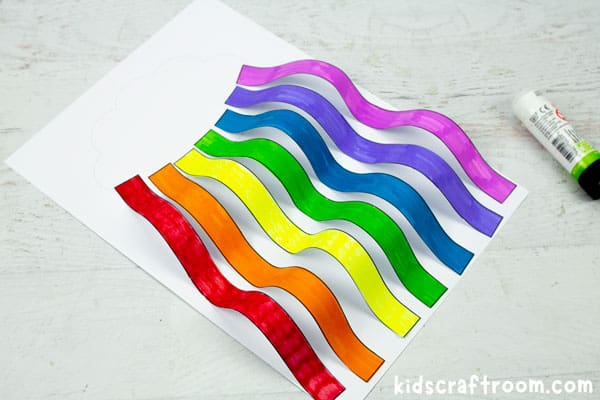
6 – Repeat these steps with all of the rainbow colours. Work from the middle to the outside.
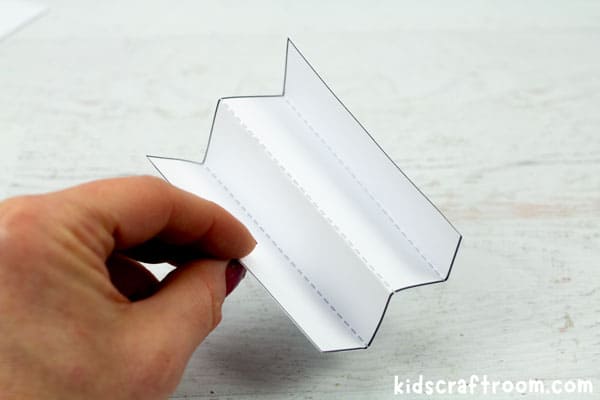
7 – Concertina fold the paper spring along the dotted lines.

8 – Glue one end of the spring to the back of the cut out cloud.
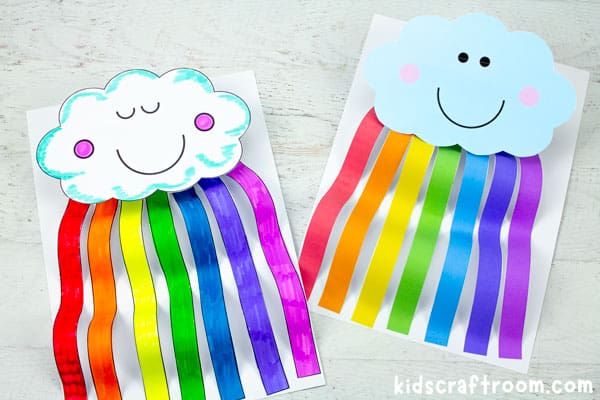
9 – Glue the other end of the paper spring onto the middle of the dotted line cloud on your backing sheet.
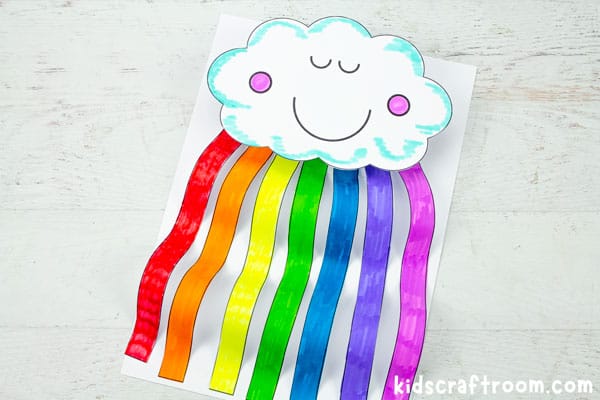
Now your colourful rainbow clouds are ready to go on display. I’m sure they’ll bring happiness and sunshine into everyone’s day!
Click Here To Get Your Rainbow Cloud Craft Template From Our Store
Check out Learning Resources if your kids want to learn some interesting rainbow facts.
More fun Spring Crafts to try:
