Have you ever tried sugar painting before? The results sure are sweet! We had a blast with this Winter sugar painting idea and I loved that it was something new and different to try!
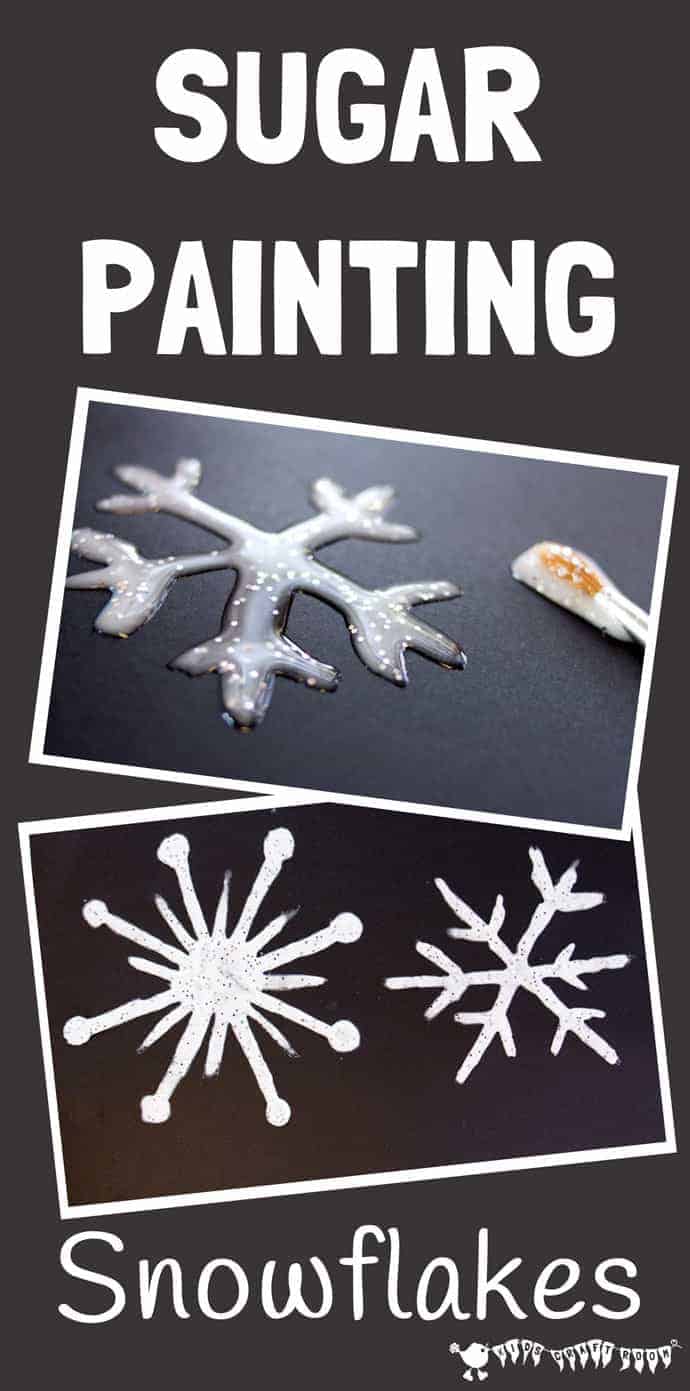
I was inspired to set up a sugar painting session after my son had shown such a love of decorating cakes and biscuits. You can see what a great job he did in our Instagram pictures here and here. Decorating food is great but you don’t get to keep it for very long because it all gets eaten!
With this sugar painting activity you get all the fun of sugar painting and decorating but you can put it on display for quite a time too without someone eating it!
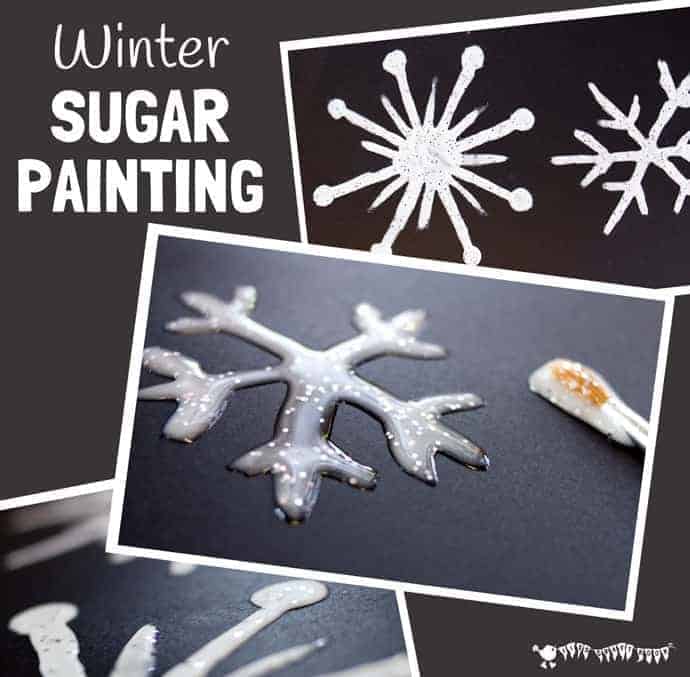
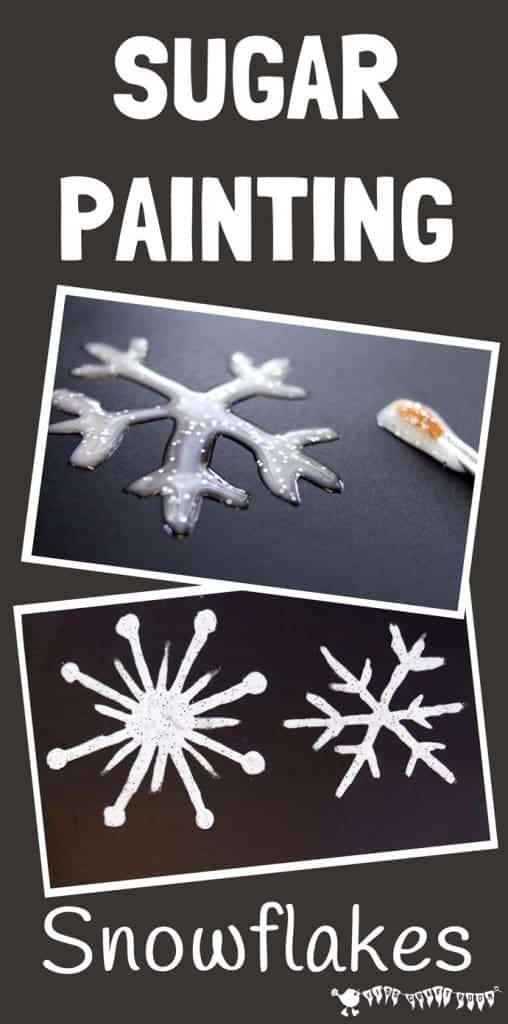
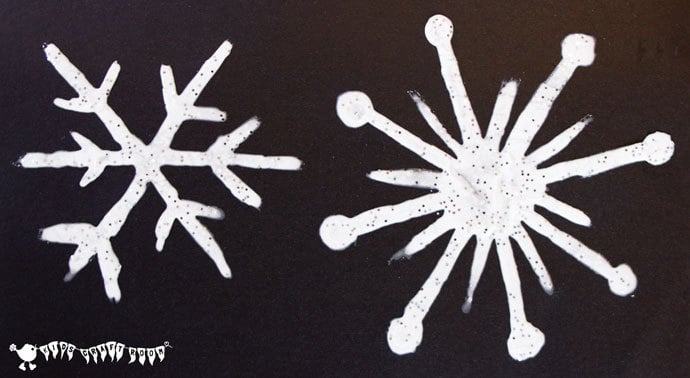
We thought this sugar painting idea was just perfect for Winter snowflake and Winter snow scene pictures. The glossy, sparkly, liquid sugar paint had a fabulous frosty, icy appearance!
Before you get started on this Winter Sugar Painting tutorial you might like to pin or bookmark some of our other favourite Winter crafts and activities for later too. Readers have loved gorgeous frosty pinecones which make a wonderful display, Wibbly Wobbly Snow Gel Sensory Play which gives you all the fun of snow in the comfort of your own home, Melted Snowman Blow Painting which lets kids build a snowman and see it melt away again and again, and finally Button Snowflakes which look amazing on the Christmas tree.
Supplies For Winter Sugar Painting
- Powdered Sugar US / UK
- Silver Glitter US / UK
- Black Card Stock US / UK
- Paint Brushes US / UK
- Optional: Icing Nozzle US / UK
How To Set Up Winter Sugar Painting For Kids
Sugar painting is such an easy activity to set up. All you need to do is mix up your powdered sugar with a spoonful or two of water.
There’s no right or wrong for the quantities to use, it really depends on how thick or runny you want the paint to be. We mixed up a few different thicknesses and the children enjoyed experimenting with them all.
To add some extra Wintery sparkle to our sugar paint we stirred in a bit of glitter too. (Make sure the kids don’t eat it if you add glitter or sequins!)
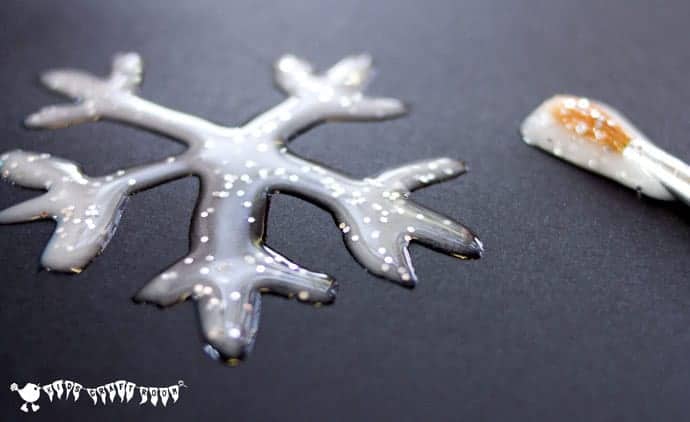
I’d recommend using card stock rather than paper because it will take a while for it to dry and set and thin paper probably won’t be robust enough. Also the paint can be quite heavy when it’s dry so card stock will let you display the finished Winter art on the wall.
I really love how the sugar paint looks when it’s first used don’t you? It’s quite 3D and really is glossy and sparkly and looks striking against the black card stock.
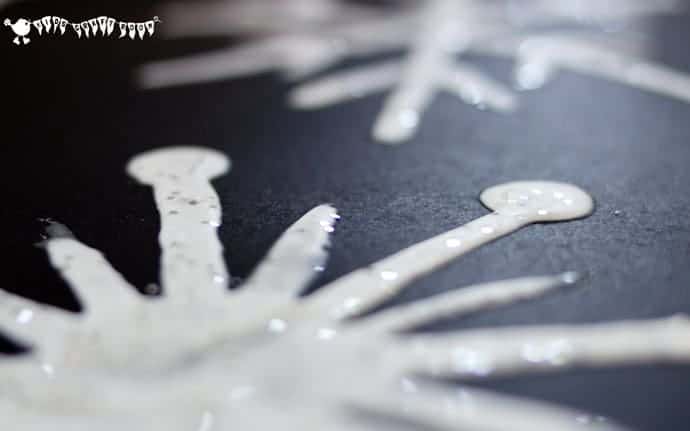
It can take the pictures a couple of days to dry fully depending on the thickness of paint you used. You can see from the photos that when the sugar paint is dry it still has a slightly raised appearance and the sparkles from the glitter stay but the sugar paint itself takes on a more matt quality.
Winter Sugar Painting Variations:
It’s easy to stretch children’s exploration of Winter Sugar Paint by varying it a little each time it’s offered. Here are a few ideas to get you started.
- add some food colouring
- paint on different coloured cardstock
- use different coloured glitter
- use more or less powdered sugar to make different thicknesses of sugar paint.
- use different sized paintbrushes
- Use icing nozzles instead of brushes
How Long Does Sugar Painting Last?
I actually can’t tell you how long the sugar paintings will last right now as we’ve only just started exploring this new technique. The ones in the photos are about two weeks old and the sugar has still stayed on the card stock without any problems. It’s now week three and I can see some hairline cracks in the paint and think that eventually it will probably start to flake off a little if the card stock is bent unless I seal it in under a layer of Mod Podge. Sealing the Winter art pieces might be a good way to preserve them and of course stop insects that might be attracted to the paint in the Summer!
I think the not knowing is quite an exciting part of the whole process and art experience for both adult and child don’t you? It’s always good to be adventurous and experiment a bit!
You can print the winter art instructions below.
More Fun Winter Crafts To Enjoy:
Winter Sugar Painting

Materials
- Powdered Sugar
- Silver Glitter
- Black Card Stock
- Paint Brushes
- Optional: Icing Nozzle
Instructions
- Mix up your powdered sugar with a spoonful or two of water. There’s no right or wrong for the quantities to use, it really depends on how thick or runny you want the paint to be. We mixed up a few different thicknesses and the children enjoyed experimenting with them all.
- Stir in some glitter or sequins (make sure children don't eat any if you add glitter or sequins).
- Experiment with the paint on card to create glossy wintery pictures.
- It can take a day or two to dry depending on the thickness of your sugar paint. The paint will become more matt as it dries.

