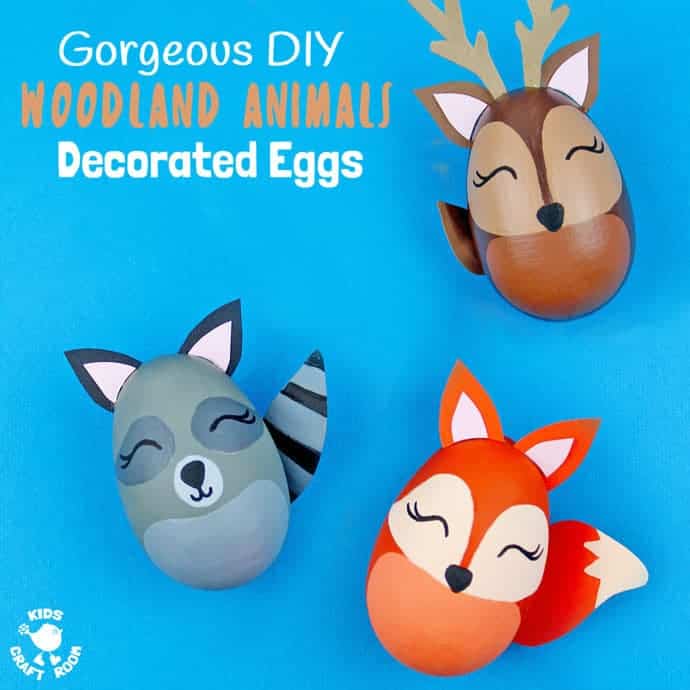
If you are looking for some special Easter egg decorating ideas then these Gorgeous Woodland Animal Easter Eggs could be just the ticket. These Easter egg animal designs look amazing and are surprisingly easy to do. We’ve got a stunning egg fox, raccoon and deer. We can’t choose a favourite as they’re all so adorable!
This decorated egg craft is great for bigger kids to do independently or for little ones to help you with. You could use these woodland animal Easter egg ideas for decorating wooden eggs, blown eggs, hard boiled eggs or even plastic eggs. Although we’re showing you these DIY Easter eggs in the run up to Easter we think they’re so pretty you might want to paint wooden eggs and keep them on display all year round!

We’re huge Easter craft fans and these Woodland Animal Easter Eggs are definitely going on our list of favourites. Aren’t they lovely? We chose to make our animal designs on Wooden eggs so they’ll last and we can reuse them for Easter egg hunts and Easter decorations year after year. We also think they’re special enough to be given as cute Easter gifts too don’t you?
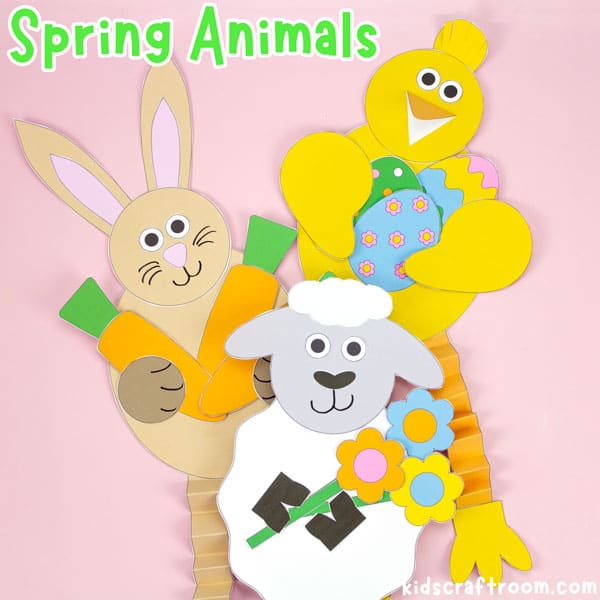
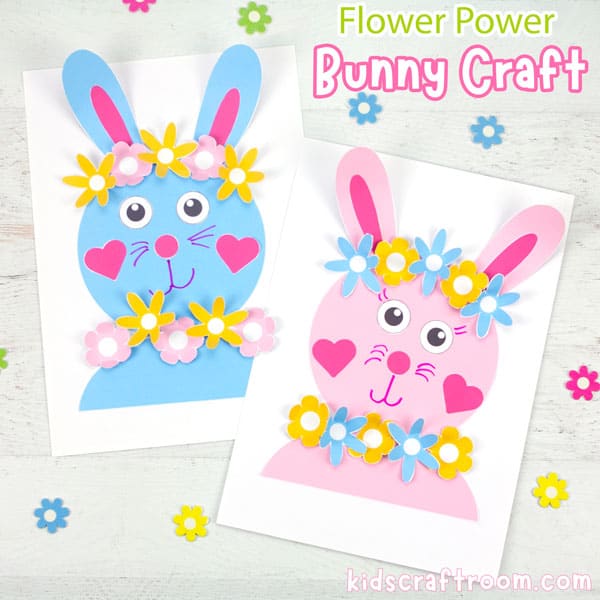
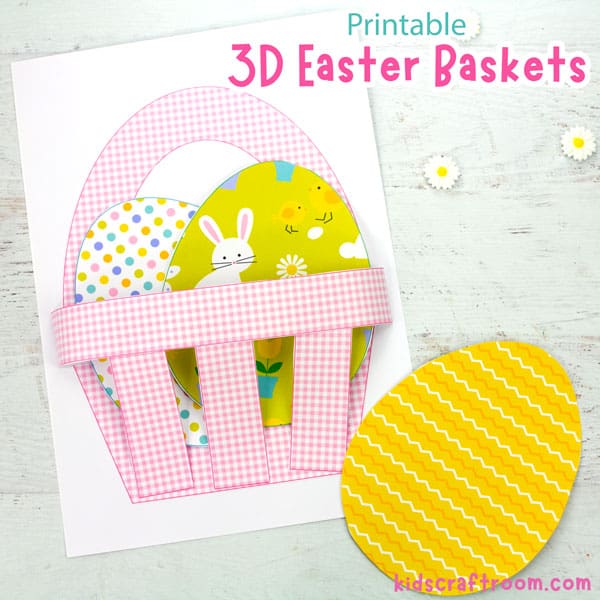
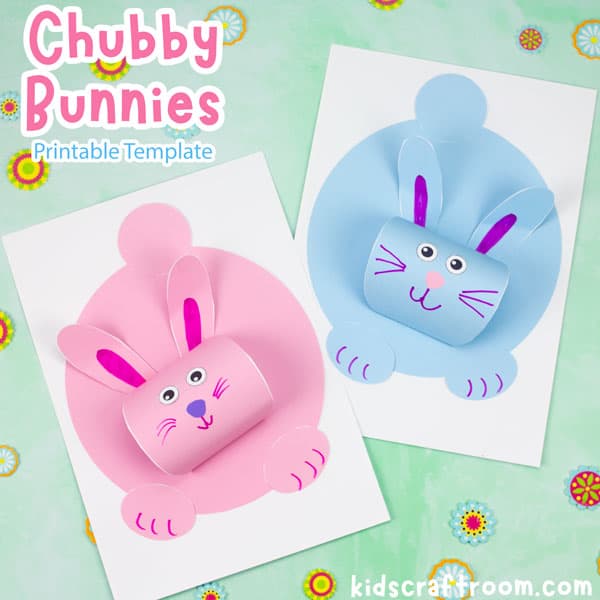
Here’s some other fun easter craft ideas to tempt you too. Just click the photos to go straight to the tutorials and scroll down to see how to make our Woodland Animal Easter Eggs.
Gorgeous Woodland Animal Easter Eggs Tutorial
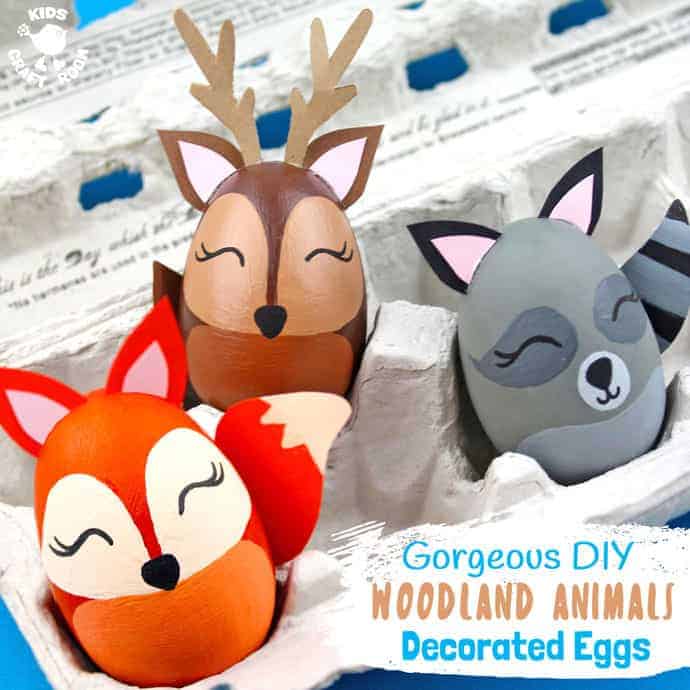
This decorated egg craft is simpler to do than you might think. Follow the photographs and instructions below and you’ll soon have a set of gorgeous Woodland Animal Eggs that everyone is sure to adore.
Supplies For Woodland Animal Easter Egg Designs
- Wooden Eggs
- Selection Acrylic Paint
- Black Posca Paint Pen
- Card (Black, Pink, Orange)
- Glue Gun
- Paint Brush
- Pencil
Woodland Animal Easter Egg Decorating Technique
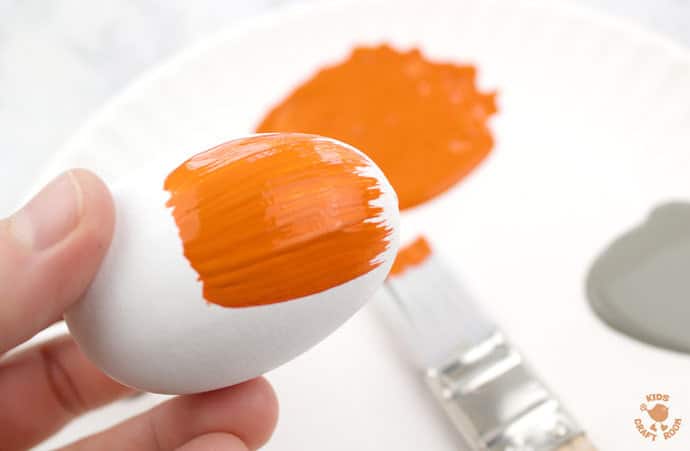
1 – Start your egg designs with a good covering of base coat colours onto your wooden eggs. It may take two or three coats depending on your paints. We used brown for the deer, grey for the racoon and orange for the fox.
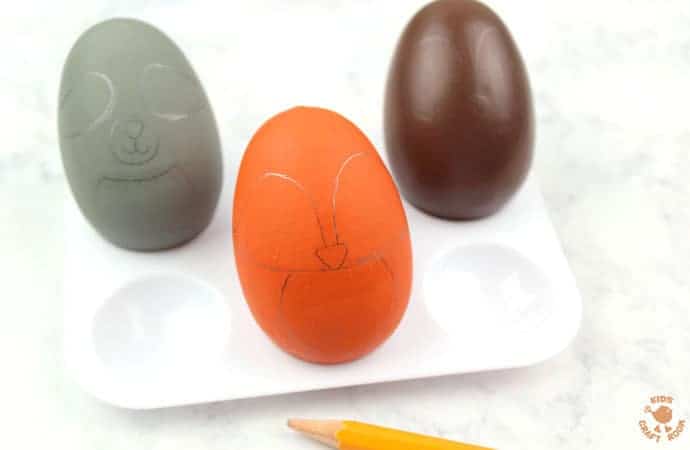
2 – When the paint is dry lightly sketch the animal’s faces and stomachs unto the eggs with a pencil. If you go lightly you can rub out any mistakes you make. Use the photo above and the finished photos as a guide.
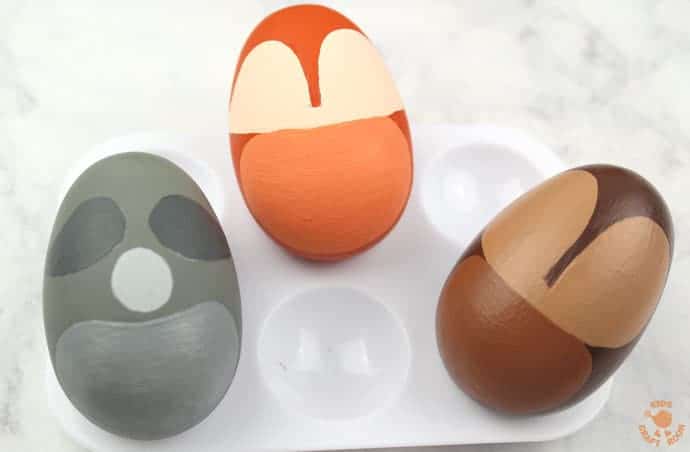 3 – Once you’re happy with your pencil markings fill in the shapes with paint using the photo above as a guide for your colours and shapes.
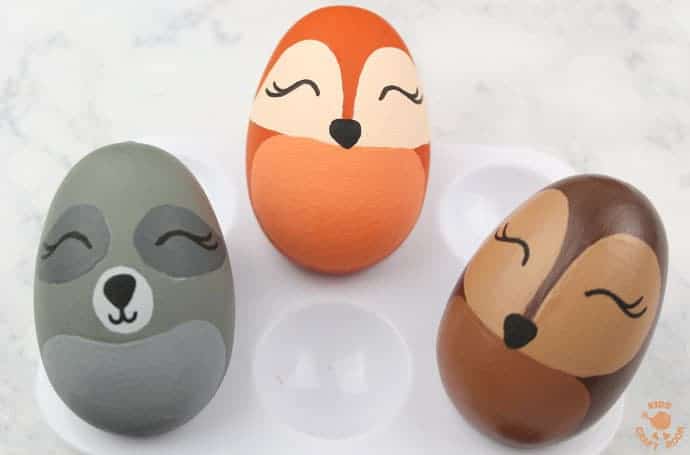 4 – You might think that your eggs aren’t looking much like woodland creatures at the moment but don’t worry because you’ll be amazed at how they come to life once they have their eyes and noses. We used a black Posca Paint Pen as it has excellent coverage straight over all the paint colours.
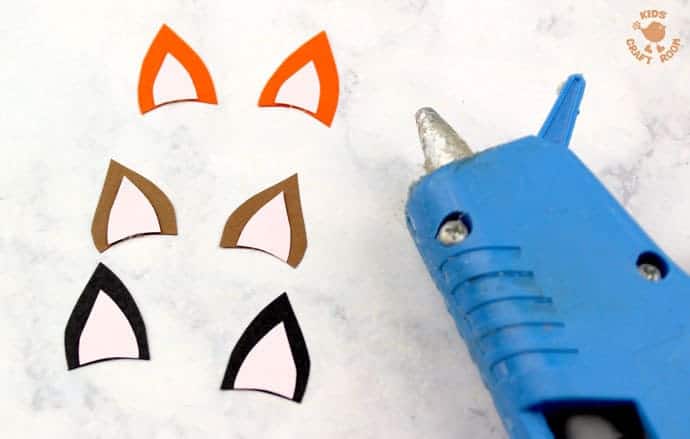
5 – Next prep your animals’ ears out of card. We used the same shape for each animal with a different base colour. Then we glued on a light pink inner ear to each one.
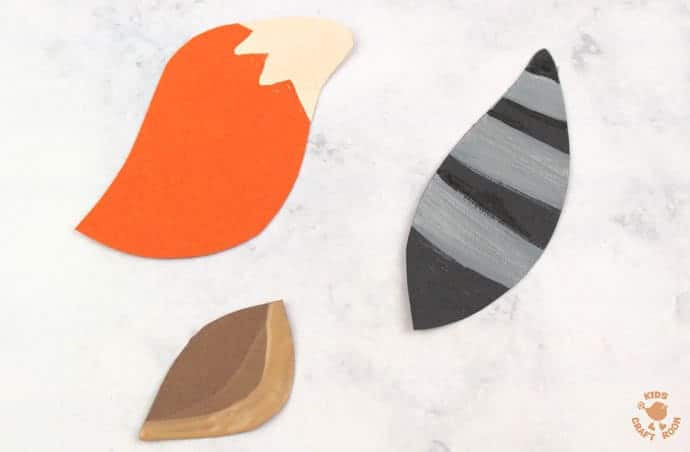
6 – Then make some tails and antlers out of card and paint on any details. There is a printable template for the ears, antlers and tails if you want to use it to trace around but I honestly think it’s just as easy to copy the shapes from the photos and sketch them by hand straight onto card.
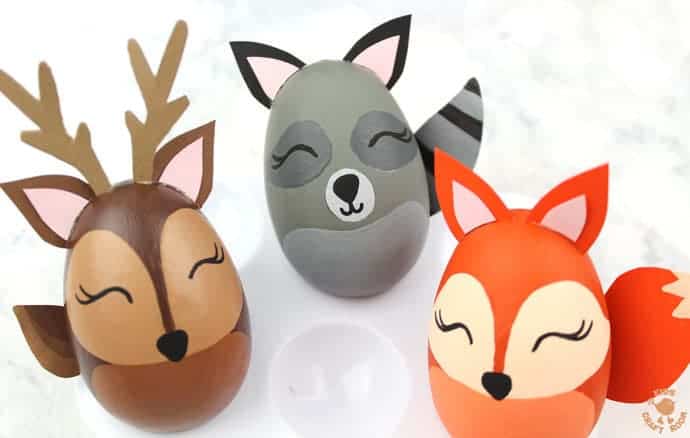
7 – Finish off your Woodland Animal Easter Eggs by gluing on all your cardboard ears, antlers and tails with the cool temp glue gun.
We totally adore how these turned out and think they’re a great choice if you’re looking for Easter egg decorating competition ideas. We’d definitely award them first prize!
More Fun Easter Crafts For Kids:
