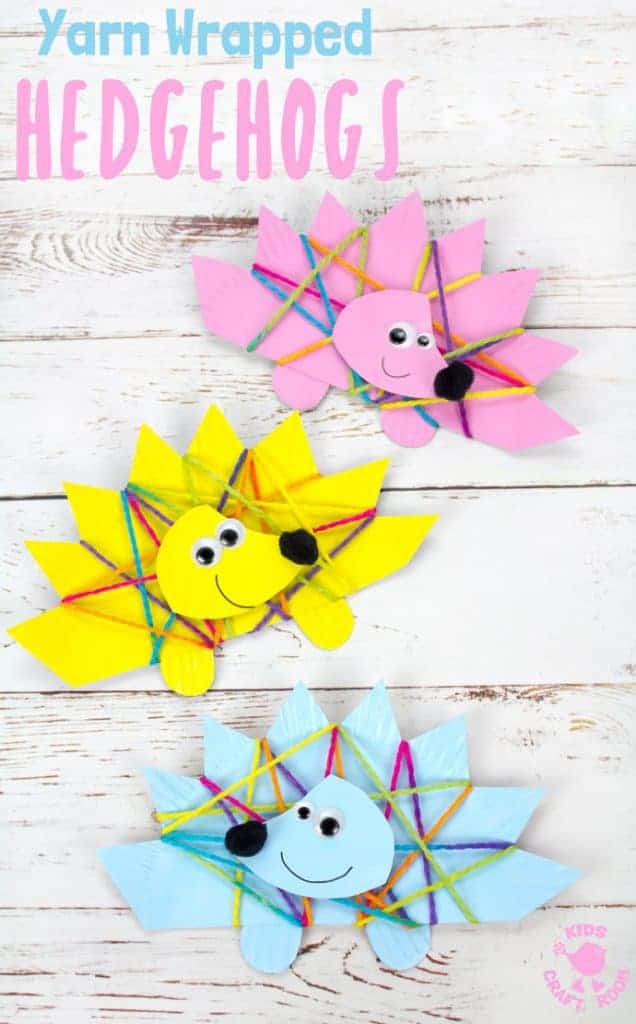
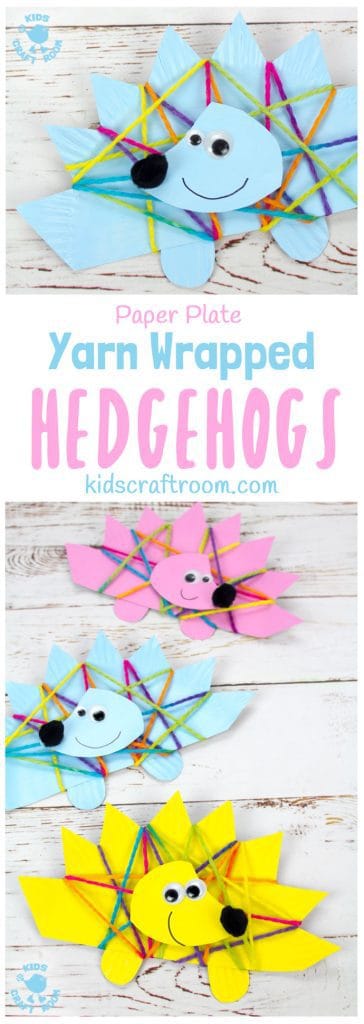
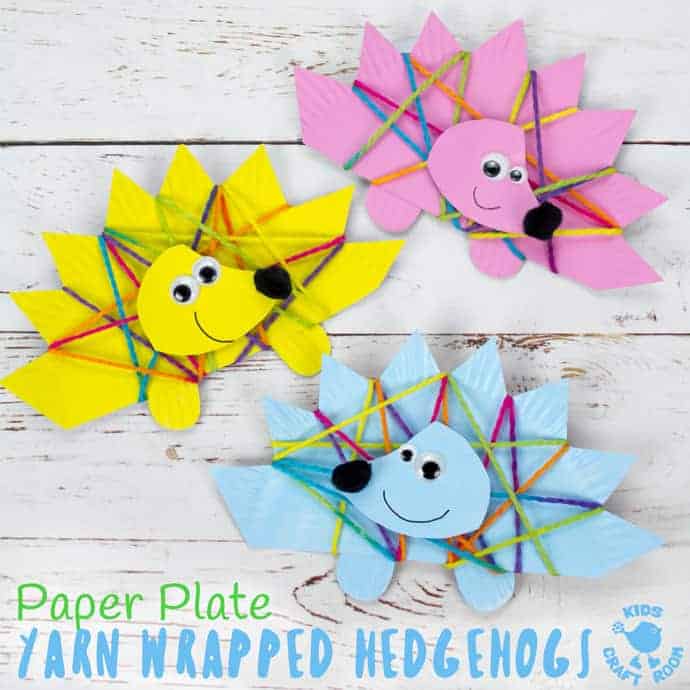
Do you love cute hedgehog crafts as much as we do? Then you’ll adore this Yarn Wrapped Paper Plate Hedgehog Craft. It’s so sweet, colourful and fun!
Hedgehog craft activities are great for Autumn when we’re beginning to think about creatures getting ready for hibernation or for a woodland animal theme all year round.
I’m sure you’ll agree these are such adorable hedgehog crafts to make with preschoolers and the cutting and wrapping give kids lots of opportunities to build their fine motor skills too.

We’ve made this yarn wrapped paper plate hedgehog craft using lots of bright colours but they’d look just as adorable made using more traditional brown colours too if you prefer.
Paper Plate Hedgehog Craft Tutorial
Today we’re showing you how to make an adorable paper plate hedgehog in a really simple and enjoyable way. Your kids can have lots of fun yarn wrapping to make their own unique hedgehog, all the while building their motor skills! Let’s get started!
Hedgehog Craft Supplies:
- Paper Plates
- Acrylic Paint
- Rainbow Yarn
- Small Black Pom Poms
- Googly Eyes
- Marker Pen
- Glue
- Scissors
- Sticky Tape
How To Make A Yarn Wrapped Paper Plate Hedgehog Craft
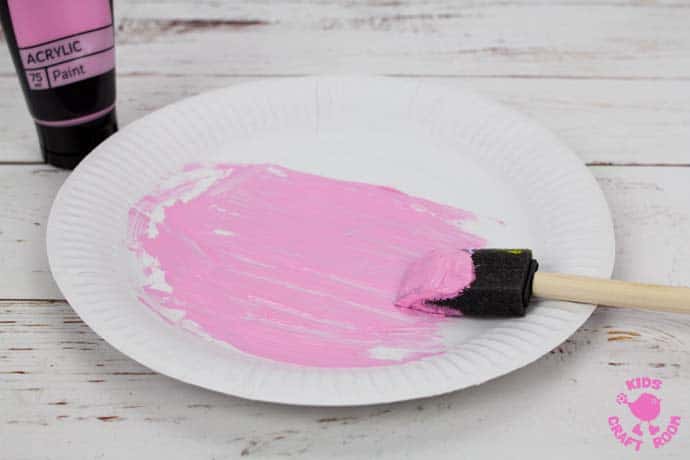
1 – Start your hedgehog by painting a paper plate.
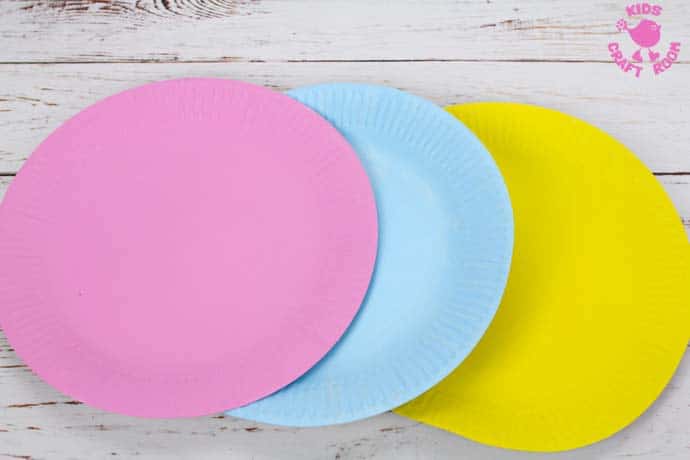
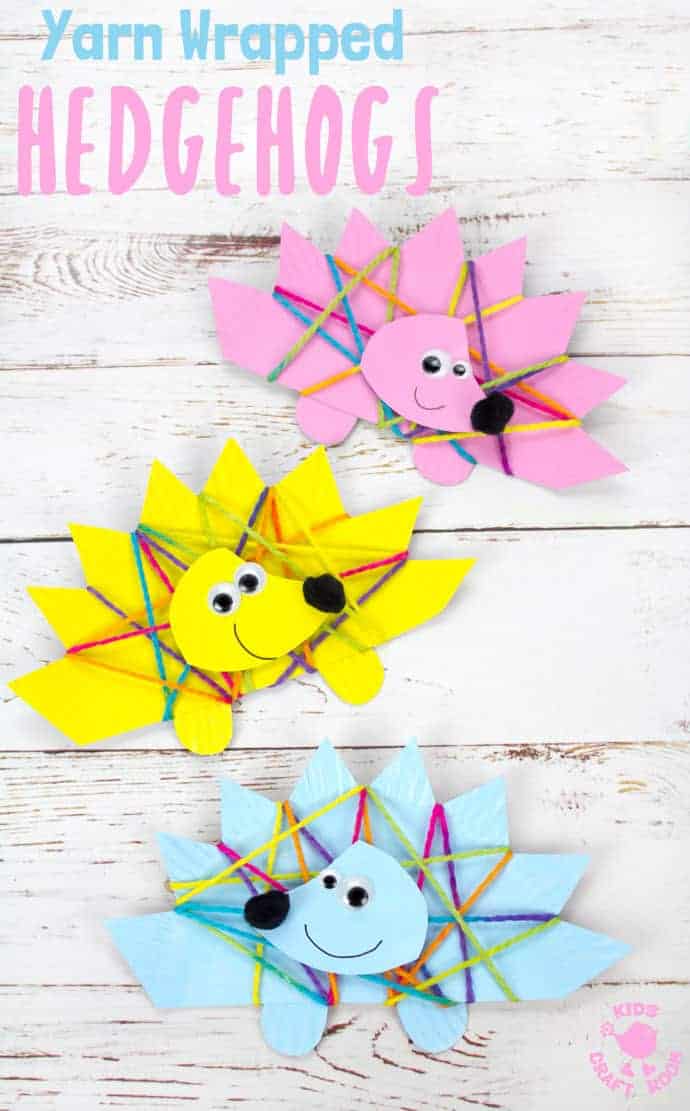
2 – We made three hedgehogs at a time and chose bright colours but you could use more traditional browns too if you prefer.
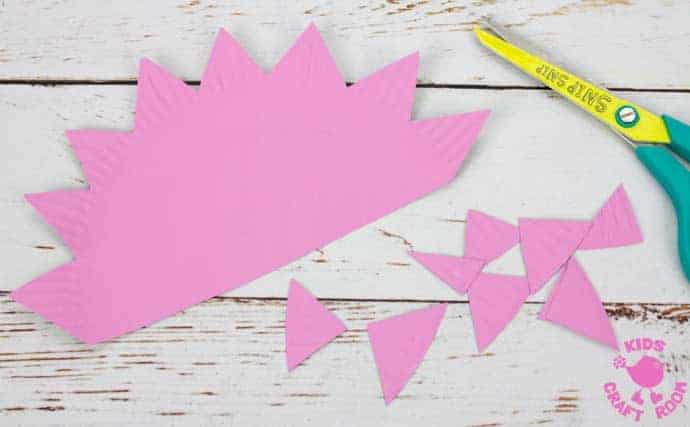
3 – Cut your paper plate in half and then cut small triangles out all along the outer round edge to make the hedgehog’s quills.
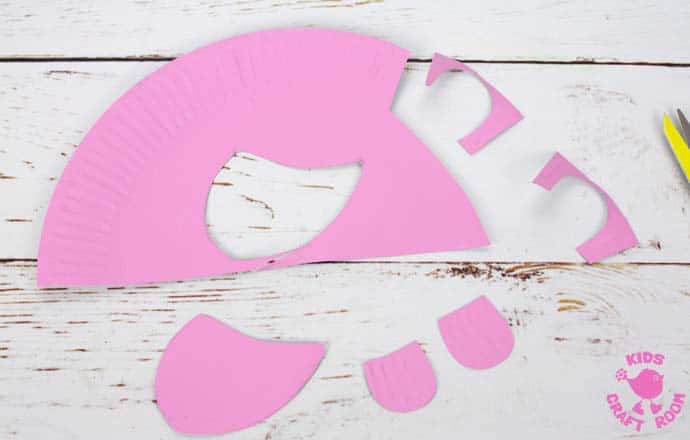
4 – Use the other half of the paper plate to cut out a hedgehog head shape and a pair of feet.
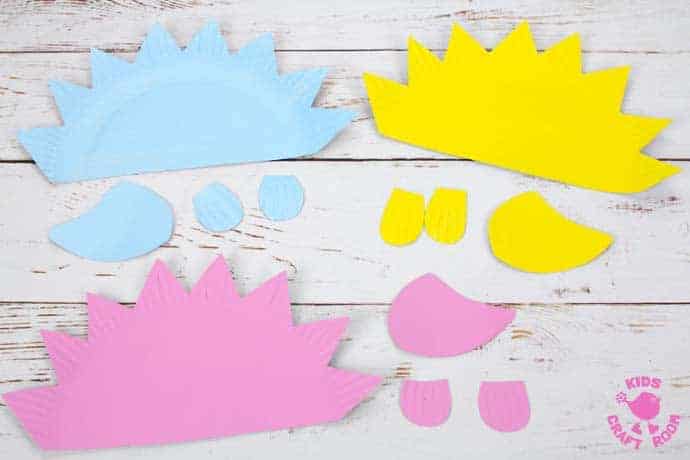
5 – We repeated this step for all of our hedgehogs.
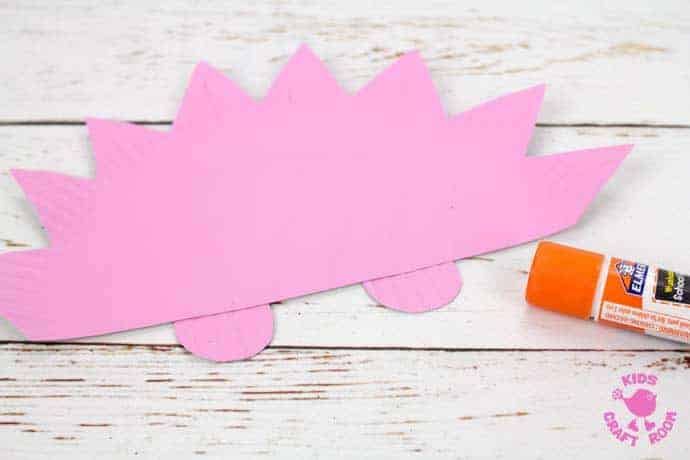
6 – Glue the hedgehog’s feet onto the back of the body.
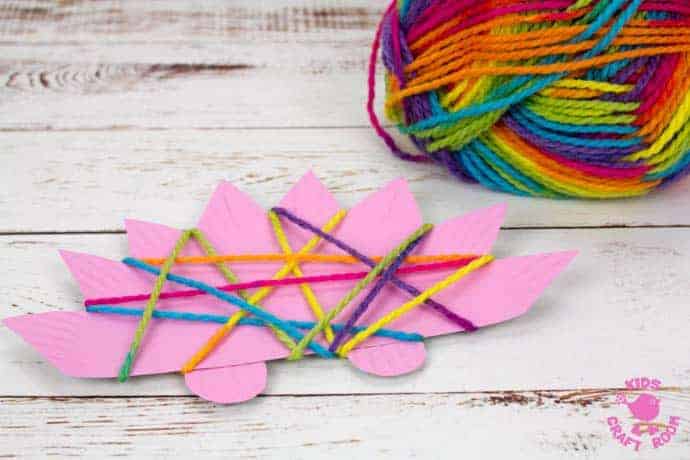
7 – Cut a long length of yarn and sticky tape one end to the back of the hedgehog. Wrap the yarn around the body to make colourful patterns. We love this rainbow yarn because it gives us all sorts of gorgeous colours without having to change yarn!

8 – When you’ve finished yarn wrapping sticky tape the end of the yarn onto the back of the hedgehog and repeat for all the hedgehogs you’re making.
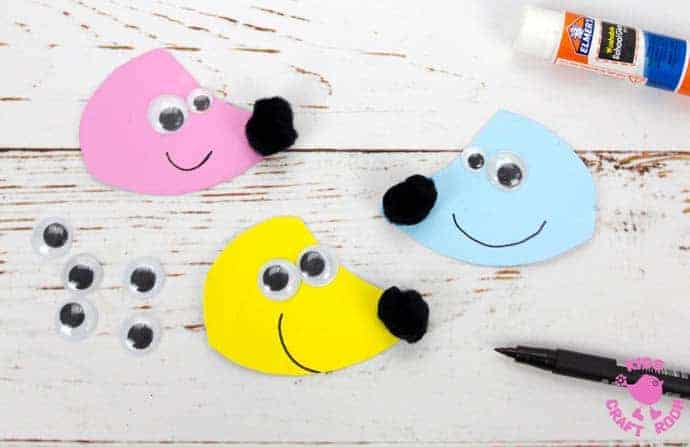
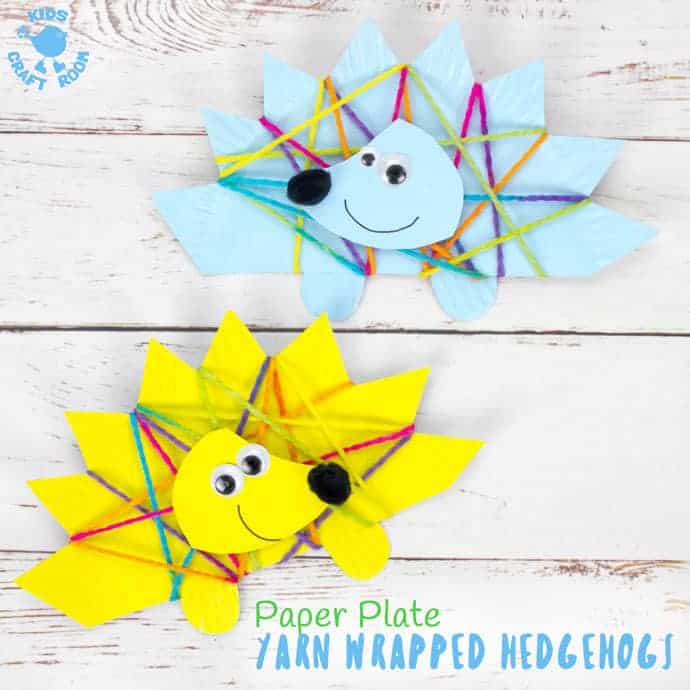
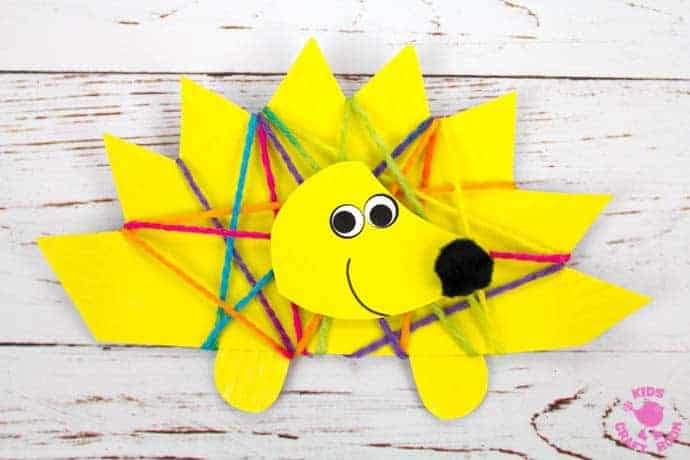
9 – Glue on some googly eyes and a black pom pom nose and draw on a cheeky smile.
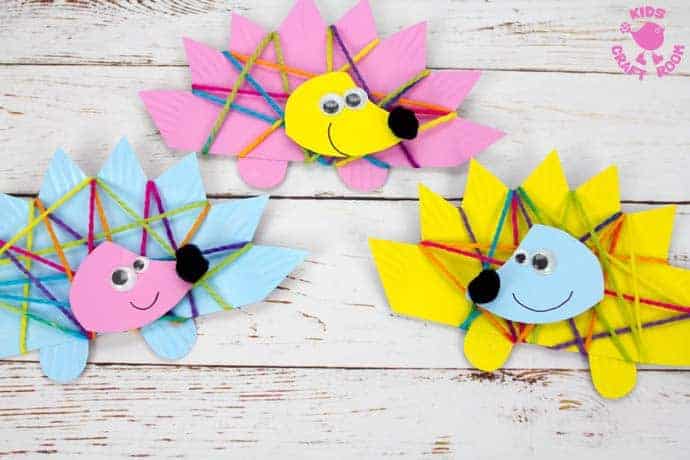
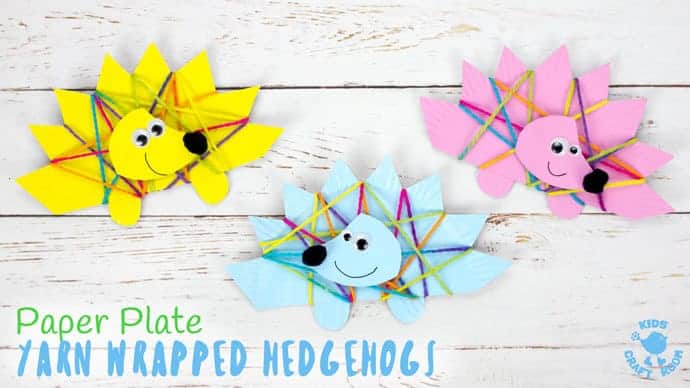
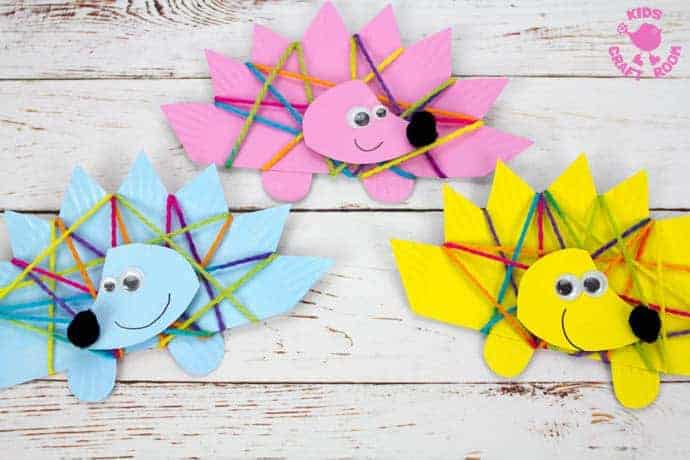
10 – If you are making a few hedgehogs in different colours like we did you can either mix and match the head and body colours as shown in the photograph above or keep the heads and bodies matching colours as shown in the photograph below. Both ways look great!
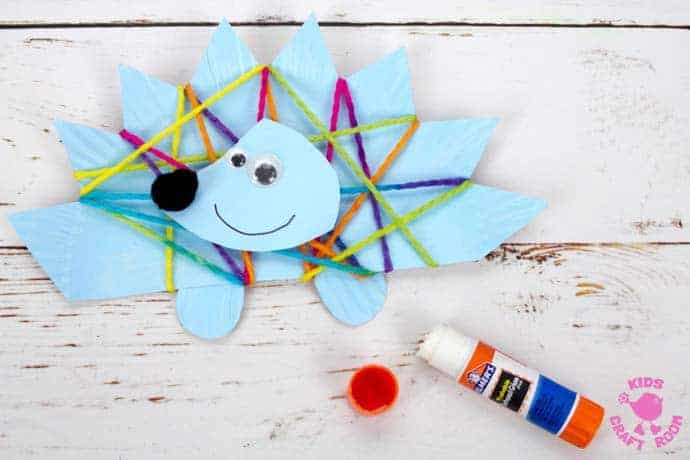
11 – When you’ve chosen your head colour glue it onto the front of your hedgehog.
Your yarn wrapped paper plate hedgehogs are finished and ready to be played with! What a lovely Fall craft for kids.
Looking for more hedgehog craft ideas? Try these:
- Quilled Paper Hedgehogs
- Pinecone Hedgehogs
- Modelling Clay Hedgehogs
- Hedgehog Hibernation Houses
- Hedgehogs With Leaves
More Fun Autumn Crafts For Kids:
