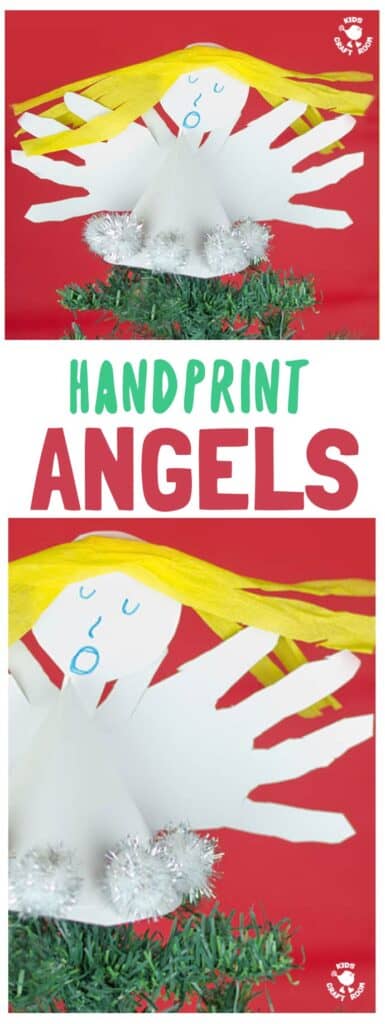
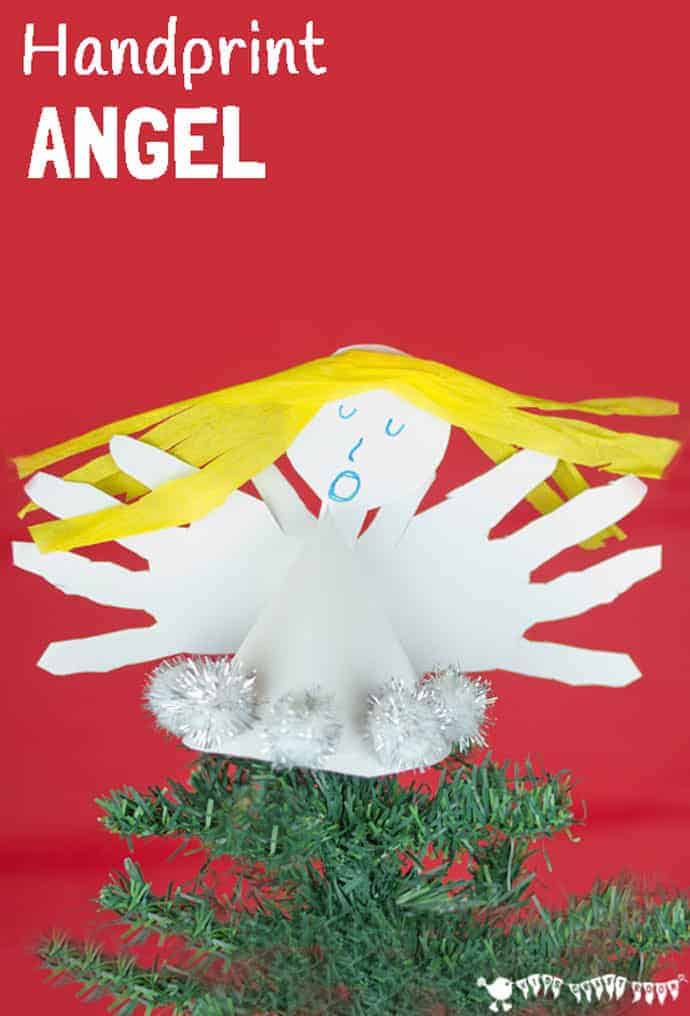
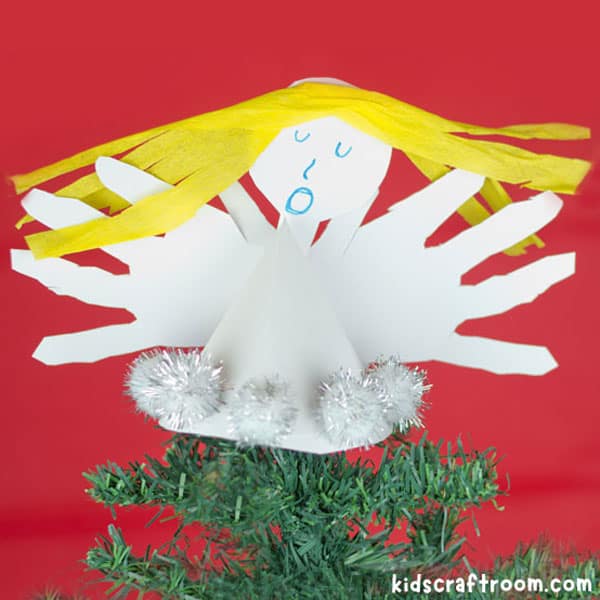
Handprint crafts create such treasured memories for years to come. This Handprint Angel craft can take pride of place on the Christmas tree or mantlepiece year after year and children will love seeing how their hands have grown over the years.

There’s nothing better than children’s homemade Christmas decorations are there? I just love and treasure all the Christmas ornaments the children have made over the years.
It’s so nice unpacking them at the start of each festive season and the memories of what the children were like when they made them come flooding back. We always have such fun chatting and laughing about all the things we’ve got up to over the years.
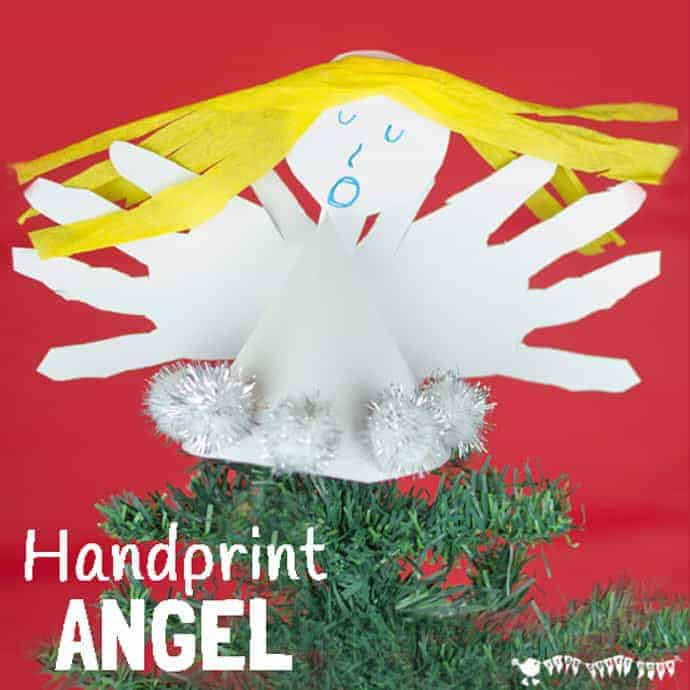
These Handprint Angels are amongst my all time favourite child made Christmas decorations as I just love how the angel’s wings grow each year and the children always adore seeing how much bigger they are compared to the year before too.
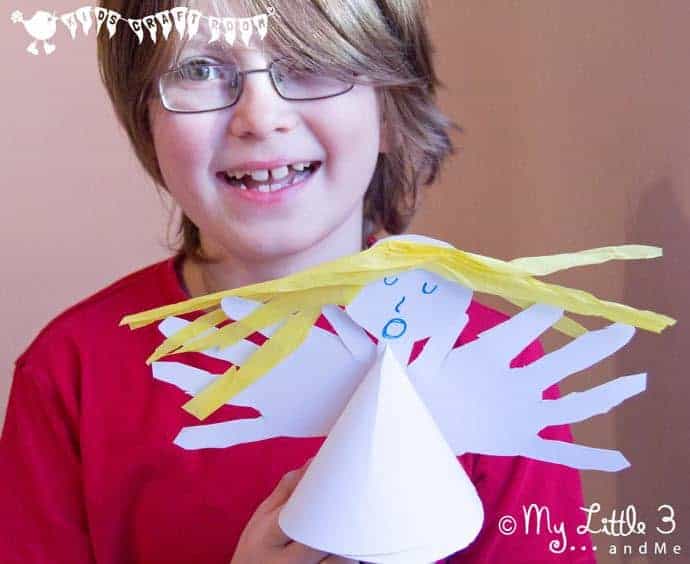
How Are We Using Our Homemade Angels?
These simple homemade Christmas decorations for kids can be used in so many different ways too. They look really pretty freestanding on a shelf or fireplace. Or you could thread them up and hang them from the tree. You could even fill them with sweets and seal them in with a taped tissue paper base to make lovely little gifts.
Our all time favourite though is to use them as tree toppers. They really do look adorable at the top of Christmas tree. Our only trouble is that we have to keep swapping ours over so each of the Little 3 get a turn with their angel in pride of place at the top of the Christmas tree.
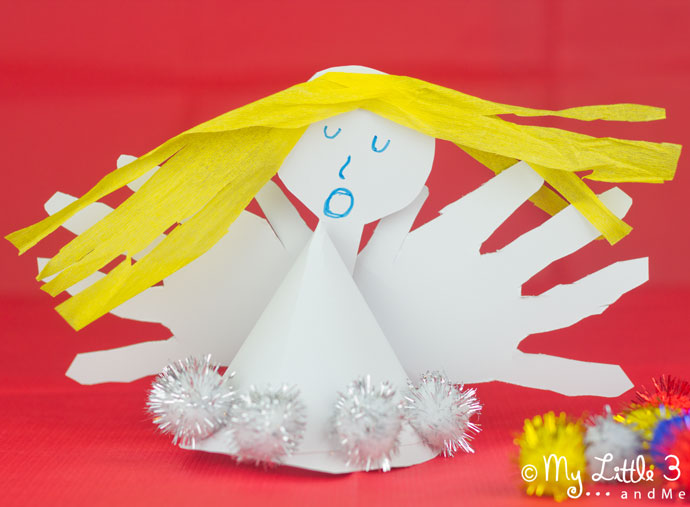
How to Make Handprint Angels
Supplies For Angel Handprint Craft
(This post contains affiliate links.)
- White, Gold or Silver Card x2 sheets (Resources US)
- Wool or Crepe paper for hair (Resources US)
- Pen
- Stapler
- Glitter Pom Poms or Tinsel
- Glue
How To Make A Handprint Angel
Draw around a plate to make a circle.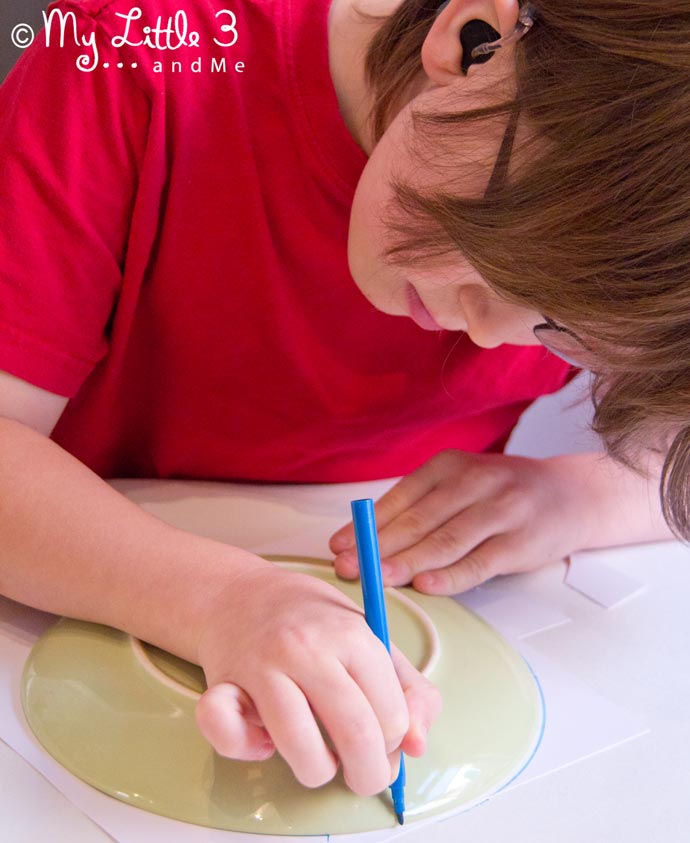
Cut out the circle, and cut from the outer edge into the middle in a straight line.
Bend your cut circle into a cone shape and staple into place.
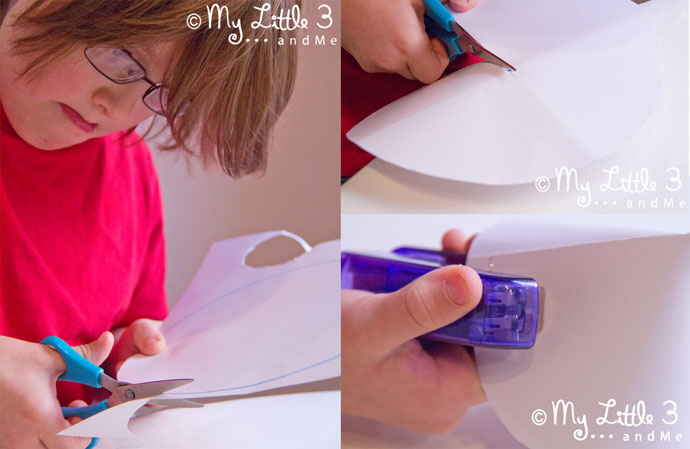
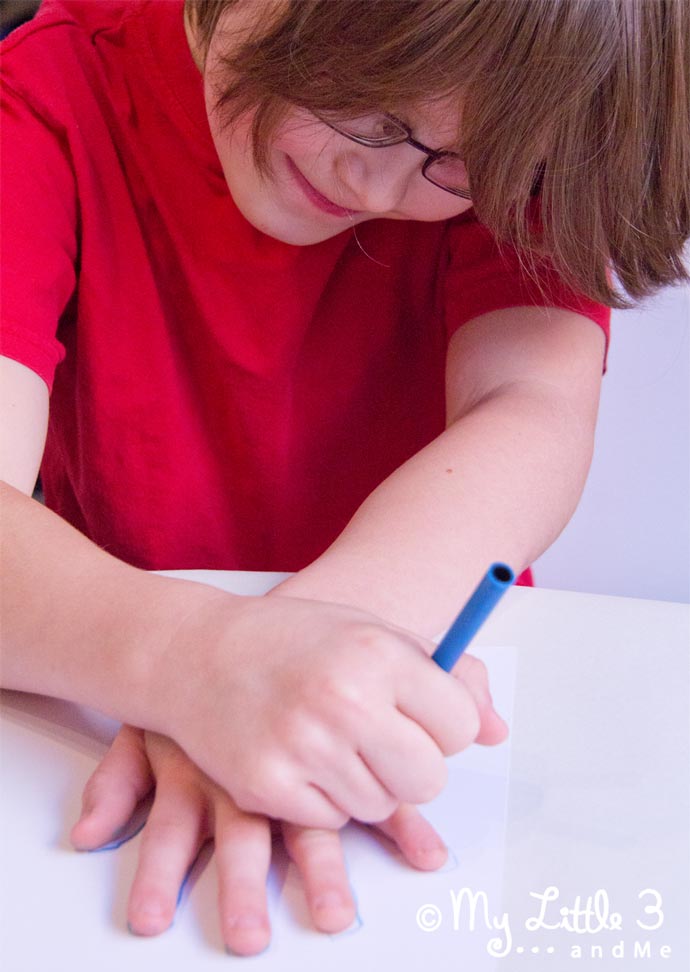
Draw around your hands and cut out.
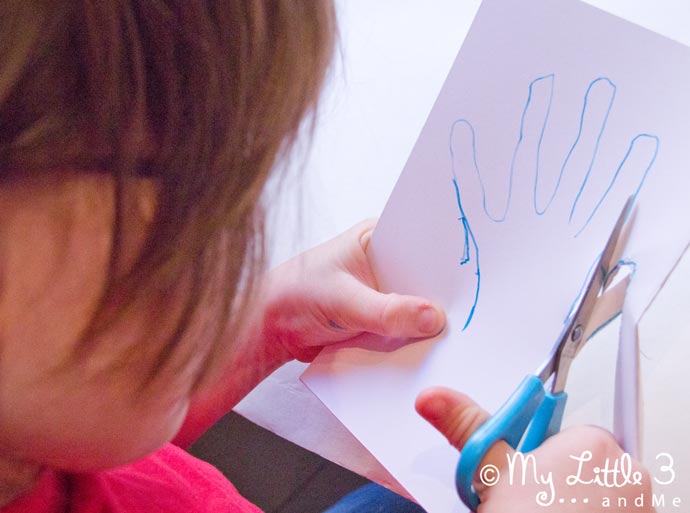
Staple the hands onto the cone to make wings.
Using the left over pieces of card, cut out a neck and head shape for the angel.
Glue on the angel’s hair.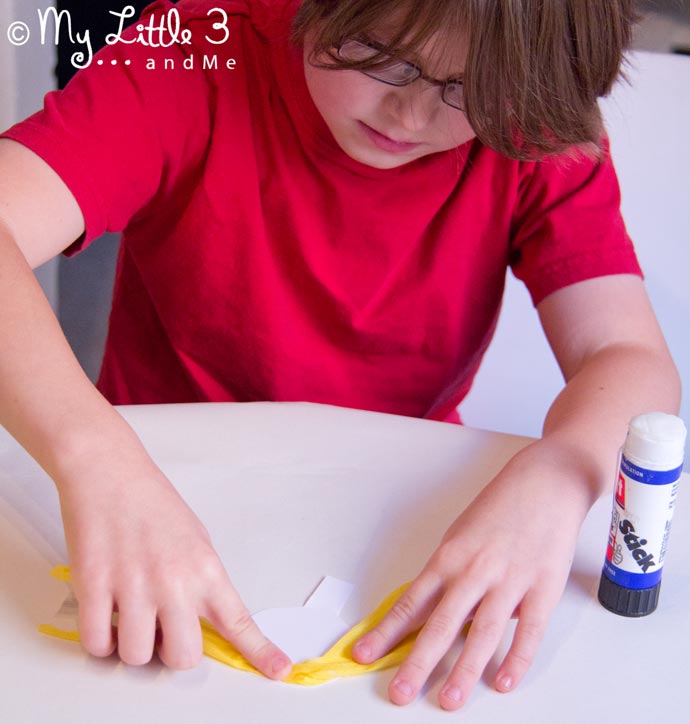
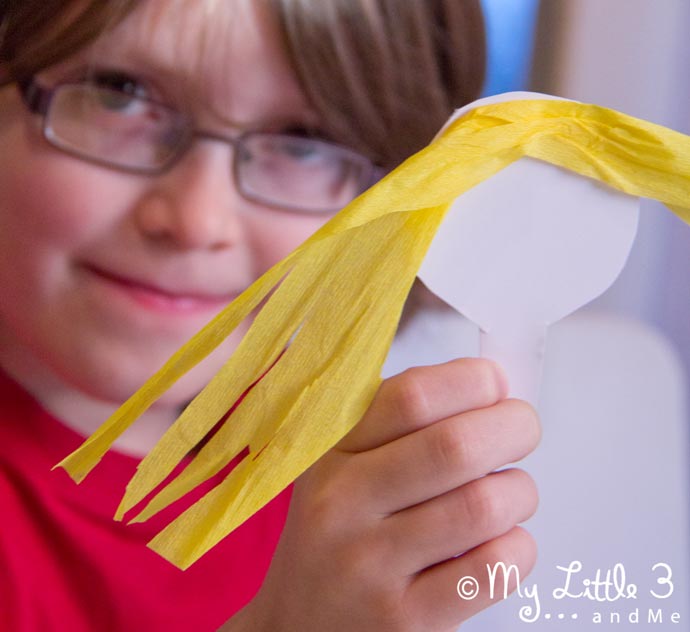
Draw on the angel’s features.
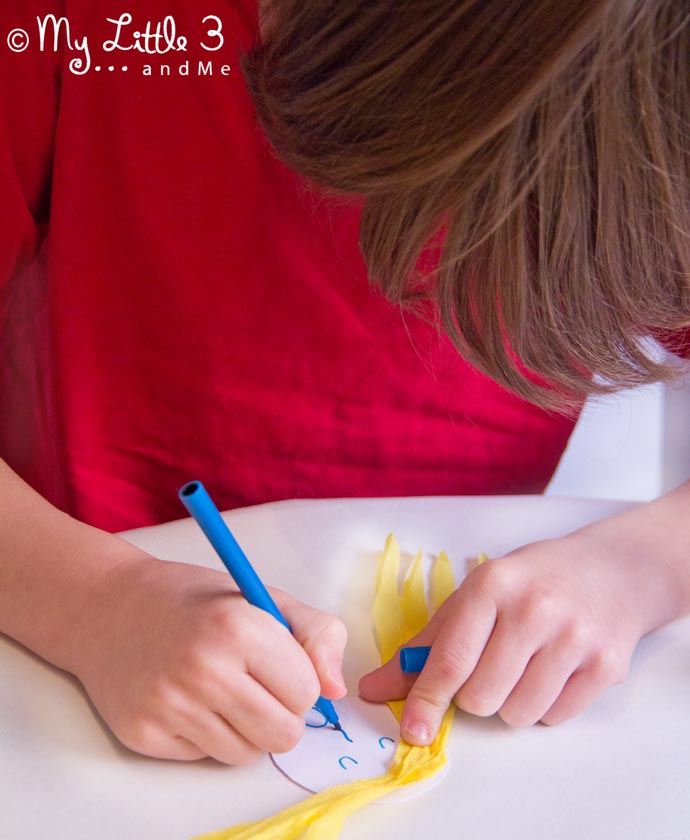
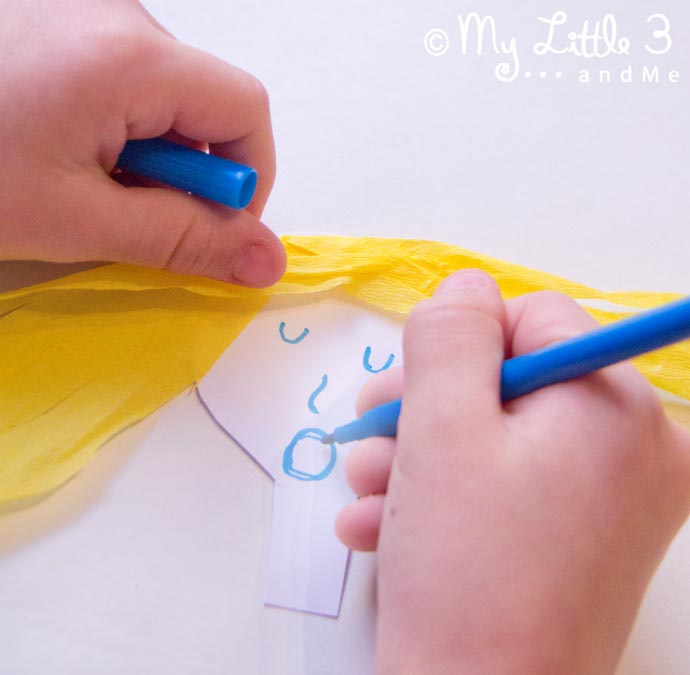
Attach your angel head with glue or a staple to the angel body.
Stick on your pom-poms or tinsel and pop her on the tree.
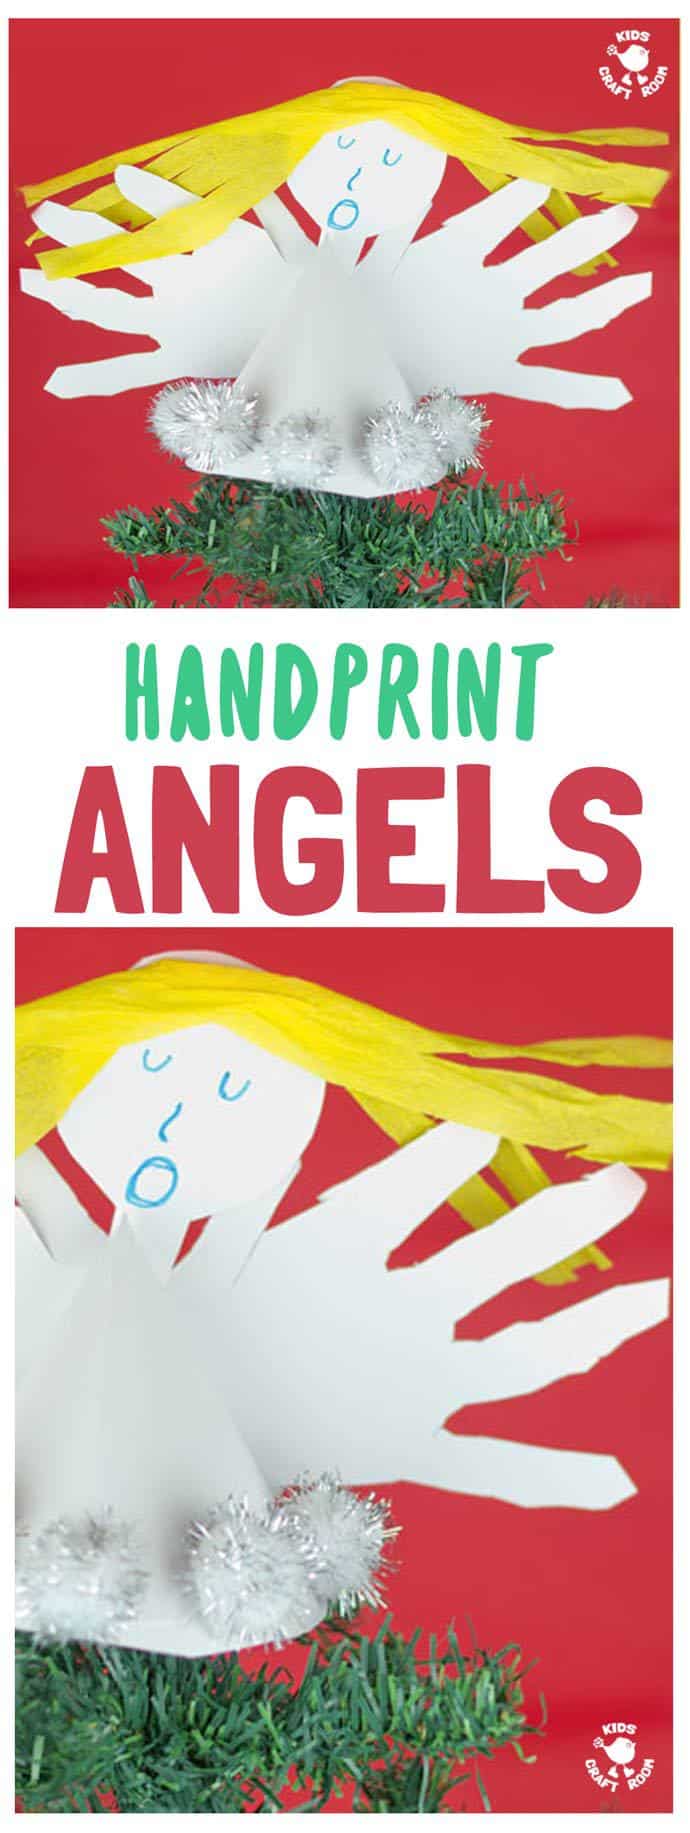
Such a fun and easy activity for children. They get lots of fine motor drawing round and cutting out practise and make a fabulous Christmas ornament keepsake too.
We hope you love this idea as much as we do.
This post is my contribution to the wonderful 20 Days of a Kid Made Christmas series hosted by the wonderful MamaMiss. Also sharing crafts today are Glittering Muffins and Teach Beside Me.
More Fun Christmas Crafts To Try:
