Have you ever fancied treating yourself to an embossing or die cutting machine? I have a bit of a thing for pretty papers and embossed patterns so when I was given the chance to try out Kirstie Allsopp’s new Cricut Cuttlebug machine that could emboss and cut, I jumped at the chance.
The first thing that struck me was how super cute the design was. Pretty pastel green and cream, with lovely rounded edges and a vintage feel. I’d happily leave it out on my craft table all the time.
It also seems really robust and sturdy and has a suction pad underneath so it won’t slip about on the tabletop. This is really important to me because I love, wherever possible, to let the children use all my crafting supplies too.
Is The Cuttlebug Easy To Use?
I’d never actually used an embossing machine before so was delighted when I had the Cuttlebug out of the box and up and running in just a couple of minutes!
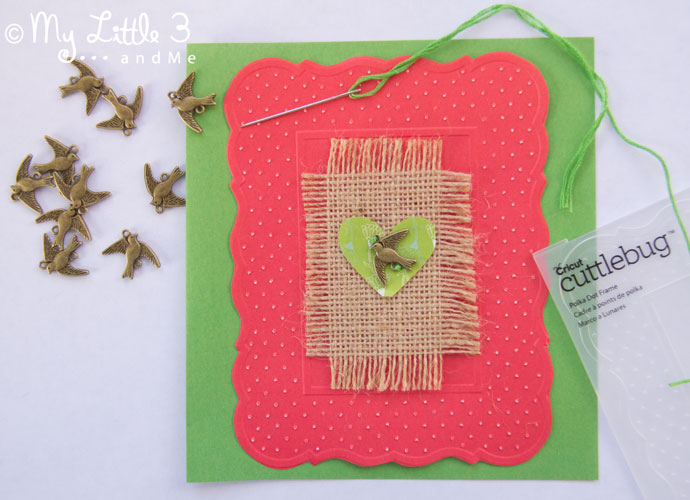
The instructions are simple to follow step by step photographs, so you can see easily if you’re getting everything in the right place. It didn’t take me long to whip together the cute Christmas card you can see above.
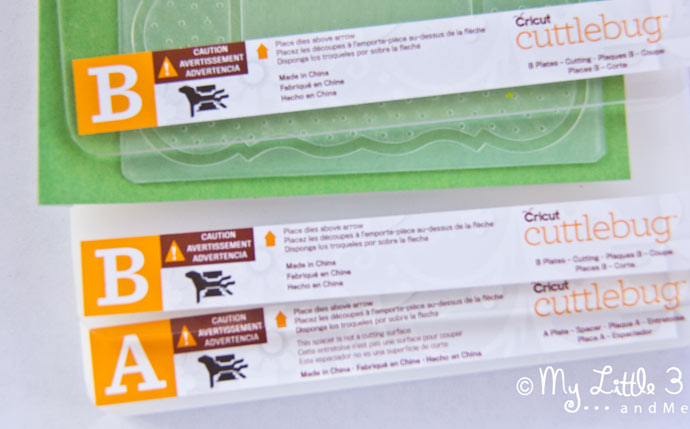
Basically you have an embossing folder that you put your paper into. Only one design comes in the box but there are lots of additional ones you can buy. You then sandwich that between 2 boards of plastic called ‘B’ plates, then sit that on top of another thick plastic board called an ‘A’ plate.
You then put the stack into the Cuttlebug machine and turn the handle.I like that the handle turns really easily so that my children can do it independently and it even folds away neatly when you’ve finished too.

The bundle of plates are fed through the machine and roll out the other side where you open up the embossing folder to find the lovely pattern has been pressed into your paper. Easy peasy!
My Cuttlebug came with a little dotty frame embossing folder which leaves the pattern on the paper really clearly, as you can see. I used origami paper which is really thin so the dots pushed through a bit too much and left white tips but I decided I quite liked the effect for this card so carried on.
For other projects normal weight paper would ensure the patterns don’t push through.
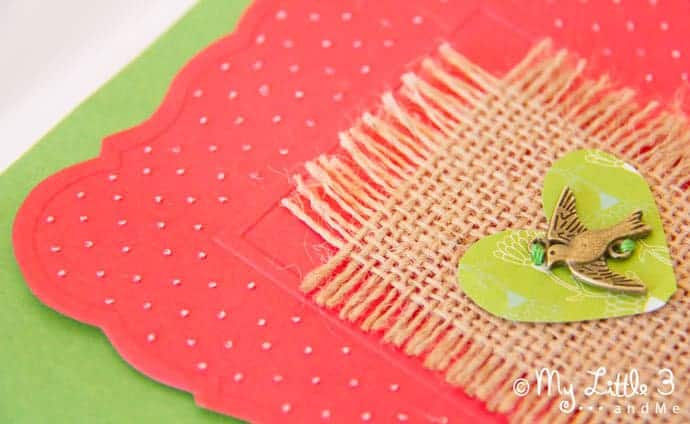
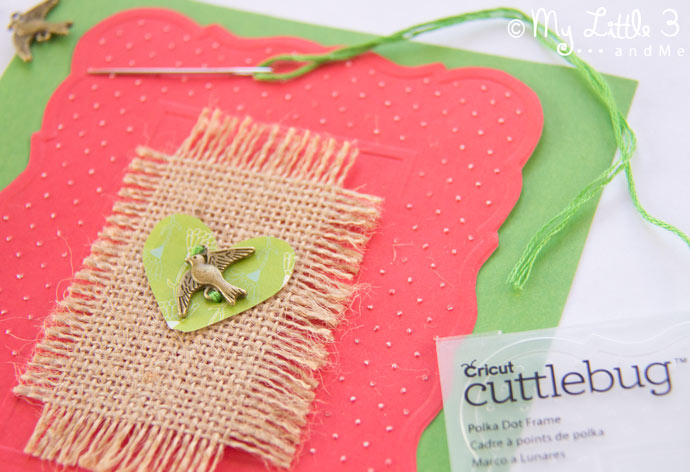
I trimmed the embossed red frame and mounted it on green card. I then cut a small piece of burlap, (my newest love which I’ve been using for lots of crafts lately), frayed the edges and put it in the middle of the frame.
I finished off the card with a little metal dove trinket sewn onto a paper heart. I love the mixture of textures and can’t wait to hand them out for Christmas.
The Kirstie Allsopp Cuttlebug is available to buy from Hobbycraft and comes with an embossing folder and some die cuts, everything to get a keen crafter started.
I’m looking forward to trying the die cuts next and will definitely be asking Father Christmas for some more embossing folders. I’m bursting with lots more ideas I’d love to try out!
(I was sent a Cuttlebug free of charge for the purpose of this review.)