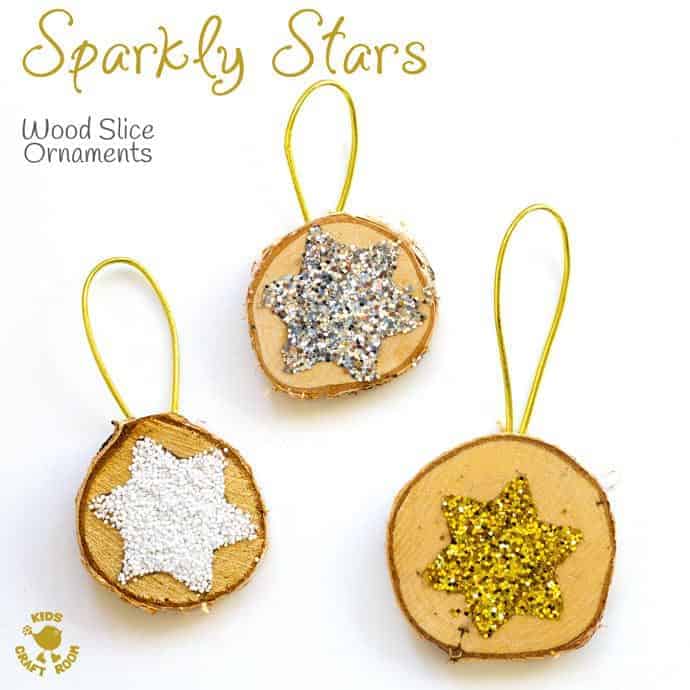
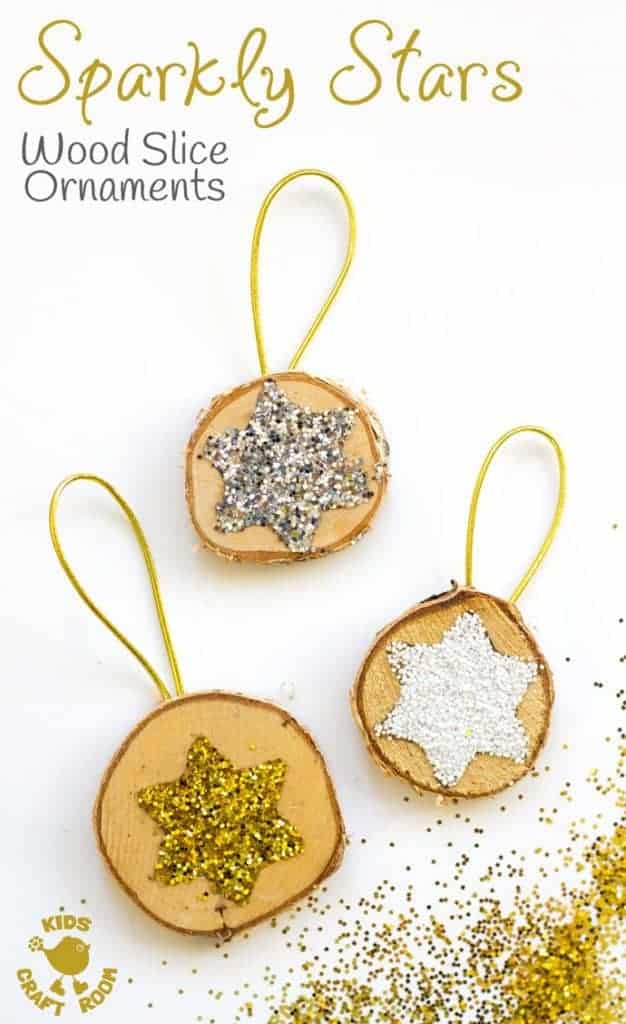
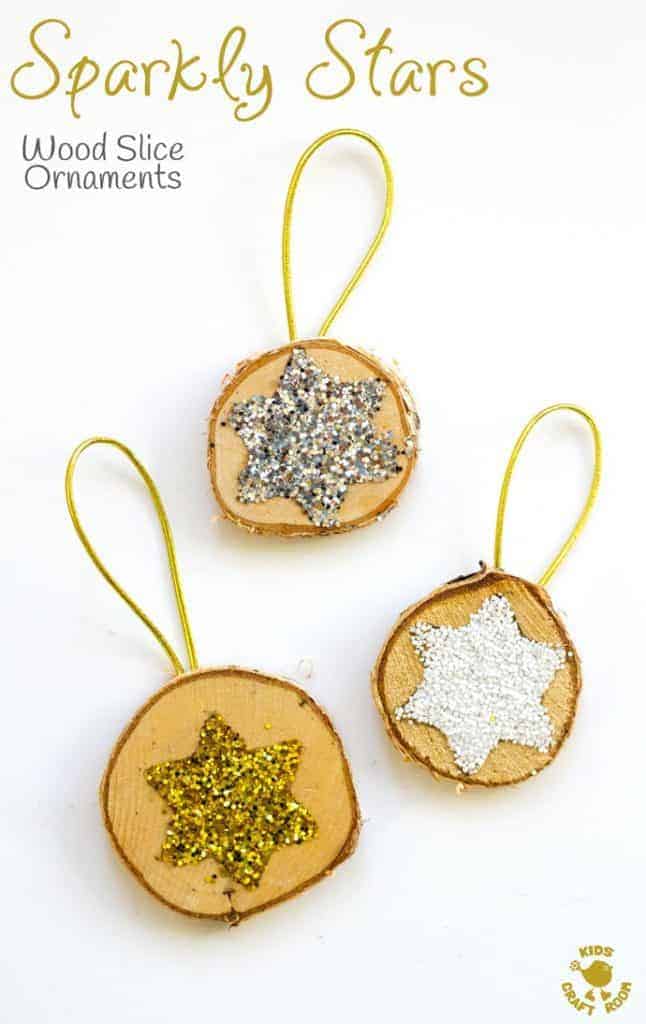
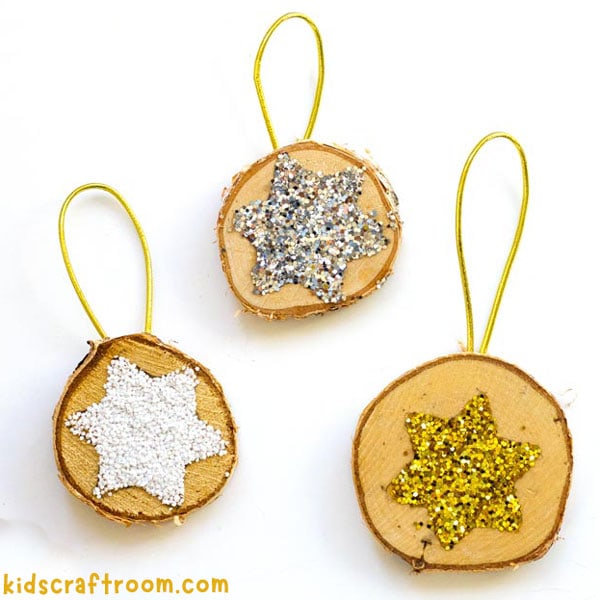
These Sparkly Star Wood Slice Ornaments are a wonderful combination of natural and bling! I’m always smitten by nature crafts but I can’t resist a bit of glitter too. This fun craft gives me the best of both worlds!
These wood slice ornaments are very versatile. They make gorgeous rustic Christmas decorations but would look equally charming hanging in a mobile. I love the idea of using them on homemade greeting cards or as unique gift tags too.
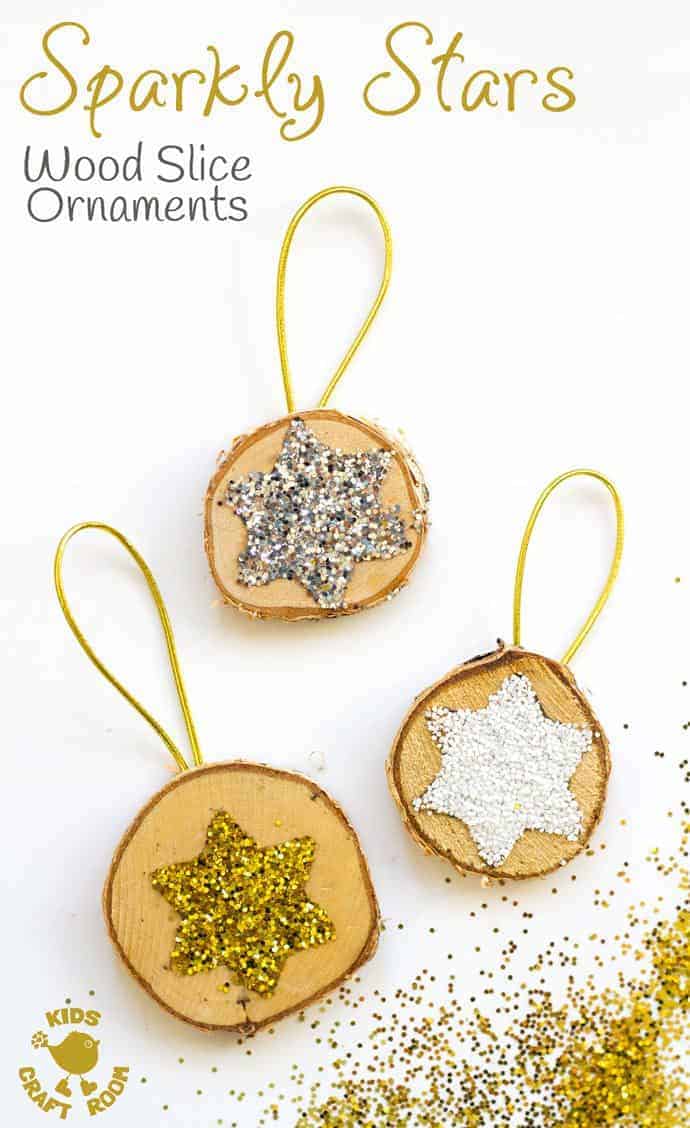
I’ve had a bag of wood slices in my craft cardboard for ages but hadn’t got around to using them until now. I wish I hadn’t waited so long! These star decorations were so easy to make and look adorably cute.
We’ve decorated our wood slice ornaments with sparkly star shapes but you could use other shapes too if you prefer, I think hearts or name initials would look really pretty too.
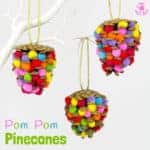
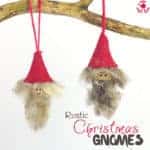
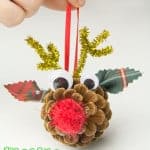
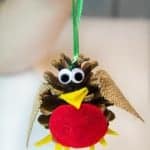
If like me you love Nature crafts you might like to pin or bookmark some other Christmas favourites to come back to later too. I say Christmas crafts but actually Pom Pom Pinecones are colourful to have on display all year round! I think every Christmas tree needs its own cheeky Rustic Gnome Family and a Pinecone Reindeer and Pinecone Robin or two just add to the fun!
Now let’s get back to making our pretty Sparkly Star Wood Slices.
How To Make Sparkly Star Wood Slice Ornaments
Supplies To Make Star Wooden Christmas Ornaments
- Wood Slices US / UK
- PVA Glue US / UK
- Course Grade Glitter US / UK
- Thread
- Tape
DIY Sparkly Star Wood Slice Decorations Tutorial
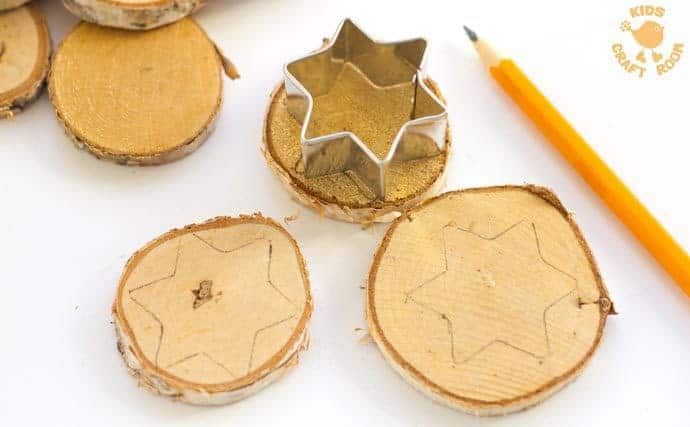
Wood slices come in a great range of sizes from 1 inch to 6 inches or more. You can also buy them predrilled too if you like. We used undrilled wood slices that were about 2 inches, so fairly small.
We started by lightly drawing our star shape onto the wood slice with pencil. To make it easier for my children I had them draw around a mini cookie cutter.
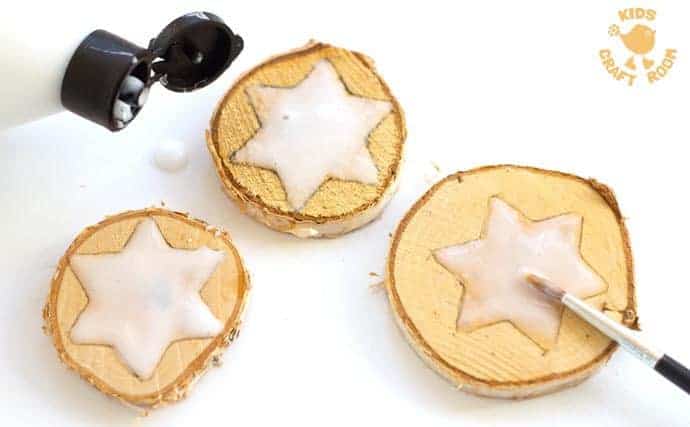
Next we filled in the drawn shape with PVA glue.
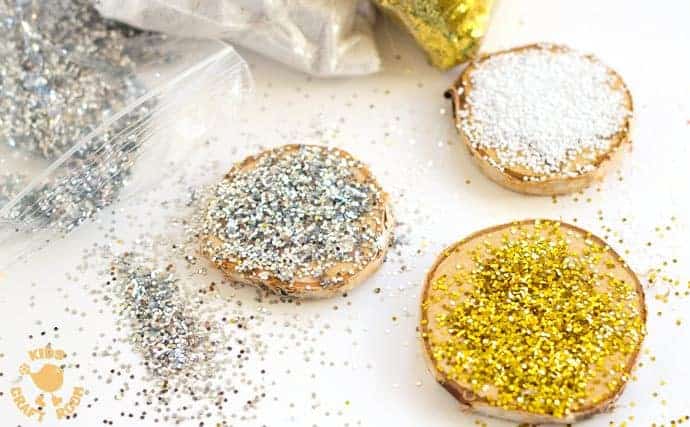
Then we had fun covering the PVA glue in course glitter. I’d recommend doing one colour at a time over a tray to make it easier to scoop up and reuse any spilt glitter…and there will be some!
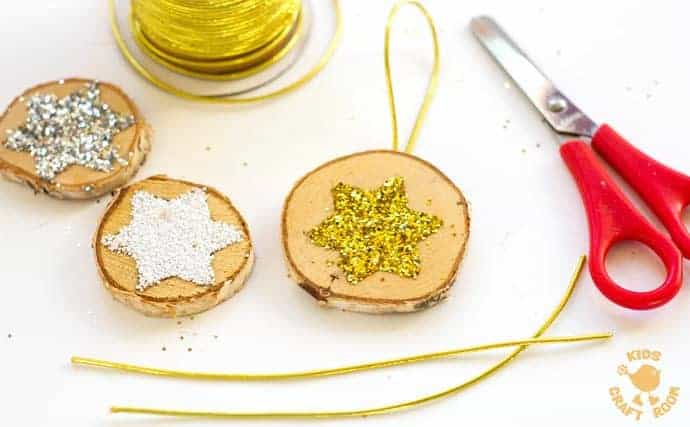
We left the wood slice ornaments to dry for a few hours before shaking off any excess glitter.
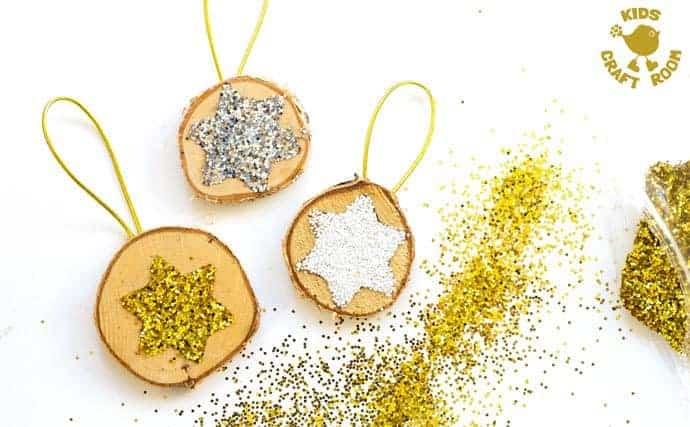
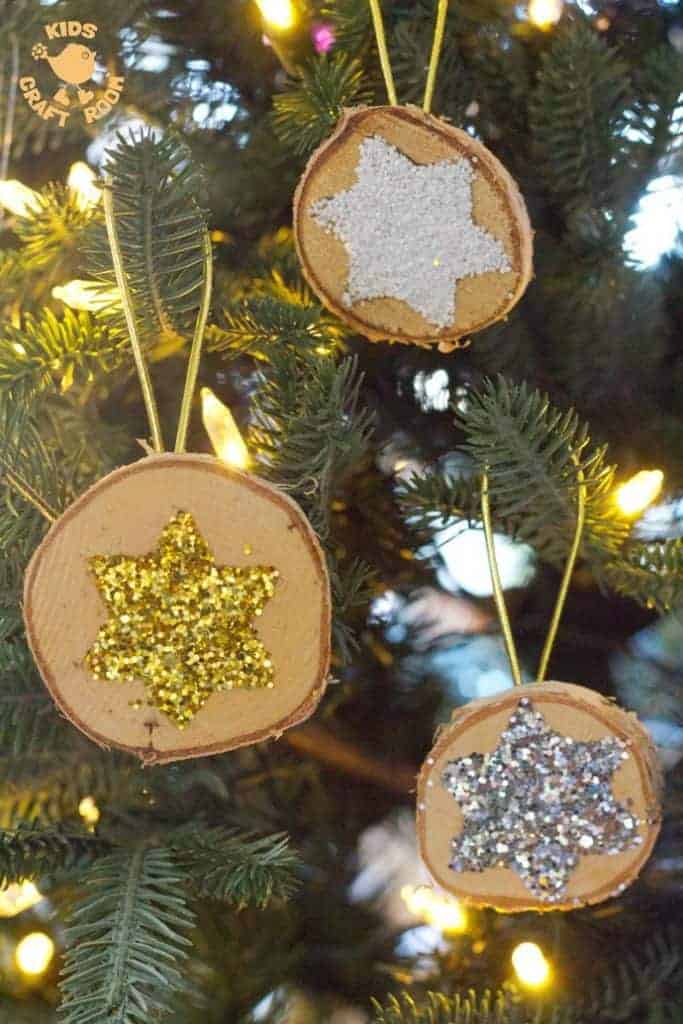
Our sparkly star ornaments were almost ready. All that was left to do was to tape a loop of hanging thread onto the back and hang them on the Christmas tree.
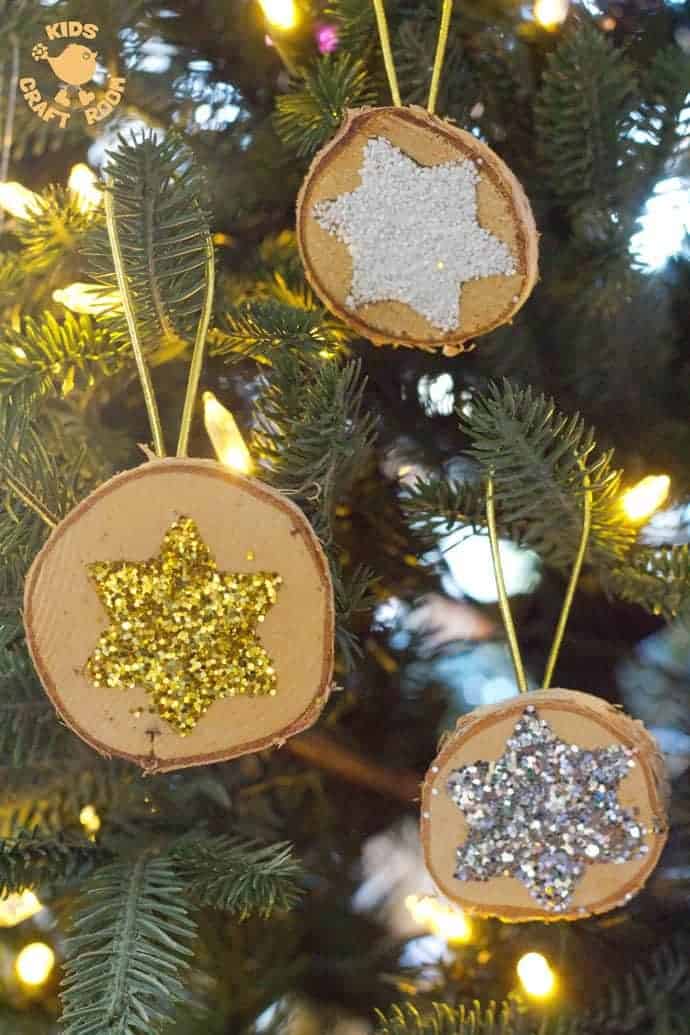
Don’t the wooden ornaments look pretty hanging on the tree, simple but charming!
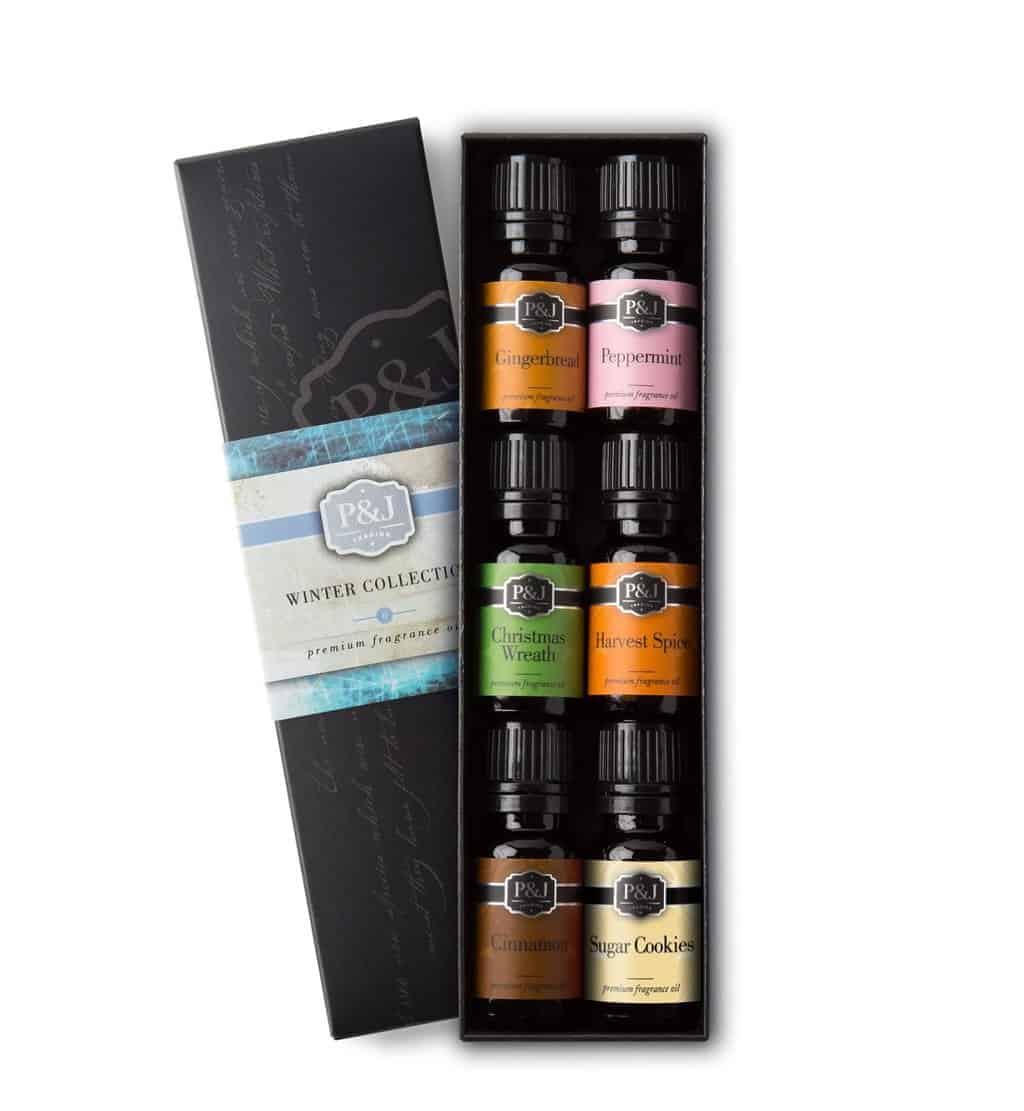
Next time I make these I’m going to have a go at infusing the wooden slices with some Christmassy essential oils first. I love the idea of fragrant Christmas decorations to add to the Christmas atmosphere.
What shapes would you put on your wooden Christmas ornaments? Would you choose stars like us or something different? I love hearing how you get on with our ideas.
More Fun Christmas Crafts To Try:
