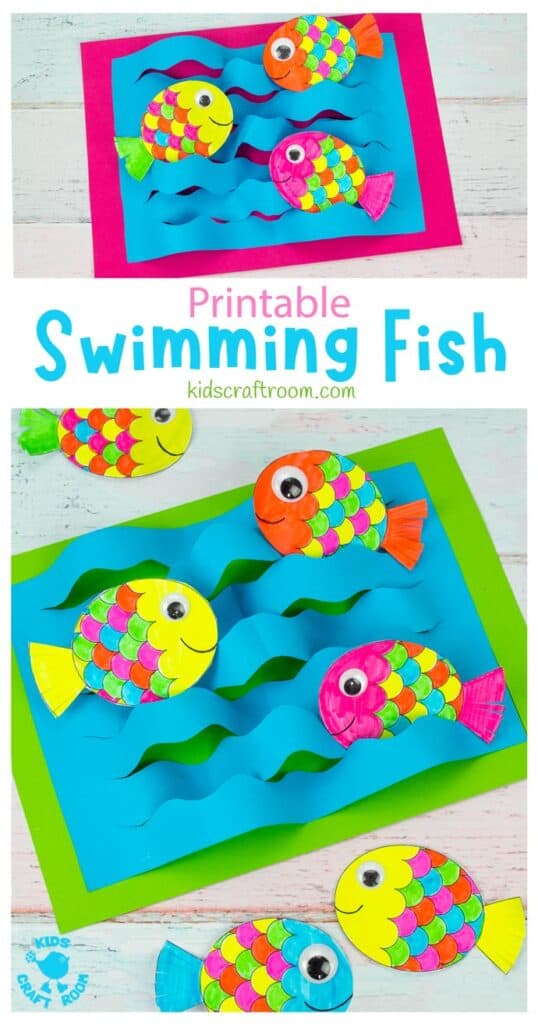
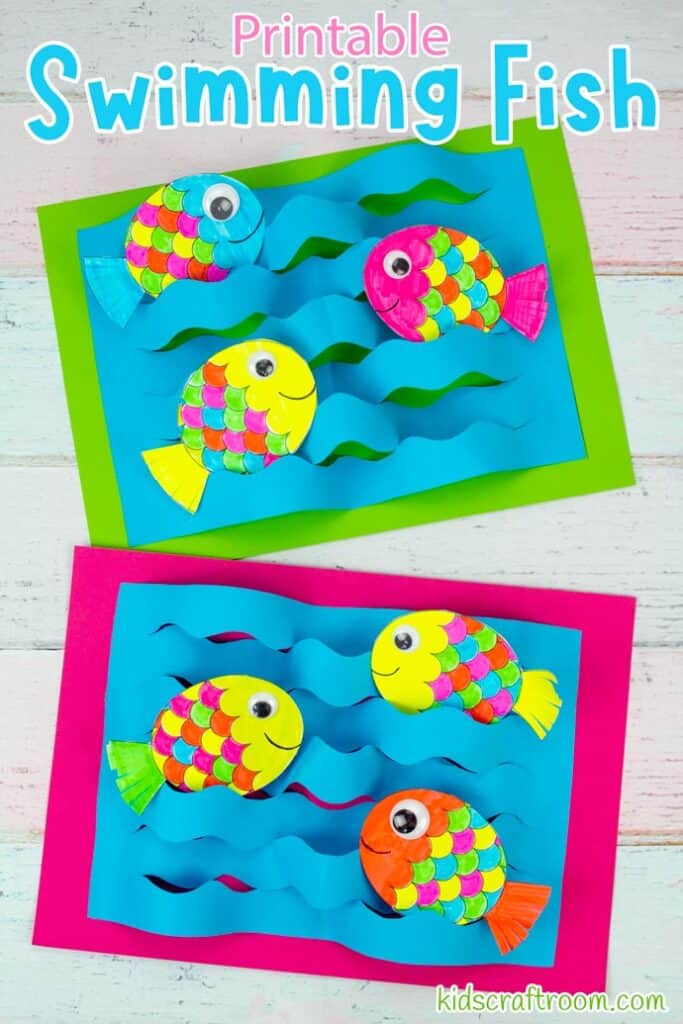
This SWIMMING FISH CRAFT is so fun and has a wonderful 3D effect. It’s made up of cute brightly coloured fish that are happily swimming about in the rippling waves.
These lovely 2D fish are super easy to make with the printable template. Kids can have fun taking the fish out, swimming them about in the air and then popping them back in the waves!
This is a great craft for summer and ocean study units.

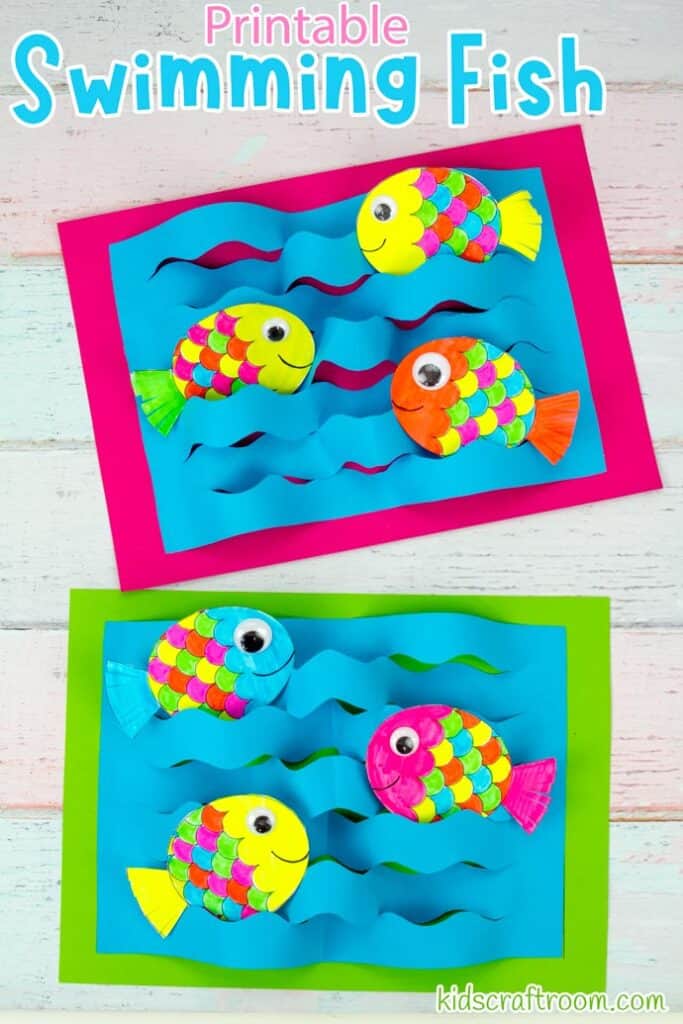
The 4 page template is made up of a backing sheet, a water sheet and two sheets of fish; one patterned and one plain to decorate yourself.
You can either print the backing sheet and water sheet straight onto coloured paper/cardstock or print everything onto white and colour it all in yourself.
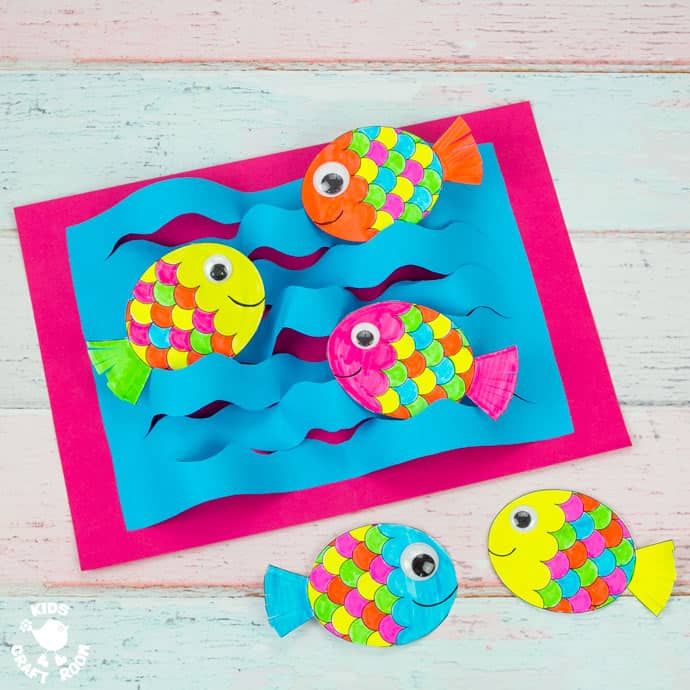
When you’ve finished making your swimming fish, you can either glue them in place or just tuck them in the waves so that they can be played with too.
Swimming Fish Paper Craft Tutorial
Fish Craft Supplies:
- Swimming Fish Printable Template
- Coloured printer card for backing sheet
- Blue printer paper for water sheet
- White printer paper for fish
- Wiggle eyes
- Colouring pens/pencils/paint
- Scissors
- Glue
How to Make a 3D Fish Craft
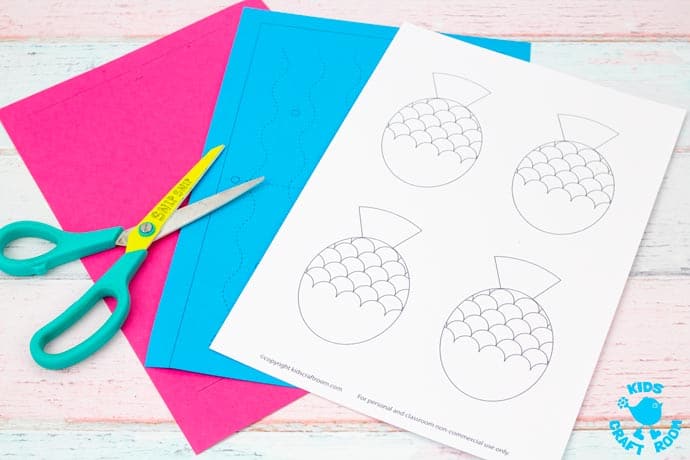
1 – Download the Swimming Fish Template. Then, print the backing sheet onto card and the water and fish sheets onto paper. You can use coloured card/paper for the backing and water or colour them in yourself.
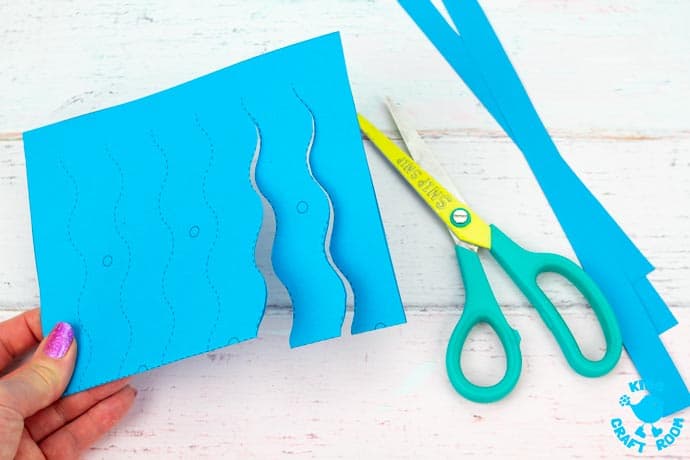
2 – Cut out the water template. Fold it in half widthways along the dotted line. Starting at the fold, carefully cut along each of the dotted wavy lines.
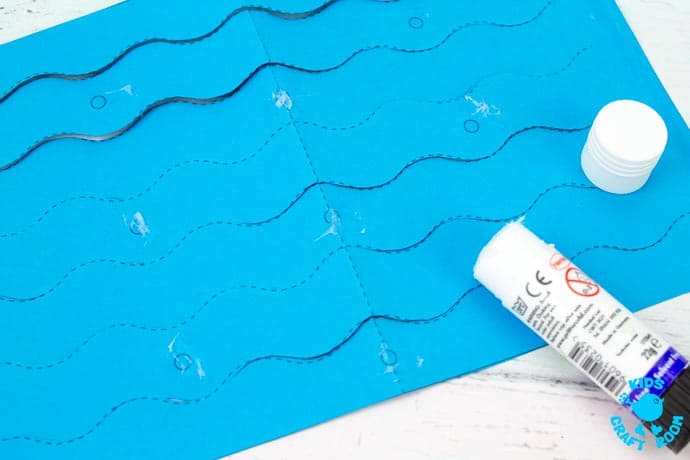
3 – Apply a line of glue along both short ends of the water sheet. Add a spot of glue to each of the dots.
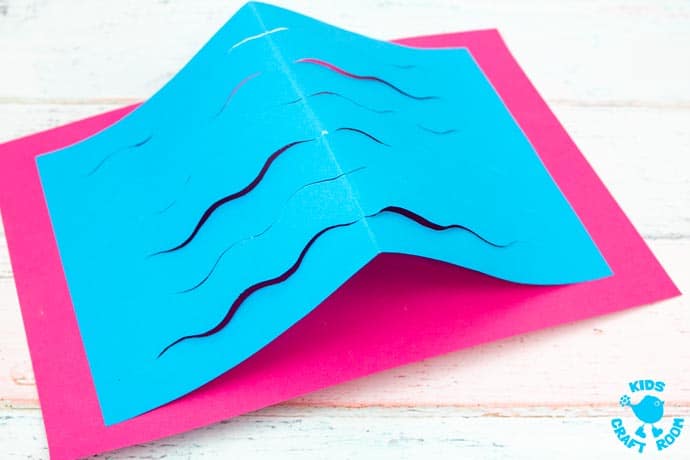
4 – Glue both ends of the water to the backing sheet along the printed lines. (You should have an arch of water, don’t press down the middle yet!)
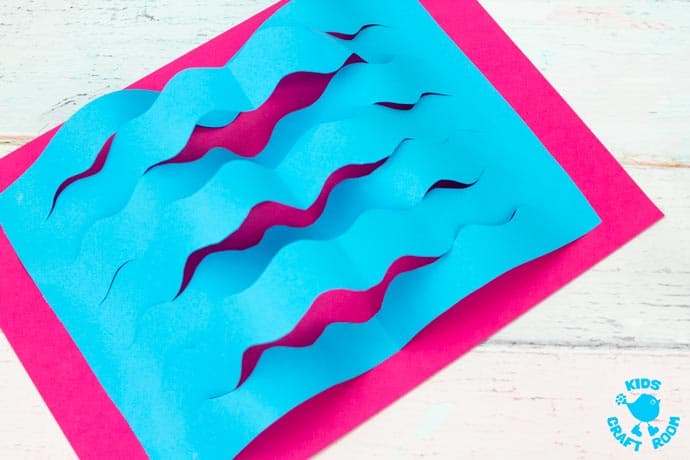
5 – Starting at the top of the water push down the middle of the first strip to attach the spot of glue to the backing sheet. Repeat with every alternate strip until you get to the bottom. (Each of those 4 strips should have two mounds, one on either side of the midline.)
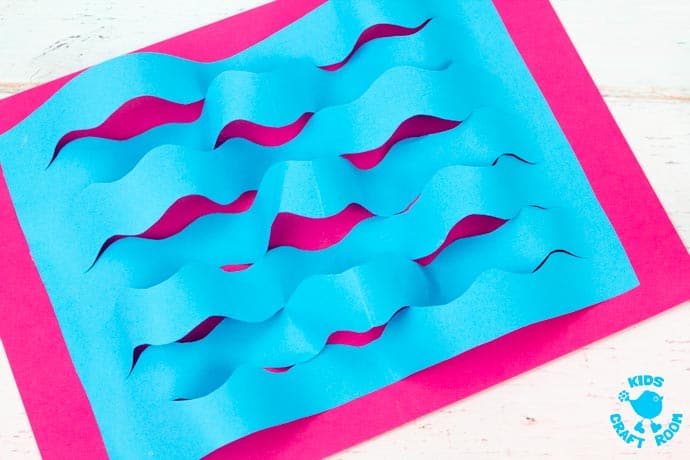
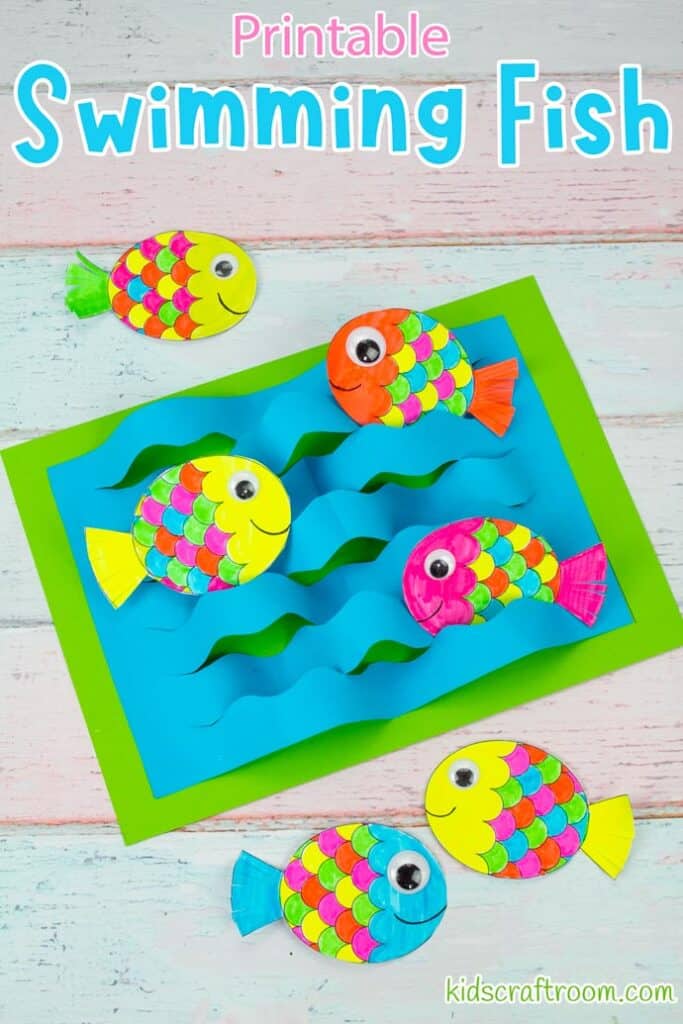
6 – For the 3 remaining water strips, push down either side of the mid line to attach the glue dots to the backing sheet. This should give you a raised mound in the middle and a smaller mound on either side.
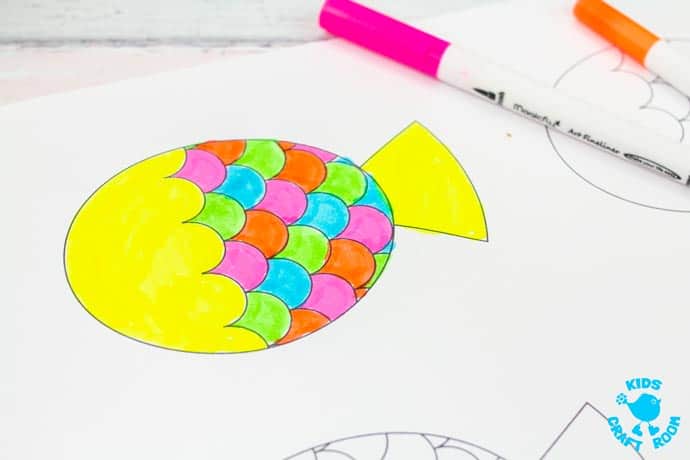
7 – Colour in your fish. You can choose the fish with ready made scales or the design your own.
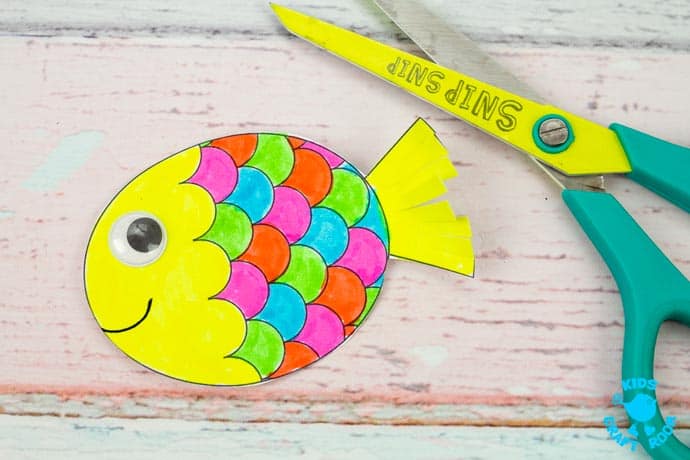
8 – Cut out the fish. Glue on a wiggle eye and draw a smile. If you want to you can cut into the tail fin to give it texture.
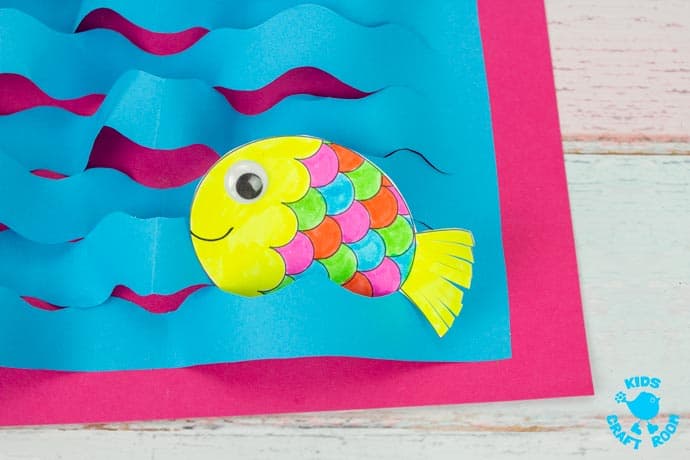
9 – Place your fish into the waves. You can glue them in place or leave them loose if you want to be able to reposition them.
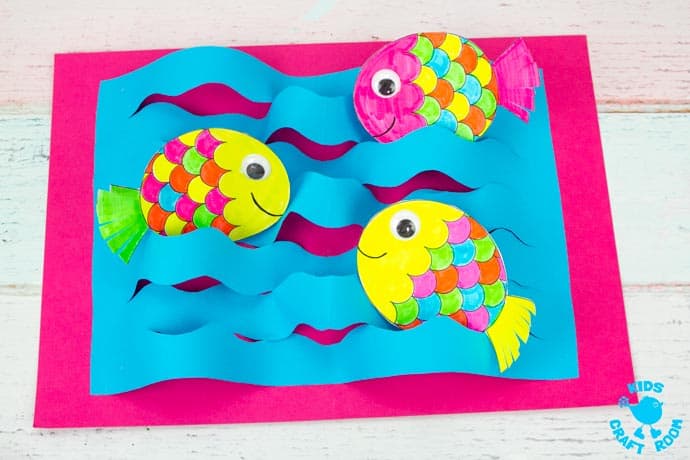
10 – Mount your finished picture on the wall for a wonderful display.

Click here to buy your printable swimming fish template from our shop.
You might also like:
More Fun Summer Crafts To Try:
