
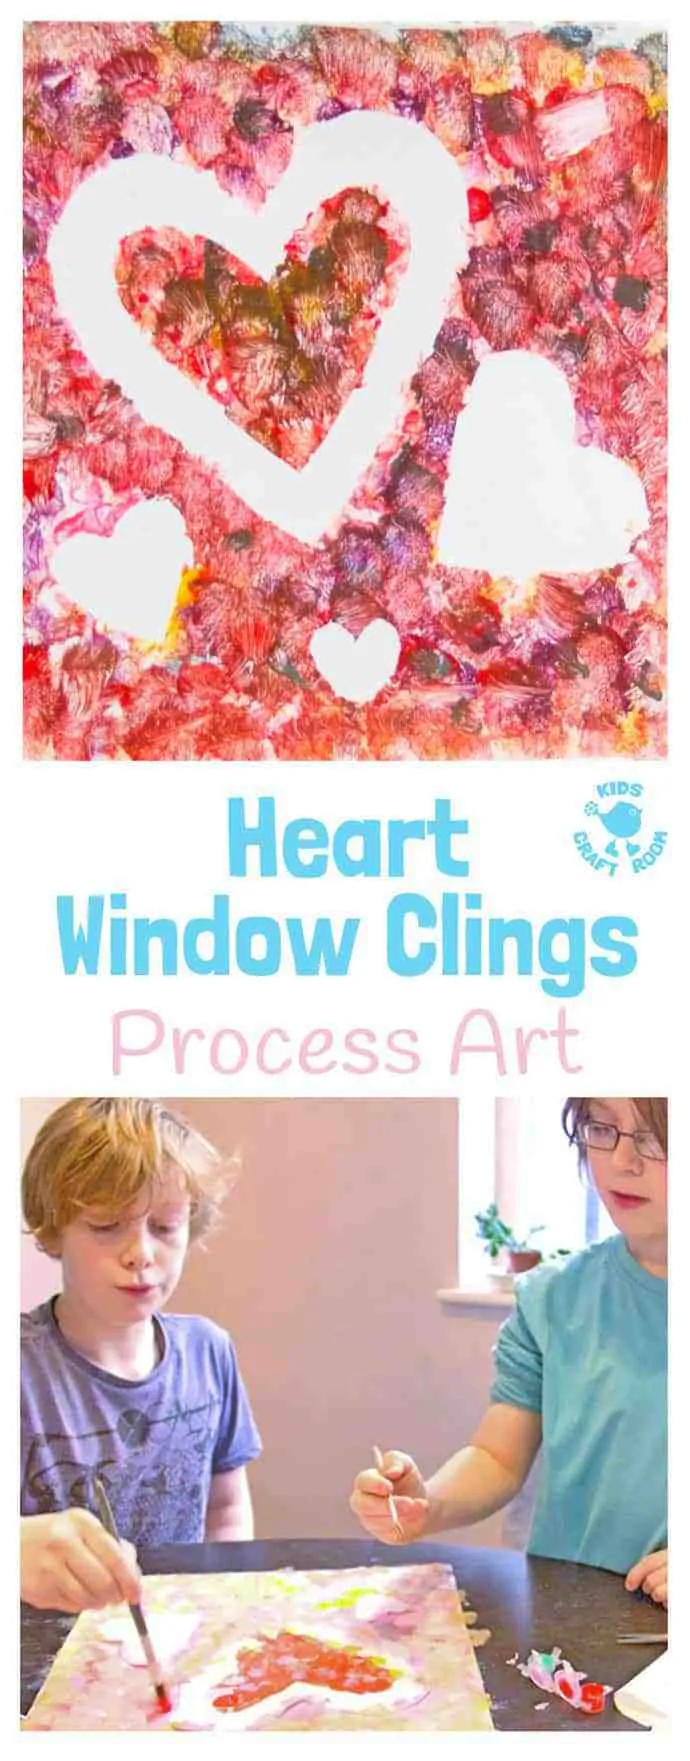
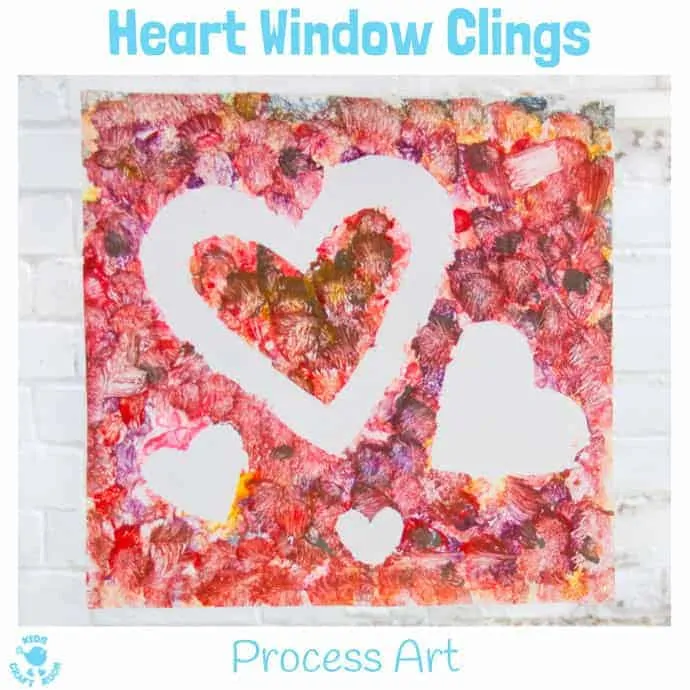
I love process art ideas for kids that are simple and work across the age ranges. These pretty Heart Sun Catchers do just that. These suncatchers are self adhesive and gently stick directly to the window so perhaps we’d be better to think of them as Heart Window Clings instead!
You make these Heart Sun Catcher Window Clings using a really simple painting technique which means that even tiny tots can get involved yet it can also be detailed and intricate for older children too, if they want more of a challenge.
I love that these window pictures can be made in all sorts of sizes, so individuals might want to make little ones or if you have a few children or are working in an early years setting or school you could just as easily make enormous collaborative art pieces too.
These Heart Window Clings are fun to make anytime of the year and make really nice gifts. I think they lend themselves very well to Valentine’s Day or Mother’s Day don’t you?
Zoom down to the bottom of the post to see lots of other heart crafts to try too.
Heart Sun Catchers/Window Clings Tutorial
Supplies For Heart Window Clings
How To Make Heart Suncatchers/Window Clings
In the Autumn I used a similar method to make our Autumn Window Art. I made a video below which details the method for those of you that like to ‘see’ rather than ‘read’ instructions. In the video we used leaves and sponges, which we swapped for heart cut-outs and brushes in this art piece. Scroll on down for written instructions.
Cut two pieces of clear contact paper to your desired size.
Put one piece of sticky back plastic to one side, you won’t need it until the end. Keeping the paper backing on the plastic, use the Poster Putty to secure the plastic to the table, paper side down, plastic side up. You don’t want it curling up as it’s being painted.
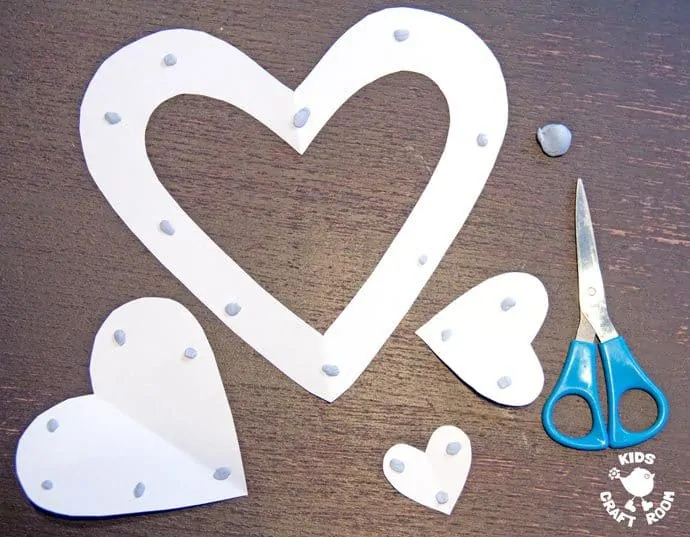
Cut out some hearts from the paper and blue tack/poster putty them onto the contact paper to stop them moving around when you add the paint.
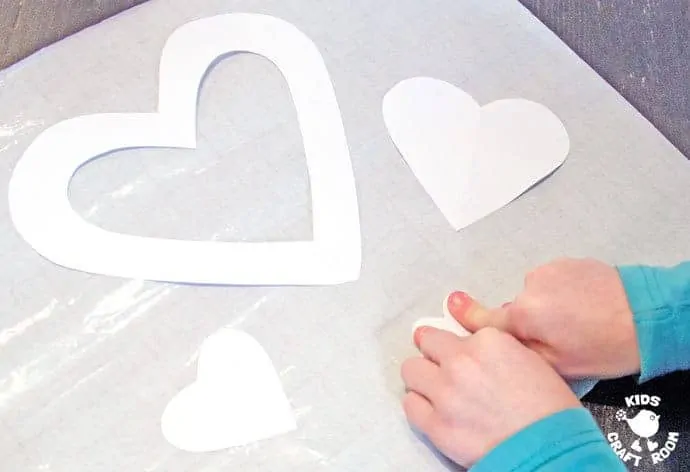
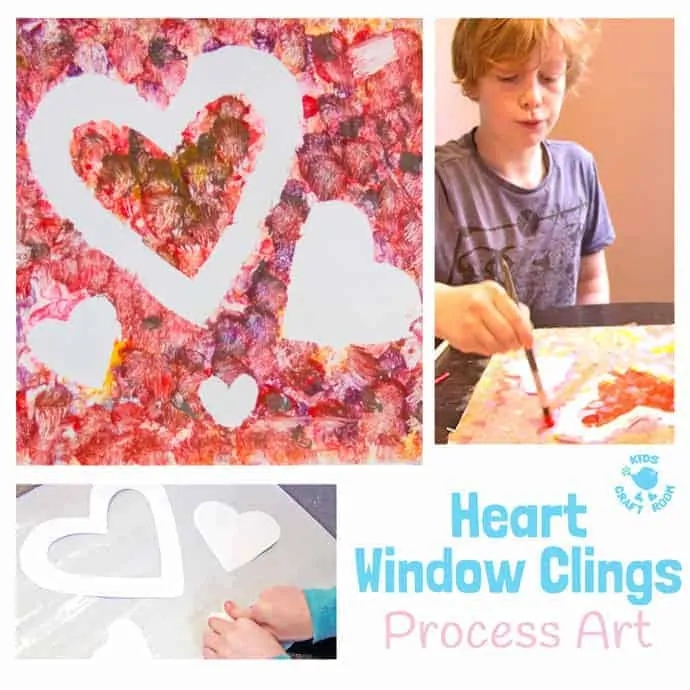
Choose your selection of paint colours and dab the brushes up and down all over the plastic. Young children will probably find large brushes easier but older children might prefer to work with smaller brushes or a collection of sizes.
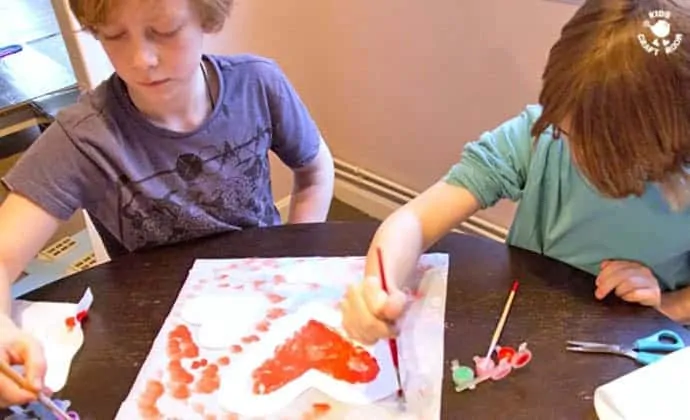
They can be really random with the paint dabbing or follow a pattern. It’s a great kid’s art activity that children can adapt to their own level and interest.
Top Tip: Make sure your children know to use a dabbing motion, up and down, up and down. If they go from side to side they’ll knock the hearts out of place or sneak paint under them which will spoil the silhouette. Think of all that lovely fine motor skill experience they’re getting!
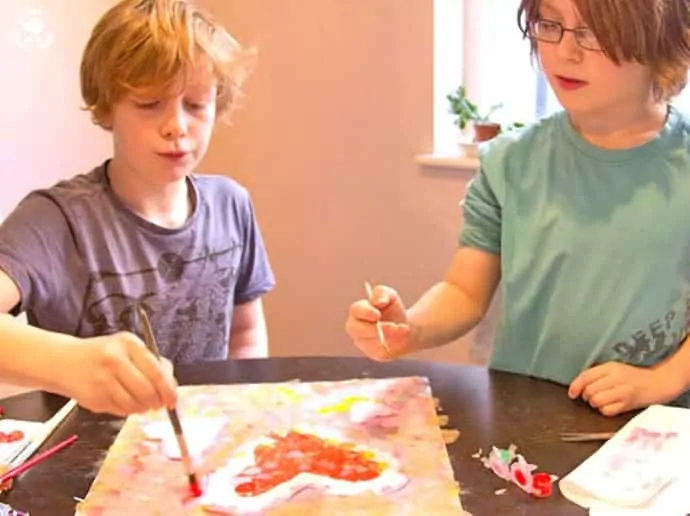
Continue until all of the plastic is covered. We used acrylic paints and they only needed one layer but other paints may need a couple of layers. When the plastic sheet is covered in paint leave it to dry.
Once the paint is completely dry gently lift off the paper hearts. You should be left with some beautiful heart silhouettes.
Remember that piece of sticky back plastic we put to one side at the beginning? Now you need to remove its backing and stick that on top of the paint to seal it in. Watch the video above to see how to easily do it to avoid lumps and bumps in the plastic.
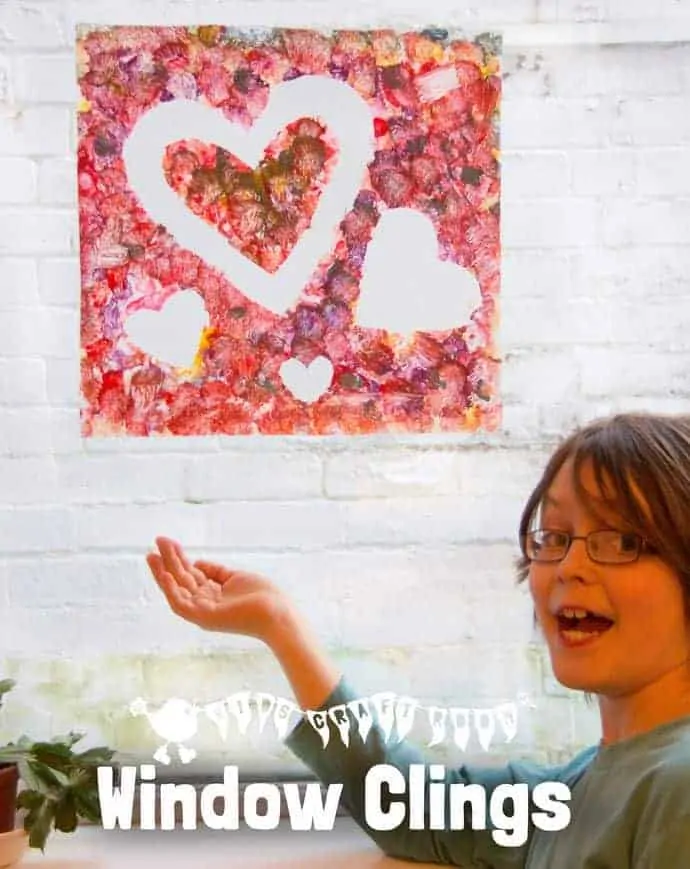
Now your lovely heart window art is ready to go on display. Simply peel off the paper backing and pop it on a window. How pretty is that?
An Additional Heart Craft
Did you notice the paper hearts you took off your window art? We thought ours looked so pretty that rather than throw them away we mounted them onto card stock and made greeting cards out of them.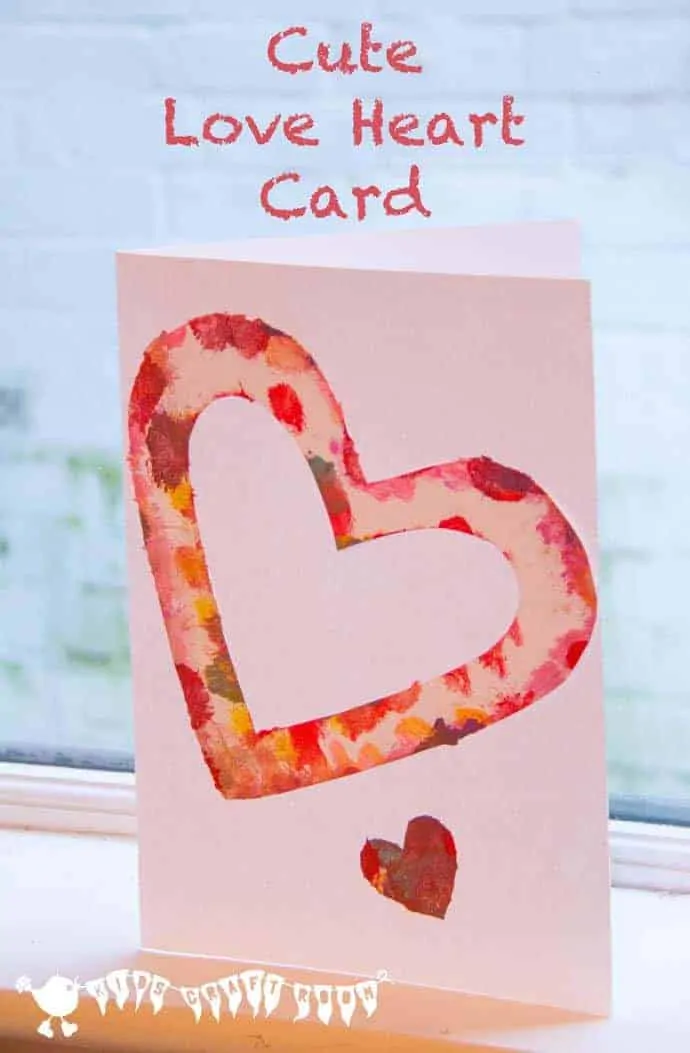
More Fun Valentine Crafts For Kids:

Heart Window Clings
HEART WINDOW CLINGS - Kids from toddlers to tweens will love this fun process art project.
Materials
- Contact Paper/ Sticky Back Plastic
- Paper
- Scissors
- Poster Putty/Blue Tac
- Acrylic Paints
- Selection of Brushes
Instructions
- Cut two pieces of contact paper to your desired size.
- Keeping the paper backing on the plastic, use the poster putty to secure the plastic to the table, paper side down, plastic side up.

- Cut out some hearts from paper and attach them to the contact paper with little pieces of poster putty.
- Use a selection of brushes or sponges to dab paint all over the contact paper.

- When the paint is dry, peel off the paper hearts to reveal your design.
- Cover the design with the second piece of contact paper you cut in step one.
- Now you can peel off the backing paper and attach it to a window.