Homemade gift wrap is a lovely way to personalise presents. Children can have lots of fun making and getting creative with their own wrapping paper designs. Cookie cutter printed wrapping paper is super easy and a great way to enjoy printing with materials you already have. 
Cookie Cutter Printed Wrapping Paper
Supplies For Making Cookie Cutter Printed Wrapping Paper:
(This post contains affiliate links.)
- Christmas cookie cutters
- A large dinner plate
- A roll of brown parcel paper
- Scissors
- Paint (We choose red and green.)
How To Print Wrapping Paper:
If you haven’t tried cookie cutter printing yet you’ll love how easy it is. It’s so much easier than fiddly potato printing!
- Cut your paper into manageable sized pieces and lay one flat on a table.
- Pour your chosen paint colour onto your dinner plate. It doesn’t need to fill the plate, as long as it covers a large enough area to dip your chosen cutter shape into.
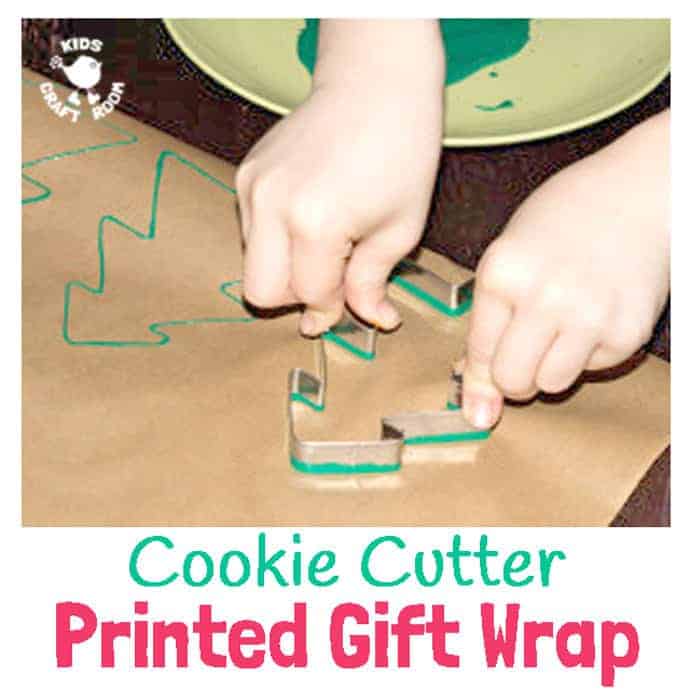
- Dip your cutter, sharp side down, into your paint and give it a little wiggle to make sure the edge is covered.
- Place your cutter onto your paper and push down firmly.

- Cover your paper in your chosen design and leave to dry.
- When dry roll up until ready to use.

The children can have lots of fun experimenting with different designs, both ordered rows and random patterns look really pretty.
A paintbrush can be used to add on additional features after you’ve printed your shapes. My kiddies painted red baubles onto some of their Christmas trees and green spots onto their present shapes.
We hope you have lots of fun with this idea. It’s a great and easy way to make that gift for someone special that extra bit special.
You might also like:
- Fingerprint Reindeer and Snowmen Gift Tags
- Scented Salt Dough Decorations
- Printable Reindeer Antlers
- Santa Claus Action Song
More Fun Christmas Crafts To Try:
