It hasn’t felt very much like Spring here in the UK but the frogs have still been busy and we’ve been avidly watching our frog spawn and learning about frog development over the last few days. It’s been quite amazing to see how quickly things changed in just one week!
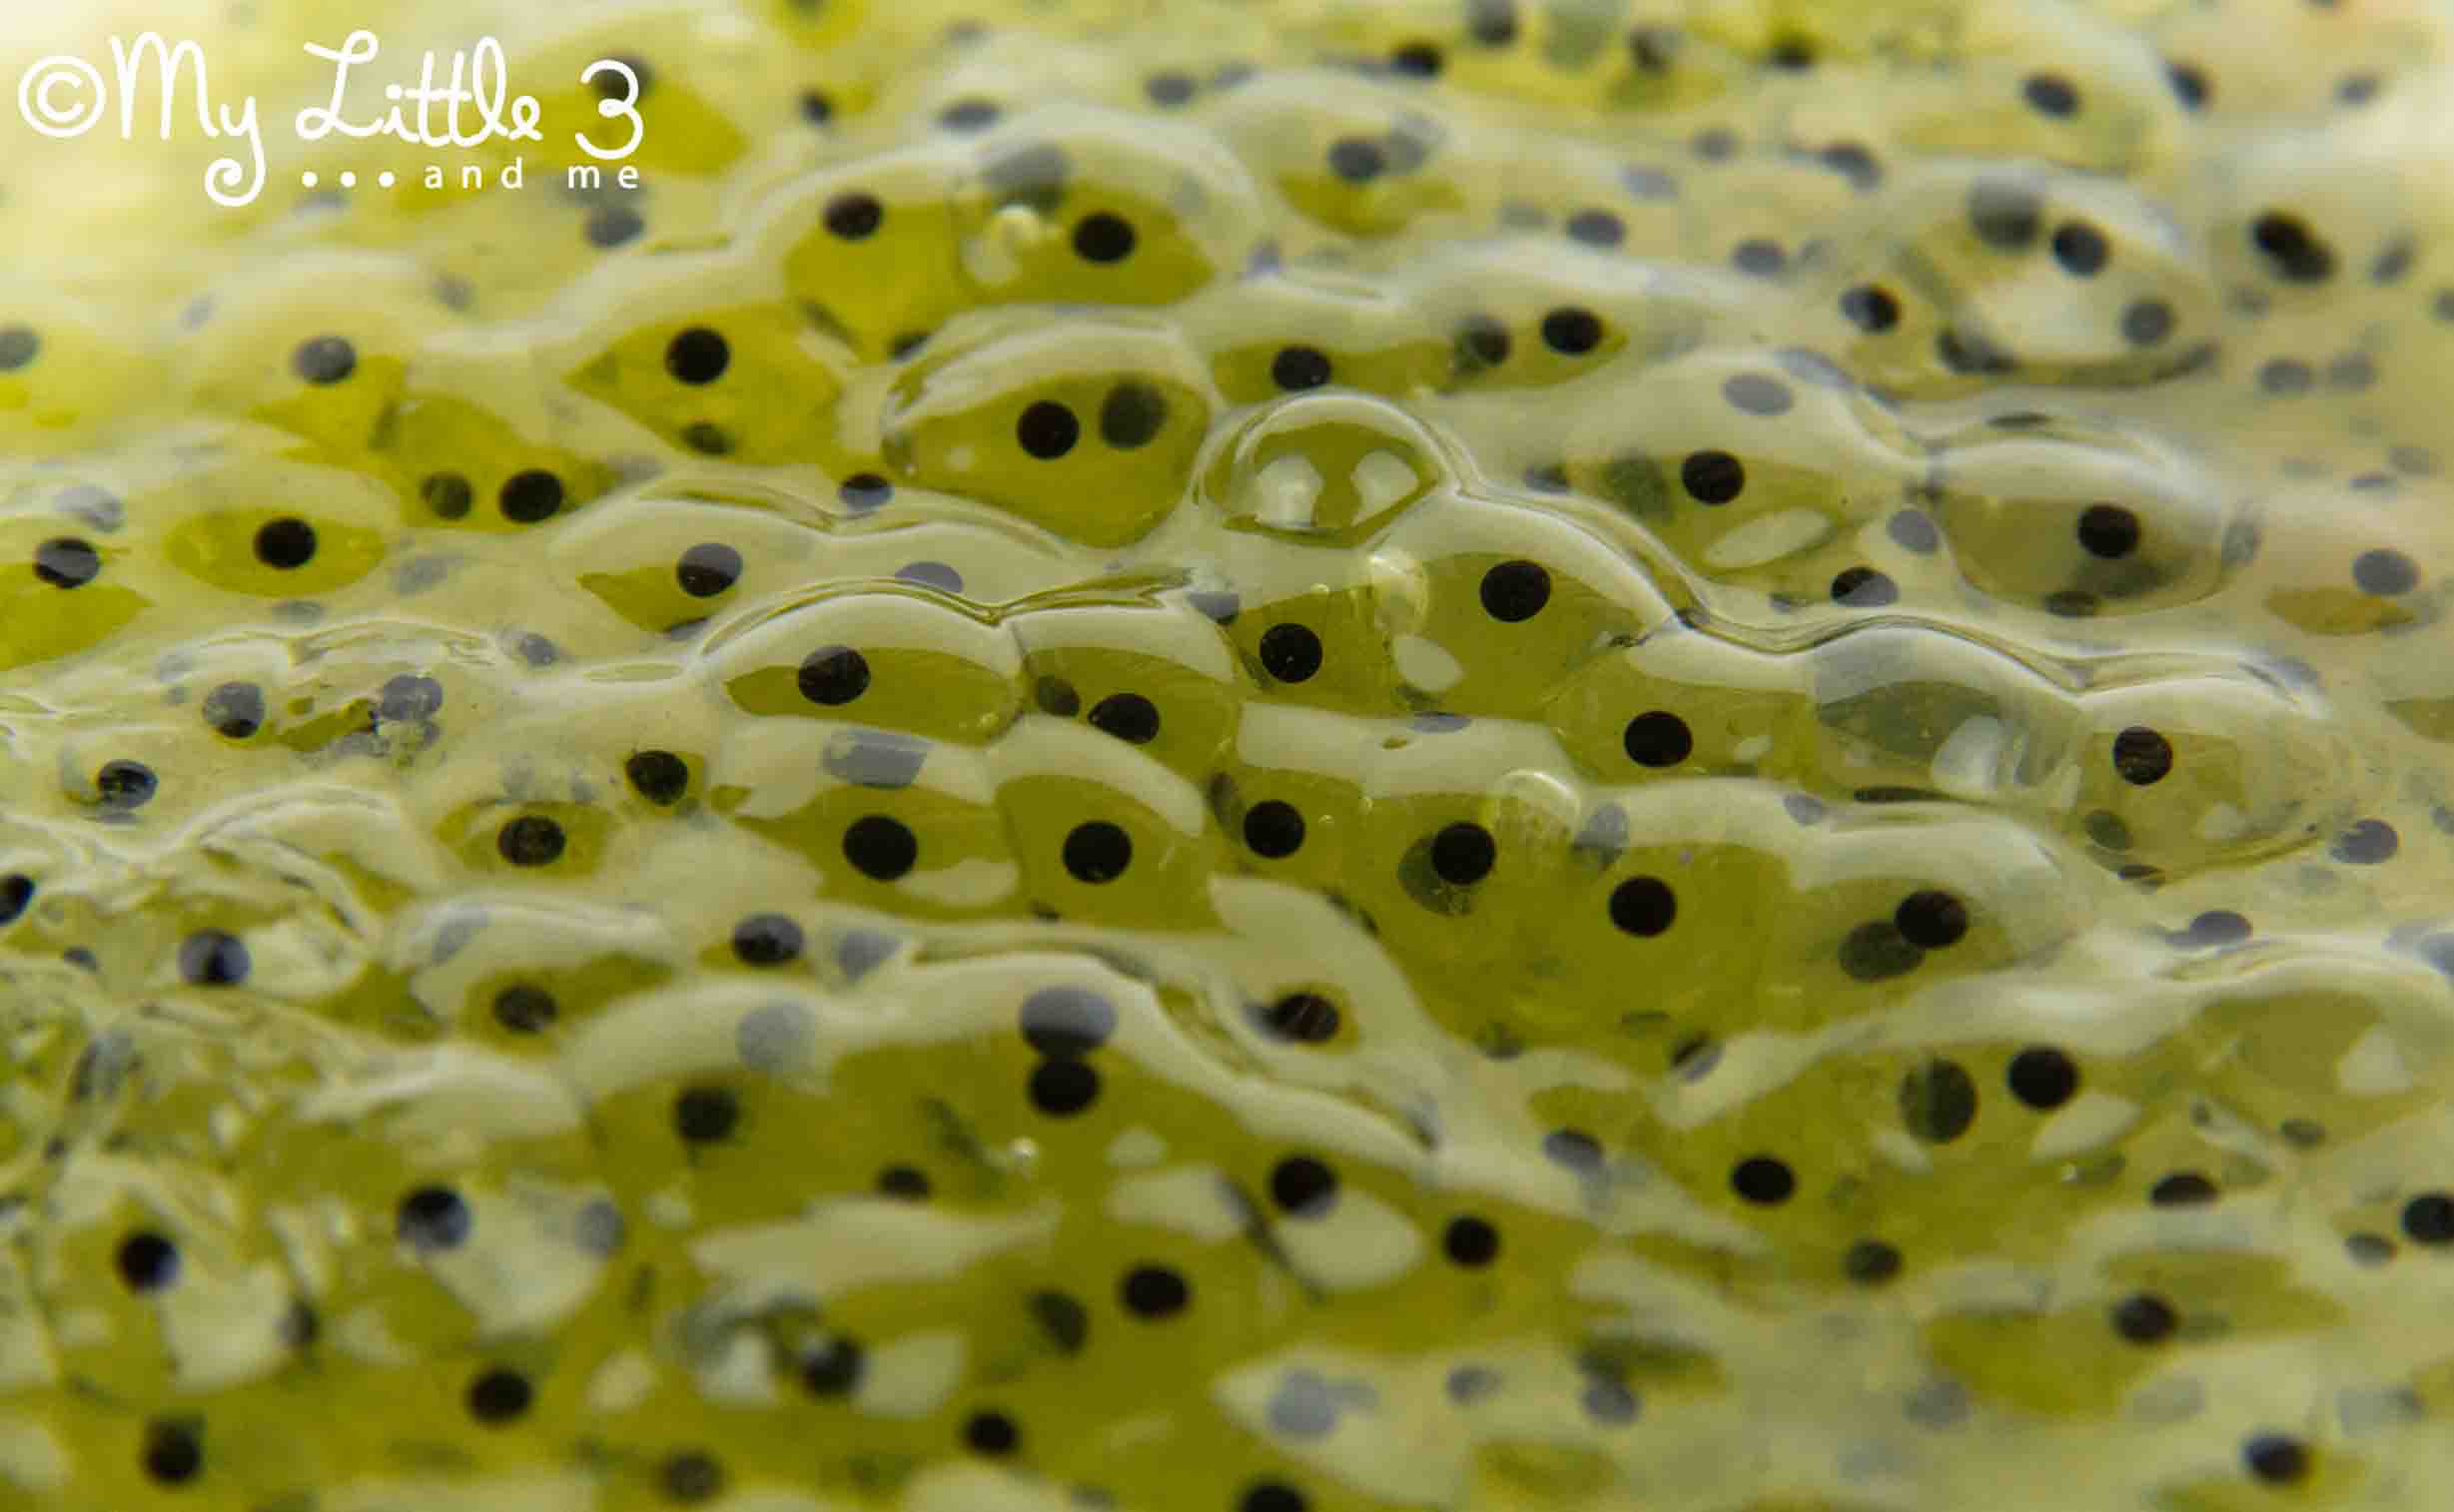
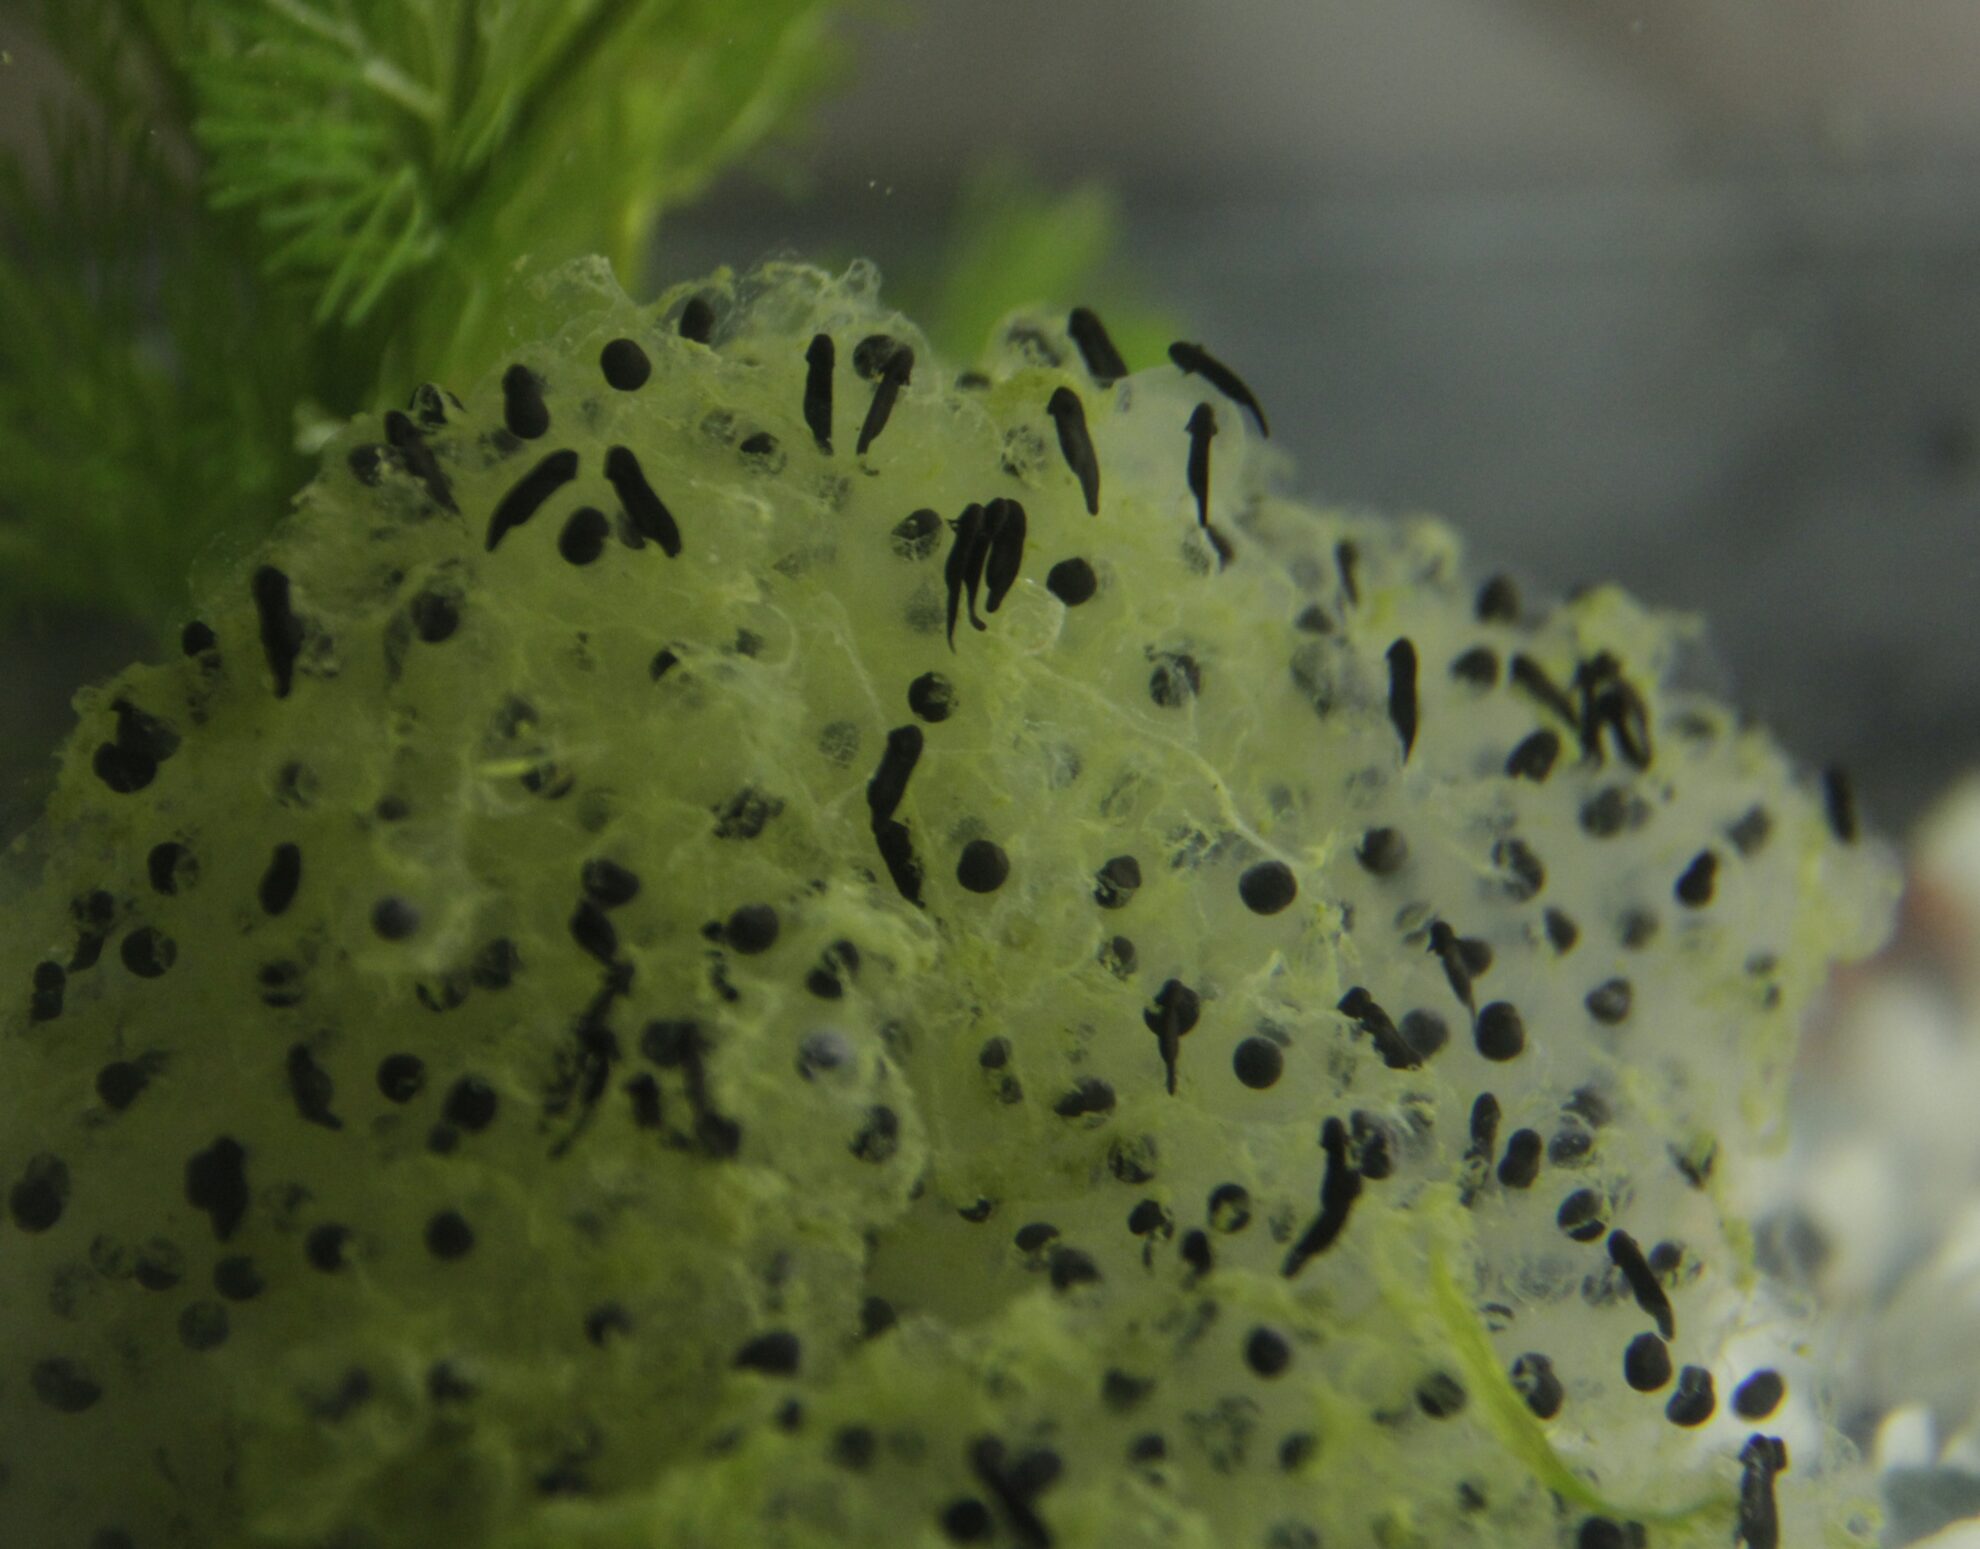
It’s been amazing learning about frogs and frog development this week. We’ve seen the frog spawn middles grow, change shape and hatch into tiny tadpoles in just 5 days! This week the emerging tadpoles have been eating their egg cases and we’re looking forward to them getting strong enough to swim around looking for algae to eat. Do pop back next week to see how they are doing!
It has been fantastic for the children to be able to watch it all close up and it’s raised lots of questions and pouring over books and searching the internet for answers. I really do love it when something from nature captures their interest so whole heartedly. There are so many science learning opportunities from taking the time to watch the natural changes around us; life cycles, reproduction, habitats, seasons, food chains, animal groups… Absolutely wonderful!
In what has become the usual manner of My Little 3 and Me we felt inspired to get crafty. We were definitely feeling the Easter influence with this Cute Pond Scene with little egg tadpoles and frogs.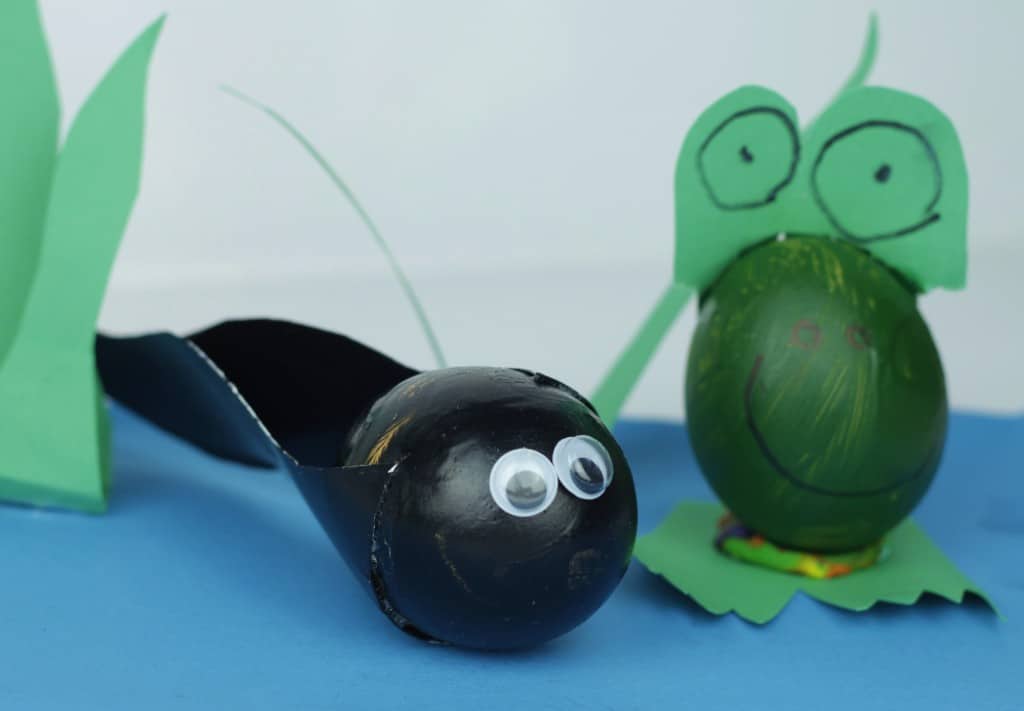
How To Make A Tadpole and Frog Pond Scene From Eggs.
Supplies For A Tadpole Craft
- 2 eggs
- Black and green acrylic paint
- Card
- Scissors
- A small blob of plasticine
- Quick drying glue like UHU
- 2 googly eyes for the tadpole
- Felt tip pen
How To Make A Tadpole And Frog Scene
- Ideally you should blow your eggs so that you can keep your craft for a long time. My youngest was just so desperate to make it immediately I hadn’t the heart to thwart his enthusiasm and make him wait for the eggs to be blown first but I would advise that you do! To blow an egg is fairly easy but does take a lot of puff! Use a thick needle or pin and make a small hole in either end of the egg. Poke your pin through and wiggle it about to break up the yolk. Over a bowl blow long and hard through one of the holes and the contents will be pushed out of the other hole. You can rinse out your egg and leave it in the sun or on a radiator to dry afterwards.
- Paint one egg black and one egg green and allow to dry.
- Cut out 2 matching tadpole tails and paint them black.
- Cut out a simple zigzag base for frog’s feet, using the picture to inspire you and paint them green.
- Cut out a “M” shape for frog’s eyes, using the picture to help you and paint them green.
- When all of your pieces are dry add any felt tip extras, like a smile and eye balls and then simply glue them into place. To glue the frog’s eyes we cut a few snips along the bottom of the “M” that we folded and fanned out towards the back of the frog. We sat the frog on a blob of plasticine to hold it upright. You could do the same for the tadpole too if you like but my son liked the way it rolled about, saying it looked like it was swimming!
My little boy drew and cut out all the cardboard shapes. I think they look adorable! We haven’t provided a printable template or strict guidelines for this craft as I think it’s rather lovely for each child to draw, cut out and make their own unique croaky characters.
More Fun Spring Crafts For Kids:
