We love snow and snow crafts like this frost effect snowflake are such a lovely extension to outside snow play.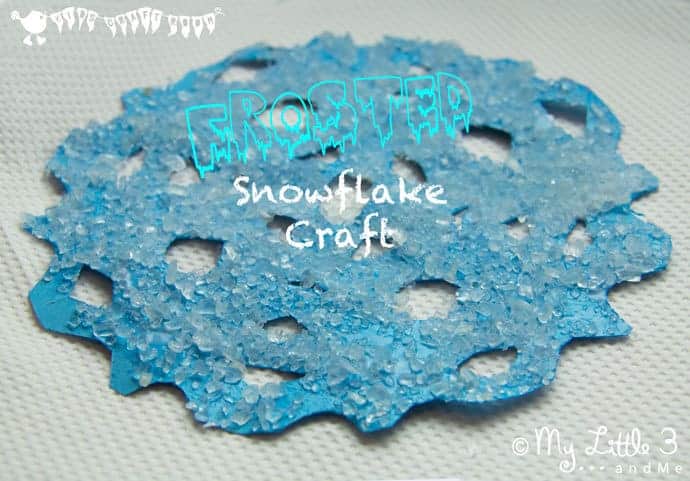
Well winter here in the UK is proving to be a bit disappointing, normally in January we are promised some snow but the temperatures are currently up at around 5C so it’s not on the immediate horizon.
I know I should be grateful that we’re not experience the extreme freezing temperatures and snow that parts of the States are at the moment, and believe me I am grateful for my warm and cosy house and I don’t miss having to scrape all the ice from the car and the hazardous driving conditions, but I DO REALLY WANT SOME SNOW!
I love snow play with the kiddies, from simple snowball fights, to looking at animal tracks, to building igloos and painting snow creatures. It’s all great in my book and I probably love it so much because it’s always a fleeting experience here in the Midlands. If I had to endure snow for a longer swathe of time then my enthusiasm might well start to wane!
I’ve been having a bit of a bathroom cupboard clean out this week and came across an old pot of Foot Salts. This salt has a lovely coarse texture and a light blue tint to it and it just made me think frost, snow and all things cold. It was definitely crying out to be crafted with and we came up with these gorgeous frosted snowflakes that we’ve now got hanging in our windows.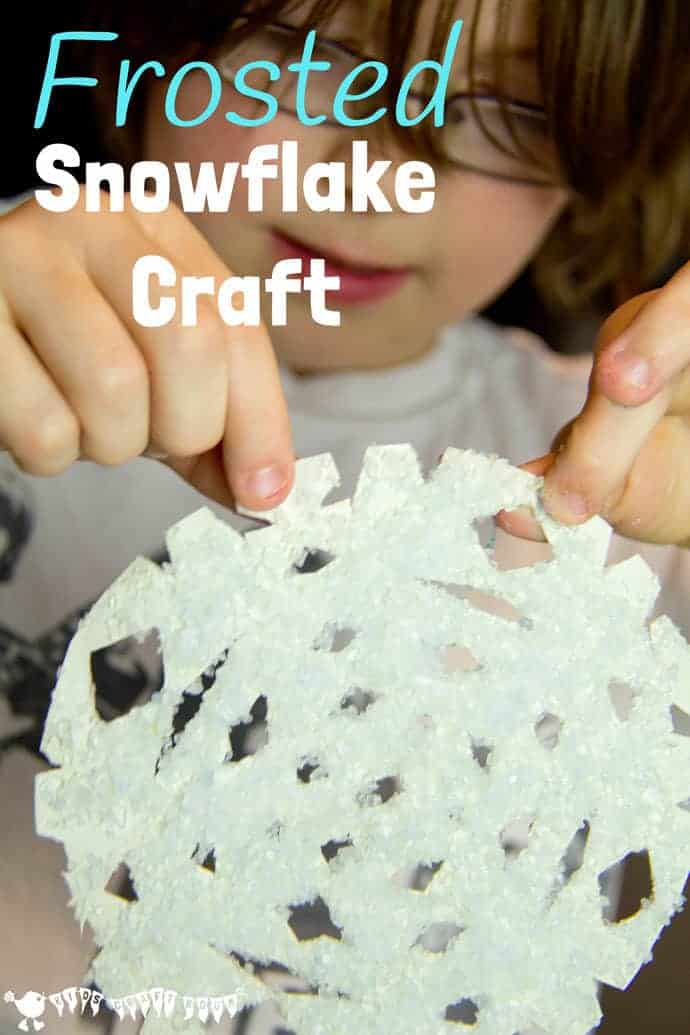
Supplies For A Frosted Snowflake Craft Session
(Some US and UK affiliate links are included for your convenience.)
- The kiddies and I love to up-cycle with our crafts as much as possible so we rummaged in our junk model making box and dug out some old milk jugs and food packaging boxes to use for our snowflake base. Paper wouldn’t work very well because of the weight of the salt so we needed to find something more rigid. You could just use card stock if you prefer.
- Salt crystals. (US – Coarse Sea Salt, Foot Salts or Epsom Salts would all work well.) (UK – Rock Salt, Bath Salts, Scented Foot Salts) (Some of the home remedy salts like foot salts have an added scent to them too like lavender or peppermint which adds a lovely sensory element to the craft .)
How We Made Our Frosted Snowflakes
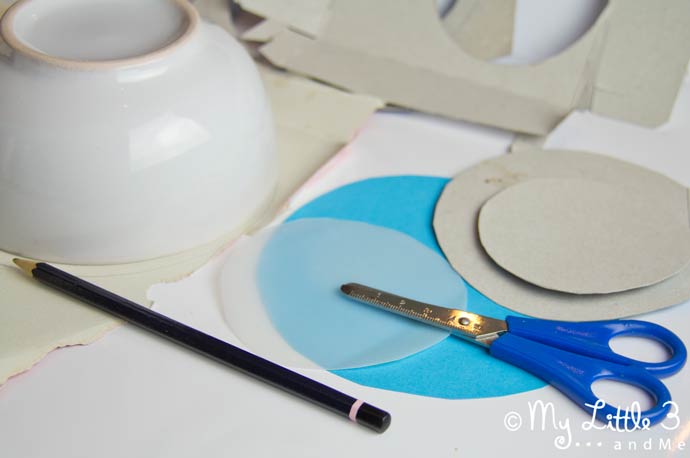 On the card and plastic, we drew round some cups and plates to make circles and then cut them out.
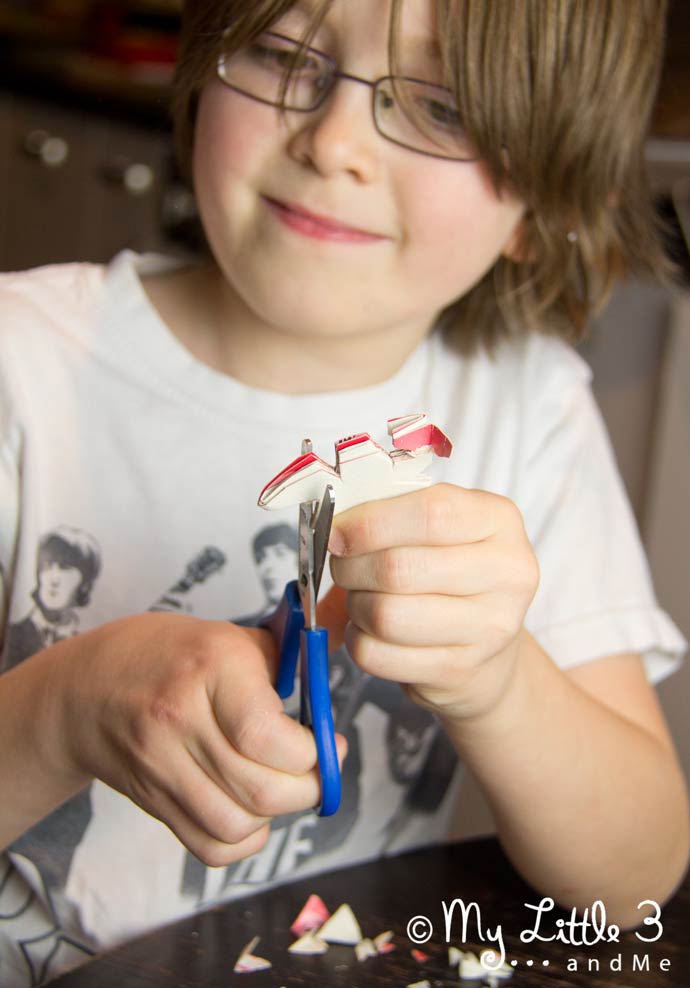 Then we folded the circles in half, half again and half again to make a pie segment shape and then we snipped bits off.
(We were only able to fold the plastic milk jug circle in half a couple of times because of its thickness and it was a bit tricky to cut through. Ten year old Biscuit was fine with it but Little Crumb needed help. The cardboard was much easier.)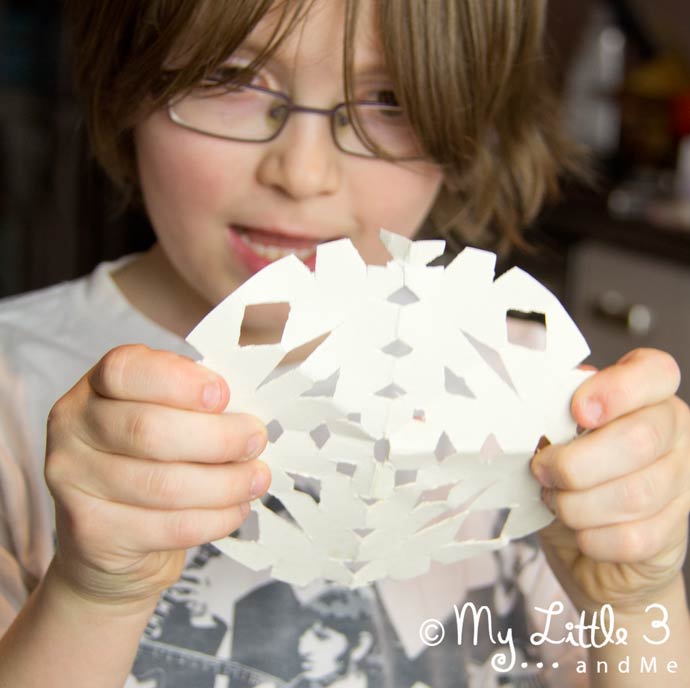 We loved opening up our snowflakes as how they were going to look like was always a surprise and each one was unique just like the real thing!
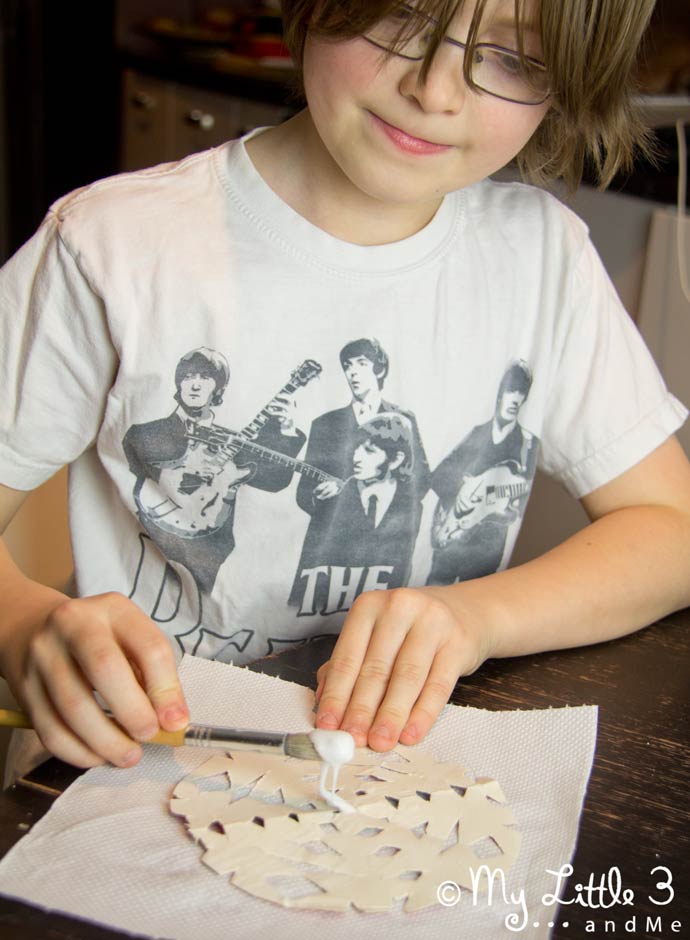
Then we simply applied white glue all over our snow flakes.
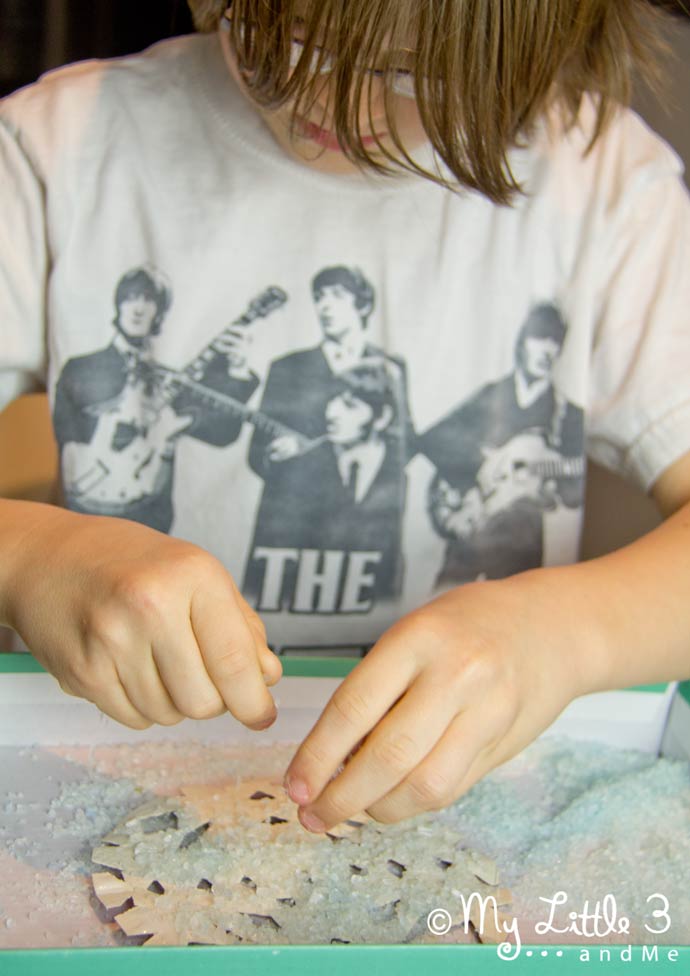 Then we sprinkled them with the salt crystals and allowed them to dry. When they’re dry you can turn them over and repeat the glueing and salting on the other side too if you want too.
Want To Jazz Up This Frosted Snowflake Craft?
Another alternative is to paint your snowflake base first. You could let the children experiment with their own wintry colours. Crumb chose a vibrant pink which I love.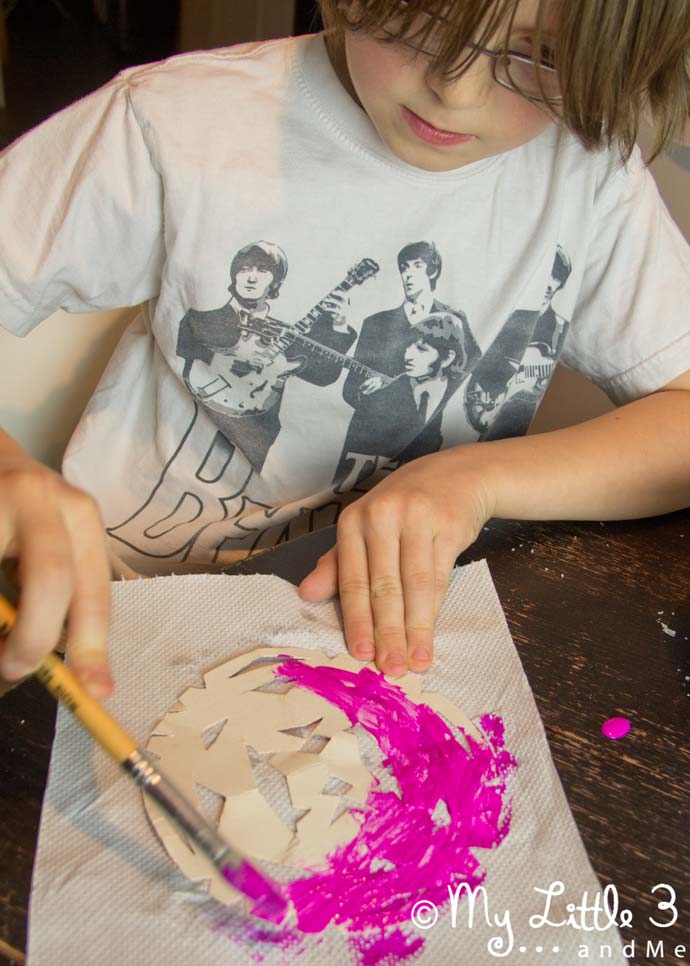
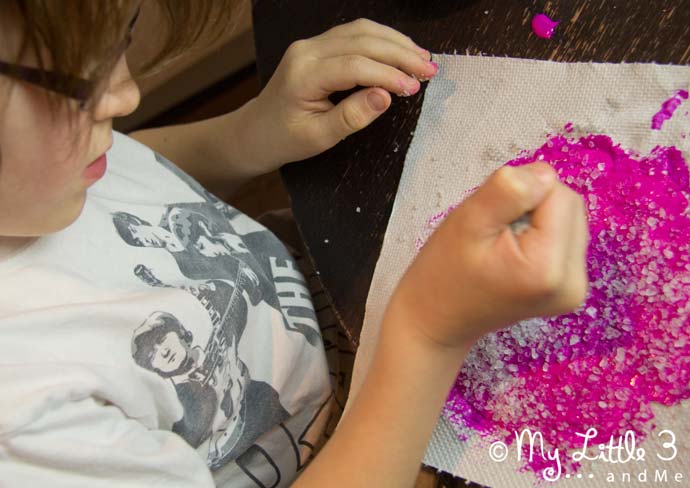
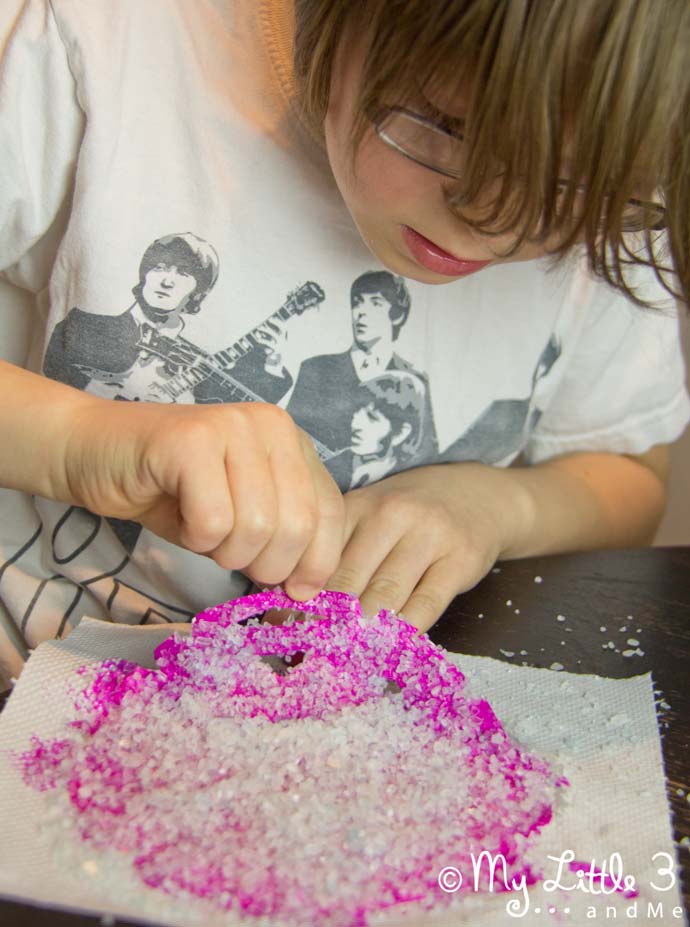
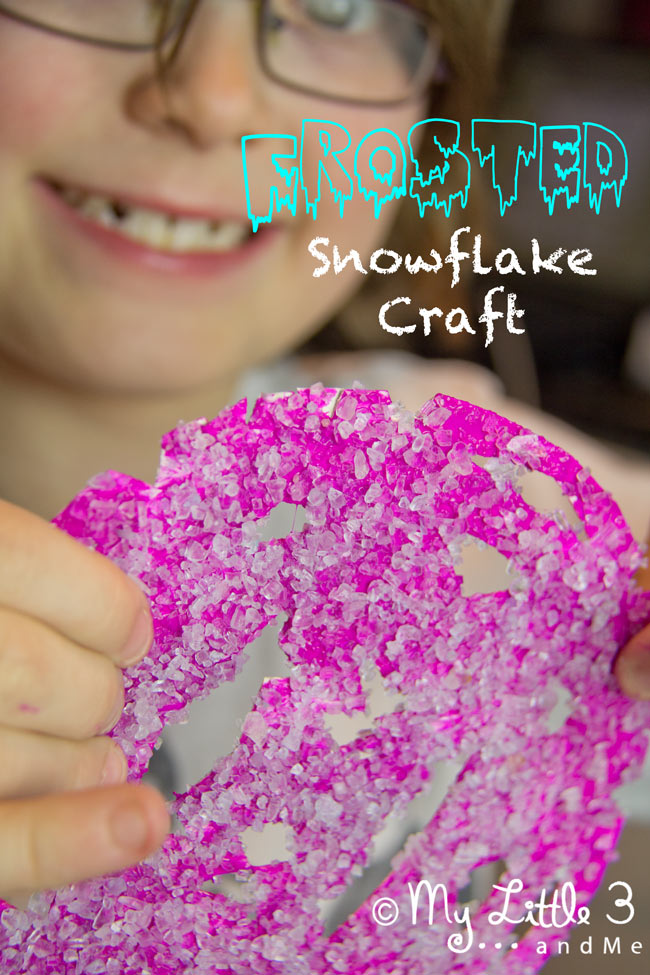
I love the effect of the large salt crystals, they really do make the snowflake craft look cold and frosty don’t they?
(Please remember not to leave your children unattended and to wash hands after crafting, salts are dangerous if eaten.)
More Fun Winter Crafts To Enjoy:

