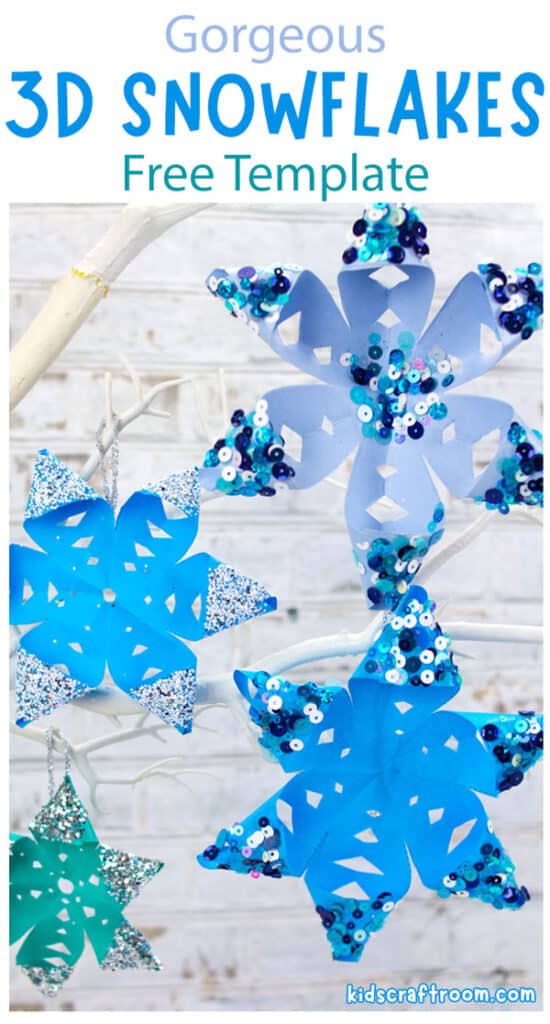


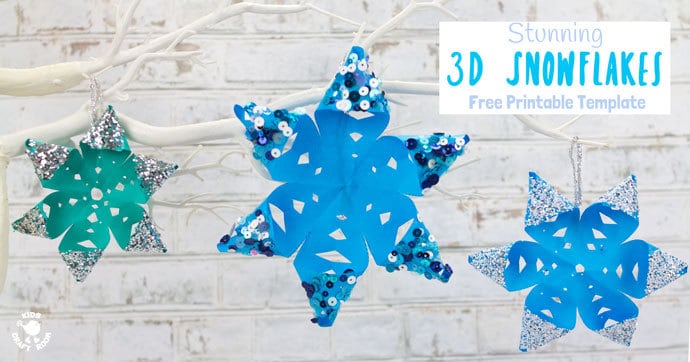
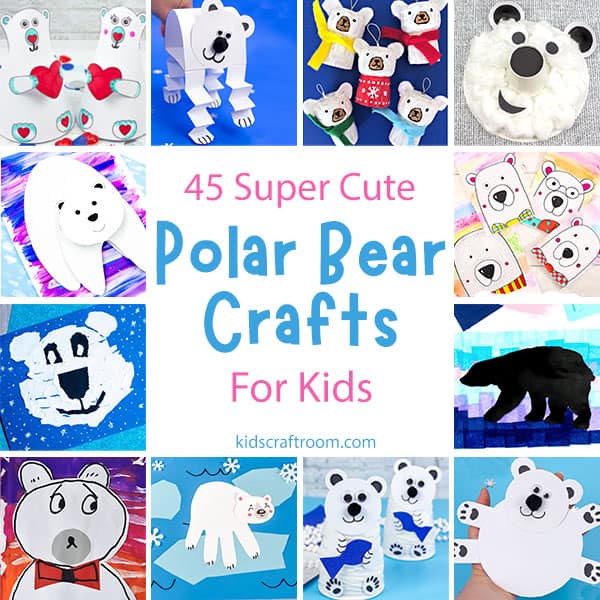
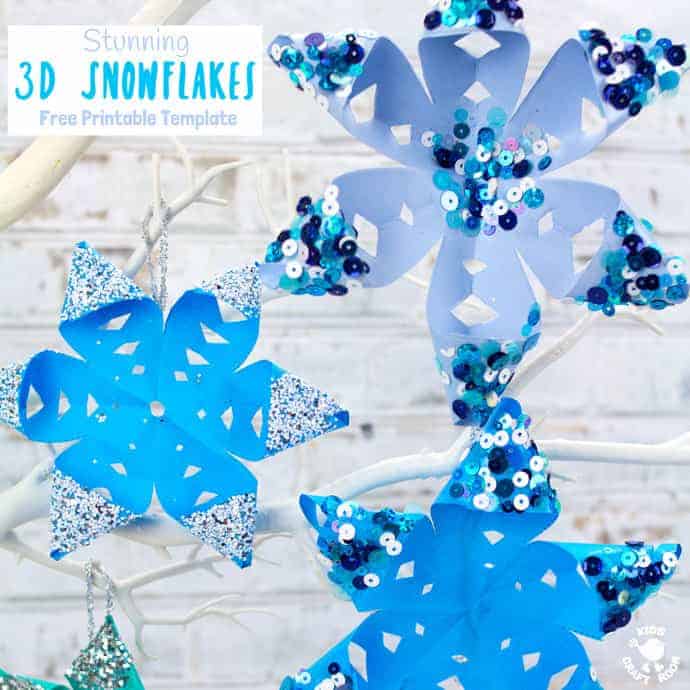
You’re not going to want to miss this STUNNING 3D SNOWFLAKE CRAFT! It’s a gorgeous paper snowflake craft with a difference!
These free printable snowflakes are totally different from the flat boring paper snowflakes we’ve all made a hundred times before! This snowflake craft has a clever and simple adaptation that makes them 3D! And they look amazing!
I’m delighted to say, these gorgeous 3D snowflakes are super easy to make with our free printable templates.
Your kids will love them, for sure!

The free printable snowflake template means that they are super easy to make. The template comes in three different sizes too, so kids can make a whole range of pretty snowflakes to go on display.
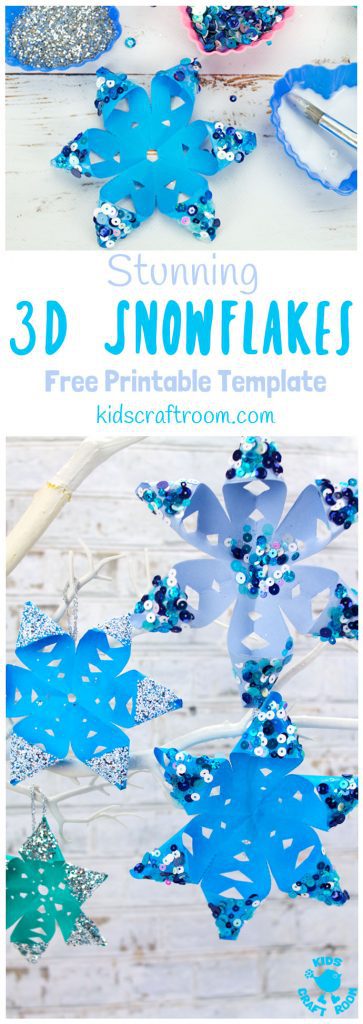
You can print your snowflake craft template straight onto white or coloured paper and then add any embellishments you fancy. We adore how pretty our snowflakes look with the addition of some eco glitter and sequins.
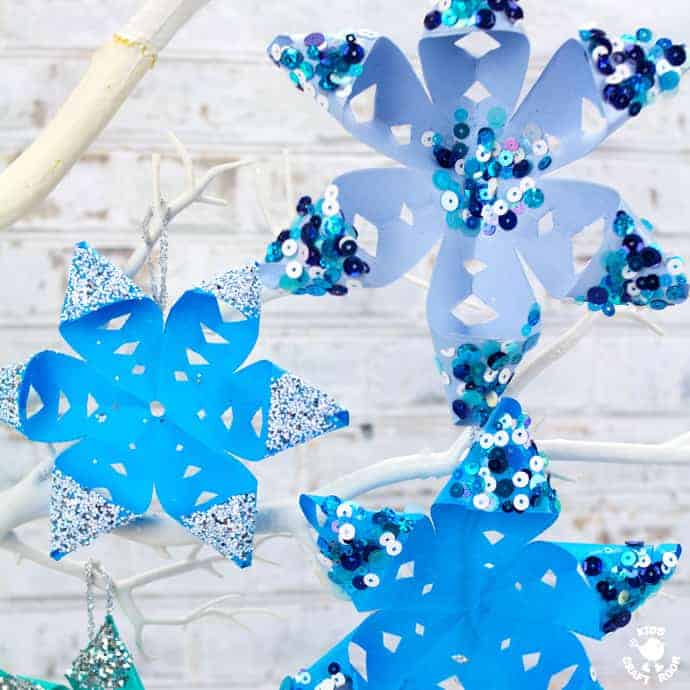
These homemade snowflakes turned out so pretty we ended up making loads, in all sorts of colours. The blue ones were our favourites.
This stunning 3D Snowflake Craft is absolute perfect for using as Christmas ornaments or for a Winter themed display.
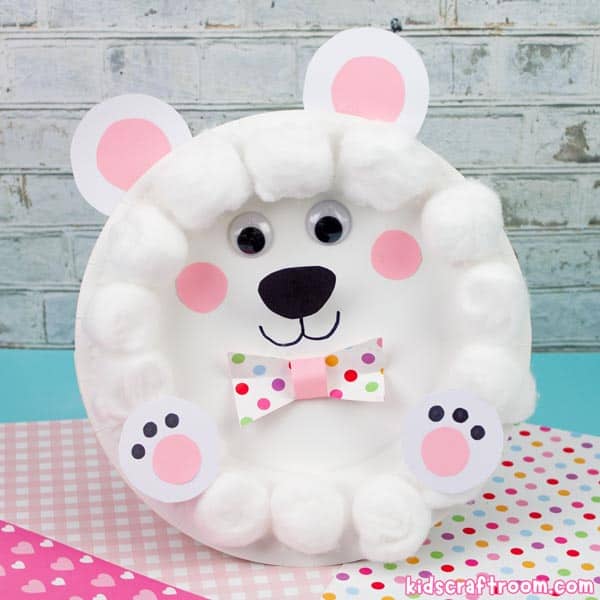
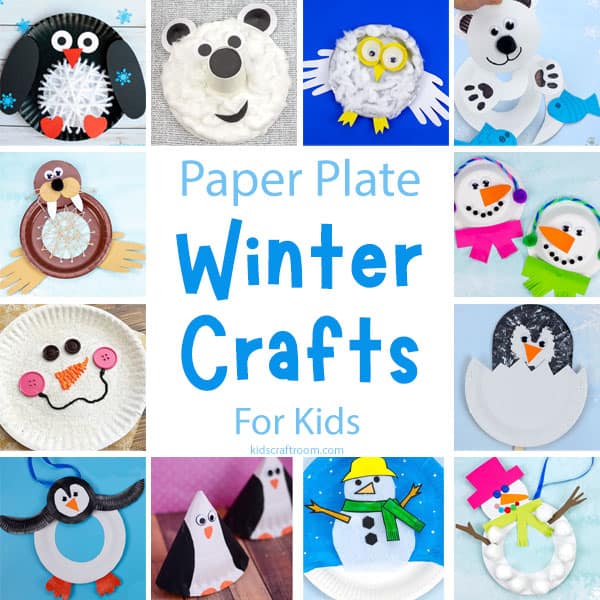
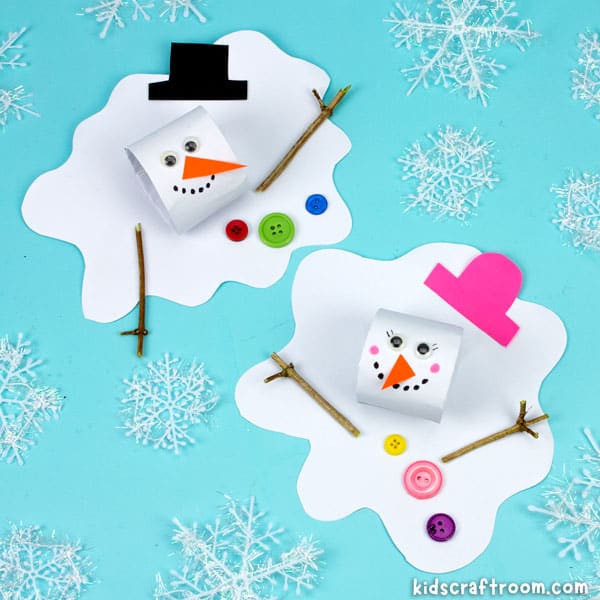
Before you start making your own 3D snowflakes, why not take a look at a few of our other Winter Crafts to try later too? Here’s some favourites to get you started. Click on each photo to go straight to the tutorial.


Beautiful 3D Snowflakes Tutorial
Supplies To Make Three Dimensional Snowflakes:
- Free Printable Snowflake Craft Templates (Grab yours at the bottom of this post.)
- Coloured or White Printer Paper
- Glue
- Sequins
- Bio Glitter
- Scissors
- Silver Twine
- Sticky Tape
How to Make This Stunning 3D Snowflake Craft
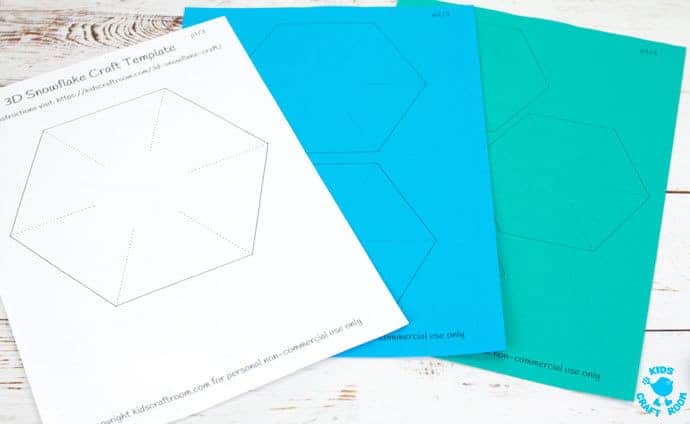
1 – Download and print out your free snowflake craft templates. (Get them at the bottom of this tutorial.) There are three sizes to choose from. You can print them onto white paper or some wintery coloured paper.
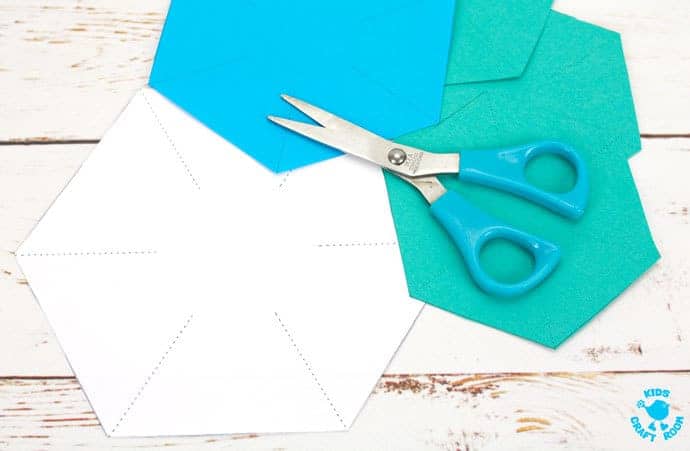
2 – Cut out the basic hexagon shapes.
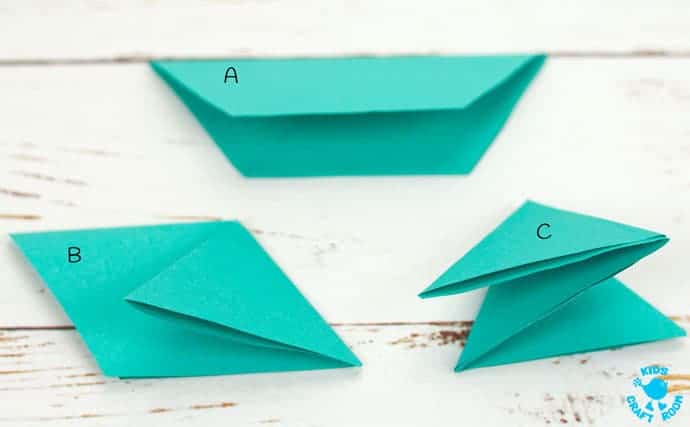
3 – Use the photograph above as a guide to fold your hexagon into a triangle in three steps, A, B and C.
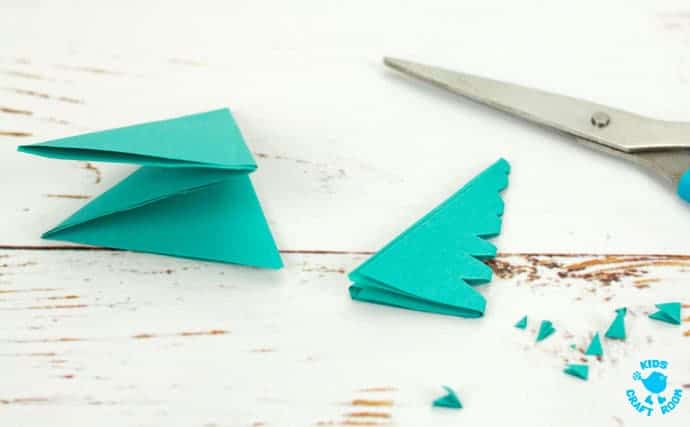
4 – Fold your triangle in half lengthways and snip into the folded edge. Make sure you don’t go all the way across.
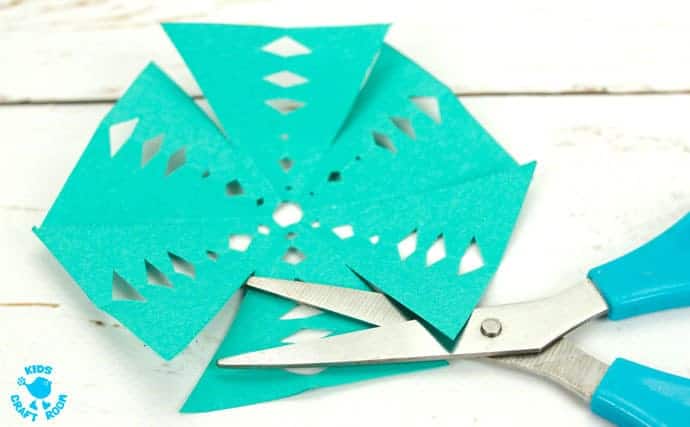
5 – Open up the snowflake and then cut along the dotted lines towards the middle.
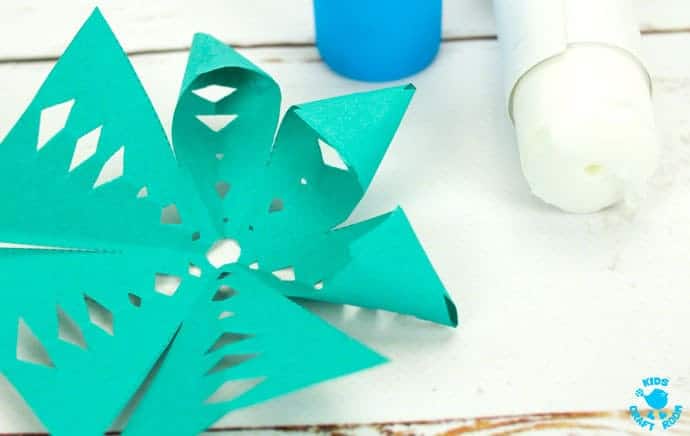
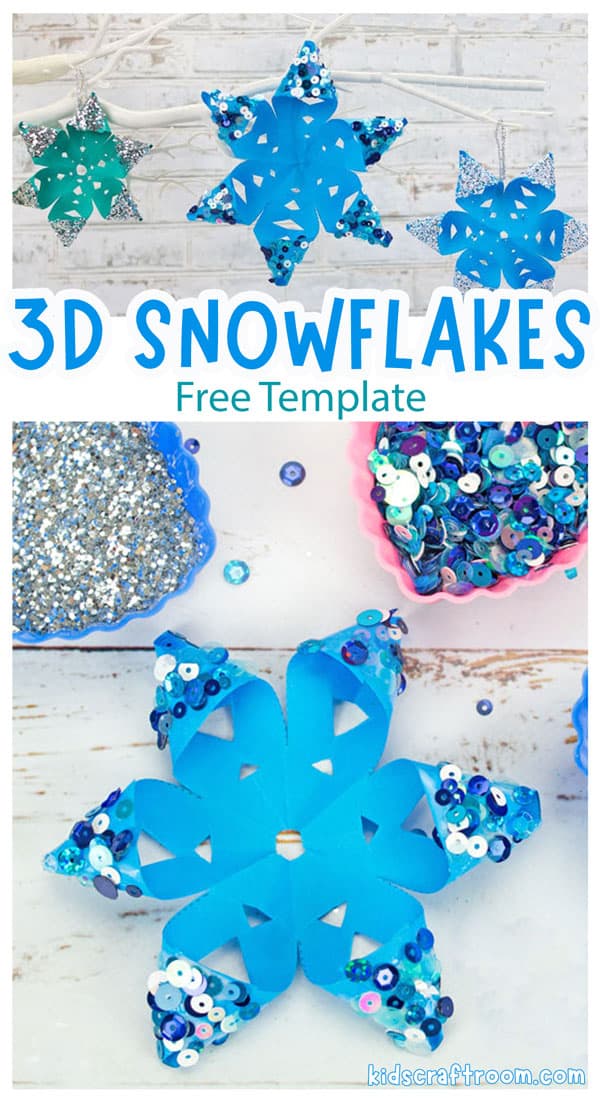
6 – You’ve now got six individual triangles all joined together in the middle. Each triangle will become a point on your snowflake. Pick up the two corners of a triangle and bend them so one overlaps the other. Glue it into place to make a point.
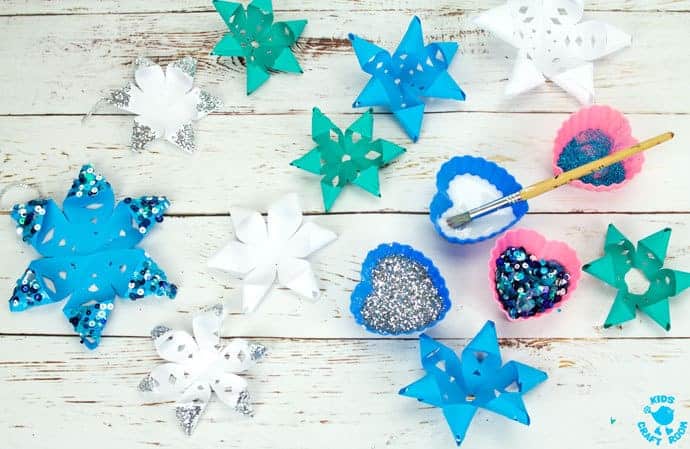
7 – Now comes the real fun part because you can make your snowflakes look really frosty and pretty by adding sparkly embellishments.
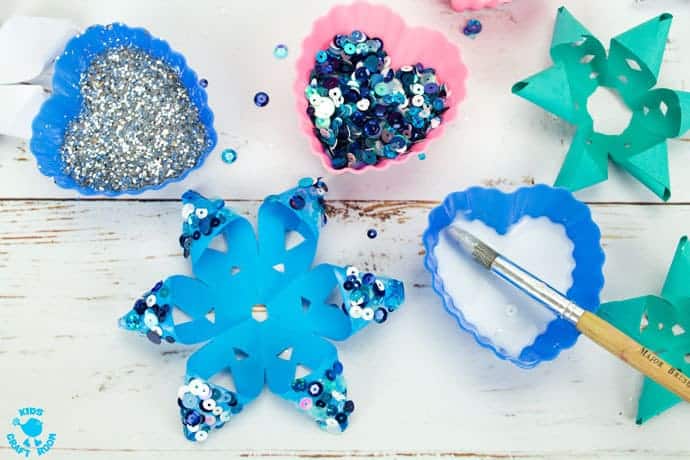
8 – We used school glue applied to the ends and then added glitter and sequins. We were lucky enough to have a set of gorgeous blues, greys and white sequins and they look stunning. Just perfect for this Winter craft!
9 – Once your 3D snowflake crafts have dried, attach a loop of silver thread with sticky tape and hang them up to be admired. 
These homemade snowflakes look gorgeous on the Christmas tree or hanging in the window or on a wishing tree.
If you want to you can even stick them back to back and hang lots of them together to make a snowflake mobile! Wouldn’t that look pretty?
Fill out the form below to get your free templates sent straight to your inbox.
Once you’ve downloaded your free snowflake template you can then print the instructions below if you need them.
More Fun Winter Crafts To Enjoy:


Gorgeous 3D Paper Snowflakes3D Snowflake Craft
Materials
Tools
Instructions