
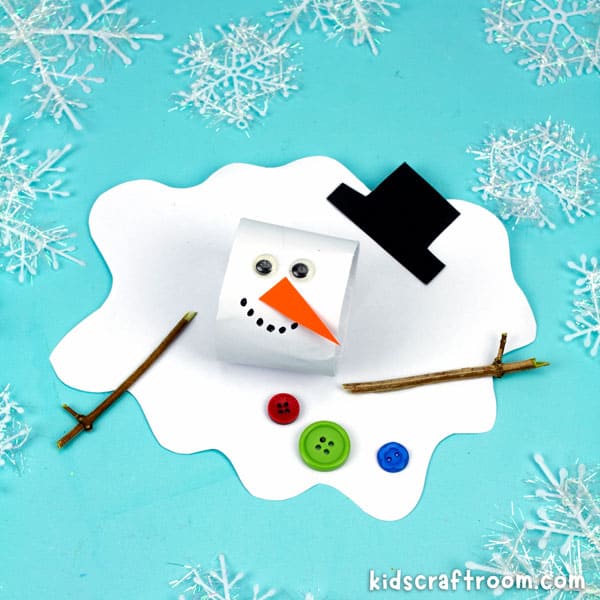
Brrrr, it’s is the perfect time of year to snuggle up warm and cosy inside and enjoy a fun winter craft or two! If you’re on the hunt for a winter activity that’s both super cute and easy for little hands, look no further! Kids will absolutely love making this fun Melting Snowman Craft.
This adorable melted snowman craft is super simple to make from old cardboard tubes and paper! It’s the perfect winter craft to help build kids fine motor skills and to encourage them to recycle too.
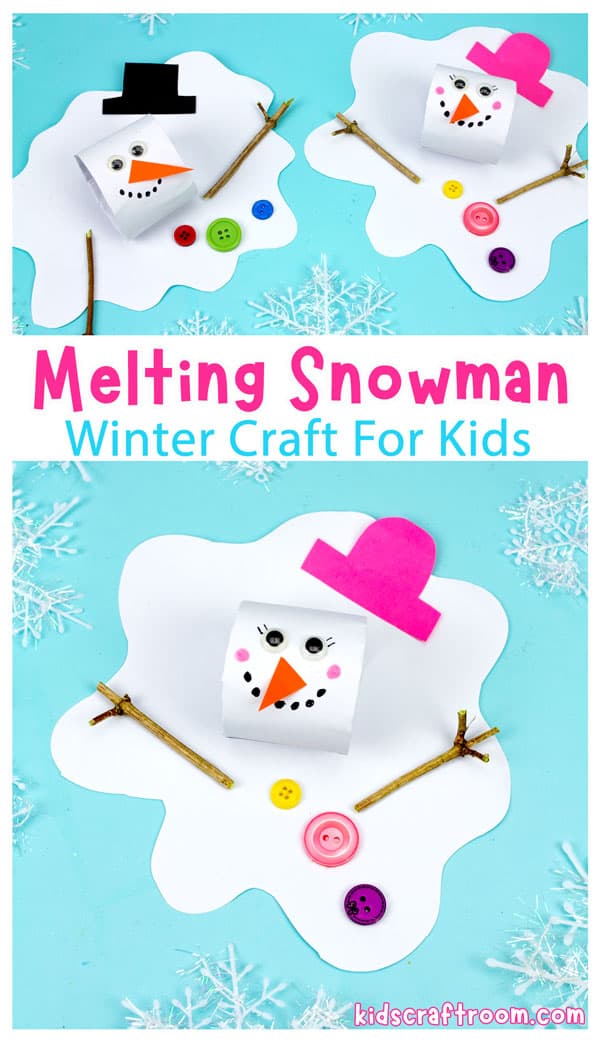
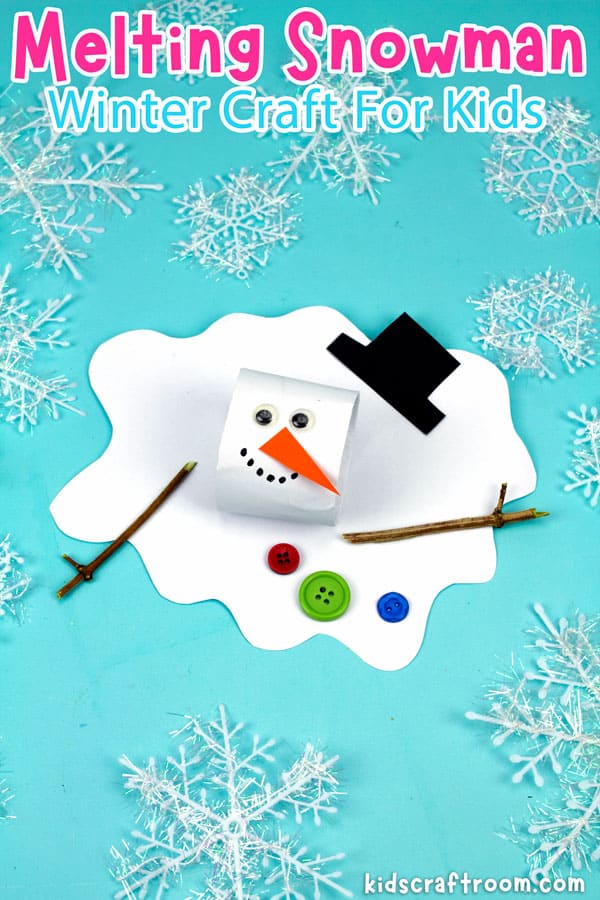
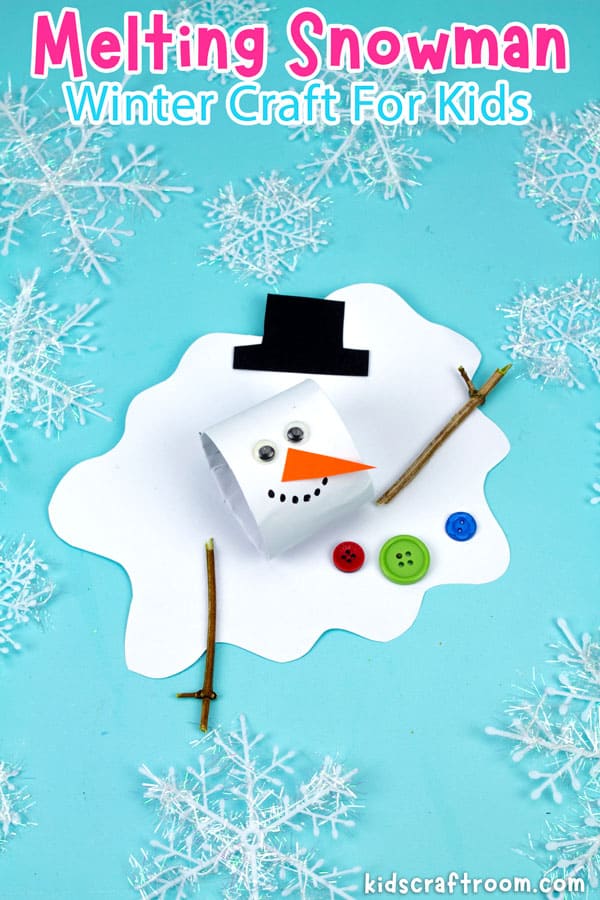
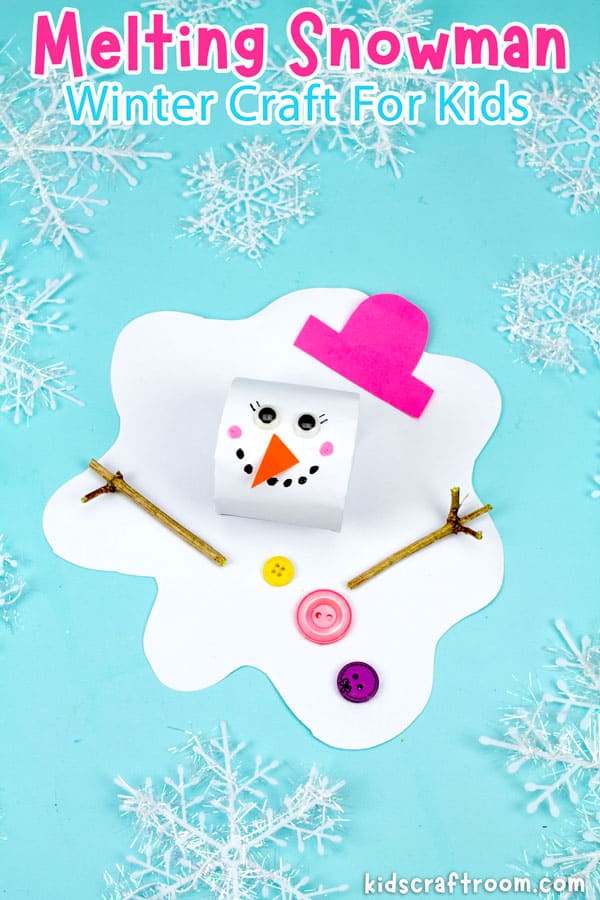
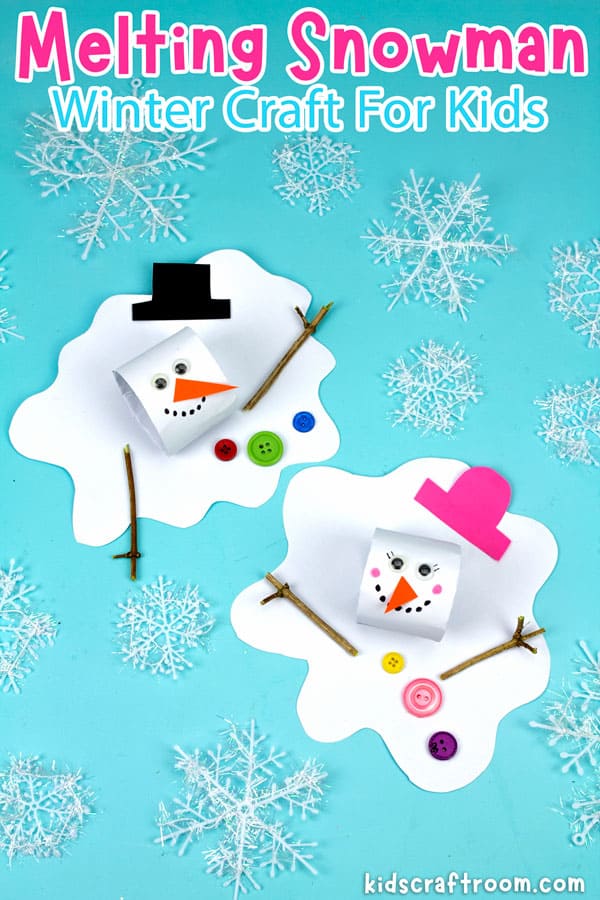
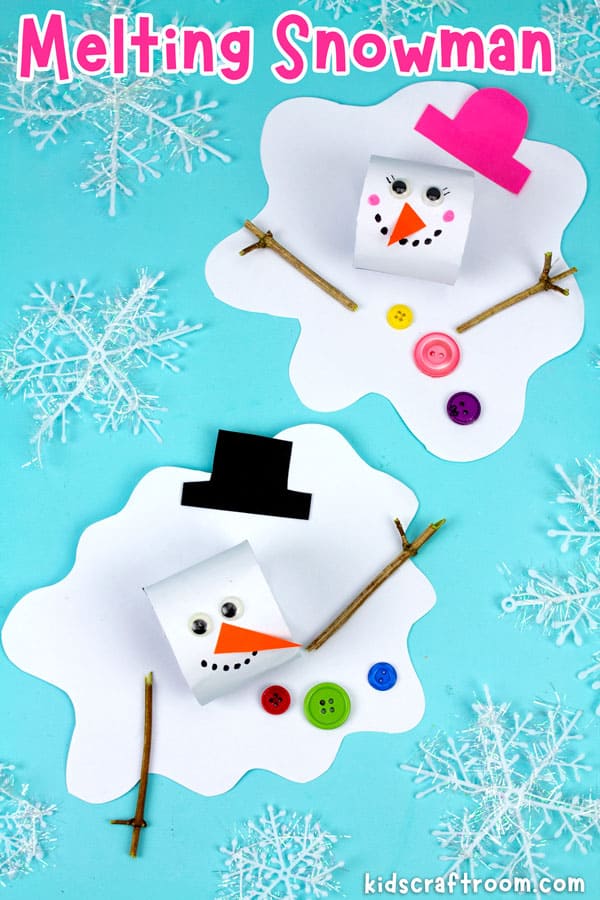
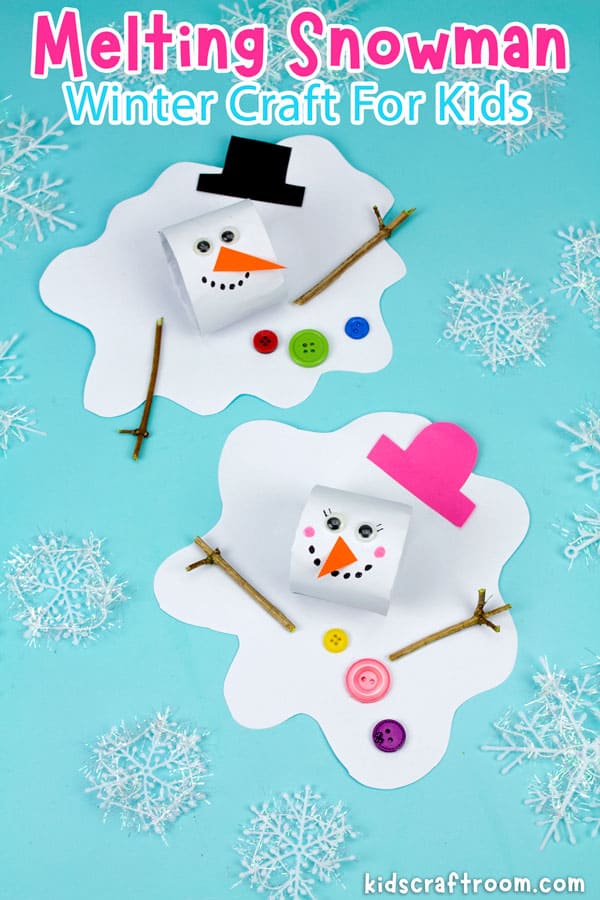
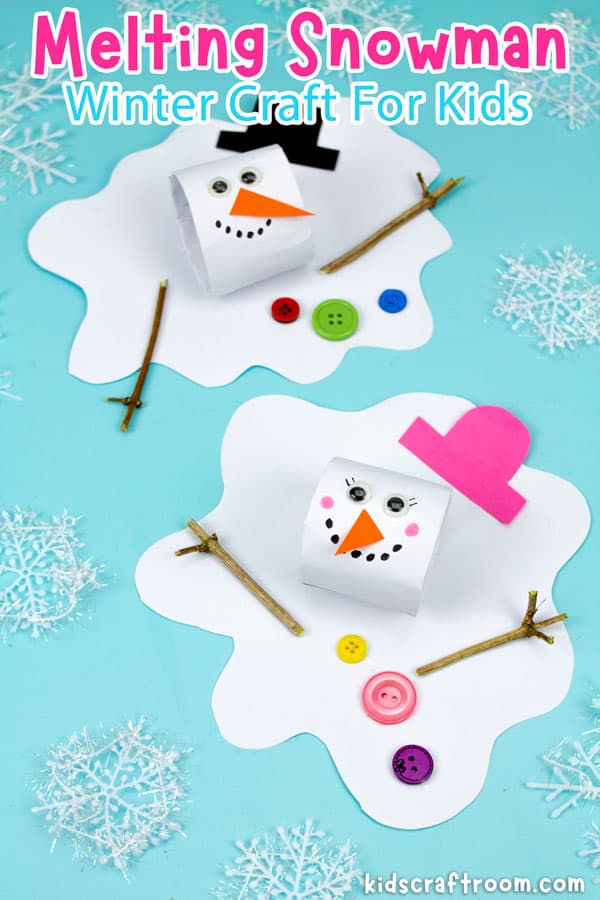
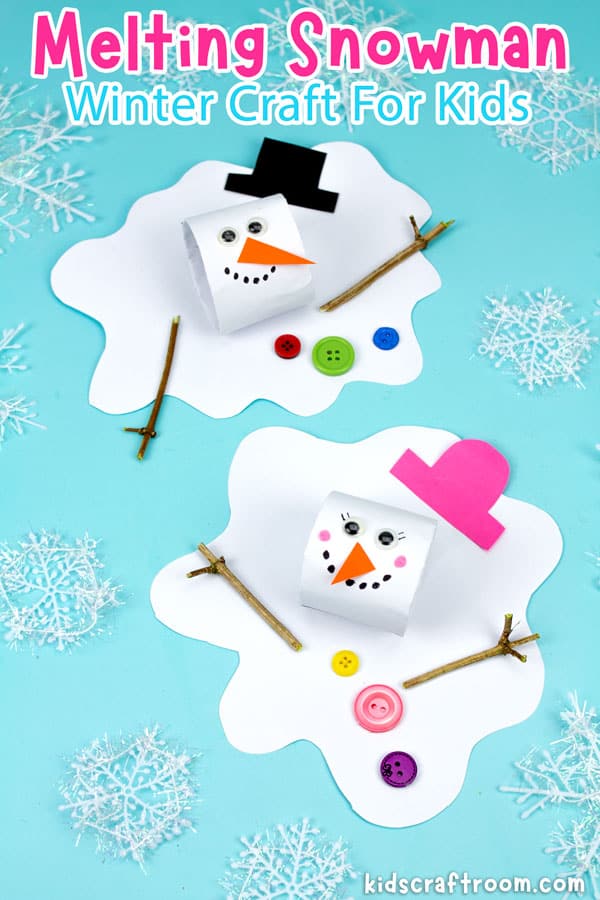
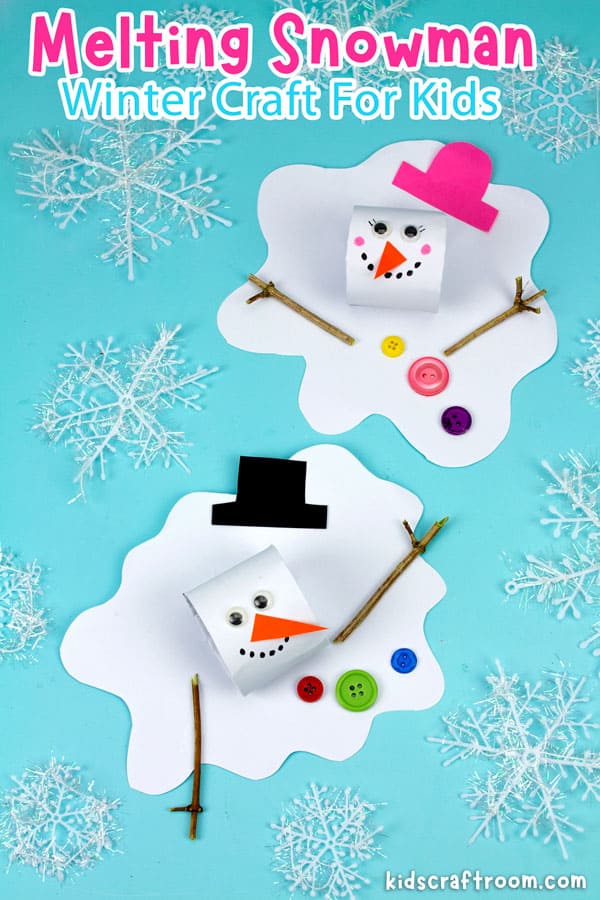
Melted Snowman Winter Craft For Kids
Winter is such a magical season filled with fluffy snowflakes, hot chocolate drinks, stories by the fire, and cozy crafting afternoons.
Although it does get cold here in the UK, sadly we don’t get a lot of snow! So my kids don’t get many opportunities to build a real traditional snowman or to watch that snowman melt! But with this simple winter craft they can still join in the fun!
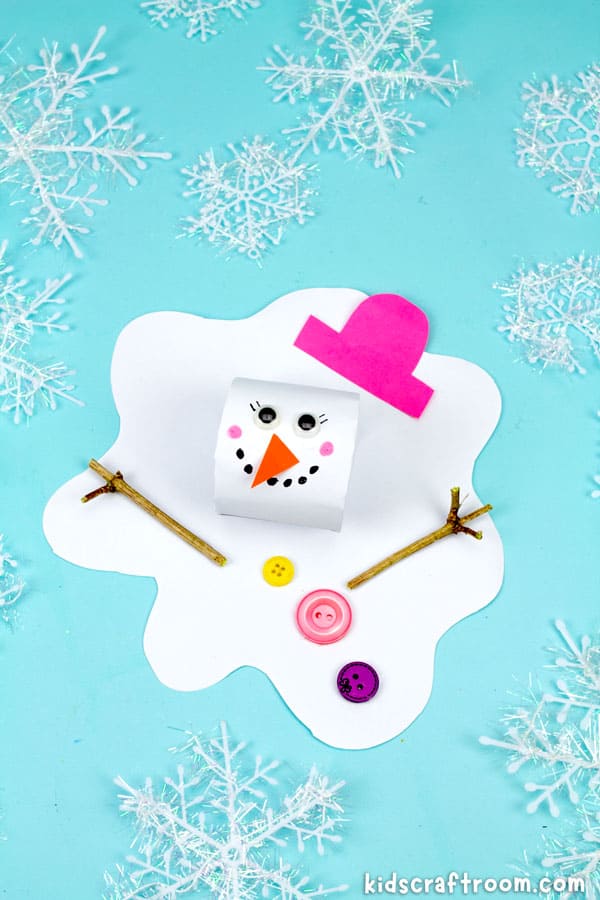
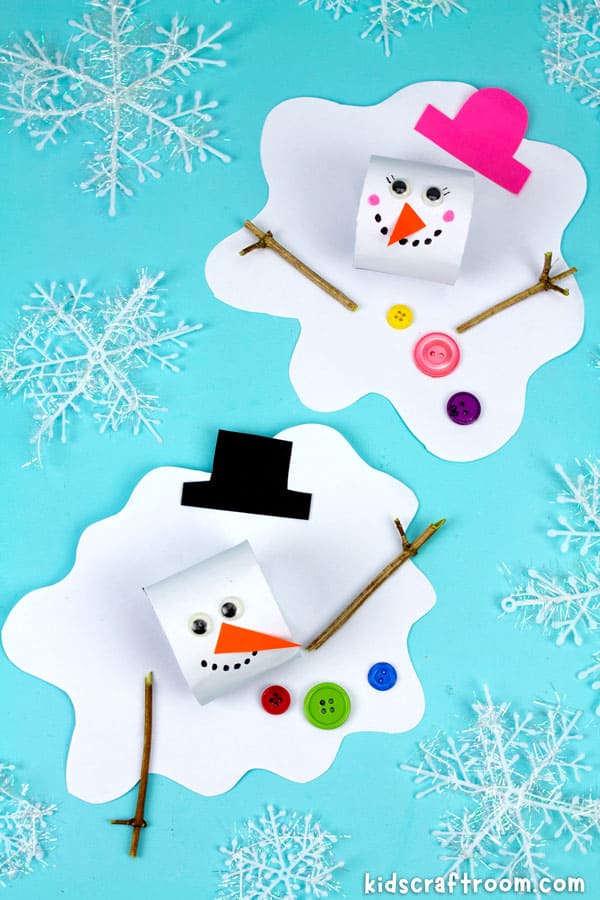
Our fun Melting Snowman Cardboard Tube Craft For Kids is a great way to add some winter enchantment to your home even if you don’t get any real snow!
With this simple winter craft idea kids of all ages can enjoy making their own snowmen. It’s such an easy and creative way for them to explore the idea of melting snow and the best thing is, it only needs a few simple materials that you’ve probably already got in your craft supplies.
So this winter season, join us below to see how to make your own melting snowmen. It’s so much fun!
How to Make a Melted Snowman Craft
Craft Supplies
- Cardboard Tubes (e.g. toilet paper rolls or paper towel rolls)
- White Paper
- Marker Pens
- Googly Eyes
- Construction Paper
- Buttons or Pom Poms
- Real Twigs
- Scissors
- White Glue or Glue Stick
Do You Want to Build a Snowman?
Step 1 – Creating The Snowman’s Head
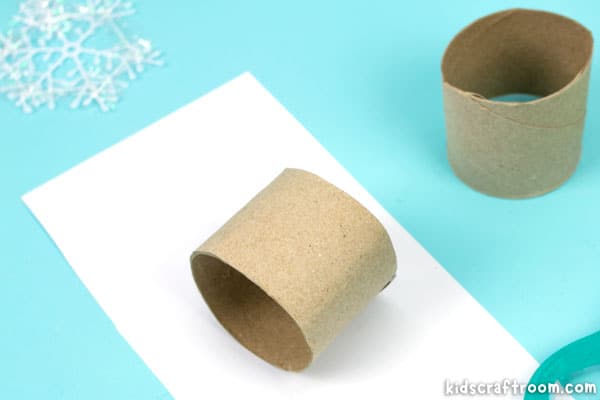
The first step is to cut your TP roll in half and then cut a rectangular piece of white paper to cover it.
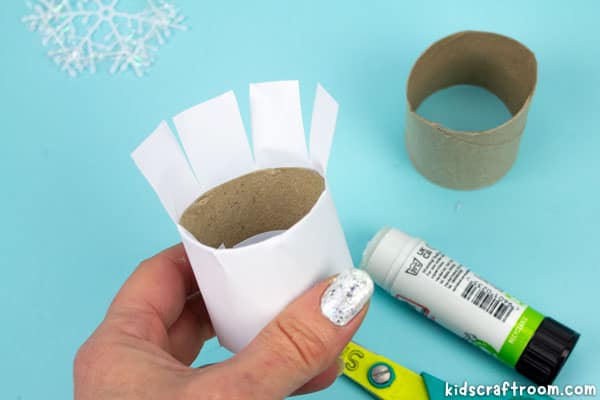
Glue the paper around the tube, snip the ends and tuck them inside. (You could use white paint and a paint brush if you prefer.)
Step 2 – Making the Snowman’s Face
Have fun personalising your snowman’s features. It needs eyes, a carrot nose and a mouth.
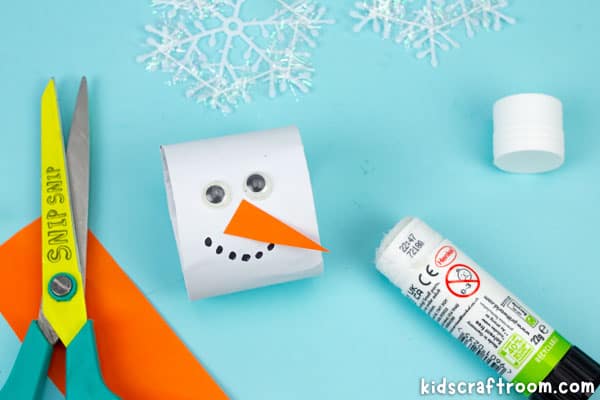
We glued on googly eyes, drew a smile and cut an orange triangle nose from cardstock. You can make your snowman parts any way you like, there’s no right or wrong way! (You can copy us or use eye stickers, craft foam, or simple drawing etc.)
Step 3 – Make a Melted Body
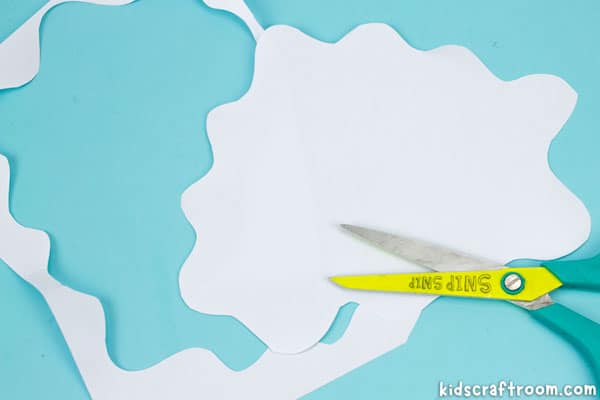
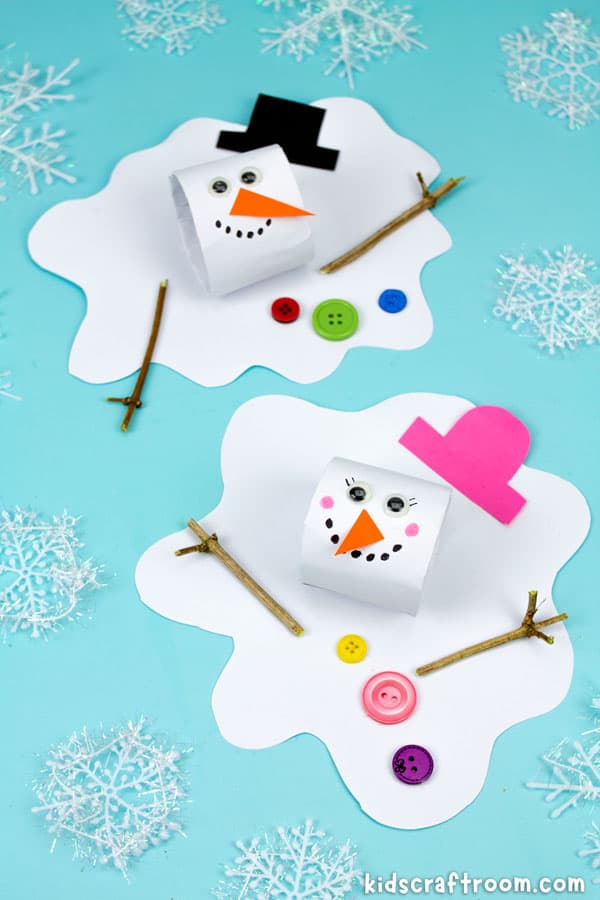
To create the flat white blobs that are the snowmen’s melted bodies, simply cut a random wiggly shape from white paper.
Step 4 – Join the Snowman together
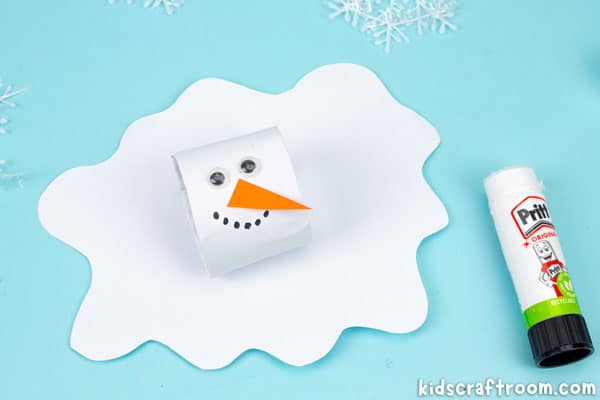
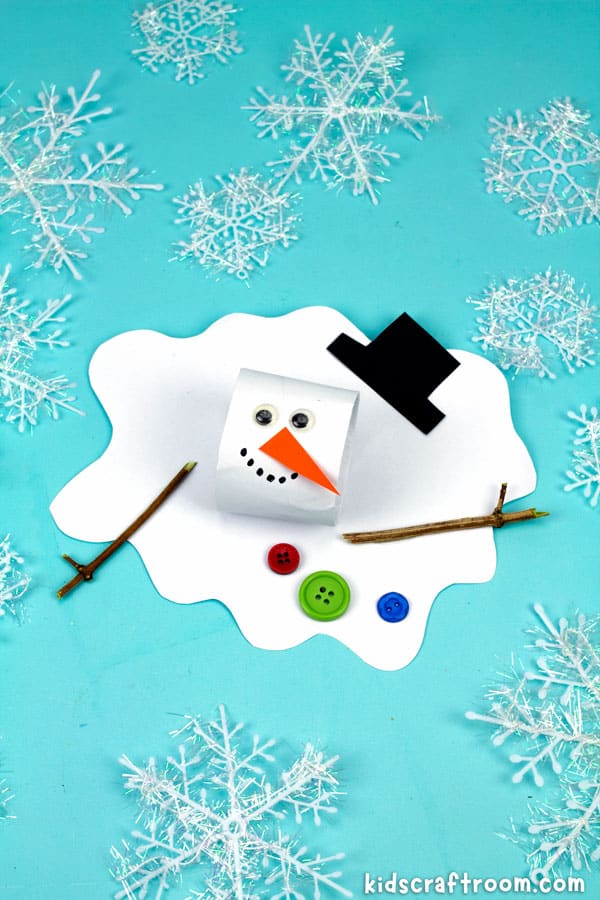
Now it’s time to join the two snowman pieces. Add a dab of glue to the bottom of the head and stick it onto the middle of the melted body.
Step 5 – Personalize Your Snowman
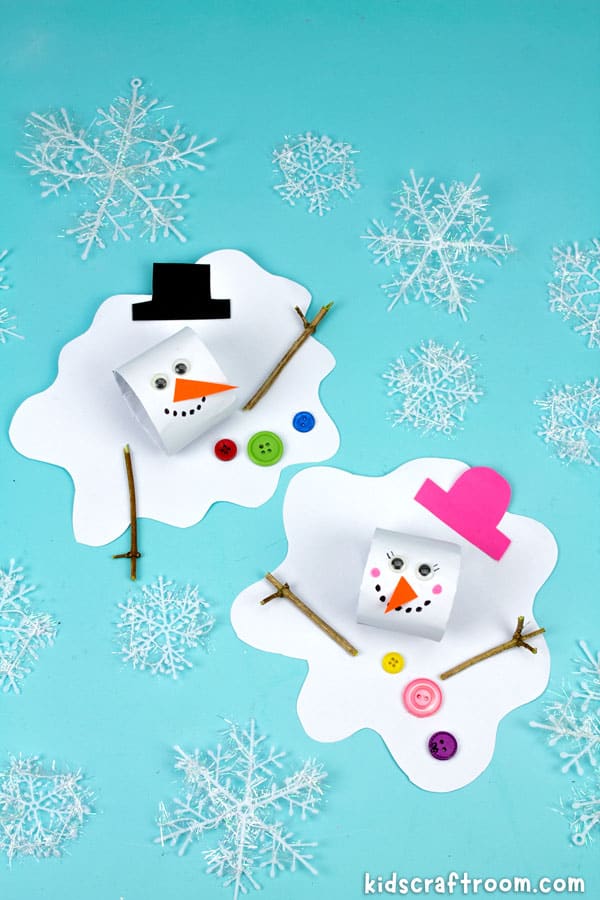
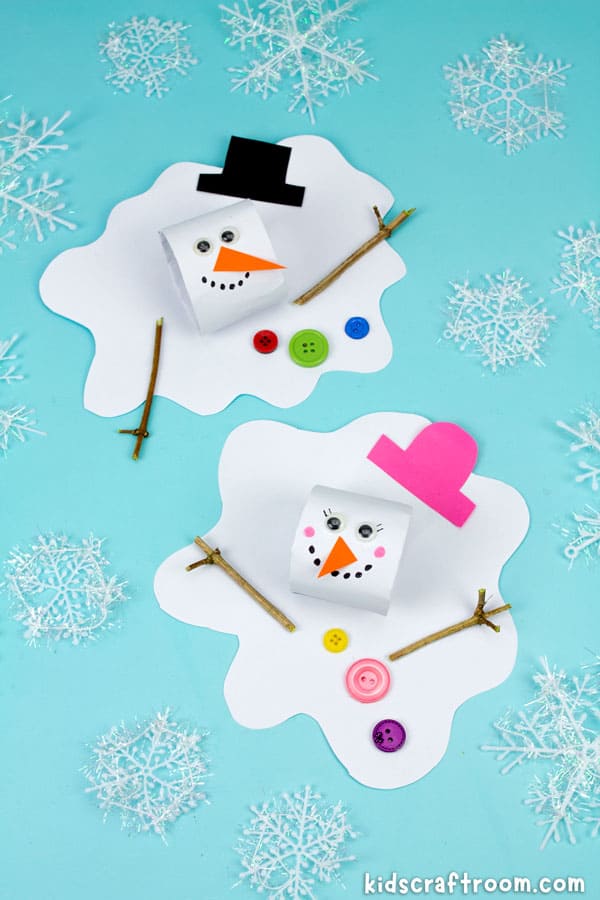
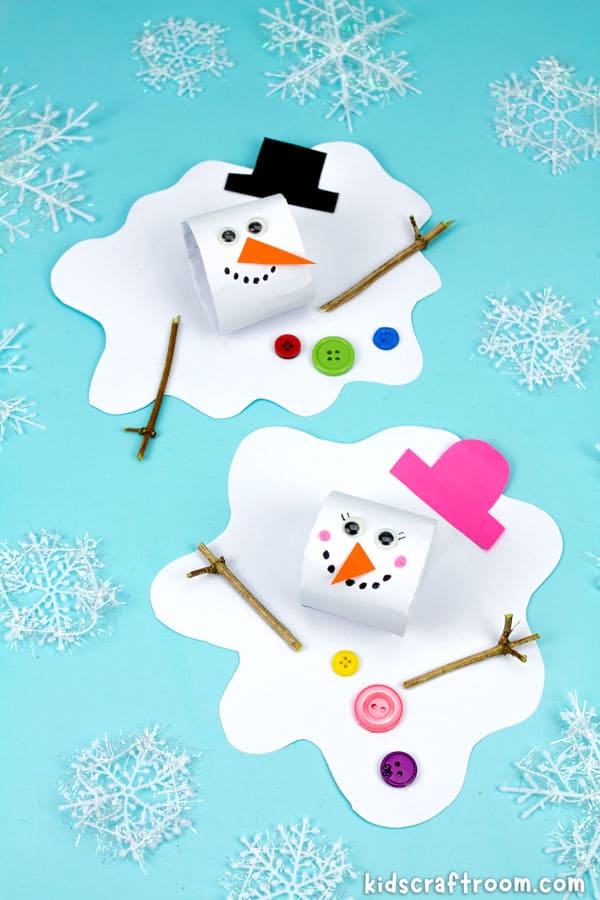
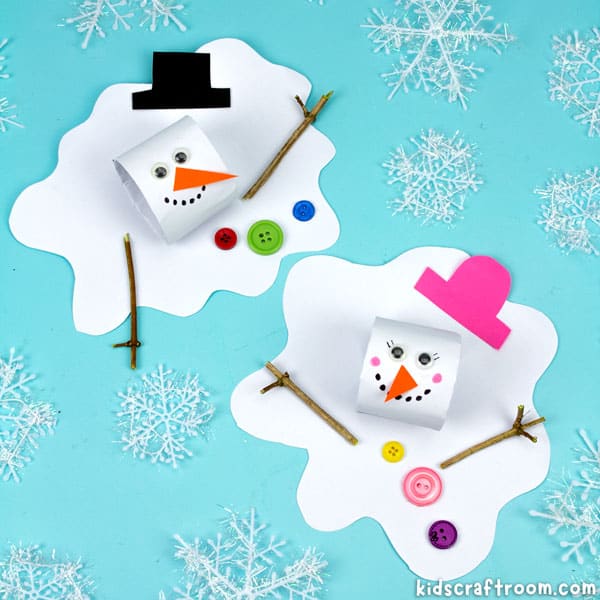
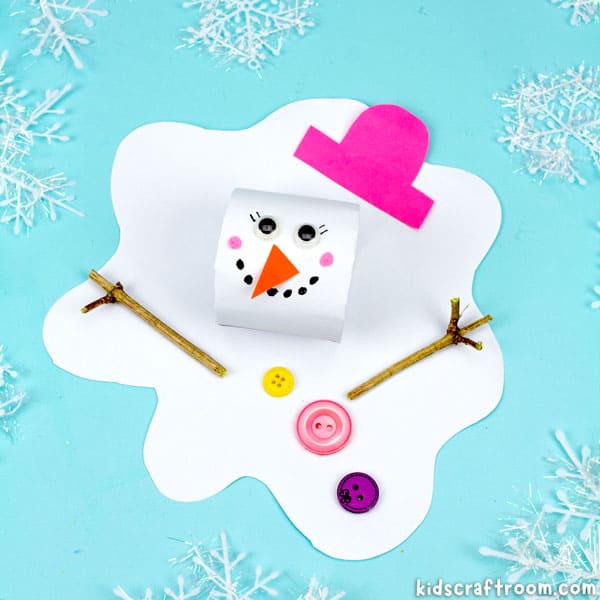
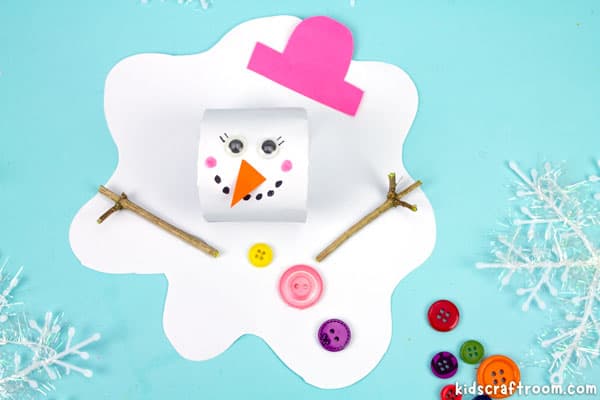
Now you can have lots of fun adding unique touches to make each snowman special and give it personality. We added a black top hat and buttons to our boy snowman and a pink hat, rosy cheeks and eye lashes to our girl snowlady!
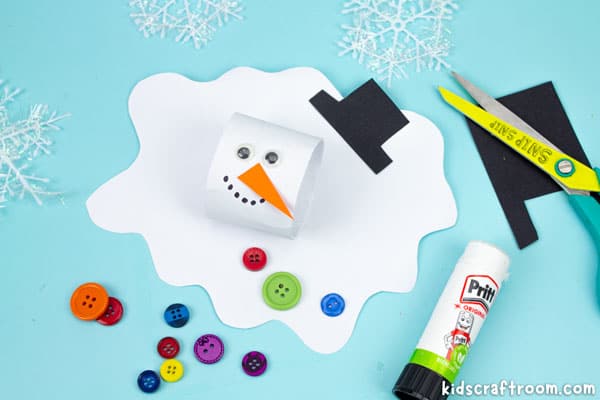
There are lots of different ways to decorate your paper snowman. Think about your favorite things to put on a real snowman and then make the snowman accessories out of cardstock. For example, you could add a broom, a pipe, a scarf, bow tie and mittens. I bet you can come up with another great idea or two too!
Step 6 – Twig-tastic Arms: Adding Real Twigs
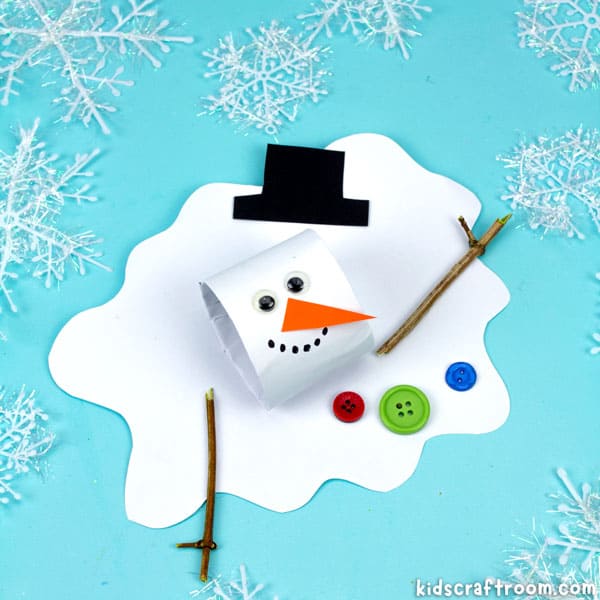
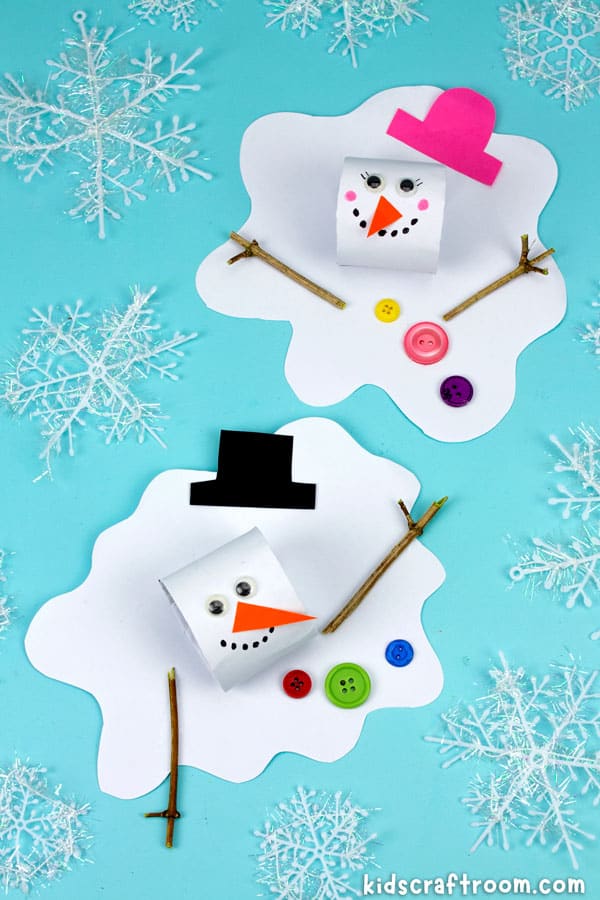
All snowmen crafts need so me stick arms, so we decided to make ours by gluing on real twigs. It’s such a fun way to do it and I think they look adorable! If you prefer you could use brown pipe cleaners or construction paper instead.
I hope you have lots of fun with this cute melting snowman idea. By using recycled materials and real twigs for arms, you can also introduce a sense of eco-friendliness in your little ones. So, gather your crafting supplies and watch your children’s faces light up as they create their very own melting snowman masterpieces. Who knows, you might just end up with an entire family of melted snowmen adorning your home this winter! Happy crafting!
More Fun Ideas For Melted Snowman Activities
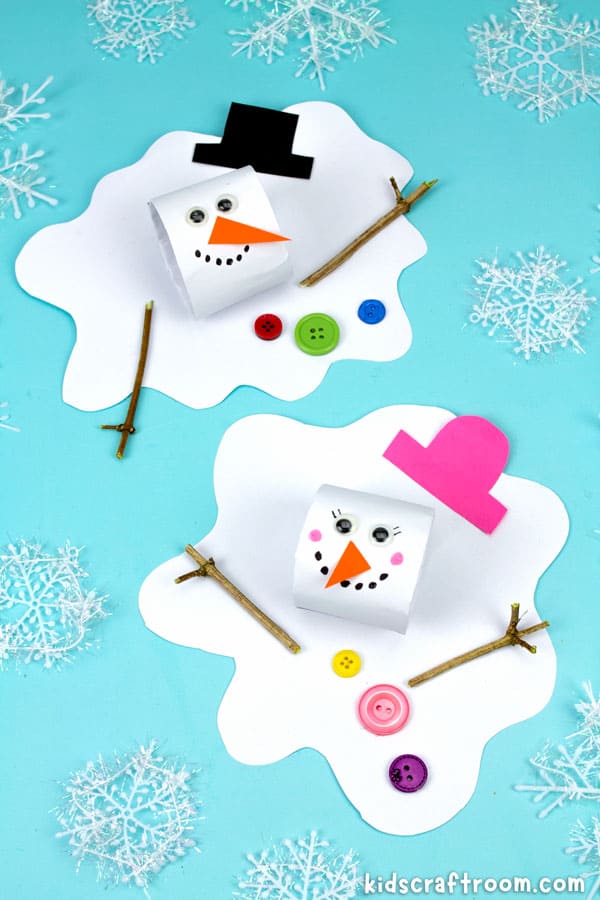
Create a Family of Snowmen: To add an extra layer of fun to this craft, why not make a whole family of melted snowmen? Make male and female snowmen by adding different accessories like a bowtie or a winter bonnet. A little baby snowman would be super cute! And how about a little snow cat or snowdog pet?
Make a Melted Snowman Ornament: If you’re enjoying this craft during the Christmas holiday season how about making a melting snowman ornament? All you need to do is add a little thread loop to hang it on the Christmas tree. These little guys would look so cute hanging next to the Christmas lights!
Make a Melting Snowman Puppet: This interactive craft is easy to make with white paper plates and white felt.
Blow Paint a Melted Snowman: Water down some acrylic paint a grab a straw to blow! It’s such a fun way to create!
More Fun Winter Activities For Kids
- Styrofoam Ball Snowman Christmas Decoration
- Walking Polar Bear Puppets
- Pop-Up Penguins
- Gorgeous 3D Snowflakes (Free Printable)
- Pretty Folded Paper Icicles (Free Printable)
- Paper Plate Snowy Owls
More Fun Winter Crafts To Enjoy:

Melting Snowman Craft
Make an adorably cute melting snowman this winter!
Materials
- Cardboard Tubes
- White Paper
- Marker Pens
- Googly Eyes
- Construction Paper
- Buttons or Pom Poms
- Real Twigs
- Scissors
- Glue
Instructions
 Cut the TP roll in half and then cut a rectangular piece of white paper to cover it. Glue the paper around the tube, snip the ends and tuck them inside.
- Glue on googly eyes, an orange triangle nose from cardstock and draw a smile.
- Cut a random wiggly shape from white paper to make the melted body.
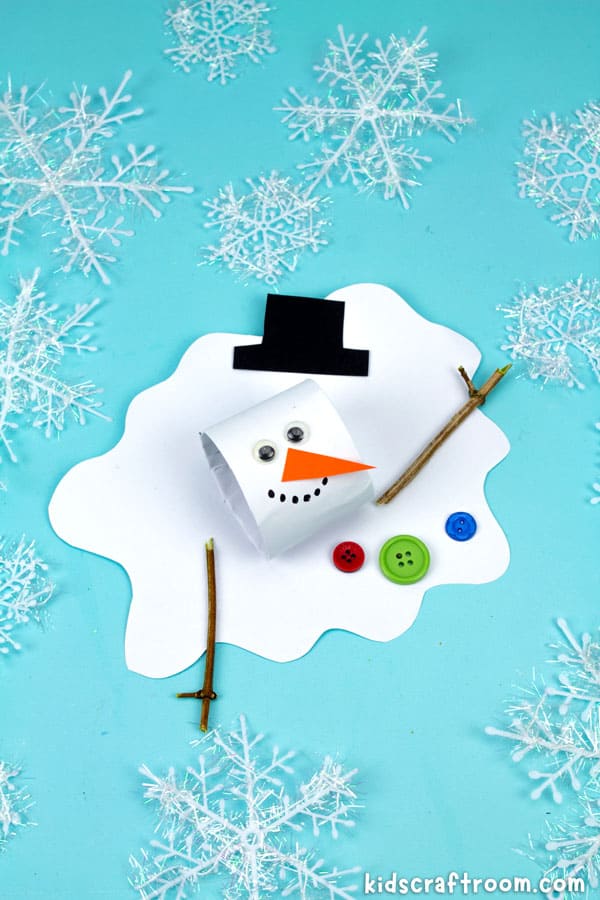
- Glue the head to the body and add some buttons and a simple paper hat shape.
- Finish off by gluing on some little twig arms.
 Finish off by gluing on some little twig arms.