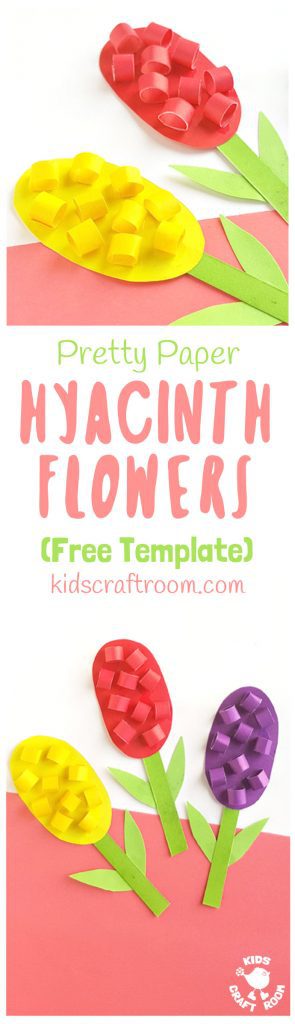
If you had to name some Spring flowers then I bet hyacinths would be one of the first to come to mind. Their gorgeous spikes of colour are always such a welcome sight after a long Winter. We have masses of grape hyacinths in our garden and love them! Why not help kids celebrate Spring with this Pretty Paper Hyacinth Flower Craft? You can make them in all sorts of bright and cheerful colours everyone will love.
This paper hyacinth craft is beautifully simple and there’s a free printable template to make it even easier too. It’s a super flower craft to give kids scissor skills practise and to develop their fine motor skills as they make those adorable paper roll flower petals.
We think this is the perfect Mother’s Day flower craft too, especially if you’re in the UK where Mothering Sunday falls a little earlier than in the US. Wouldn’t it look adorable stuck to the front of a greeting card?

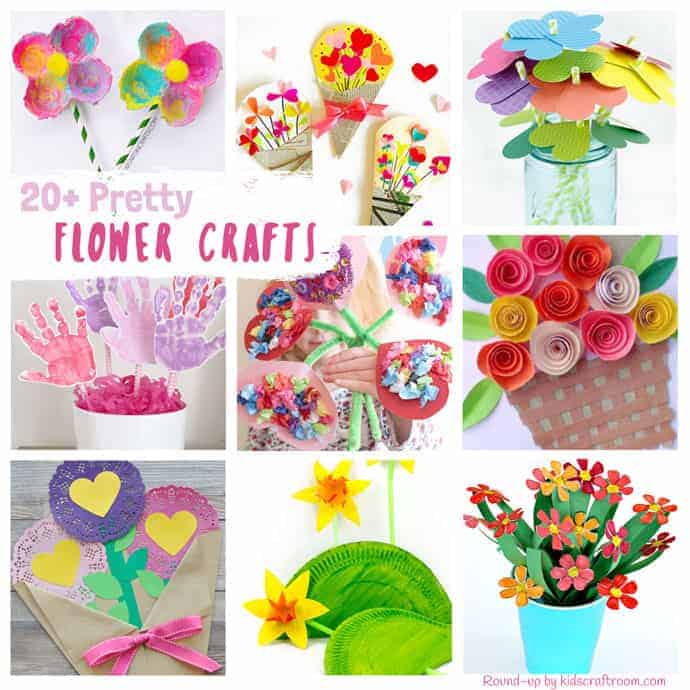
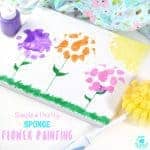
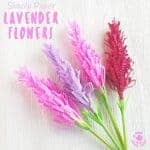
Before we get started on our Hyacinth flower craft here are a few other flower arts and crafts you might like to try too. They’re always a lovely way to brighten the home or classroom! Click on the photos to go to the full instructions. Scroll down to se how we made our hyacinth flowers and to grab your free printable template.


Pretty Paper Hyacinth Flower Craft Tutorial
Hyacinth Flower Craft Supplies
- Free Printable Template (get yours at the bottom of this post)
- Coloured Paper or Card (green for the leaves and any colour you like for the flower heads)
- Scissors
- Glue
- Pencil
How To Make Paper Hyacinth Flowers
1 – Zoom down to the bottom of this tutorial to print out your free hyacinth craft template and cut out the shapes.
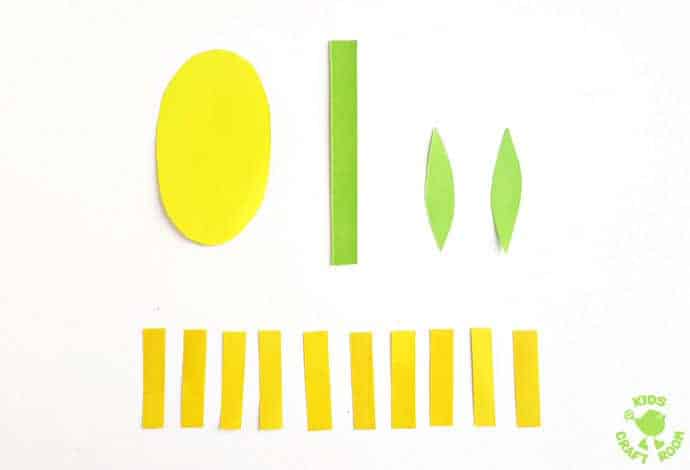
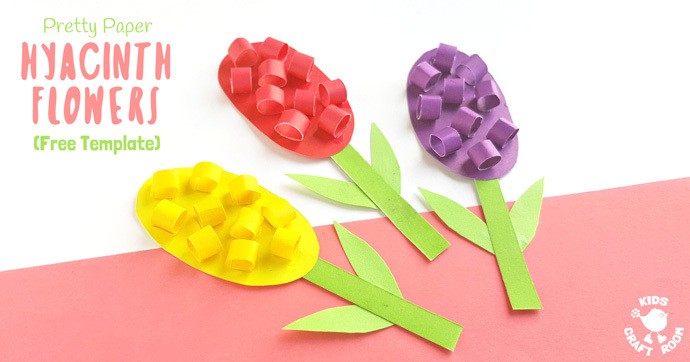
2 – Trace around the template pieces on to coloured paper or card and cut them out. Use green for the long rectangular stem and leaves and your chosen colour for the oval and 10 small rectangles that will make up the flower head.
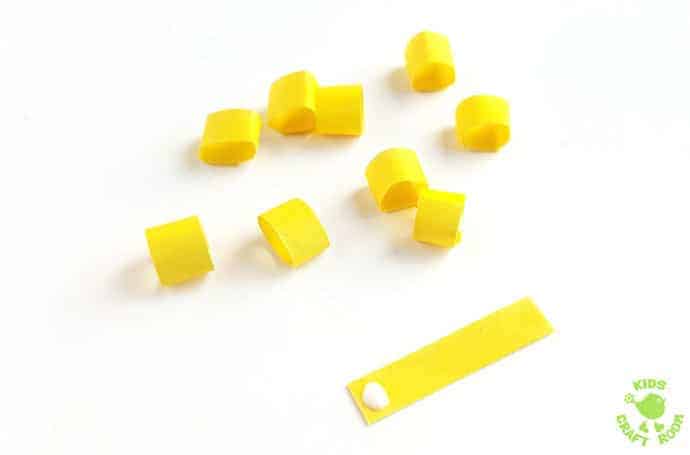
3 – To make the hyacinth petals roll up each of the small rectangles and glue the ends together to make a ring.
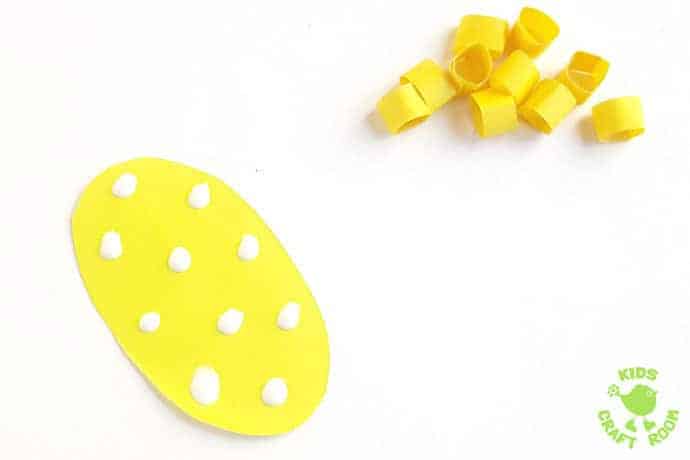
4 – On your oval flower head base apply ten small drops of glue where you want the petals to go. This is a great opportunity for counting practice for little ones.

4 – Now stick your rolled petals onto the glue dots. We like to stick ours with the seam downwards in the glue.
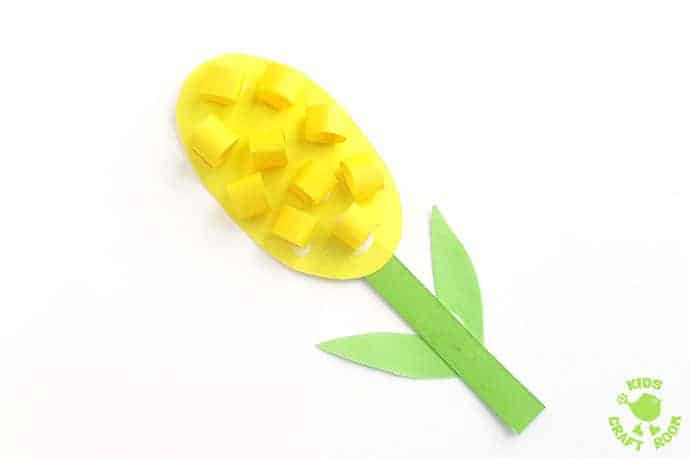
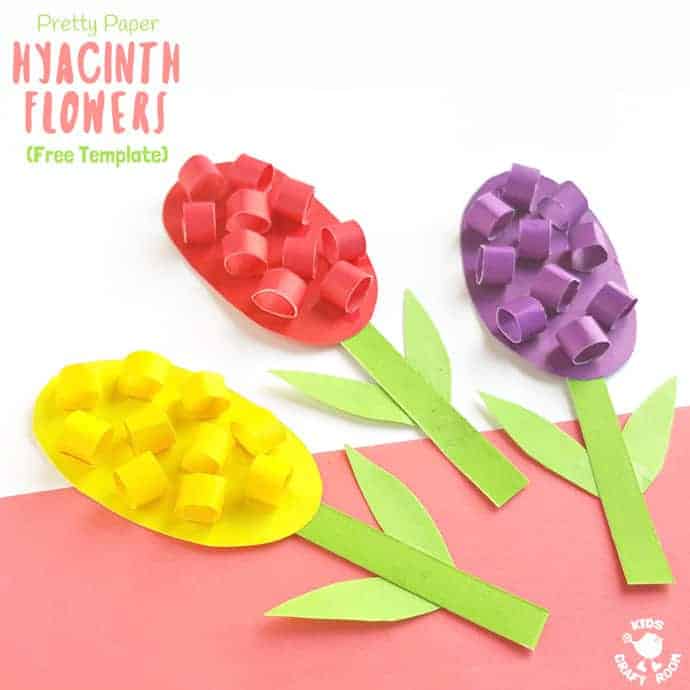
5 – Finish off your paper hyacinth by glueing on your green flower stem and leaves and leave it all to dry.
We love to make paper hyacinths in a range of colours, they are so pretty!
Click here to get your free printable hyacinth craft template.
More Fun Spring Crafts For Kids: