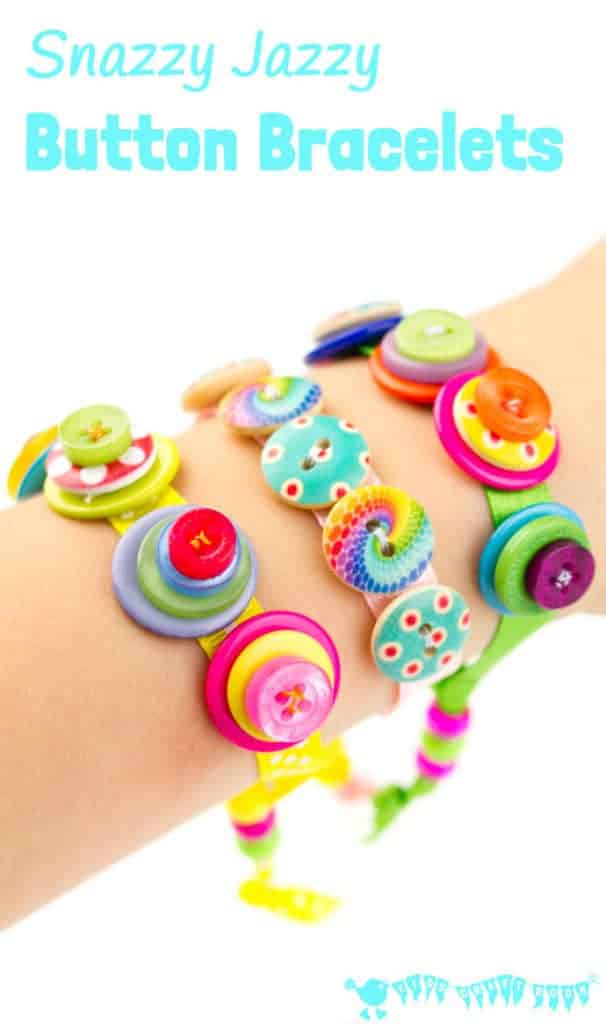
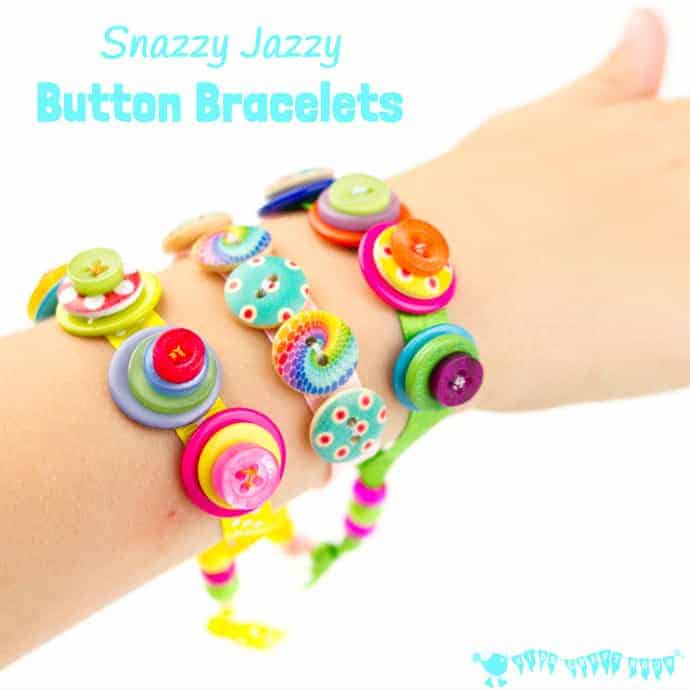
Have you got a button passion too? I have to admit I am totally smitten and just adore buttons of all shapes and sizes! These Snazzy Jazzy Button Bracelets are super easy to make and a great first sewing project for kids.
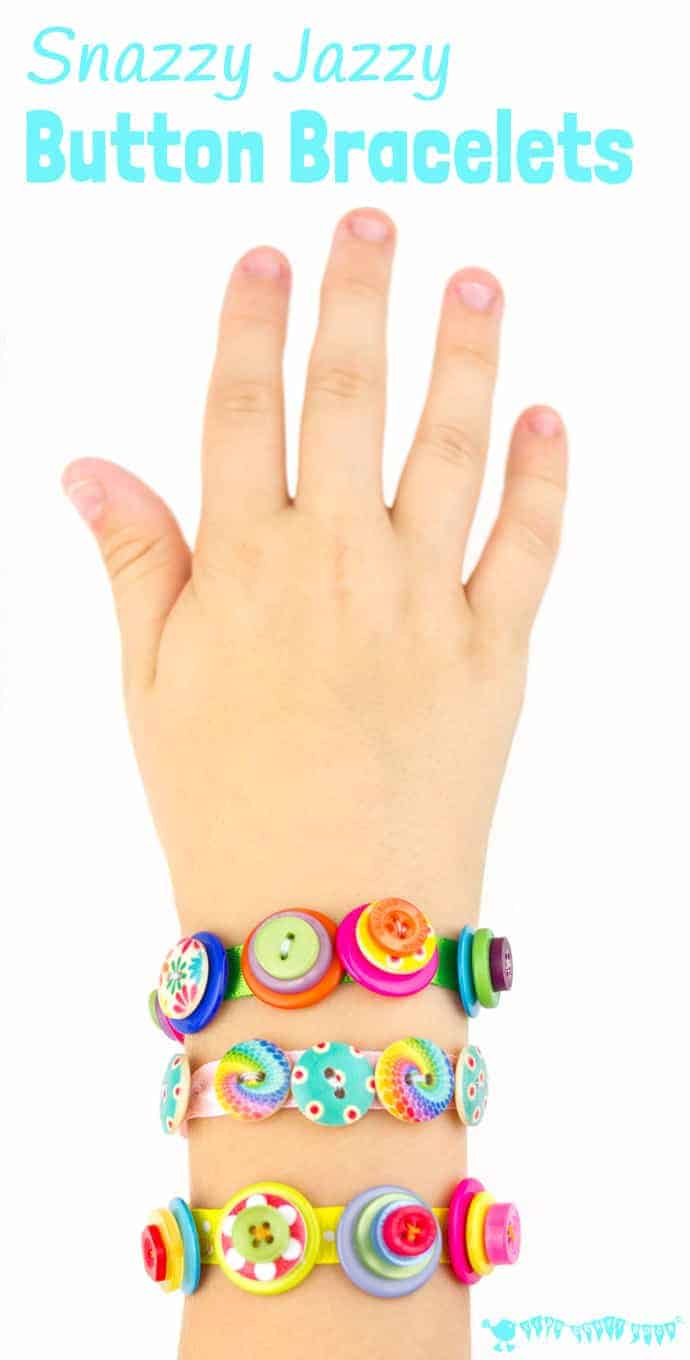
Don’t they look totally adorable? They’re the perfect fashion accessory for any kid or grown up who likes a splash of colour!
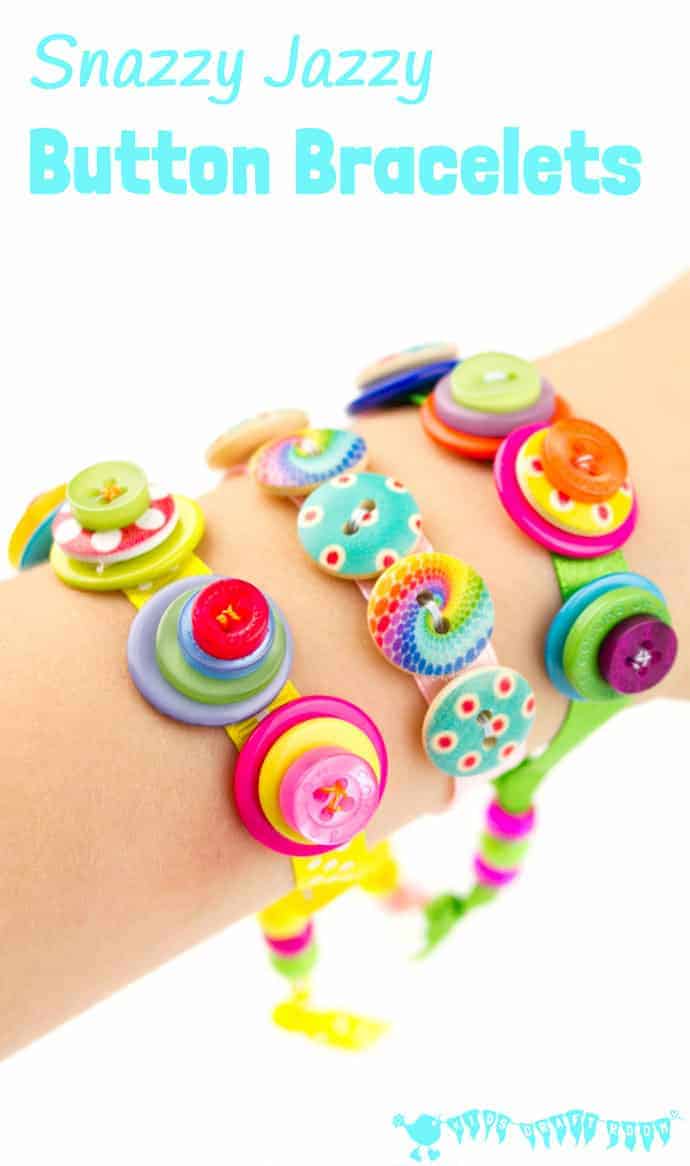
Snazzy Jazzy Button Bracelets are a great craft for using up odd buttons that you have left over from other sewing projects. Or if you’re like me, they are a great excuse to buy lots more gorgeous buttons to add to your ever growing collection. You can never have too many buttons, N.E.V.E.R!
Why not treat you and the kids to some new buttons and kit everyone out with some gorgeous snazzy jazzy button bracelets…they make great gifts too!
Supplies To Make Snazzy Jazzy Button Bracelets
- Buttons
- Ribbon (I love this spotty grosgrain ribbon US / UK)
- Coloured Sewing Thread US / UK
- Needle
- Pony Beads US / UK
How To Make Snazzy Jazzy Button Bracelets
Button bracelets are a lovely first sewing project for kids and can be adapted to suit the age and abilities of your children. For the very young or those with no sewing experience you can keep the button bracelet really simple with just one button in the middle.
For a more experienced sewer you can build up to a whole row of multi button stacks like the one you can see in the picture.
Start by choosing your ribbon and cutting it to length. You need it long enough to go round the wrist at least three times.
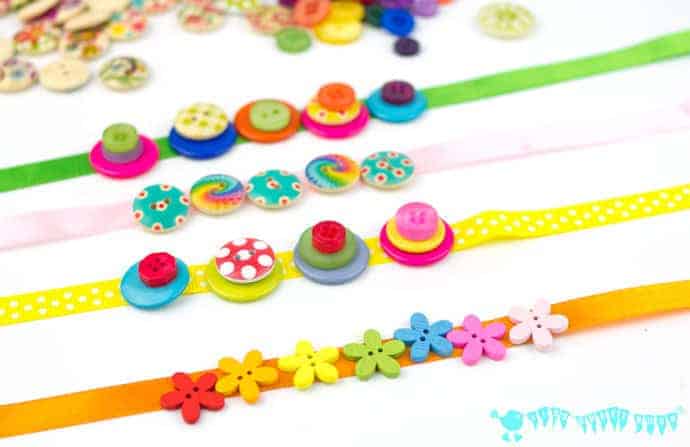
Experiment mixing and matching your buttons until you have a combination in an order that you adore. It helps to actually lay them on top of the ribbon so you can get an idea of the finished effect when you sew your button bracelet. (Don’t put on too many buttons, just enough to go across the top of the wrist.)
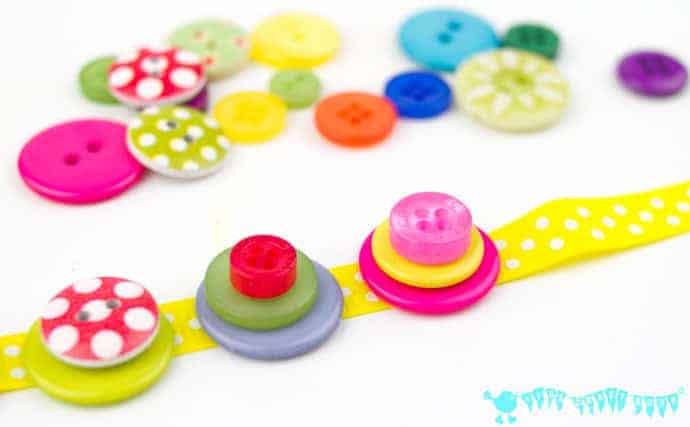
If you are making your button bracelet super snazzy and jazzy by stacking buttons, make sure you have the largest at the bottom and move up to the smallest.
Next start sewing your buttons into place. It can be really helpful to fold your ribbon in half to find the mid point and then start sewing your middle button first.
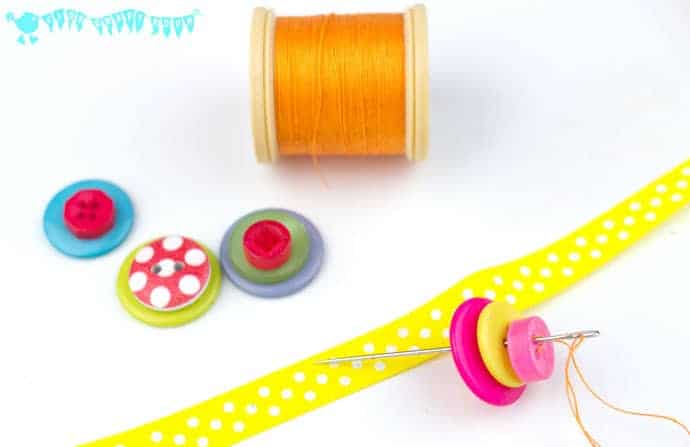
If you are sewing stacks of buttons there is no need to sew each button individually. It’s a lot quicker to sew through the whole stack at the same time.
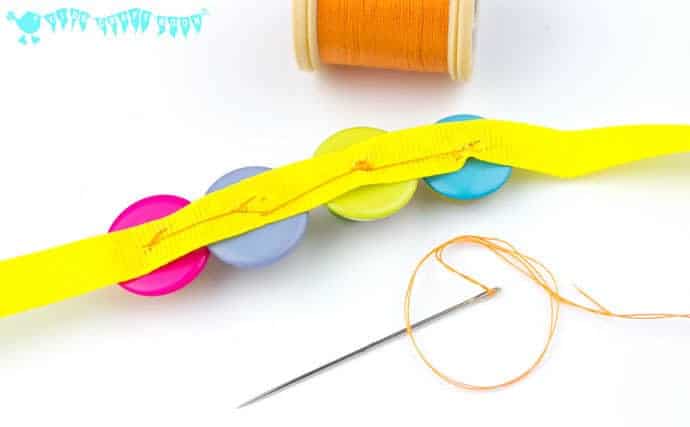
You can sew each button or button stack individually if you want and fasten it off neatly underneath. As the underneath doesn’t actually show when you’re wearing it we didn’t bother about neatness and just went from one button to the next with a looping thread between them. It was so much easier!
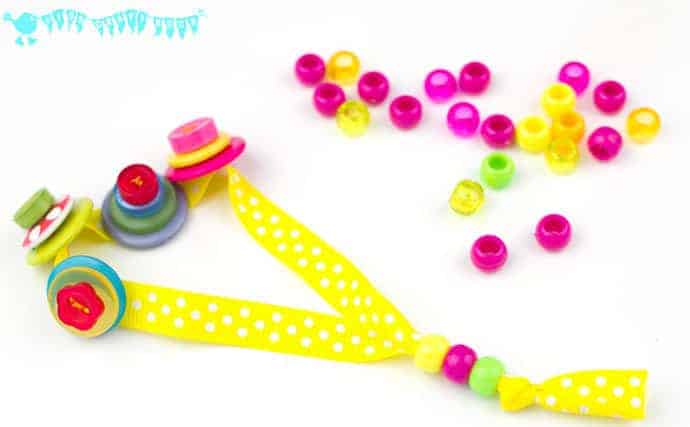
Once your button bracelet is sewn you need to make a fastener for attaching it on the wrist. An easy way to do this is to thread both ends through a few pony beads and then tie a knot beneath them.
The knot stops the ribbons from fraying and the beads can slide up and down to tighten or loosen the button bracelet on the wrist.
If you don’t have any pony beads you could hem the ends of the ribbon and tie the button bracelet on with a simple bow.
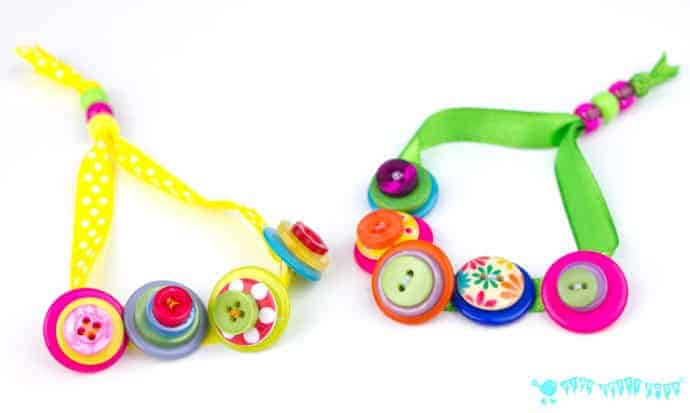
There are so many gorgeous buttons and ribbons available cheaply it’s really easy to mix and match to make the perfect button bracelet for anyone whatever their style.
You can even get buttons in lots of shapes and characters too so if you’ve got a cat fan or a Dory lover they can have a snazzy jazzy button bracelet too!
WARNING: Buttons are a chocking hazard, not suitable for under 5’s. Never leave your child unattended with buttons.
You might also like:
More Button Crafts For Kids From My Awesome Blogging Friends
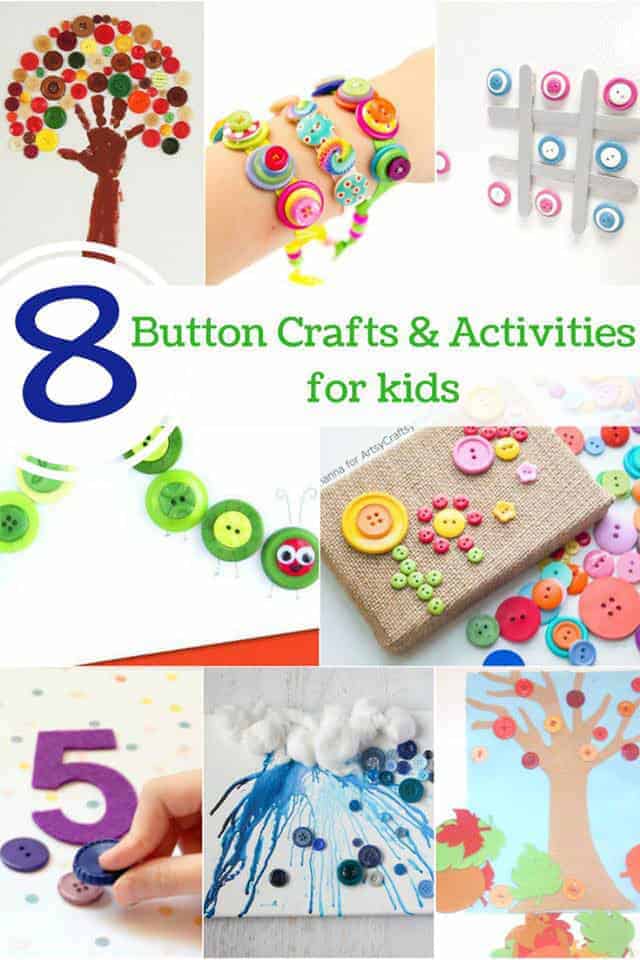
Fall Tree with Buttons – Uno Zwei Tutu
Button Bracelets – Kids Craft Room
Button Tic-Tac-Toe DiY Magnet Game – Twitchetts
Button Caterpillar – Books and Giggles
DIY Burlap Button Flower Garden Wall Art – Artsy Craftsy Mom
Button Number Match – Schooling A Monkey
Crayon Drip Rain Cloud – Sugar, Spice, & Glitter
Fall Tree Busy Bag – Views From A Step Stool
More Fun Summer Crafts For Kids:
