How about making a simple Spring Flower Sensory Bottle to bring the outside in and develop children’s exploration and enjoyment of the wonder of this time of year?
We love the Spring time, we’re able to spend more time outside and there’s so much going on to get excited about. My little ones have been noticing the birds flying about with twigs in their beaks nest building, the blue bells waiting to bloom and the tadpoles darting about in the pond.
Take a peek at all our other fun Nature Inspired activities too.
Recently we’ve been looking at the grassy areas that are now awash with daisies and dandelions, which are so bright and pretty. My youngest loves to collect them and make colourful displays on our kitchen window sill.
He can’t resist filling his pockets with daisies and dandelions when we go out. ( They do sometimes get forgotten and end up in the washing machine, oops!)
His colourful collections inspired me to make this Spring Flower Sensory Bottle to share with the pre-schoolers I work with.
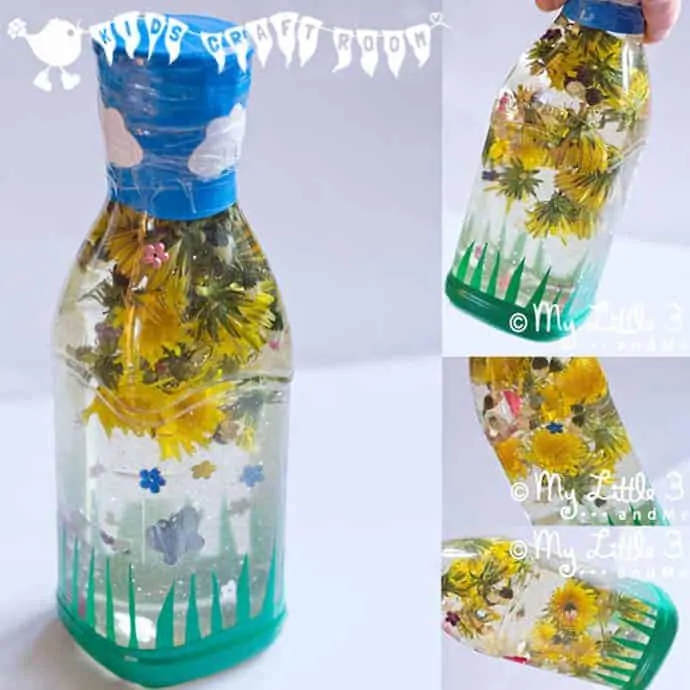
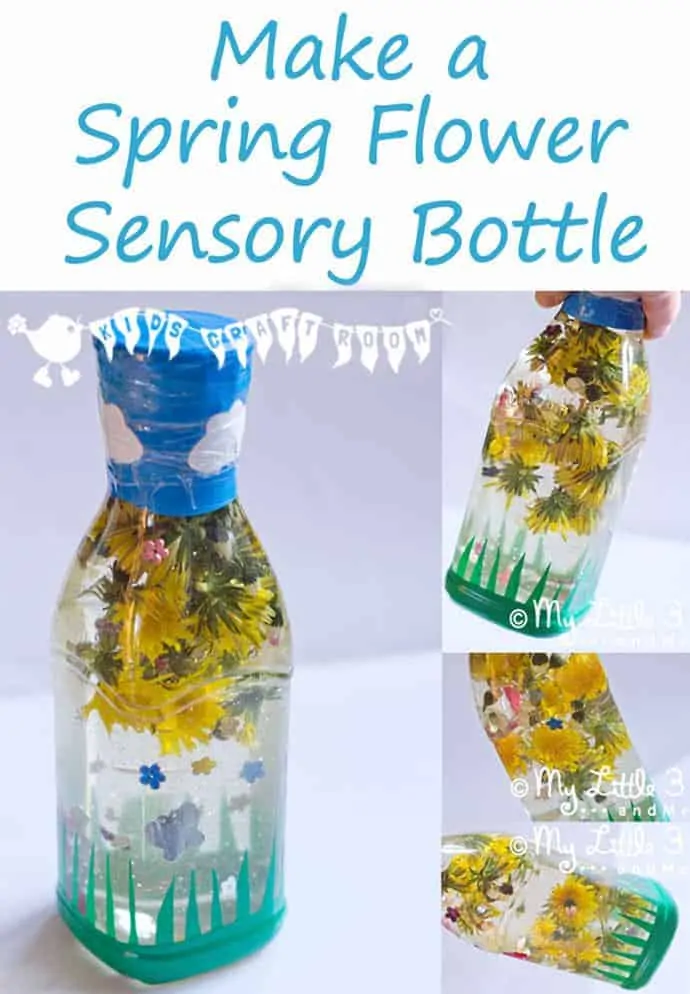
It’s filled with a mixture of real flowers, glitter and little butterfly and flower jewels. It really does look very pretty and quite magical!
I’m sure it will prove to be a great starting point for lots of chatter with the little ones.
How To Make A Spring Flower Sensory Bottle
Supplies To Make A Gorgeous Spring Flower Sensory Bottle
- Plastic bottle with lid
- A handful of freshly picked dandelions and daisies
- Glitter
- Acrylic gems (I had some little flower and butterfly shaped ones which fit the theme well.)
- Green and Blue PVC insulating tape (electrical tape)
- Plain paper for the cloud decorations.
- Clear sticky tape.
How To Make Your Sensory Bottle Filled With Spring Delights
Remove the stems from the flowers and pop them in the bottle with a good sprinkling of glitter and a spoonful of acrylic gems if you’re using them. (Anything that you think will catch your little one’s interest can be added to the bottle, maybe grass, leaves, feathers, pebbles, sand etc.)
Fill the bottle up right to the top with water and fit the lid tightly.
Secure the lid into place with insulating tape so little fingers can’t undo it!
To decorate the top simple wrap the blue tape around the lid and first centimetres or two of the bottle to make the sky.
Cut out 3 little cloud shapes from the plain paper and tape into place with the clear sticky tape.
For the grassy bottom cut long thin triangles out of the green tape and put them in place all around the bottom of the bottle. Secure the base of them into place by wrapping round a band of green tape. If the tops of the grass blades look like they might peel off, use a few wrap arounds of clear sticky tape to secure them into place.
Give the bottle a good shake and share it with your little ones.
Very young children will enjoy the completed bottle and older children can help make it with you too.
Natural treasures from the outside world around us like, flowers, sand, mud, pebbles etc, offer an endless supply of sensory rich exploration opportunities for all ages to enjoy.
We hope you have lots of fun with the Spring Flower Sensory Bottle.
More Fun Spring Crafts For Kids:


