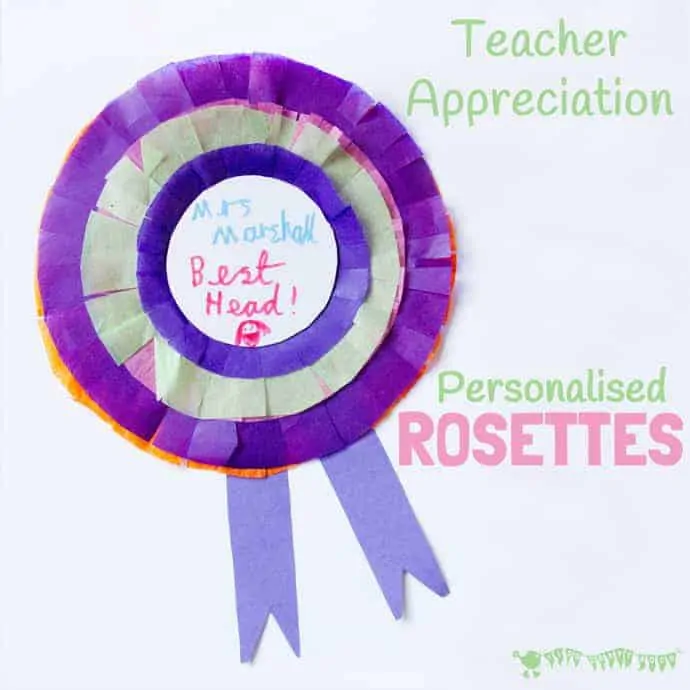
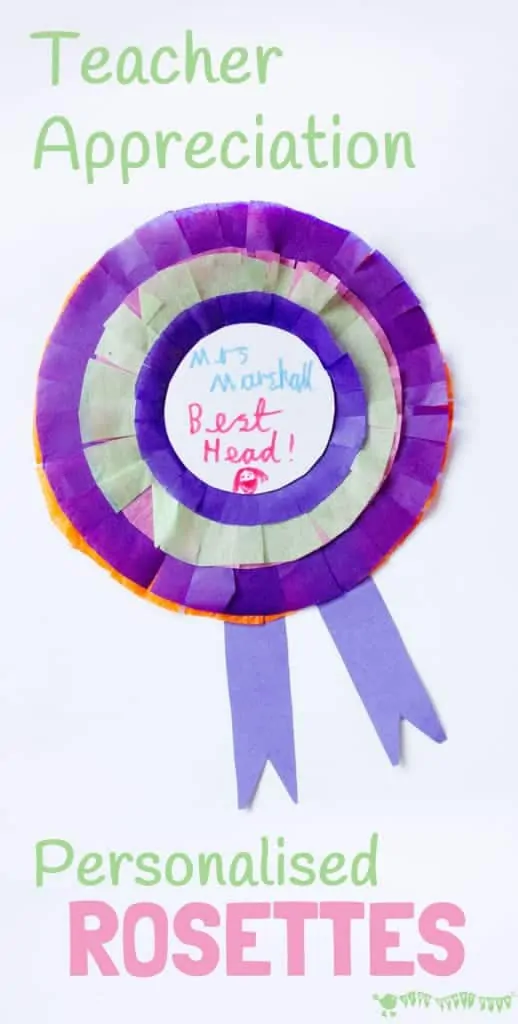
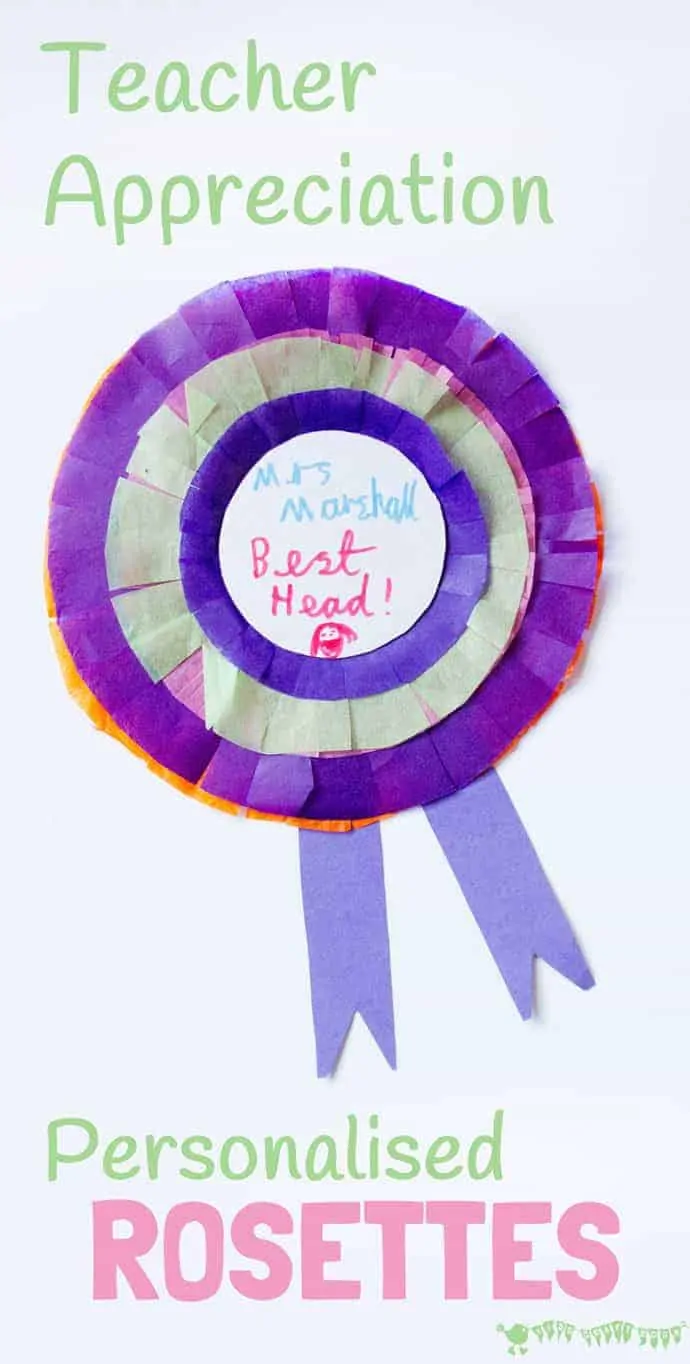
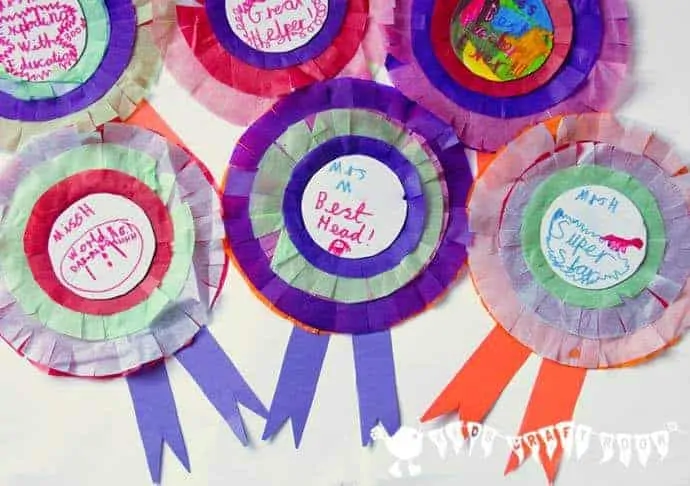
At the end of the school year we love to give the teachers a little something to say “Thank you” for all their hard work. You can see our favourite homemade gift ideas here. This year inspired by the rosettes we saw when we went to the riding stables and the local agricultural show we made some colourful rosettes for each of the class teachers and assistants. We think they’re really lovely teacher appreciation gifts.
We love that these teacher appreciation gifts are quick and simple to make and that each one is unique and personalised, so any teacher is going to feel very special receiving and wearing one.
How To Make Rosettes For Teacher Appreciation Day
Supplies To Make Rosette Teacher Appreciation Rosettes
(This post contains affiliate links.)
- Four different sized circles to draw around or an adjustable compass
- A selection of tissue paper colours
- White card for the centre
- Coloured card for the ribbons
- Safety Pins
- Sticky Tape
- Glue
- Felt Pens
- Scissors
How To Make Rosette Teacher Appreciation Rosettes
Using your smallest circle template cut out two circles of white card for the centre front and back of the rosette. We used an empty box our local supermarket was throwing away, it was brown on one side and white on the other.
Arrange your tissue paper into a neat pile so you can cut through lots of layers at the same time. On the top sheet draw around the remaining three circular stencils and cut them out. We were very random about how many layers and each colour we used. It’s up to you how thick and fluffy you want your rosettes to be.
While the tissue paper circles are still in their piles snip all around the edge of each pile, again cutting through lots of layers at the same time is quickest.
Cut your chosen coloured card into strips about 3cm wide and snip away a triangle at one end to make them look like ribbons.
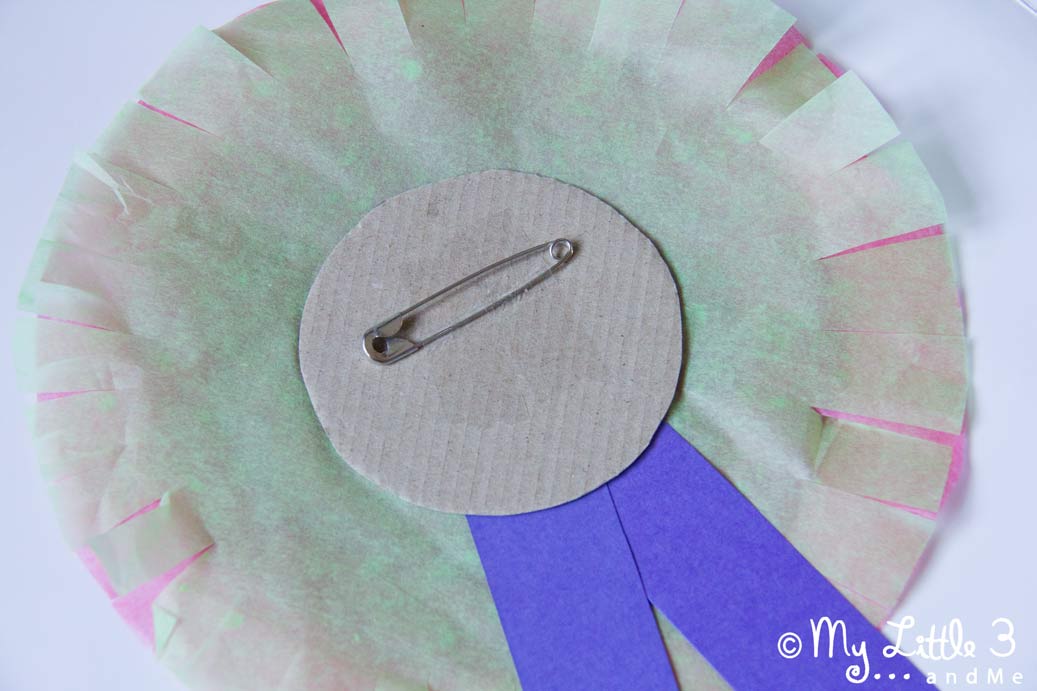
Choose the tissue paper colours you want for each rosette and assemble in the following order, simply glueing each layer into place as you go:
-
- white cardboard circle for the back
- two ribbons
- 2 or 3 layers of the largest tissue paper circles
- 2 or 3 layers of the medium tissue paper circles
- 2 or 3 layers of the smallest tissue paper circles
- end with the final white cardboard circle to make the middle.
Finish off by attaching the safety pin to the back with sticky tape and writing your personal message on the front.
I’m still smiling at how pleased my son was with his own joke for the Head Teacher’s rosette. He wrote ‘Best Head’ and then drew a head, laughed, and said it was funny because she actually did have quite a nice head in real life! You can’t beat kiddy humour can you!
