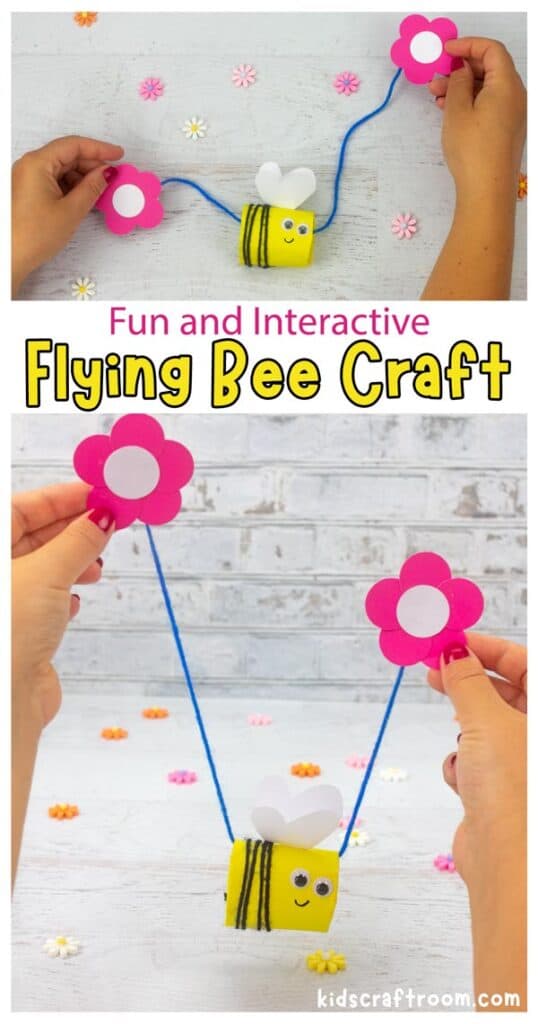
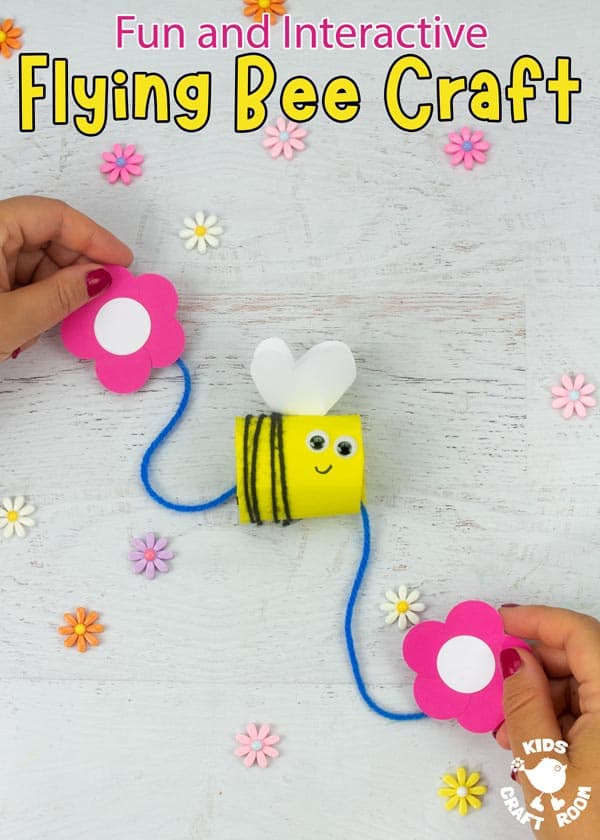
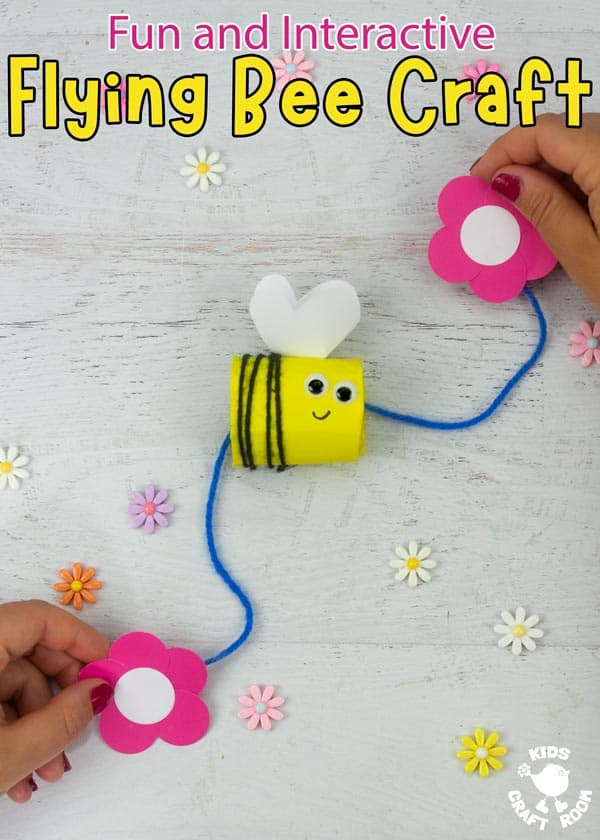
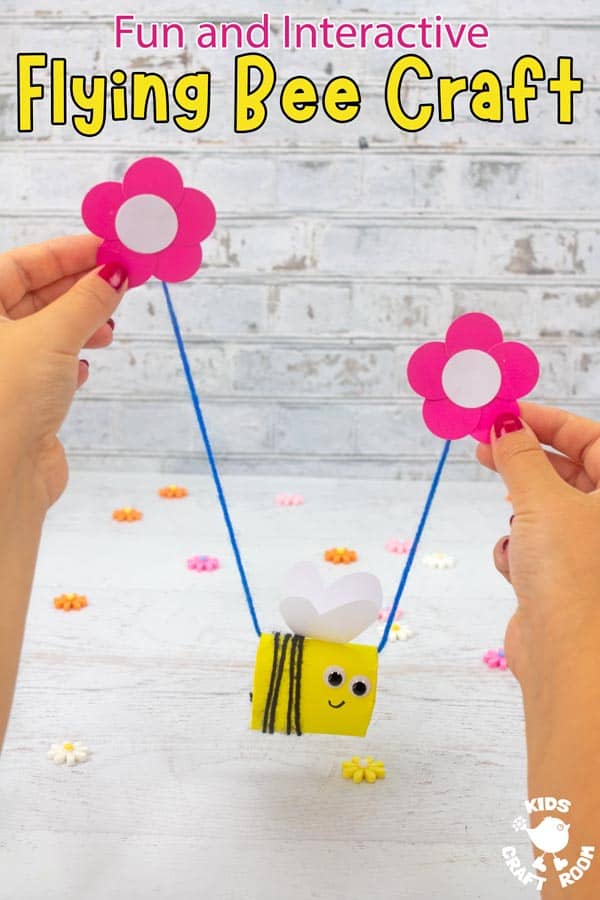
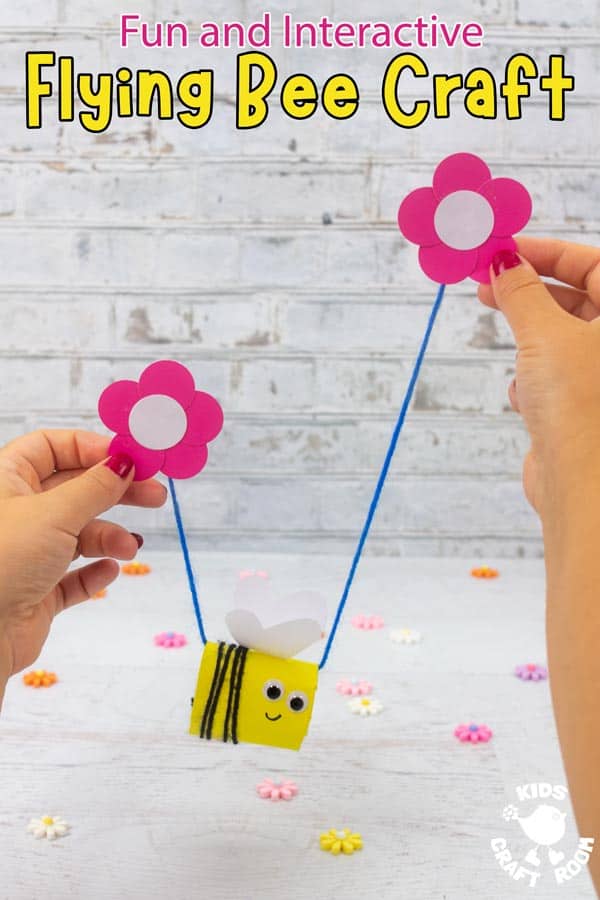
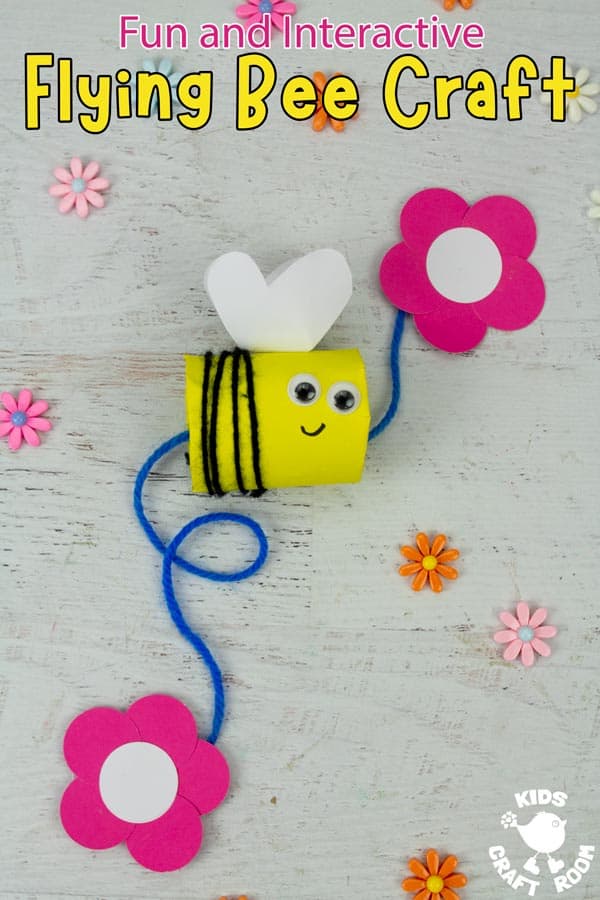
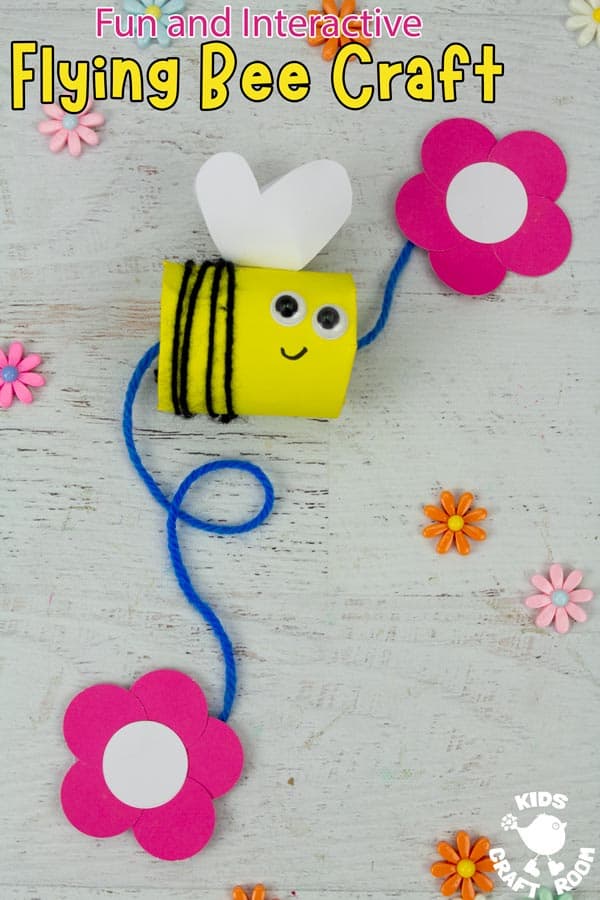
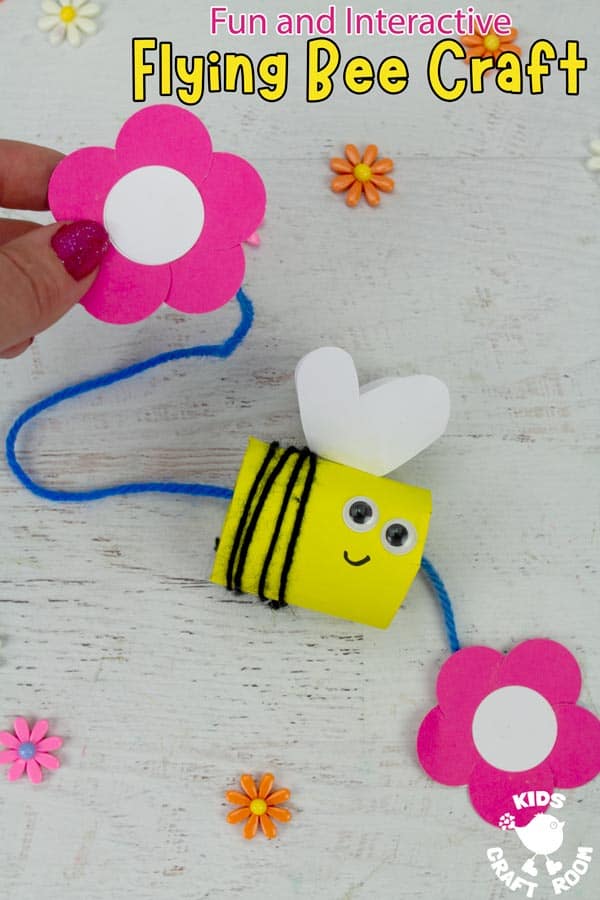
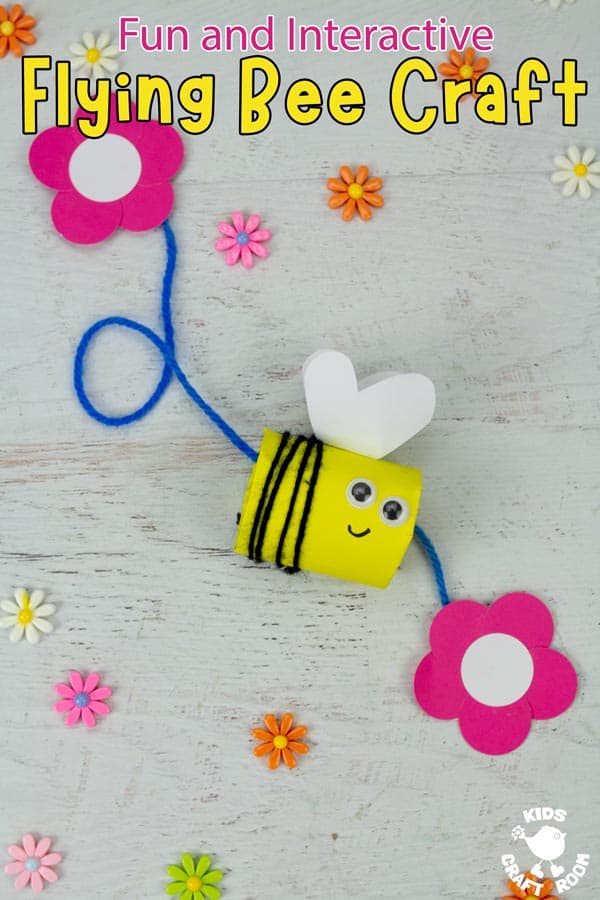
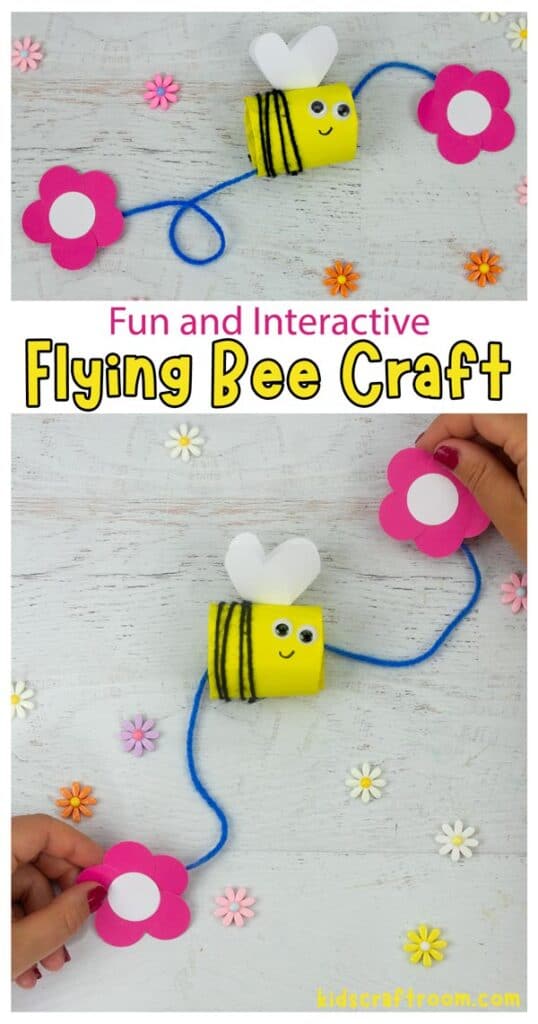
This CARDBOARD TUBE FLYING BEE CRAFT is such a fun insect craft for kids. You hold a flower in each hand and watch the bee fly along the string from flower to flower. Watch our video below to see it in action. It’s such good fun!
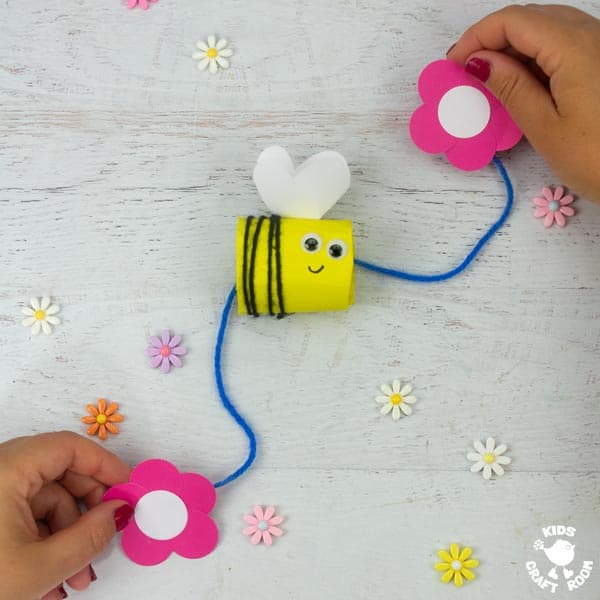
This is a great interactive spring craft or summer craft for kids and a really super way to teach kids about bees and how they pollinate the flowers. We think it’s doubly good because it teaches kids to reuse and recycle things when we can, saving them from landfill.
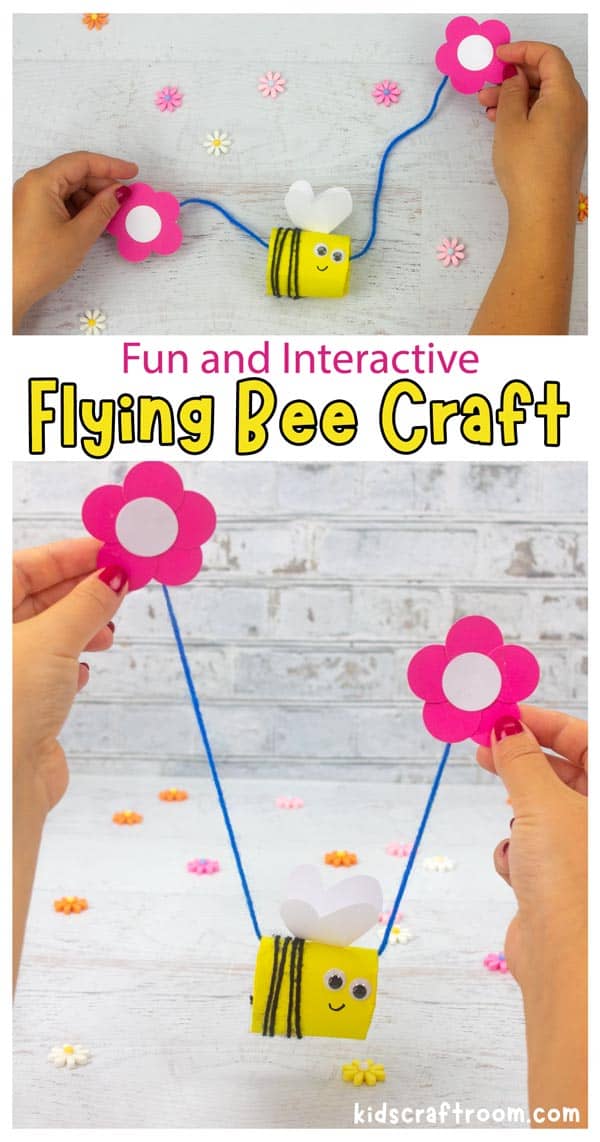
This easy bee craft is sure to be a hit with kids of all ages. All you need is a cardboard tube and a few simple craft supplies you’ve probably got already. So grab those cardboard tubes and enjoy this easy recycled insect craft!
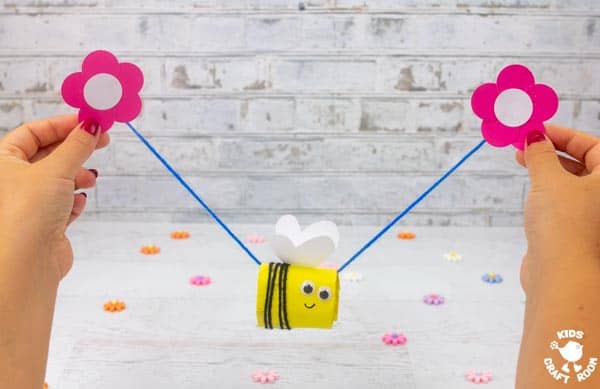
Cardboard tube bees are so much fun to make and they fly great too! Just hold a flower in each hand and watch the bee whizz along the string from flower to flower. So buzz on over and try it out today!
Flying Bee Craft Idea
Bee Craft Supplies:
- Cardboard Tubes
- Yellow and White Paper
- Pink and White Cardstock
- Black and Blue Yarn
- Small Coin
- Wiggle Eyes
- Marker Pen
- Scissors
- Glue
- Sticky Tape
How to Make a Cardboard Tube Bee That Flies!
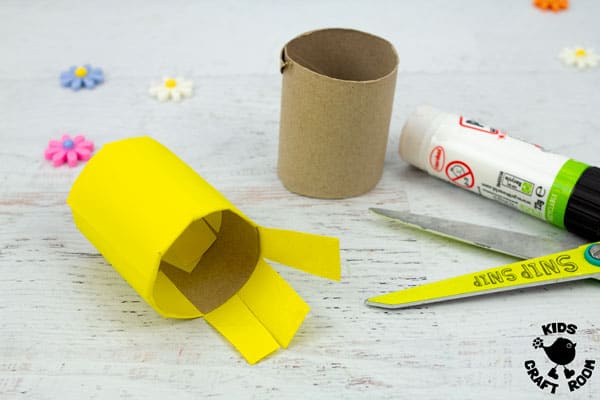
1 – To make your flying bee, cut a cardboard tube in half and cover it with yellow paper. Snip into the overlapping ends and tuck them in. (You can paint it yellow if you prefer.)
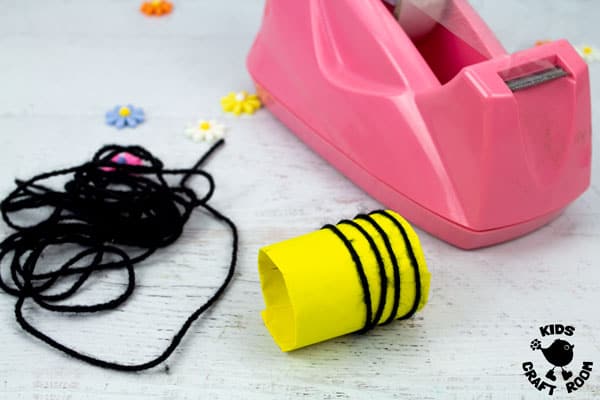
2 – Make the bee stripes by wrapping round some black yarn and sticky taping it in place.
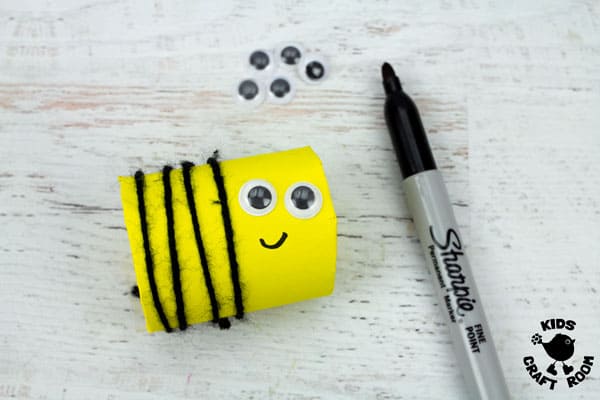
3 – Next, glue on some wiggle eyes and draw a smile with black Sharpie.
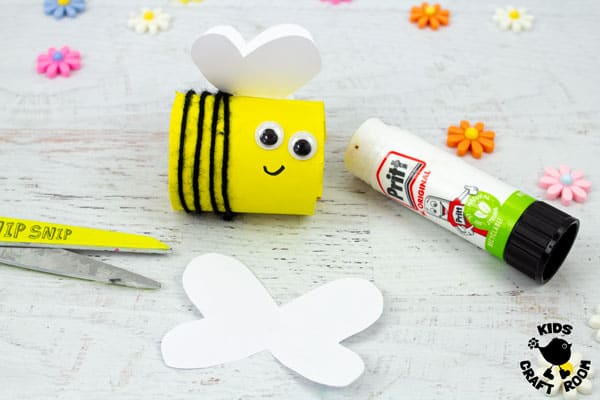
4 – Your bee will need some wings to fly so cut some from white paper and glue them on.
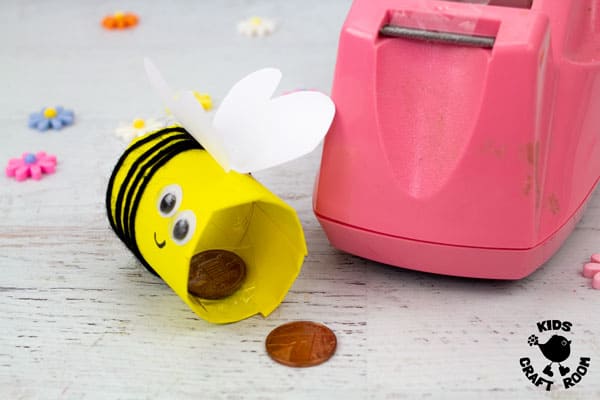
5 – Sticky tape a small coin or pebble or something similar into the inside of the bee at the bottom. this is to keep the wings at the top, otherwise they’ll keep spinning to the bottom because they’re heavier.
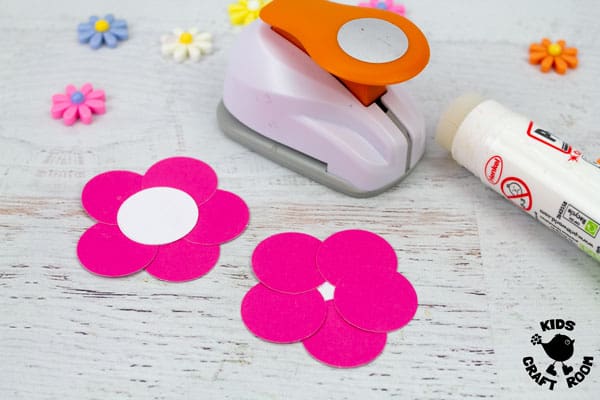
7 – Make two flowers from coloured cardstock. We made ours by cutting 5 pink circles with our 1 inch punch and gluing them onto the back of a white circle.
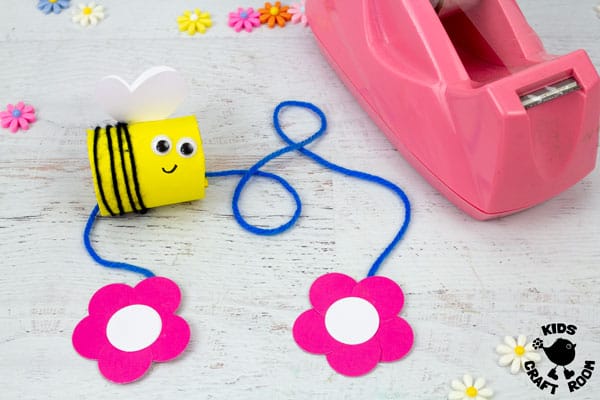
8 – Cut a length of blue yarn and thread it through the bee. Then sticky tape a flower onto each end.
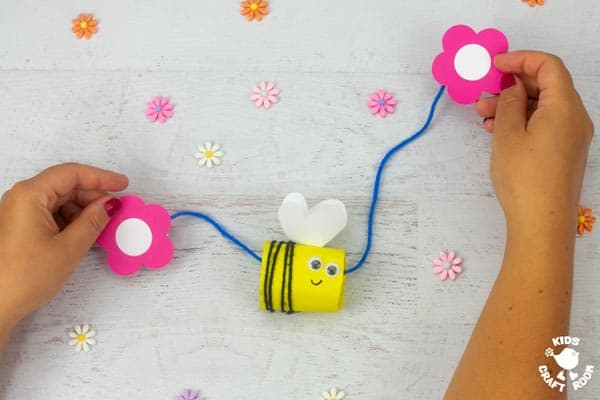
9 – Finally hold a flower in each hand and move your hands up and down to make the bee fly from one flower to the other.
This is such a fun interactive flying bee craft for kids. Once they’ve made their bee perhaps they’d like to make more flying insects of their own design? How about a ladybird or butterfly?
Come and chat with us on Facebook, Pinterest , Instagram or YouTube or subscribe to our weekly craft newsletter.
More Fun Summer Crafts To Enjoy:
Cardboard Tube Flying Bee Craft
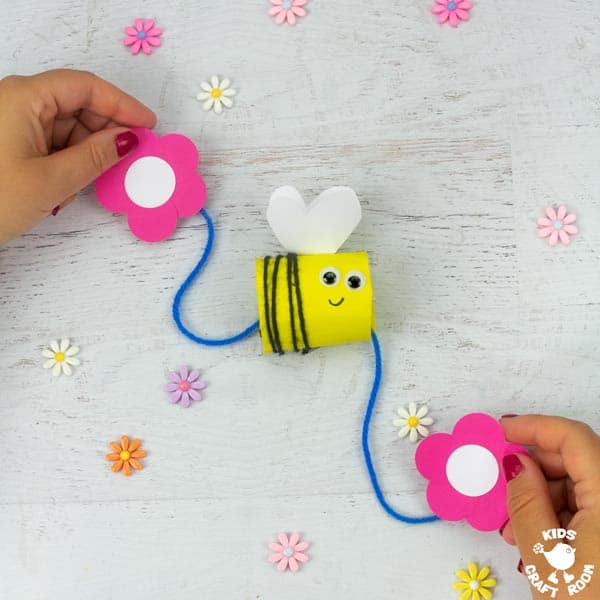
This CARDBOARD TUBE FLYING BEE CRAFT is such a fun insect craft for kids. You hold a flower in each hand and watch the bee fly along the string from flower to flower.
Materials
- Cardboard Tubes
- Yellow and White Paper
- Pink and White Cardstock
- Black and Blue Yarn
- Small Coin
- Wiggle Eyes
- Marker Pen
- Scissors
- Glue
- Sticky Tape
Instructions
- Cut a cardboard tube in half and cover it with yellow paper.

- Wrap some black yarn around it to make stripes and sticky tape it in place.
- Glue on some wiggle eyes and draw a smile.

- Cut some wings from white paper and glue them on.
- Sticky tape a small coin to the inside of the bee at the bottom. (This keeps the wings at the top.)

- Make the two flowers by cutting 5 pink circles with a 1 inch punch and gluing them onto the back of a white circle.

- Cut a length of blue yarn and thread it through the bee. Then sticky tape a flower onto each end.
- Hold a flower in each hand and move your hands up and down to make the bee fly from one flower to the other.
