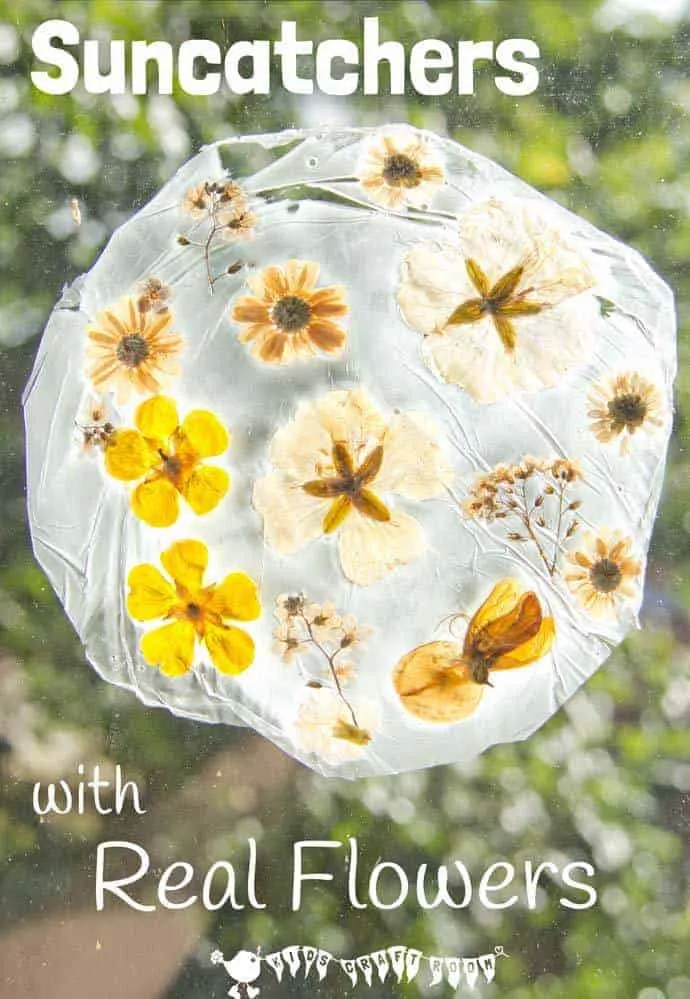
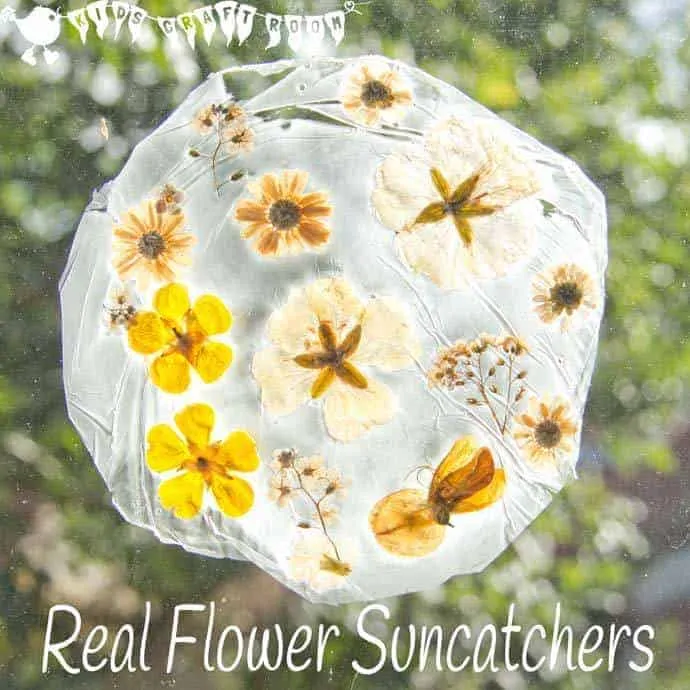
I admit it, I don’t always know what I’m doing and recently the kids and I have been enjoying some experimental crafty goodness making real flower suncatchers for the window.
I wasn’t sure how successful our method of preserving the flowers would be but so far, touch wood, it’s all gone to plan and I just adore the vintage look of this unusual flower craft for kids, don’t you?
Now as I said, this idea for a suncatcher flower craft was very experimental! It’s not something I’ve done before and I have to be honest and say I don’t know how long these pretty beauties will last. We’ve had ours completed for over two weeks now and the real flowers have faded to gorgeous vintage hues and aren’t showing any signs of decay…but I will be keeping an eye on them.
To be honest I don’t mind if this flower craft does deteriorate over time and end up in the trash. The process of making it has been a great experience for the kids and such a talking point.
I love the way nature crafts like our Leaf Sewing and Acorn Mouse Family connect kids with the natural world. Real flower crafts are a great way to get kids enjoying and talking about the beautiful flowers on their doorstep too. It doesn’t have to be big fancy garden grown flowers either, I think there is as much beauty, awe and wonder to be found in a dandelion weed as there is in a speciality rose!
Supplies To Make Your Suncatcher Flower Craft
- White PVA Glue US / UK
- Cling Wrap US / UK
- Paint Brush
- Side Plate
- Fresh Flower Heads
- Scissors
Let’s Have Fun Making A Real Flower Suncatcher
First off head out into the garden or countryside to pick some flower heads for the sun catcher. Encourage the children to look for small flat-ish ones. I’m not sure you’ll have much success with big flowers like roses because they need to lie flat enough in the saucer to cover them with glue. We found that the buttercups, daisies and forget-me-nots worked really well. This is a great opportunity to chat about and name the flower parts.
Once you’ve got a nice selection of flowers it’s time to prep your dish. We used a simple side plate but any flat based dish will do. The flowers are going to be drying in the dish for a few days so make sure it’s a dish you can spare for a little while.
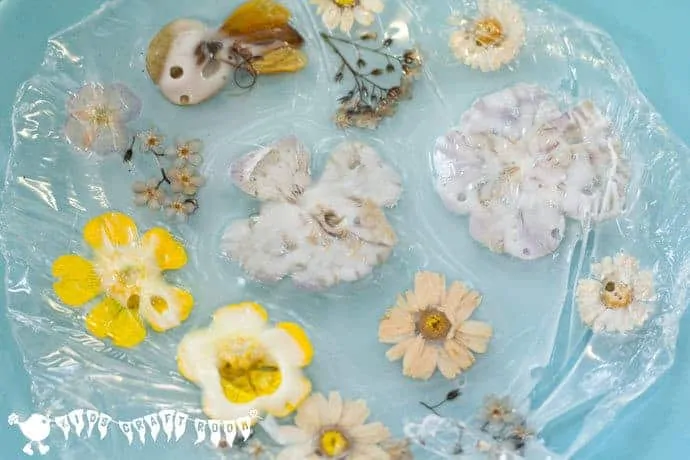
Cover your dish with a layer of cling wrap and smooth out as many of the creases as you can. Then pour in a thin layer of PVA glue to cover the bottom using the brush to help you spread it around.
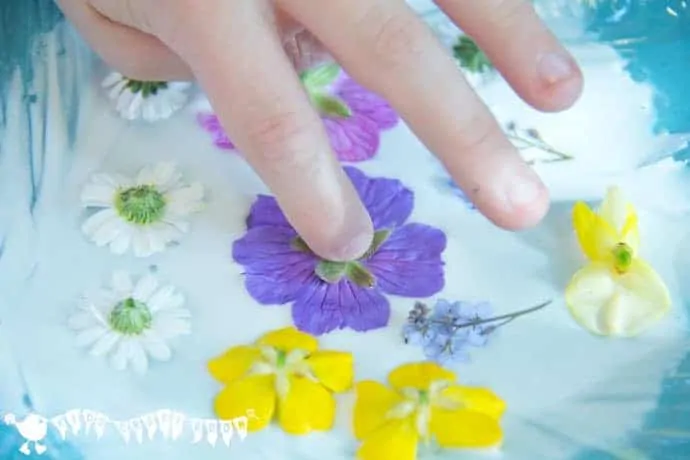
Now comes the fun part! Like you can see in the photo above, arrange the flowers in the glue in any way you like. It doesn’t matter if you put your flowers right way up or upside down but try to keep them all the same way if you only want to see the fronts of flowers when you hang your finished sun catcher.
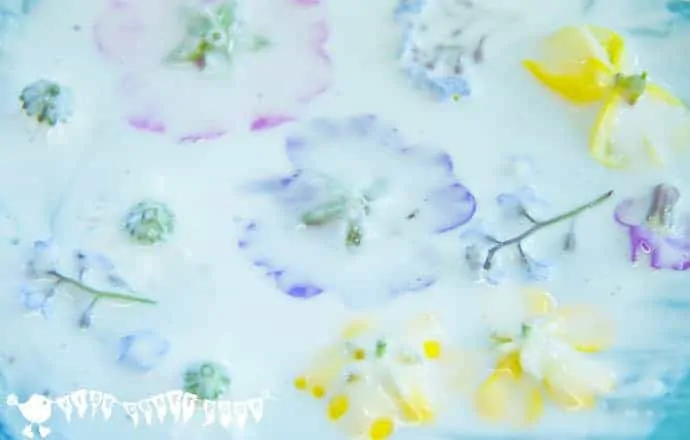
Your flower craft is almost finished. All you need to do to preserve your flowers now is coat the upper side of the flowers in glue too. Again use the brush to help you.
Then it’s just a case of waiting for the glue to dry. How long this takes depends on the temperature and the thickness of the glue but I’d plan on it taking 2- 3 days to be on the safe side.
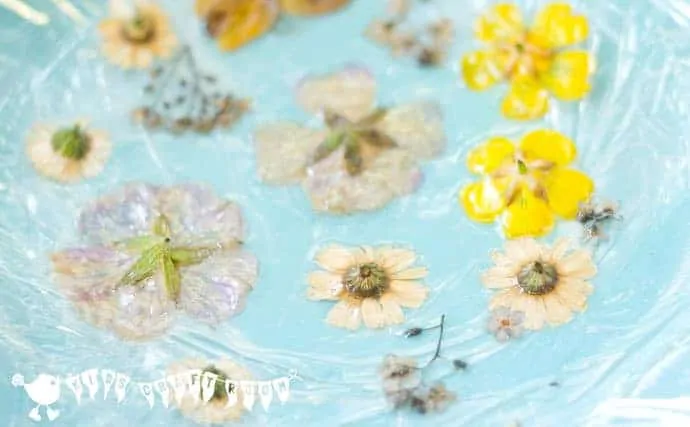
Here’s how our flower sun catcher looked after 24 hours. It’s been really warm here so it was almost completely dry except for some thicker bits of glue that had pooled around the petals. To help the drying process I lifted the flower sun catcher off of the saucer and flipped it over to dry out the underside.
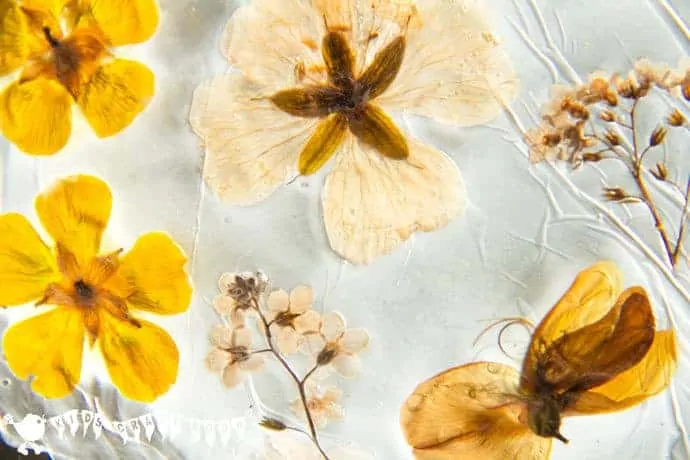
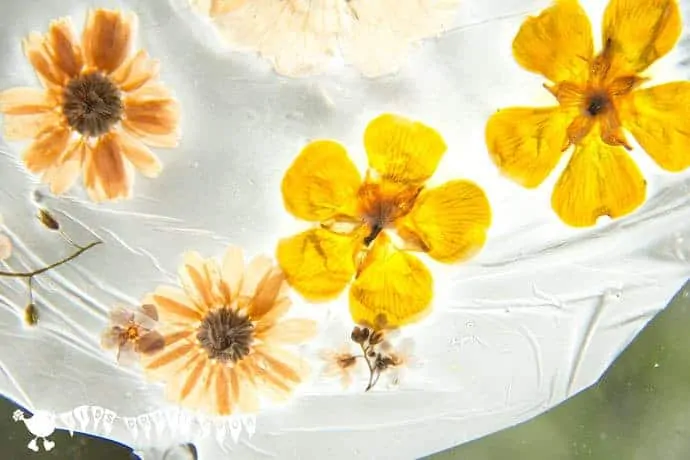
Here’s how our flower craft looked after 2 days. Completely dry and ready to turn into a suncatcher on the window. All that was left to do was trim off any excess straggly bits of dried glue with scissors.
We found that some of our suncatchers clung to the window themselves but the bigger heavier ones needed a bit of tape to hold them in place. Painters tape works well and comes off the windows easily when your done.
The children and I have really enjoyed watching the flowers get bleached by the sun over the days and love the vintage colours we’re left with. It’s been great that the children are able to see the veins in the petals really clearly now too. Aren’t they gorgeous?
Is this flower craft something your children would enjoy too? Why not share it with your friends on Facebook?
Looking for more nature craft ideas for kids? We’ve got loads here in our nature inspired section.
More Fun Summer Crafts For Kids:
