I really do love doing Autumn art and Fall craft activities with the children that capture some of the season’s magic and bring all the beautiful colours inside.
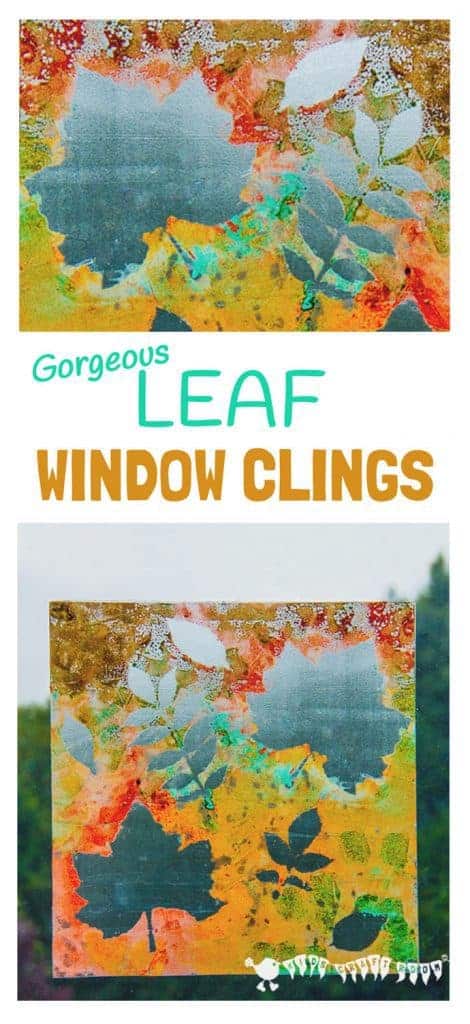
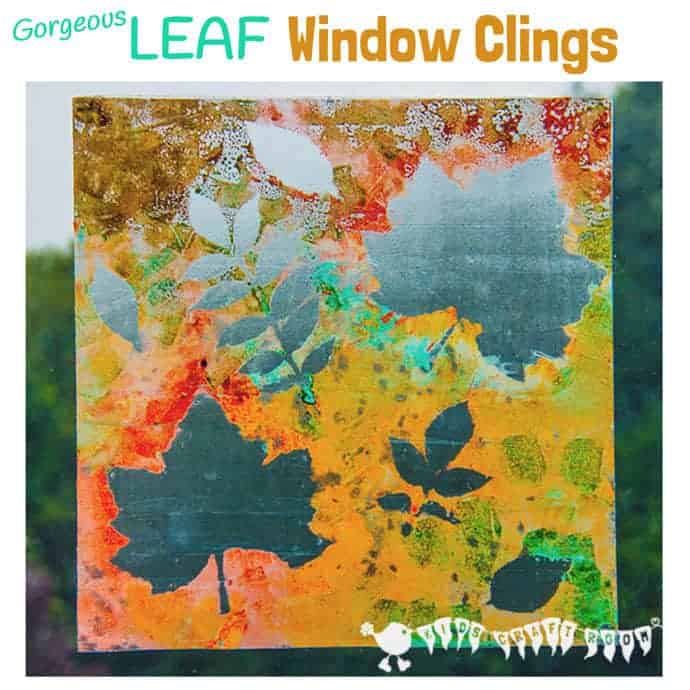
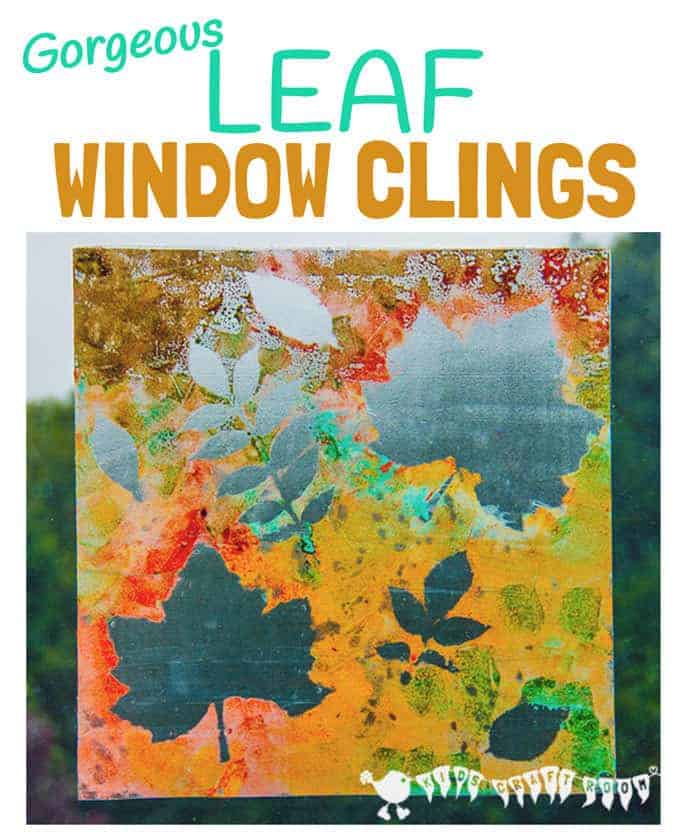
I’m excited to share our latest activity with you…these colourful Fall Art – Window Paintings (sun catchers/window clings). With the light behind them they create really pretty silhouettes of all the different leaf shapes your children can find and make a lovely Autumnal display of colours that looks great on any window.
I love that this craft involves going on a leaf hunt with the children first and then getting to bring all those fabulous leaves inside to look at more closely and chat about.
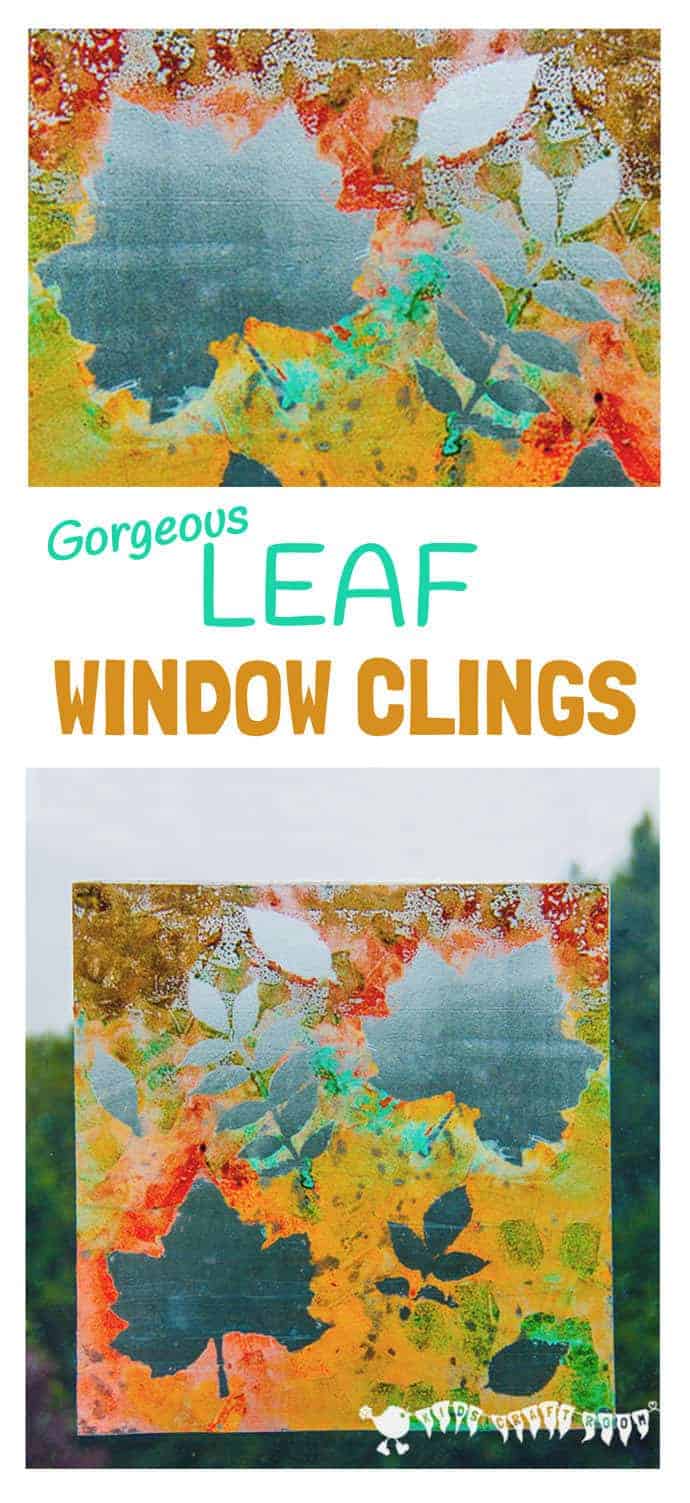
The simplicity of this Fall art activity means that children of all ages, even the very young, can have fun with it and create stunning window displays.
I also love the flexibility of it, as it’s really easy to do in all sorts of sizes from tiny one leaf pictures to great big collaborative pieces. So whether you have one child or a class of 30, whether your windows are tiny or enormous, this is a great activity for you all.
Before you get started on our Fall Window Art idea below, take a peek at some of our other favourite Autumn craft ideas while you’re here too.
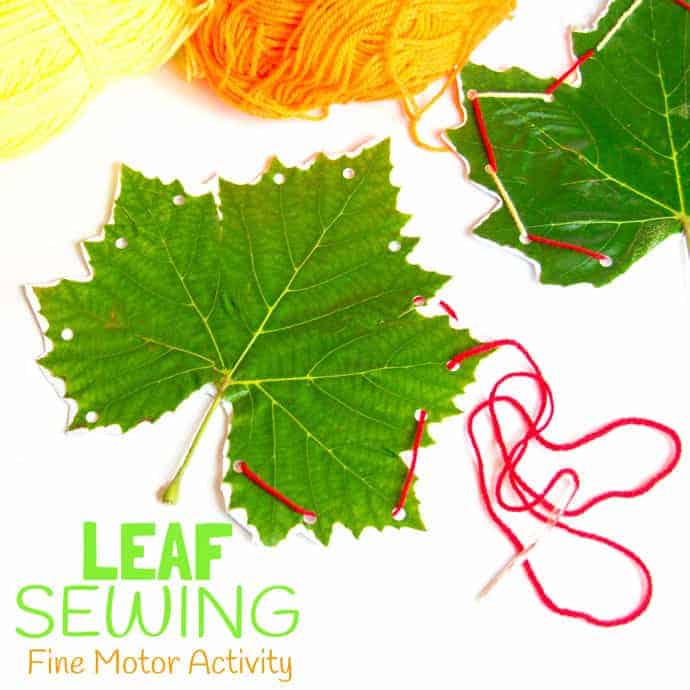
Super popular with readers are Leaf Sewing – great for fine motor skills, Leaf Luminaries – these look stunning, Pop Art Leaf Printing – which is vibrant and fun and Charcoal Leaf Art – this shows off the patterns and textures of leaves beautifully.
How To Make A Fall Art Window Cling Painting
Supplies For Leaf Window Clings:
(This post contains affiliate links.)
- Contact Paper
- Leaves
- Reusable Adhesive (Blu-Tack)
- Paint
- Sponge
- Scissors
How To Make Fall Leaf Art Window Paintings / Window Clings
I have made a short video “how-to” below, which I hope really shows how easy this activity is. I’ve jotted down the step by steps as well for those of your that prefer it that way.
1 – Cut out two pieces of contact paper to your desired size. The one in the photo is 45cm x 45cm.
2 – With the paper side down and plastic side up, Blu-Tack one piece of sticky back plastic to the table to stop it rolling up. (Set aside the second piece until last.)
3 – Lightly Blue Tack the leaves into the desired position on top of the plastic.
4 – Dip the sponge into the paint and dab it up and down all over the plastic until covered. (Be careful not to move the leaves.) This is a super time to chat with the children about the colour mixing you can see going on.
5 – Allow to dry naturally or speed up with a hairdryer on a cool setting.
6 – Remove the leaves to reveal the unpainted silhouettes.
7 – Take the second piece of contact paper, remove its backing and place it over the first sheet to seal in the painted surface.
8 – Remove the backing of your finished piece of Fall Art and pop it on display on a window.
More Fun Autumn Crafts For Kids:
