Most of the fun of Halloween for me and the children comes from the creative preparation side of things. I think lots of families here in the UK, like us, don’t really go in for door to door trick or treating like they do in America but we still like to create some Halloween fun in the home with lots of decorations, party games and fun and tasty treats.
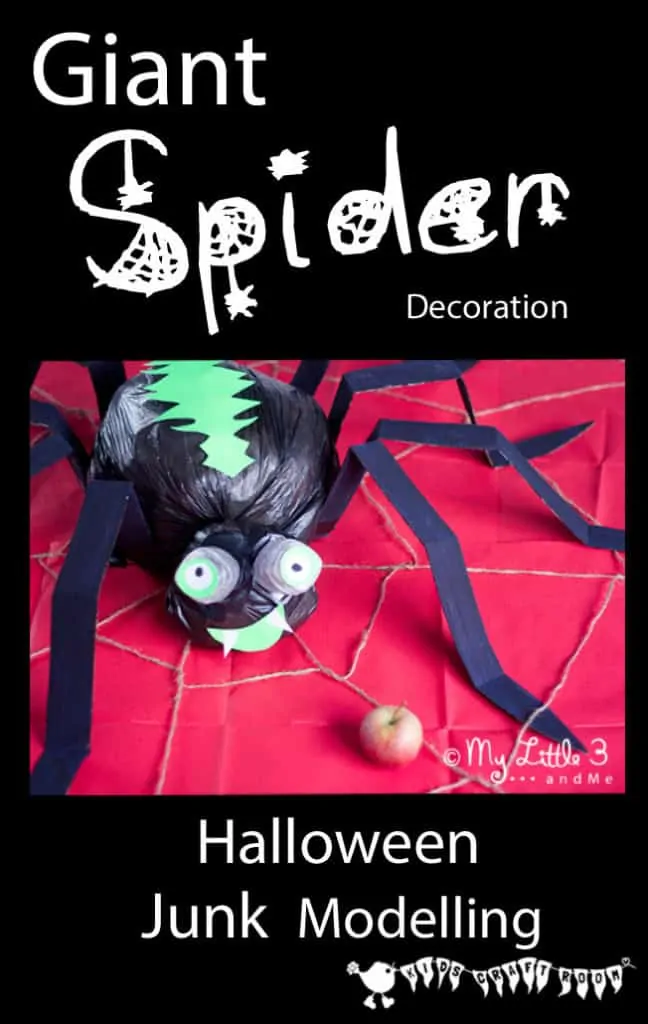
We’ve really enjoyed creating this Halloween Spider Craft. He is enormous and would make a great Halloween party decoration, perhaps as a table centre piece sitting on a web, pinned to a door or gate, hanging from the ceiling or lying in wait on the stairs??? So many possibilities!
One of the things we love most about this Halloween Spider Craft beyond his adorably cute face (who couldn’t just love him?) is that he’s made primarily from rubbish. In my book there’s nothing better than a bit of junk modelling to get the children interested in recycling and up-cycling.
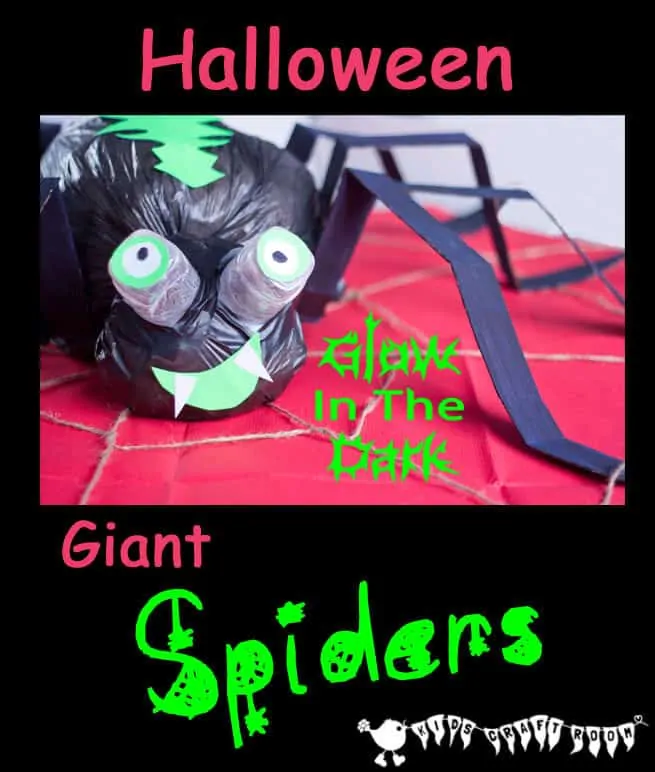
And did I say he has glow in the dark eyes too…just incase you didn’t think he was cute enough already!
How To Make A Giant Halloween Spider Glow In The Dark Party Decoration
Supplies To Make A Big Spider For Halloween
For the spider:
- 2 old newspapers
- Small plastic bag
- Black rubbish bin liner (refuse sack)
- Black sticky tape
- 2 yogurt pots
- an old cardboard box
- black paint
- optional – fluorescent card
- optional – glow in the dark paint
- glue
For the web:
- string
- sticky tape
How To Make A Glow-In-The-Dark Giant Spider
For the spider:
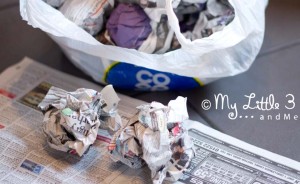
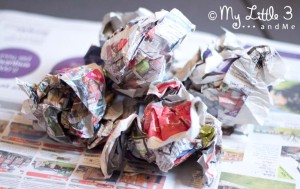
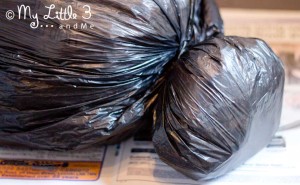
To make the spider’s body, scrunch up sheets of newspaper into loose balls and fill the small plastic bag. We used about 30 balls for ours. Tie the handles of the bag together to stop the paper falling out.
For the spider’s head, scrunch up 6 balls of newspaper and wrap them up in another sheet of newspaper, securing with tape.
Put the spider’s head into the bottom of the large black rubbish bag (refuse sack) and wrap a piece of tape around below it to stop it moving around and to define its shape.
Put the small filled plastic bag into the black bin liner to make the body. Pull the black bin liner tight all around it and secure the excess into place underneath the spider with a bit of tape.
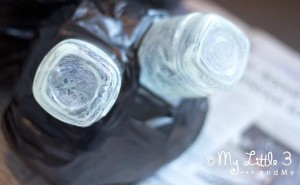
For the spiders eyes we had transparent yogurt pots so we simply painted the insides with glow in the dark paint. If you do not have transparent pots then you could paint the outside of the pots instead. Tape them into place on the spider’s head.
For the spiders legs, flatten out the cardboard box and cut out 8 legs as long as you can. Ours are about 65cm X 4cm.
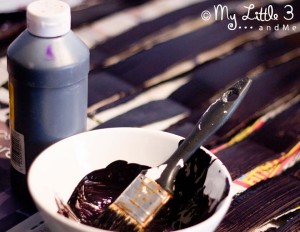
Paint the legs black and allow to dry.
When the legs are dry simply tape into place on the bottom of the spider and bend to your desired shape.
We finished our spider off with a cheeky smile and back pattern cut out of fluorescent card , painted with glow in the dark paint and glued into place. You could use plain card or paper if you prefer.
For the web:
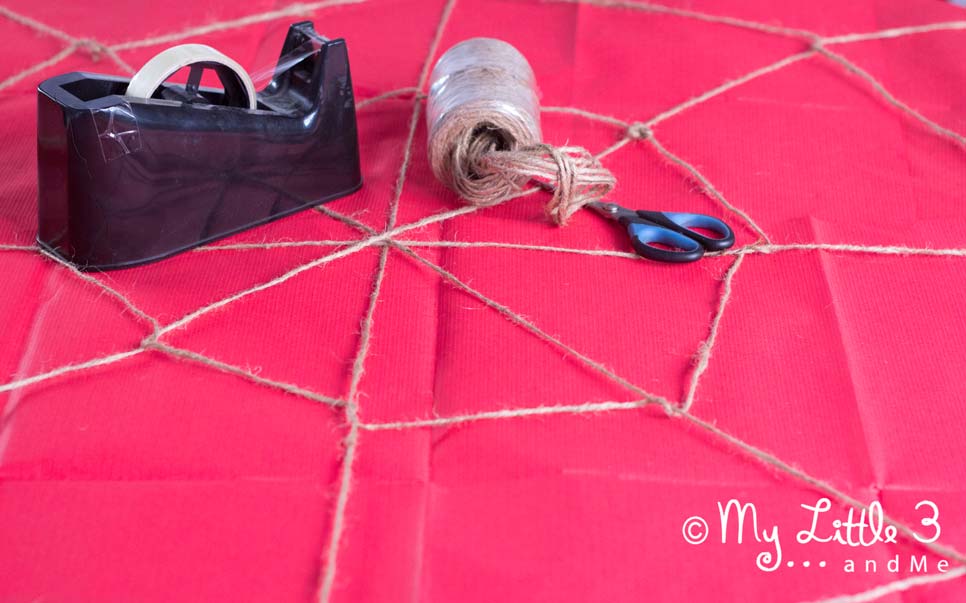
Simply cut lengths of string to go from one side of your table to the other to make the web spokes. I have a round table but you could easily do it on any shaped table. Start with a big cross and then add the additional spokes in between. Tape the string into place at the edges or under the table.
Starting towards the middle of your web, take a long piece of string and tie it to one spoke. Gently take the string to the next spoke and wrap it around, then the next spoke and so on and so on, until you are back where you started. Tie the two loose ends together to secure.
Repeat a little further out on your web as many times as you need to depending on the size of your table.
Here’s some associate links to products that you might find useful for this project. We particularly love the glow in the dark paint, so much fun!
More Fun Halloween Crafts For Kids:
