
We’ve been making a really simple polystyrene Hedgehog House to help these delightful creatures hibernate over winter.
Regular readers will know that we recently moved out of the city and into the countryside because I really wanted the children to be able to connect with nature more and I certainly haven’t been disappointed.
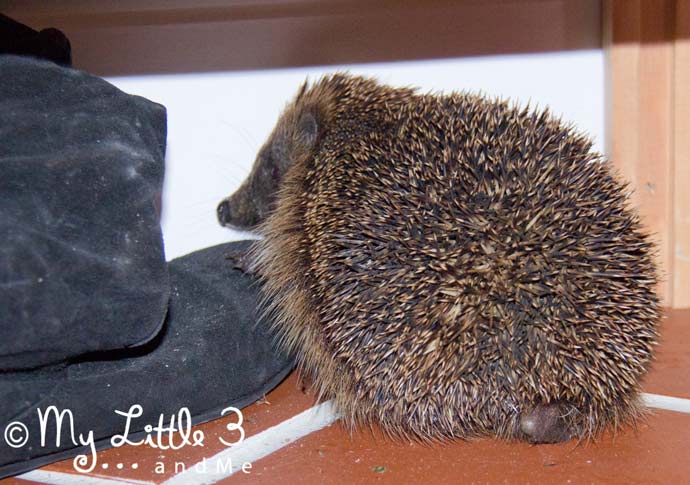
Every-night as soon as the sun sets we’ve been visited by a hedgehog and more come throughout the night too. They’re very clever little fellows and have discovered our cats’ feeding bowl so scurry along to see if there are any tasty leftovers.
One rainy night I moved the cat food bowl inside and guess who came into the house to gobble it up? We just managed to catch the hedgehog cat food thief on film!
Our little hedgehog visitors have inspired some lovely hedgehog model making and of course lots of research into their habitat and habits. The children have loved finding out about hedgehog hibernation and wanted to be able to help the hedgehogs have a cosy and safe winter by making a hedgehog house (hibernacula). They’ve called it “The Hibernation Station” which I think is just lovely! Hedgehog numbers are declining so it would be great if you could have a go too.
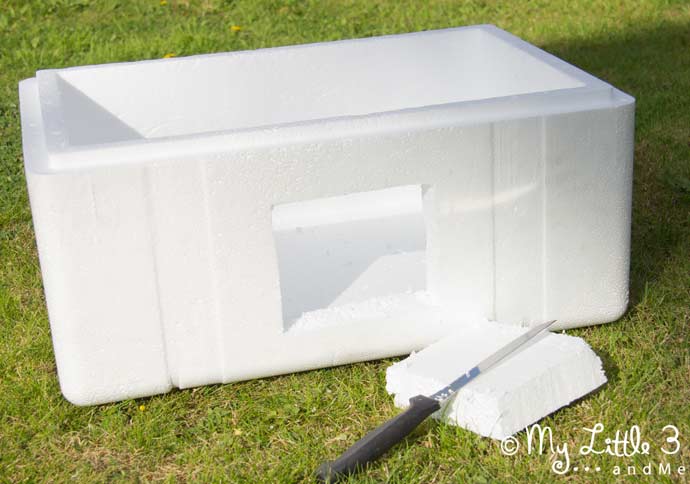
You can buy ready made hedgehog homes but they are quite pricey. We made our polystyrene hedgehog house from a polystyrene box that my dad got a frozen meat delivery in as it has excellent insulating properties.
Supplies To Make a Polystyrene Hedgehog House:
(This post contains affiliate links. Thank you for your support.
- Polystyrene box with lid (We up-cycled one used for transporting frozen meats.)
- Optional- extra lid to make a tunnel.
- Duct tape
- Drill
- Sharp Knife
- Straw
How To Make A Hedgehog House:
- Use a sharp kitchen knife to cut a square entrance hole out of one side.

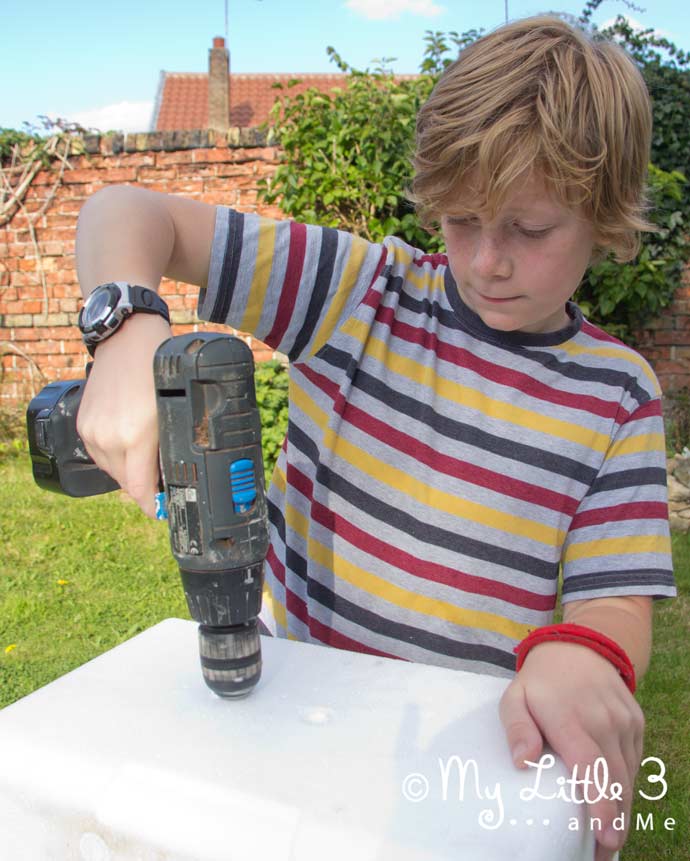
- Drill some ventilation holes into the sides.

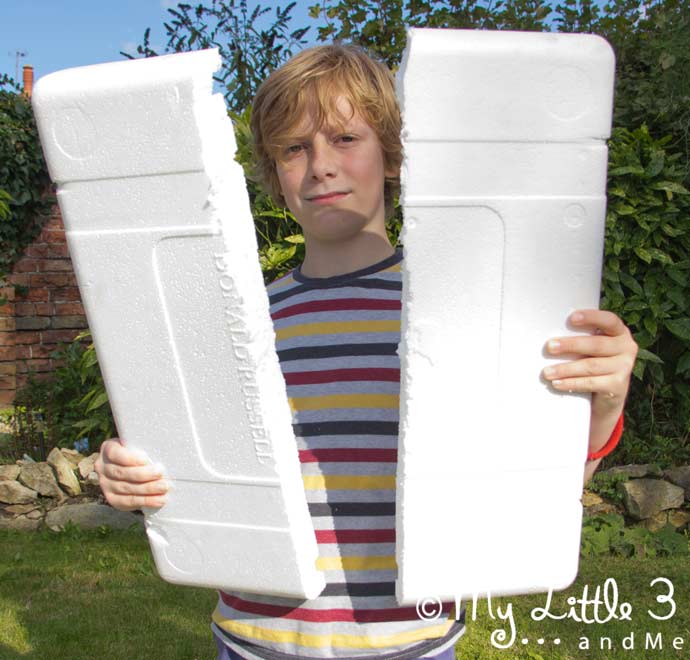
- If you are making an entrance tunnel too, cut the spare lid into four. We found that scoring the polystyrene with a knife allowed us to then simply snap it.

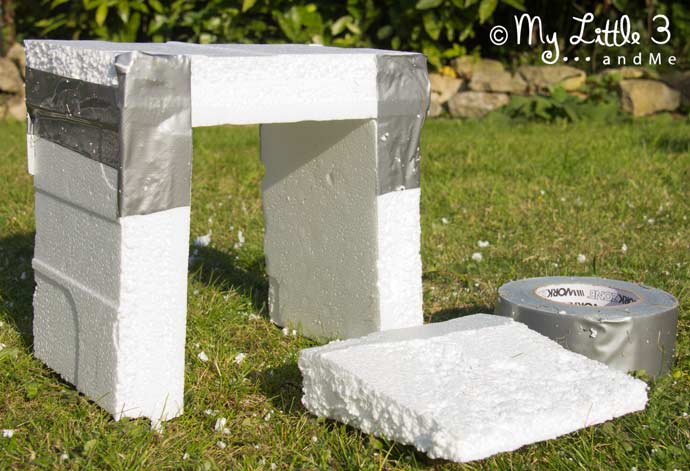
- Measure your lid quarters against your entrance hole and trim to size. Use the duct tape to secure three of them together to make an arch.

- Because the polystyrene lid was so thick we decided to taper the bottom of our tunnel too, just to make it a little easier for a hedgehog to go in. We simply cut a bit off with a knife.
- Tape the bottom of your tunnel into place and secure the whole tunnel onto the entrance to your hedgehog house.

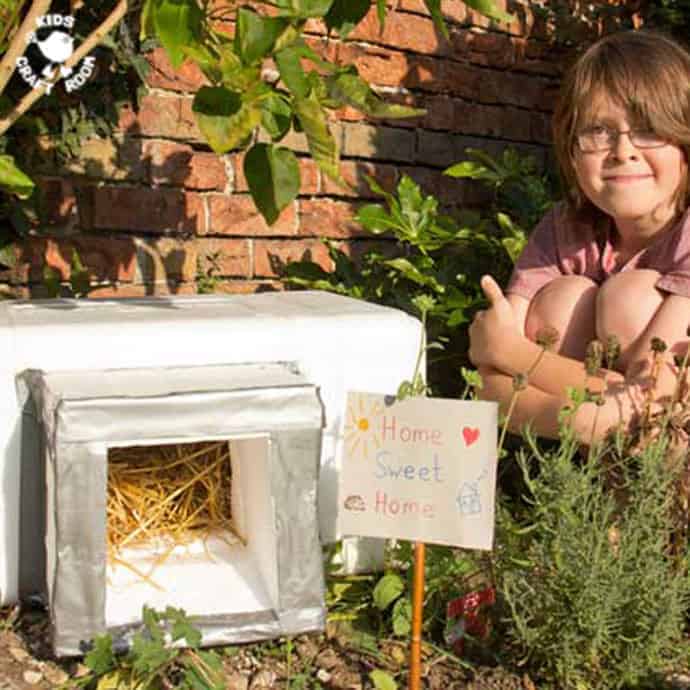
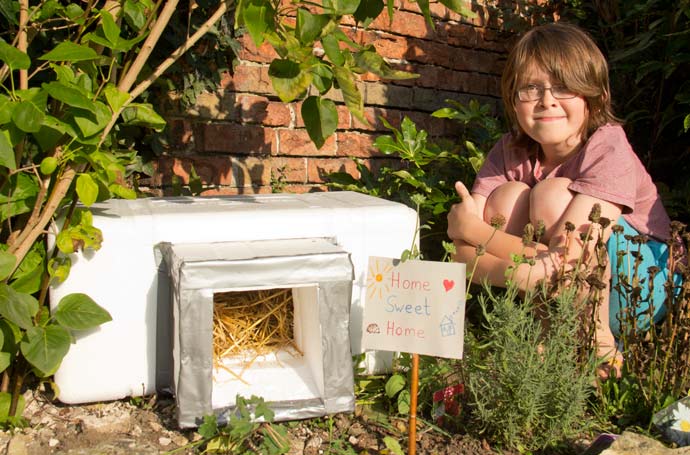
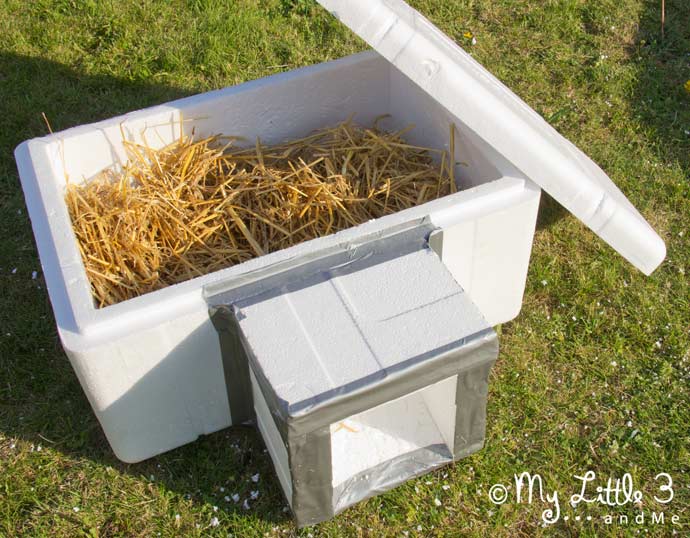
- Fill the hedgehog house with some straw and place it somewhere safe and quiet in your garden.
- Make a little sign so your night time visitor knows it’s welcome. 😉
Have you pinned this yet?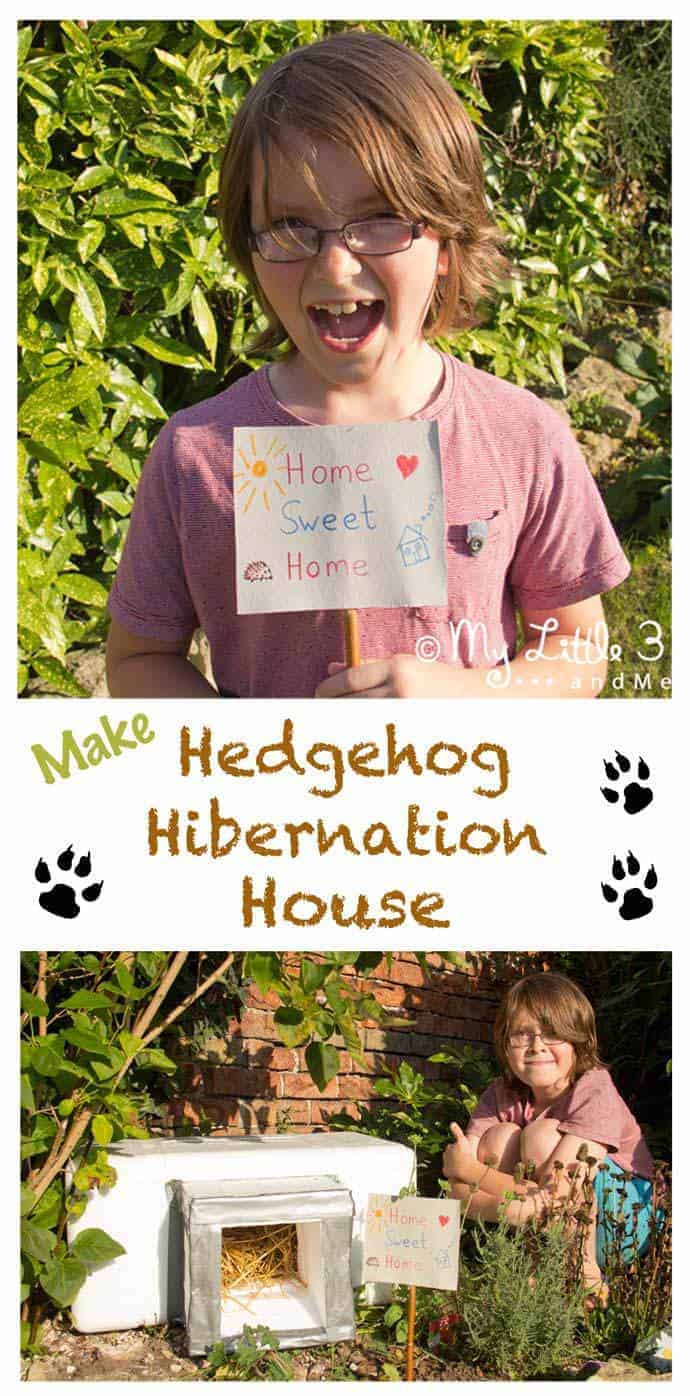
It is best to weigh your hedgehog house down with a brick/stone or two to stop it blowing away in strong winds and to position it with the entrance facing South to protect it from cold winds.
We are going to cover our hedgehog house with some branches too and will be scattering a pile of fallen dried leaves around it too as hedgehogs would naturally use these to hibernate in during the winter.
More Fun Autumn Crafts For Kids:
