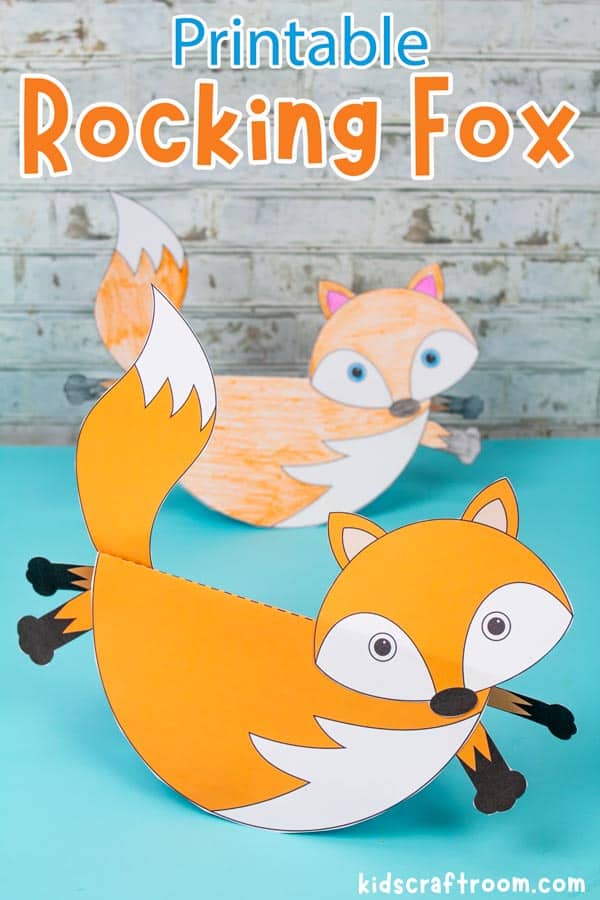
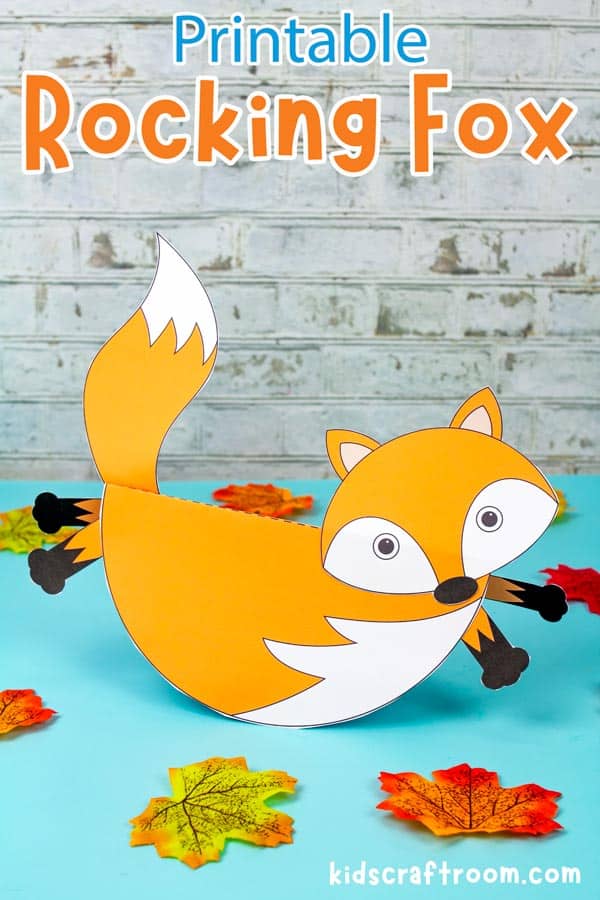
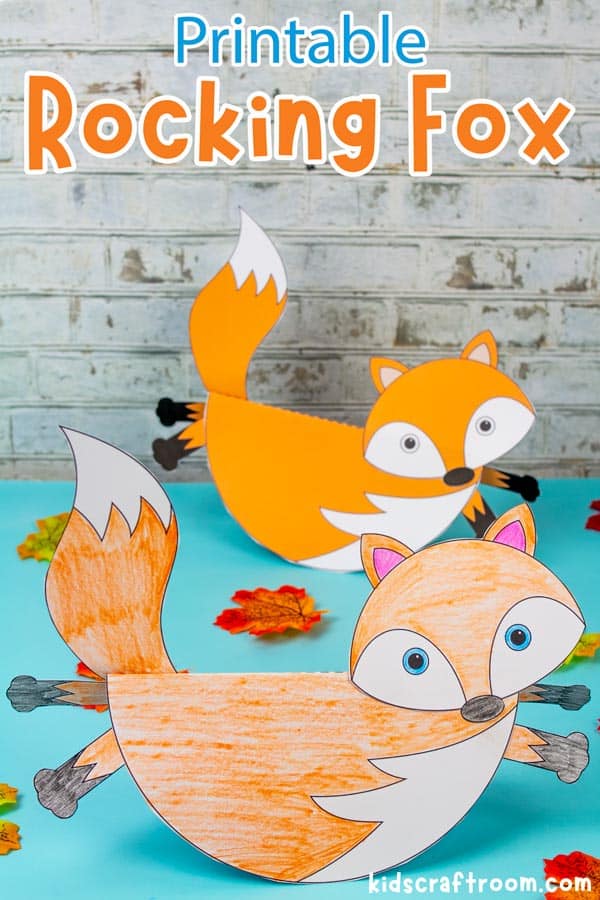


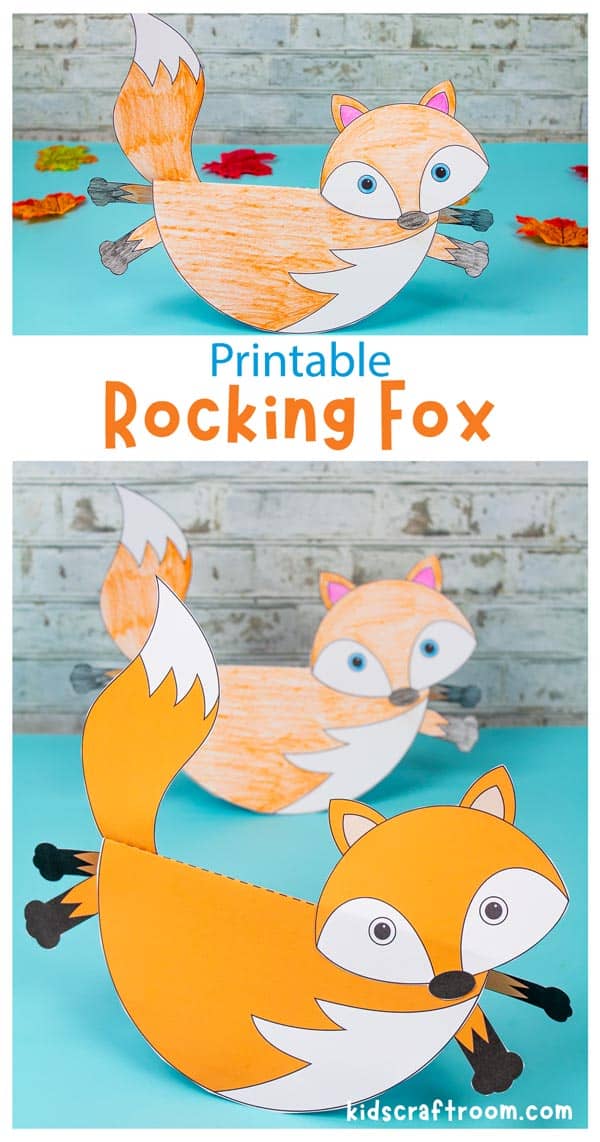
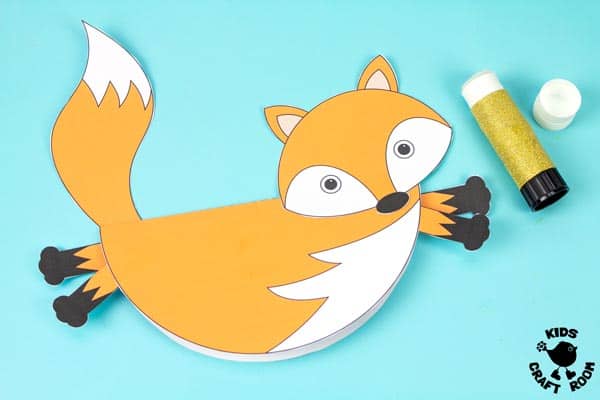
Looking for a fun autumn craft to do with your kids? Check out this Printable Rocking Fox Craft! These cute rocking foxes are a great project for kids of all ages because they are really easy to make with the printable template.
Give them a little tap and they wobble adorably from side to side!
We just love crafts that are fun to make and that you can play with too!
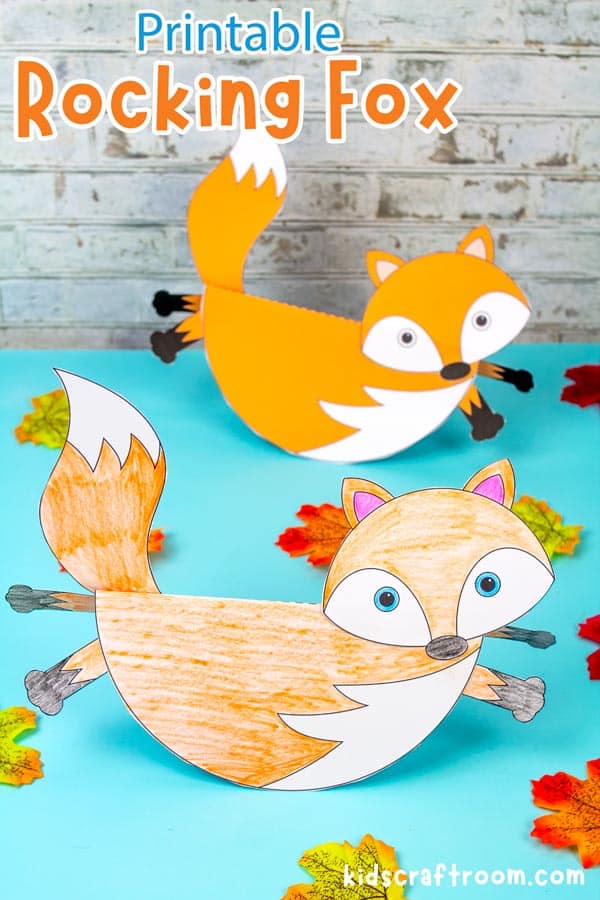
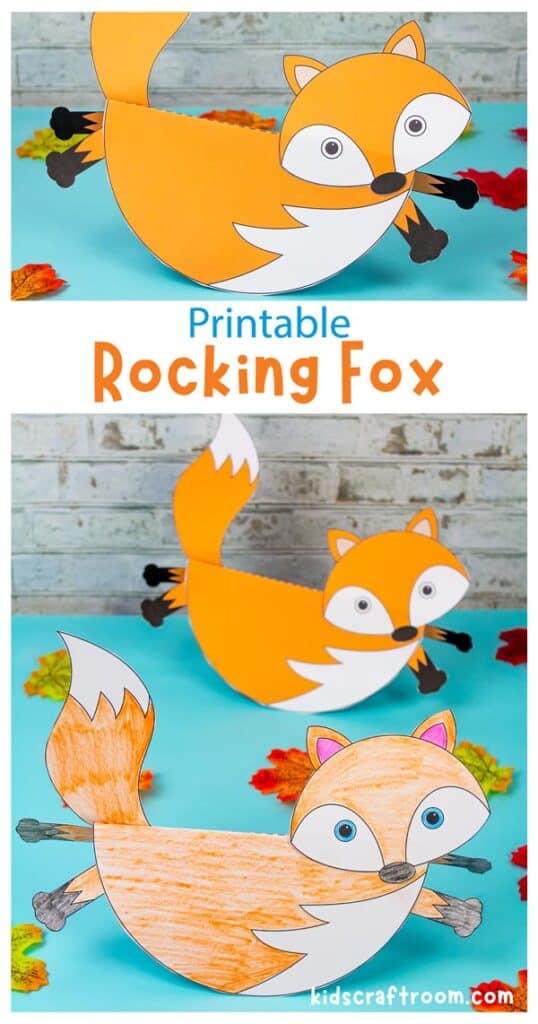
This Rocking Fox Craft is the perfect fall craft for kids who like animals.
It’s a great craft to use at home or in the classroom as you learn about foxes, seasons or nocturnal animals.
It’s also fabulous to go with your favourite fox story books and rhymes like Fox in Socks and Fantastic Mr Fox. (Our all time fave!)
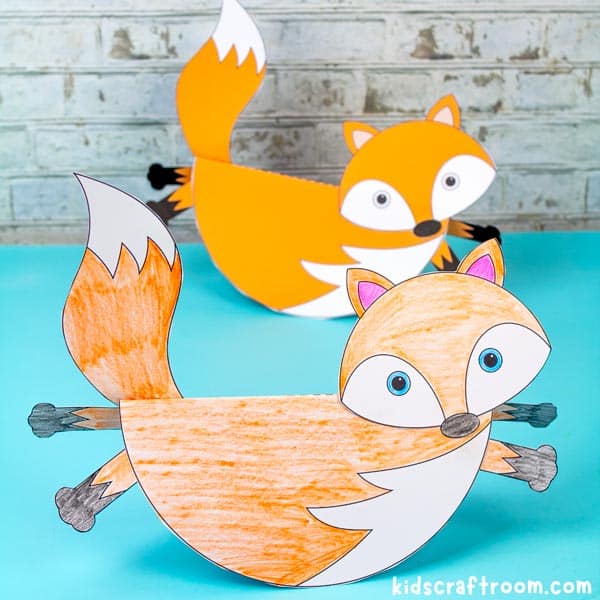
This is a lovely fox craft for toddlers and preschoolers. The printable fox template means this craft is super easy to make, even for very little hands.
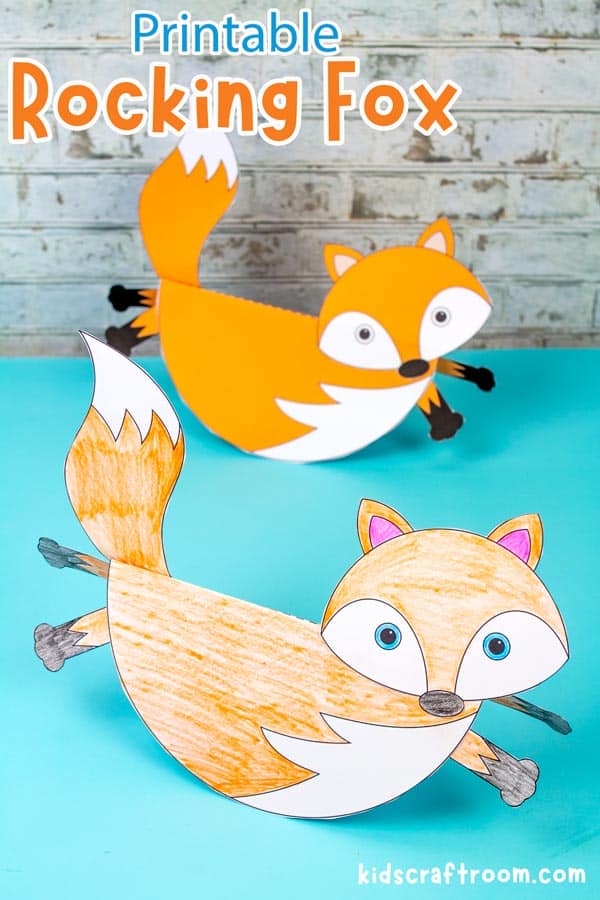
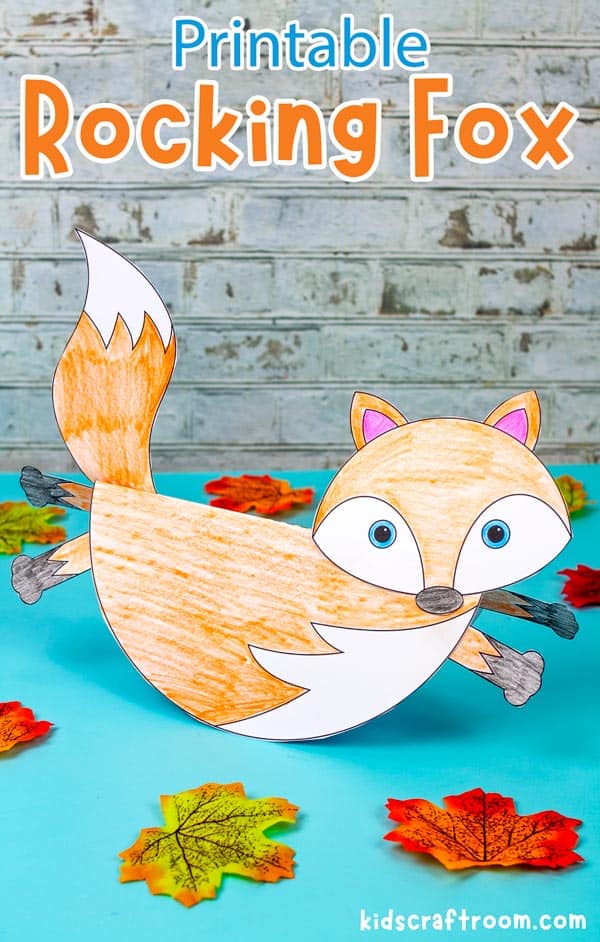
It comes in full colour and also black and white so that kids can have fun colouring in their own foxes.
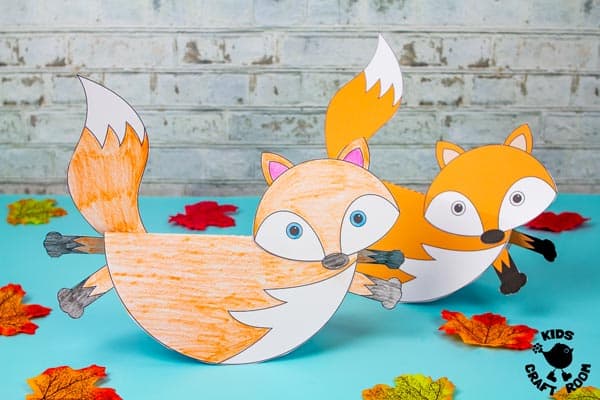
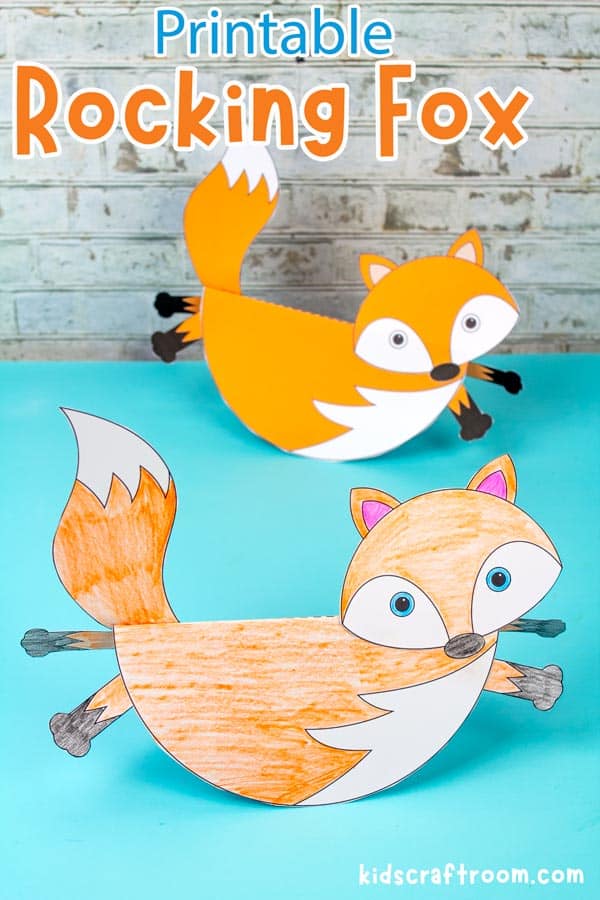
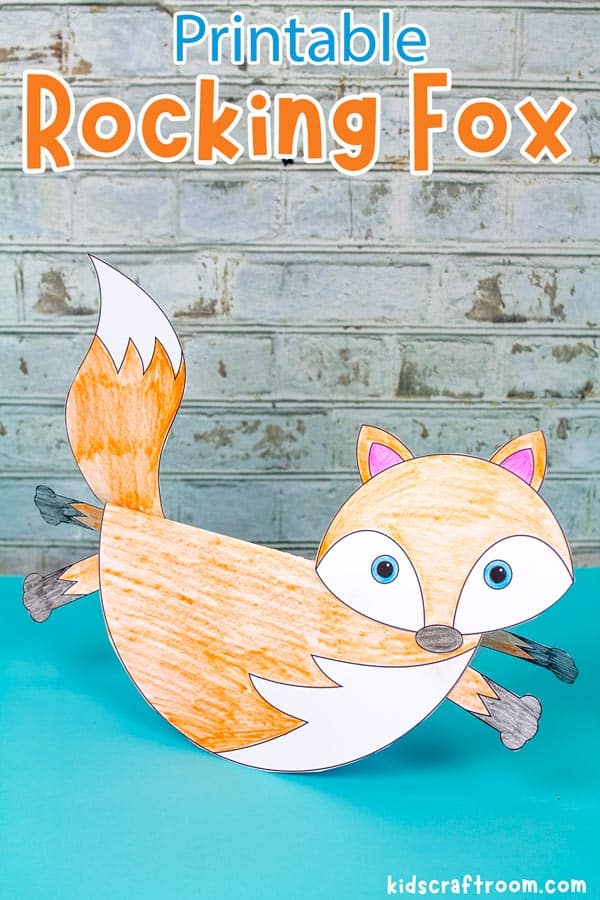
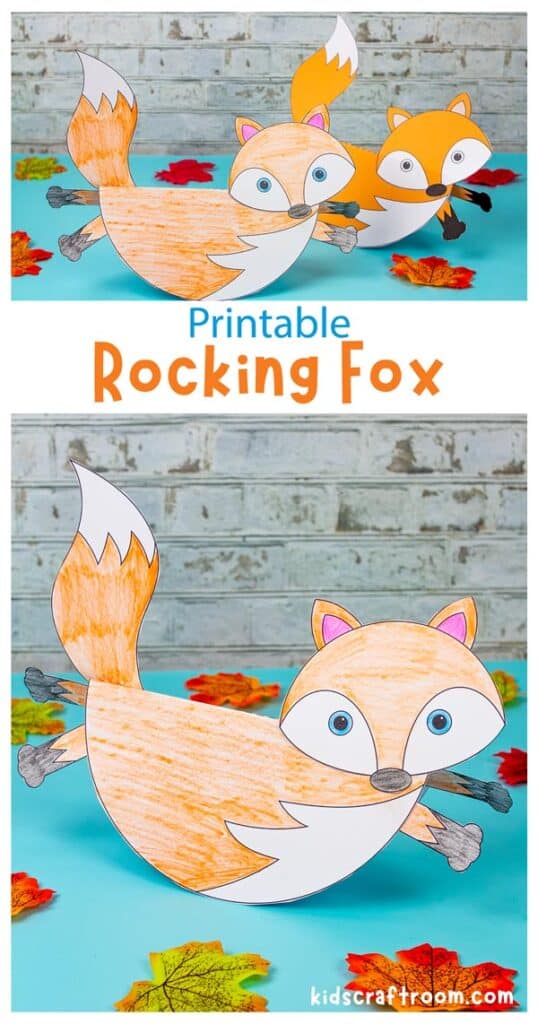
You’ll love how easy this fun fox craft is to make and kids will love playing with their new rocking foxes! They really do look very cute rocking from side to side!
So scroll down to pick up your printable fox pattern and follow the step by step photos. You’ll have finished making your own adorable Rocking Foxes in no time! Have fun!
Printable Fox Craft For Kids – Give Them A Tap to Make Them Rock!
Craft Supplies:
- Printable Fox Craft Template
- Printer Cardstock
- Scissors
- Glue
- Optional: colouring Pens/Pencils
How to Make a Rocking Fox
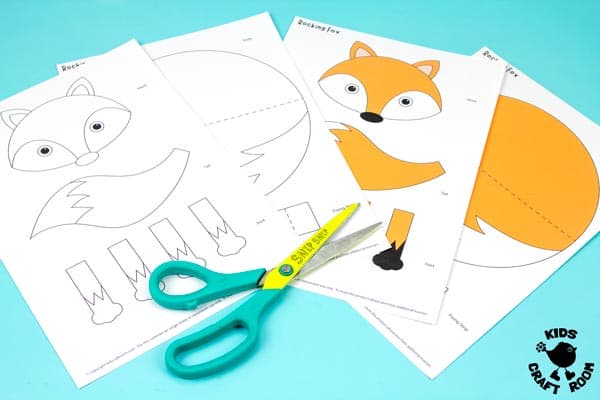
1 – Download and print the Fox Template.

2 – If you are using the black and white fox craft template then colour it in with pencil crayons, pens or paints etc.
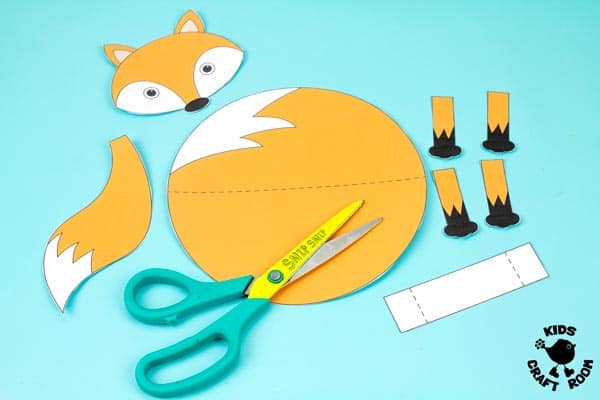
3 – Carefully cut out all the fox pieces.
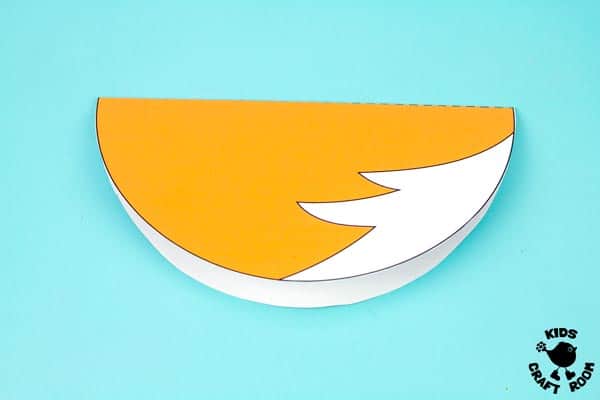
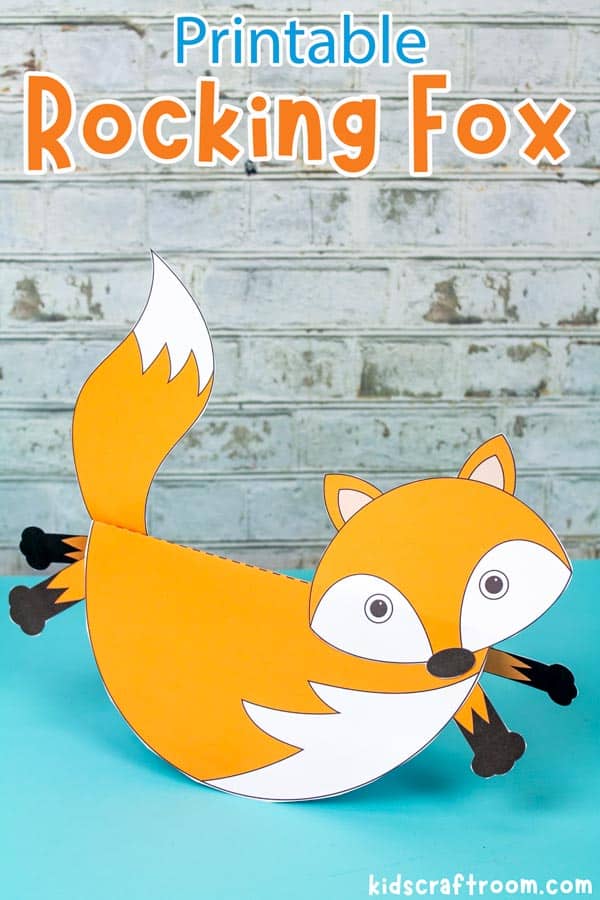
4 – Now it’s time to assemble your fox! Start by folding the round fox body in half along the dotted lines.
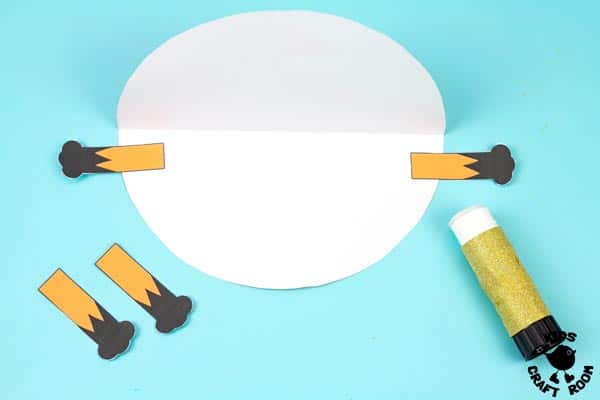
5 – Open the body up and glue a leg on to the inside back of the body on both sides, near the fold.
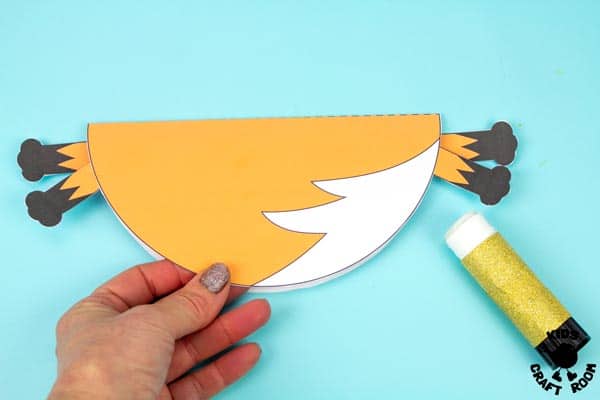
6 – Now glue the other two legs onto the inside front of the body. We tilted ours down slightly so that you can see all four legs at the same time.
7 – Now glue the fox head onto the front of the body and the tail onto the back.
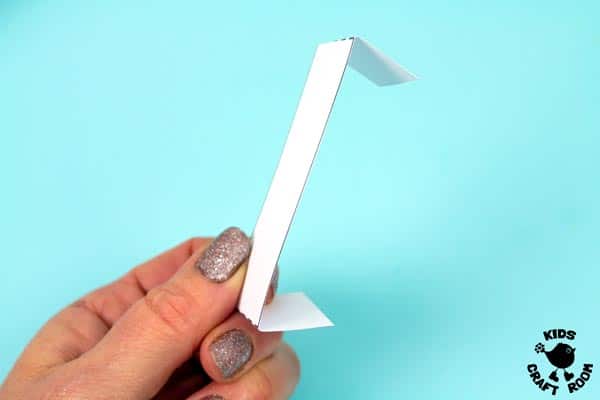
8 – Fold the fixing strip along the dotted lines to make two tabs.
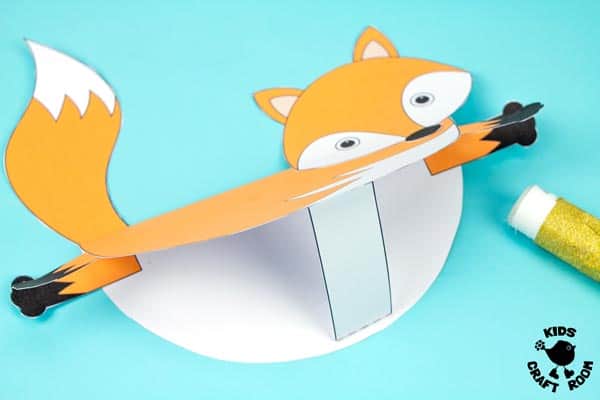
9 – Finally, glue the tabs onto the inside front and back of the body. (This keeps the fox body open at the correct distance.)

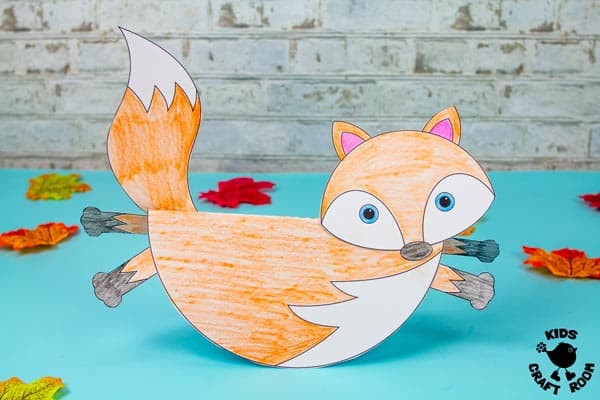
10 – Once your fox is all put together, he’s ready to start rocking! Just set him on a flat surface and give him a little push.
Rocking Foxes are such a great way to add some fun to your day!
We’ve also got lots more fox craft ideas you might like too:
More Autumn Crafts To Enjoy:
