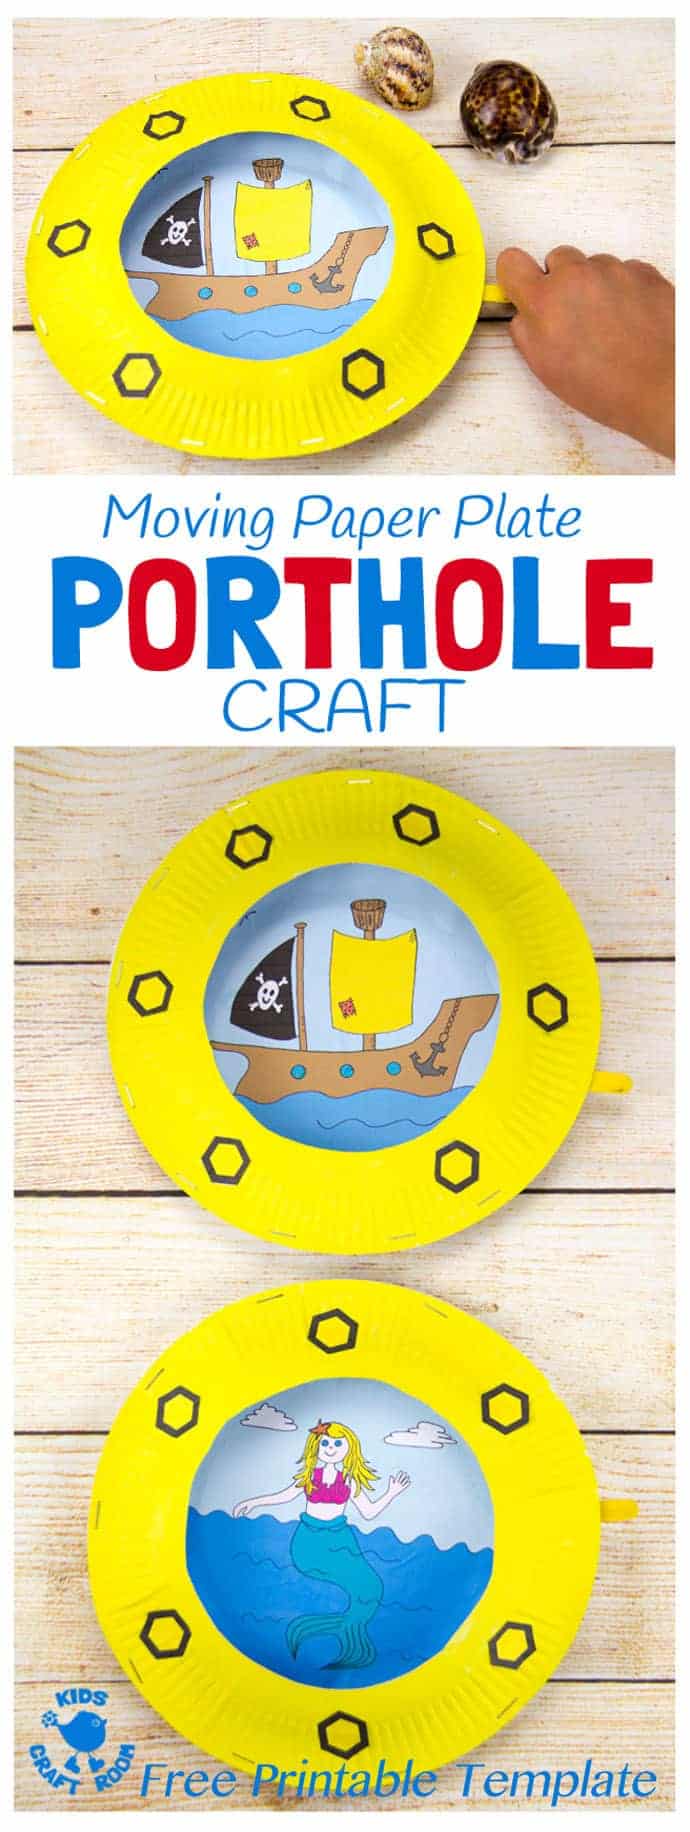
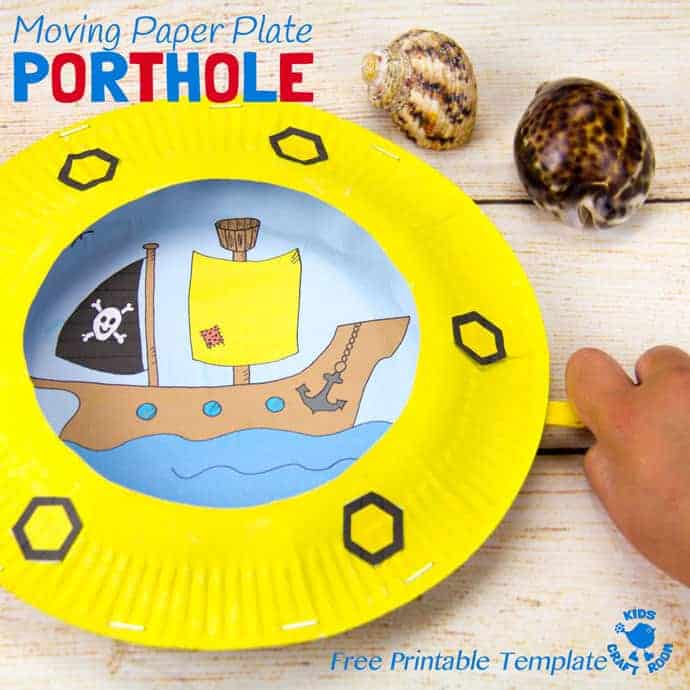
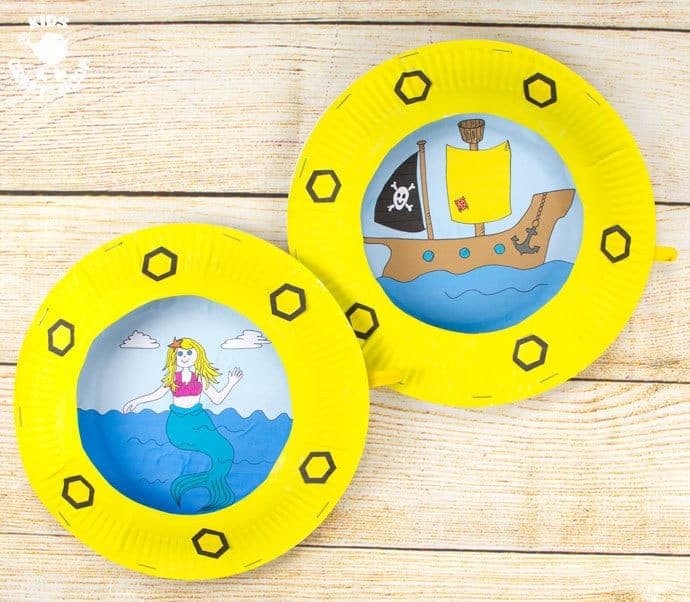
Have you got little pirate or mermaid fans? They will LOVE this moving Paper Plate Porthole Craft, it is such fun! Peep through the porthole to see pirates and mermaids bobbing around on the sea!
This interactive porthole craft lets kids rock their pirate ship or mermaid up and down on the ocean as if they were on real waves!
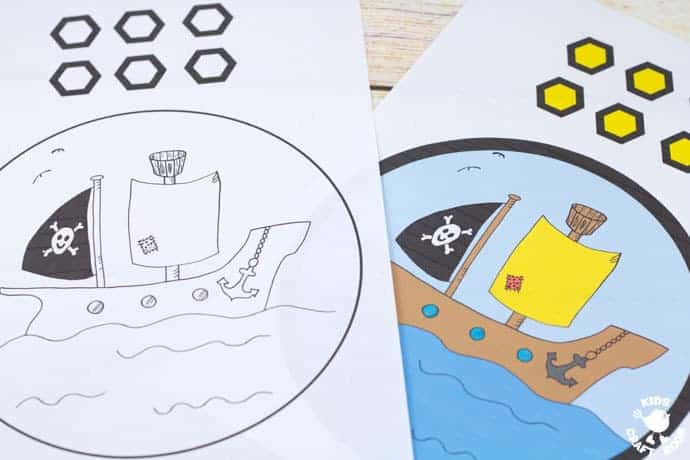
There’s free printables of each scene available in black and white for decorating yourself or full colour, or of course…kids could draw their own ocean scene to put in the middle too.
Don’t forget to take a peek at some of our other Summer themed crafts while you’re here too.
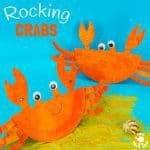
- Paper Plate Sharks Puppets are bitingly good fun!
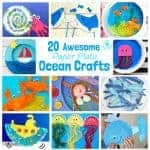
- Rocking Crabs will nip your fingers!
- Paper Plate Ocean Crafts will keep little fingers crafting all Summer long.
All Aboard To Make A Moving Paper Plate Porthole Craft!
Porthole Craft Supplies List
- Free Printable Ocean Scenes (Available at bottom of post.)
- x3 Paper Plates
- Popsicle Stick
- Yellow Paint
- Stapler
- Scissors
- Glue
- Sticky Tape
Paper Plate Porthole Craft Tutorial
It’s nice to see interactive crafts in action so do watch the short video we’ve made. They are so much fun!
First of all choose your porthole scene free printable. (Available at bottom of post)
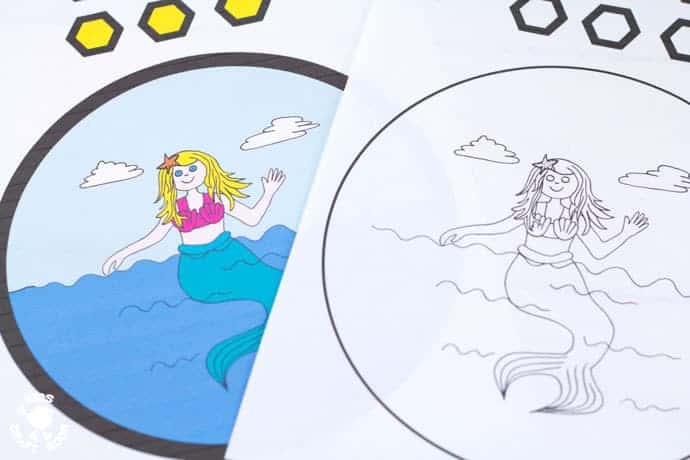
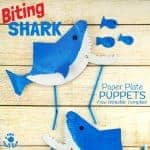
Kids can pick a pirate ship or mermaid porthole scene or of course design their own. Both our printable porthole craft scenes come in black and white to decorate yourself or full colour if you want something quick.
To make the moving porthole follow the instructions below. You will need three paper plates for each porthole craft.
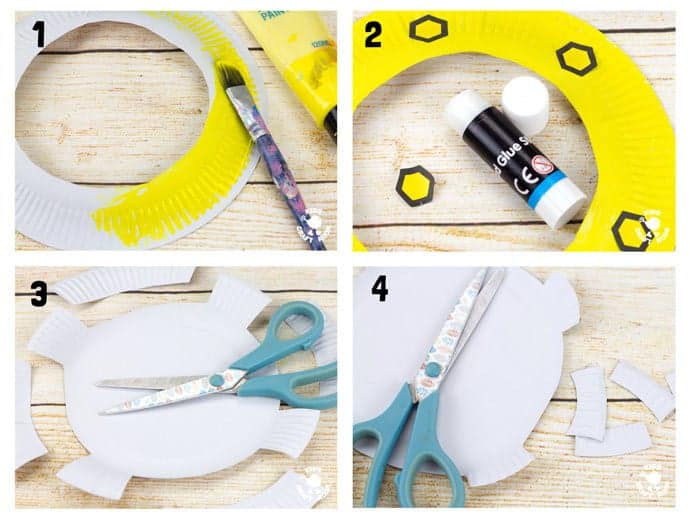
1 – Cut the middle out of your first paper plate and paint the rim yellow.
2 – Cut out the printed bolts from the free printable and glue them around the porthole.
3 – Take a second paper plate and cut off the corrugated edge leaving 4 tabs at noon, 3, 6 and 9 O’Clock positions.
4 – Trim those tabs to about half.
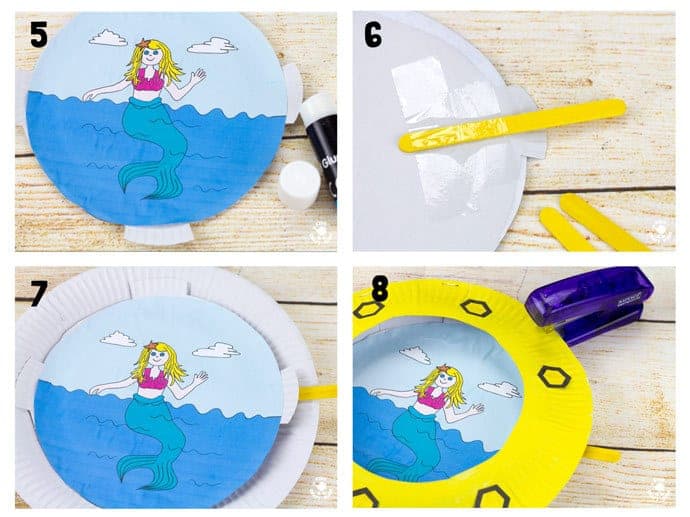
5 – Cut out your porthole craft scene and stick it onto the middle of your second paper plate so the tabs protrude slightly.
6 – Turn your second plate over and sticky tab a popsicle stick handle onto the back of the 3 O’Clock tab.
7 – Put your second paper plate in the middle and on top of your third paper plate.
8 – Place your first paper plate painted porthole rim on top and staple it into place along the edges. Leave a gap from about 1 O’Clock to 5 O’Clock for your popsicle stick handle to move in. (Make sure you are just stapling the top (first) and bottom (third) paper plates. The middle (second) plate needs to be able to rotate freely in between the other two.)

Now your porthole craft is finished and you can move the popsicle stick handle up and down to rock the ocean! What fun!
GET YOUR FREE PRINTABLE TEMPLATE HERE
What will your kids want to see through their porthole window? Shark fins, pirates or leaping dolphins perhaps?
More porthole crafts from our friends across the web.
More Fun Summer Crafts For Kids:


