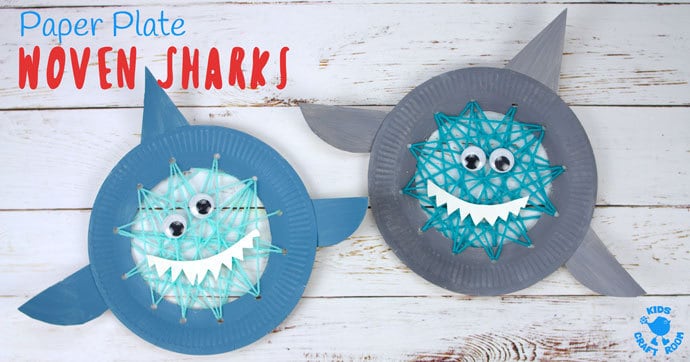
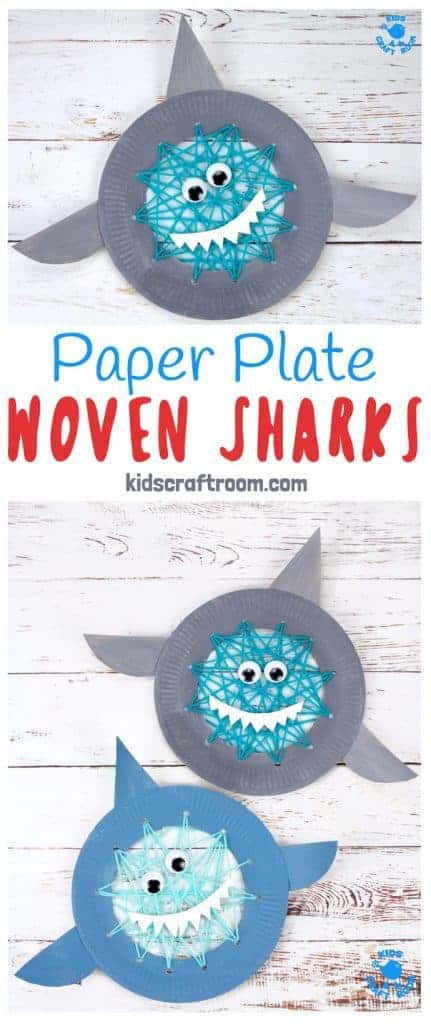
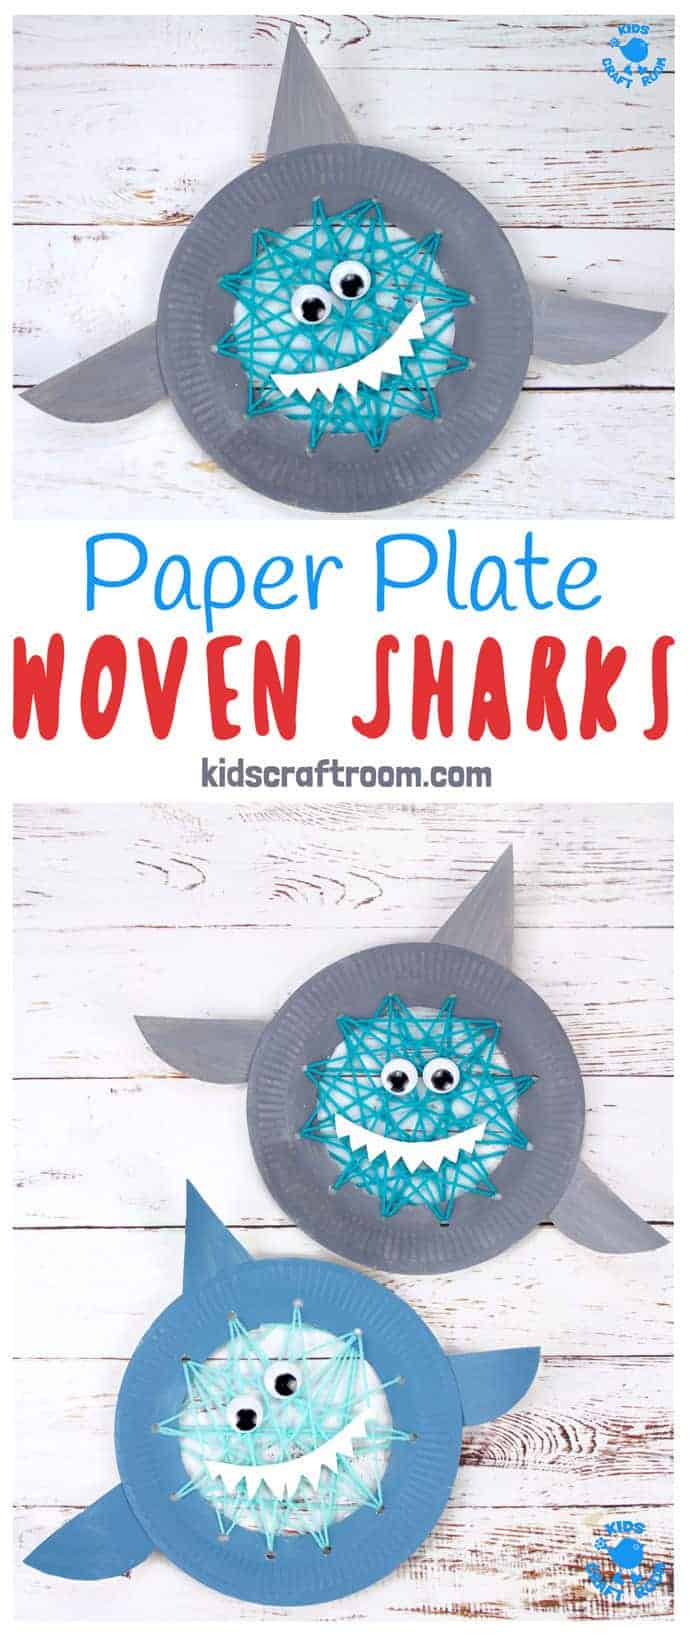
Learning to sew can be loads of fun with this simple Paper Plate Shark Sewing Craft. Kids can weave and sew yarn to make an adorable shark. This easy woven shark craft is a great way to build hand-eye-coordination and fine motor skills.
It’s super fun to glue your yarn shark craft onto a popsicle stick to make a puppet to play with or to stick them to the wall or window for a wonderful display.
This is a fun shark craft for celebrating shark week or for doing alongside beach or ocean study units all year round!
We love sharks and think that activities like this Paper Plate Shark Sewing Craft are a great way to encourage kids to learn about these amazing creatures and care about their protection as they are sadly increasingly under threat. The Shark Trust has lots of fun ways to get kids involved in shark conservation.
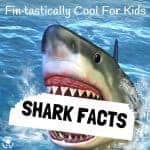
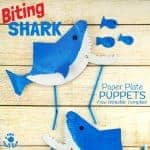
Why not team this woven shark craft up with some other shark themed activities too. How about making delicious Shark Cookies, learning Fun Shark Facts or making Biting Shark Puppets? Everything you need for a fantastic session of shark activities for kids!
Paper Plate Shark Sewing Craft Tutorial
Come and join us below for some yarn weaving and sewing with this cute shark craft!

Yarn Shark Craft Supplies
- Paper Plate
- Paint
- Single Hole Puncher
- Yarn
- Googly Eyes
- Glue
- Sticky Tape
- Scissors
- Brush
- Marker Pen
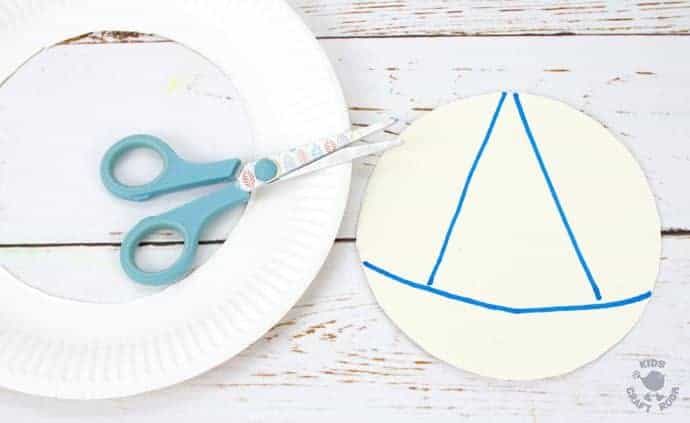
1 – Each shark sewing craft is made using just one paper plate. Start making your shark by cutting out the centre of your paper plate. Flip the middle circle over and draw the boat shape you see in the photo above. These shapes make the shark’s smile and fins.
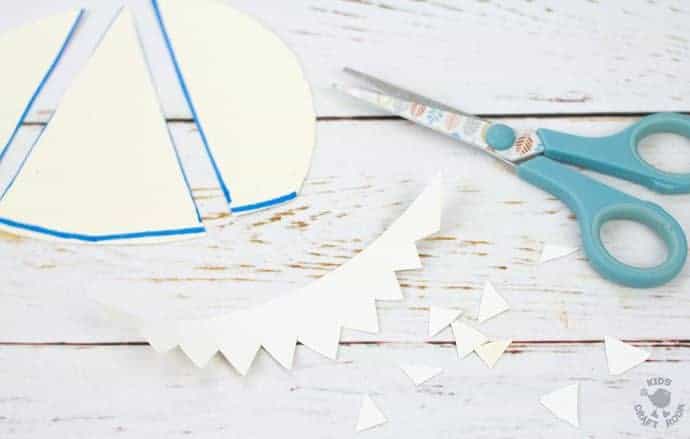
2 – Cut the individual shapes out of your circle. Use the curved bottom of the boat shape to make some sharp shark teeth by cutting zig zag shapes.

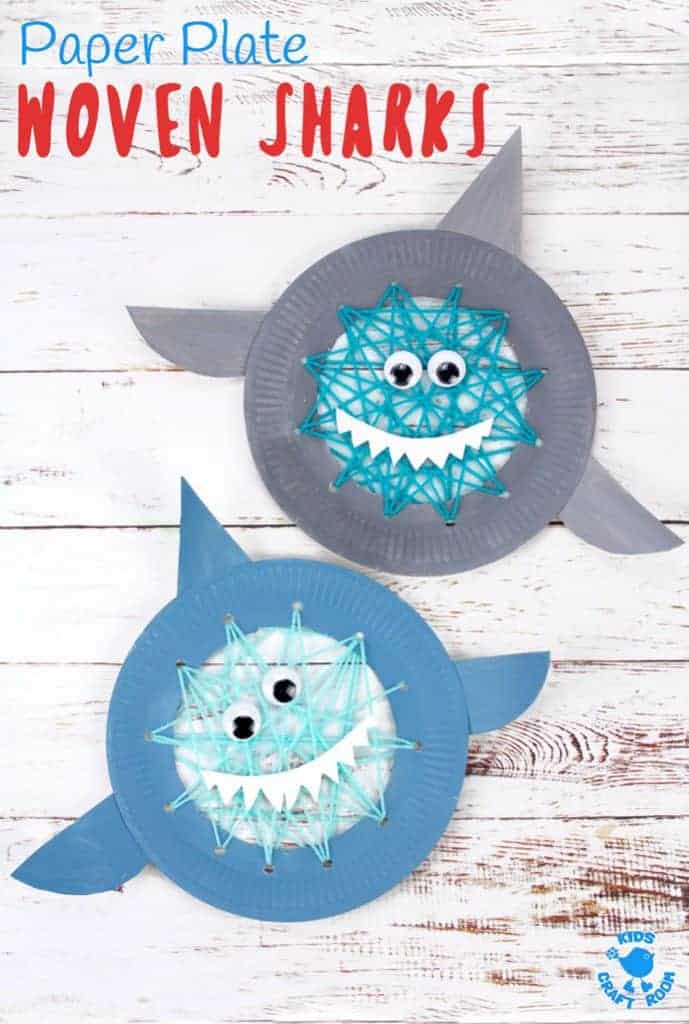
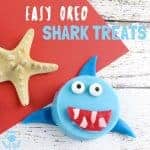
3 – Paint the outer ring of the paper plate and the remaining three pieces. Kids can use grey or have fun mixing up their own shades of blues and greys.
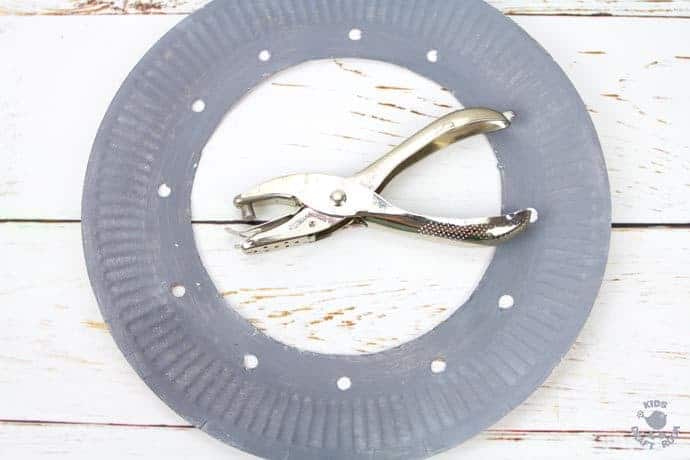
4 – When your paint is dry use your single hole puncher to make sewing holes all around the inner ring of the paper plate. We positioned ours in the same place as the numbers on a clock. You can vary the number of sewing holes to make it easier or harder depending on the age of the children you are crafting with.
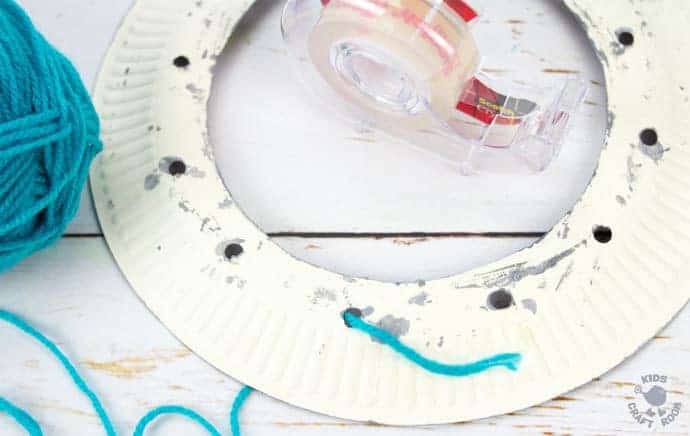
5 – Cut a length of your chosen colour of yarn and tape it to the back of the paper plate. It’s easier for the children to work with a few pieces of shorter yarn than one great big length.
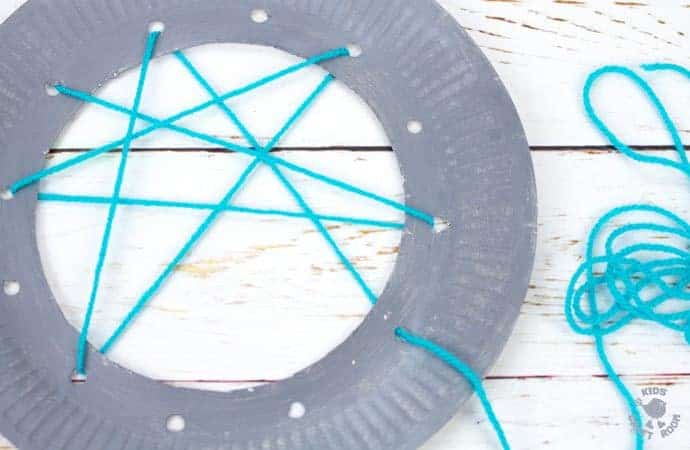
6 – Sew the yarn in and out of the holes, weaving it back and forth across the plate to make a mesh of criss crosses.
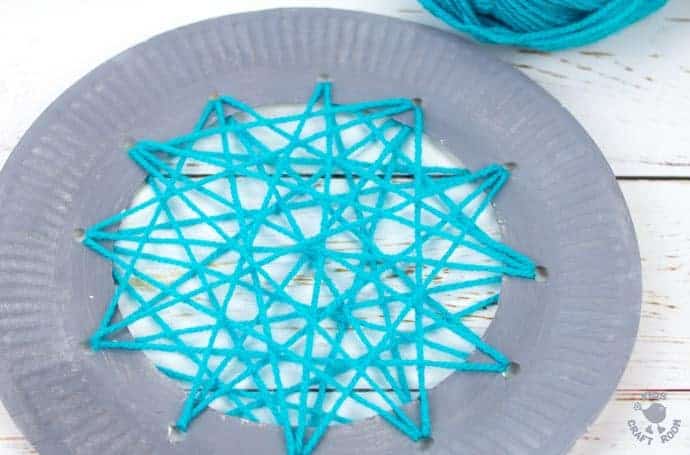
7 – Keep weaving and sewing until the space in the shark’s middle is full.
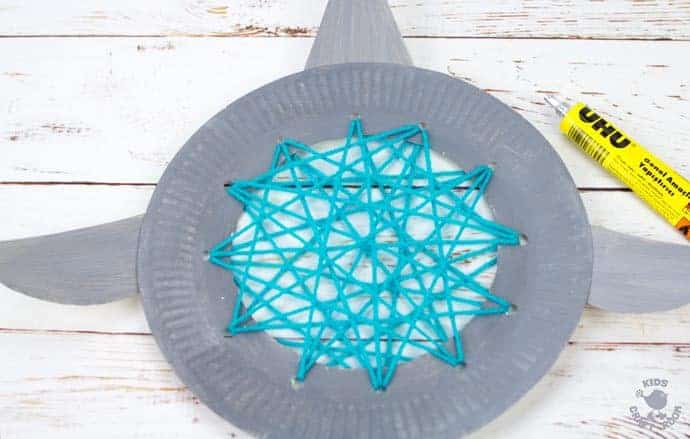
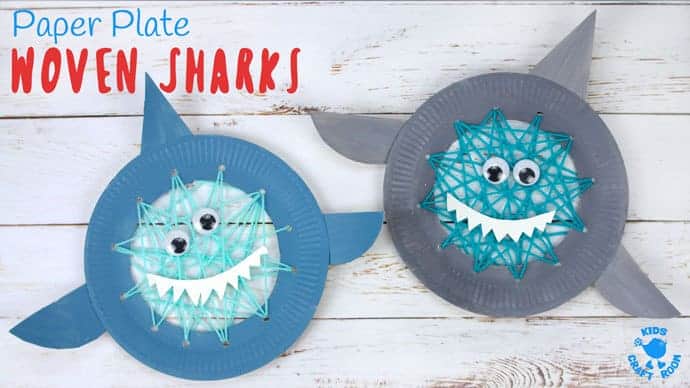
8 – Glue the shark’s dorsal fin and pectoral fins on. We use UHU glue because it’s so quick to dry. If you are using white school glue then you might want to use clothes pegs to hold the fins in place while the glue dries.
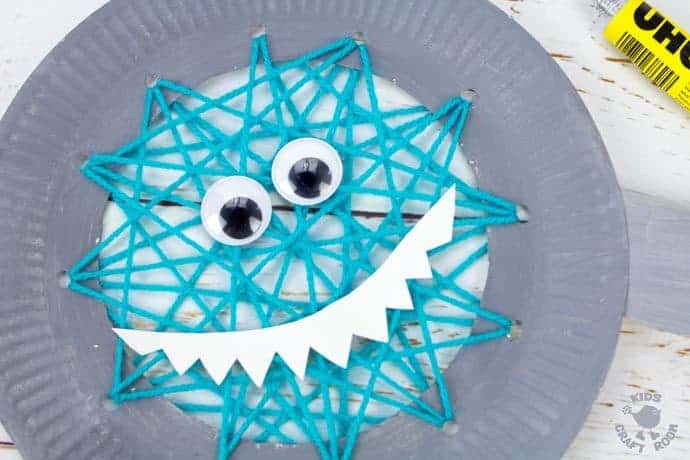
9 – Finally finish your Paper Plate Shark Sewing Craft off by glueing on your teeth and googly eyes! If you want to you can draw on some gills with a marker pen too.
Now your woven shark is ready to play with or go on display, what fun!

You can print the shark craft instructions below.
More Fun Summer Crafts For Kids:


Paper Plate Shark Sewing Craft
Materials
- Paper Plate
- Paint
- Single Hole Puncher
- Yarn
- Googly Eyes
- Glue
- Sticky Tape
- Scissors
- Brush
- Marker Pen
Instructions
 Each shark sewing craft is made using just one paper plate. Start making your shark by cutting out the centre of your paper plate. Flip the middle circle over and draw the boat shape you see in the photo above. These shapes make the shark’s smile and fins.
- Cut the individual shapes out of your circle. Use the curved bottom of the boat shape to make some sharp shark teeth by cutting zig zag shapes.
- Paint the outer ring of the paper plate and the remaining three pieces. Kids can use grey or have fun mixing up their own shades of blues and greys.
- When your paint is dry use your single hole puncher to make sewing holes all around the inner ring of the paper plate. We positioned ours in the same place as the numbers on a clock. You can vary the number of sewing holes to make it easier or harder depending on the age of the children you are crafting with.
- Cut a length of your chosen colour of yarn and tape it to the back of the paper plate. It’s easier for the children to work with a few pieces of shorter yarn than one great big length.
- Sew the yarn in and out of the holes, weaving it back and forth across the plate to make a mesh of criss crosses.
- Keep weaving and sewing until the space in the shark’s middle is full.
- Glue the shark’s dorsal fin and pectoral fins on. We use UHU glue because it’s so quick to dry. If you are using white school glue then you might want to use clothes pegs to hold the fins in place while the glue dries.
- Finally finish your Paper Plate Shark Sewing Craft off by glueing on your teeth and googly eyes! If you want to you can draw on some gills with a marker pen too.