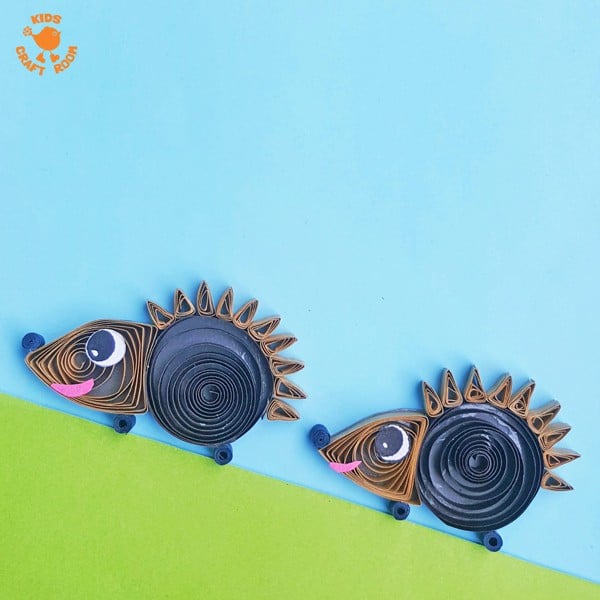
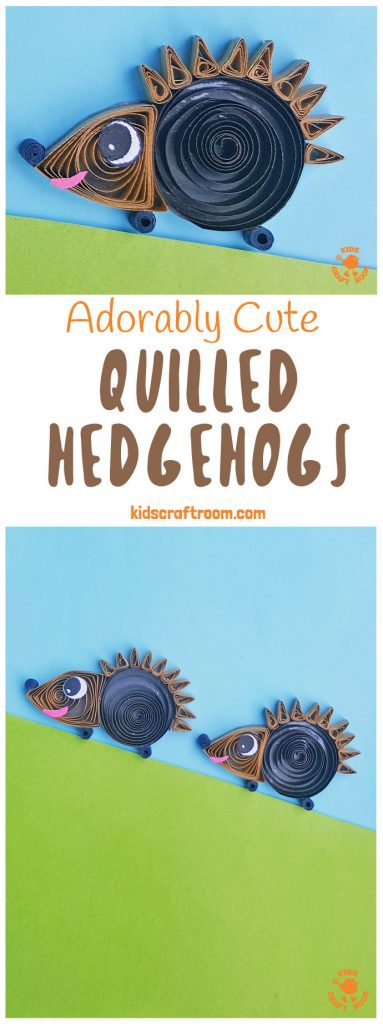
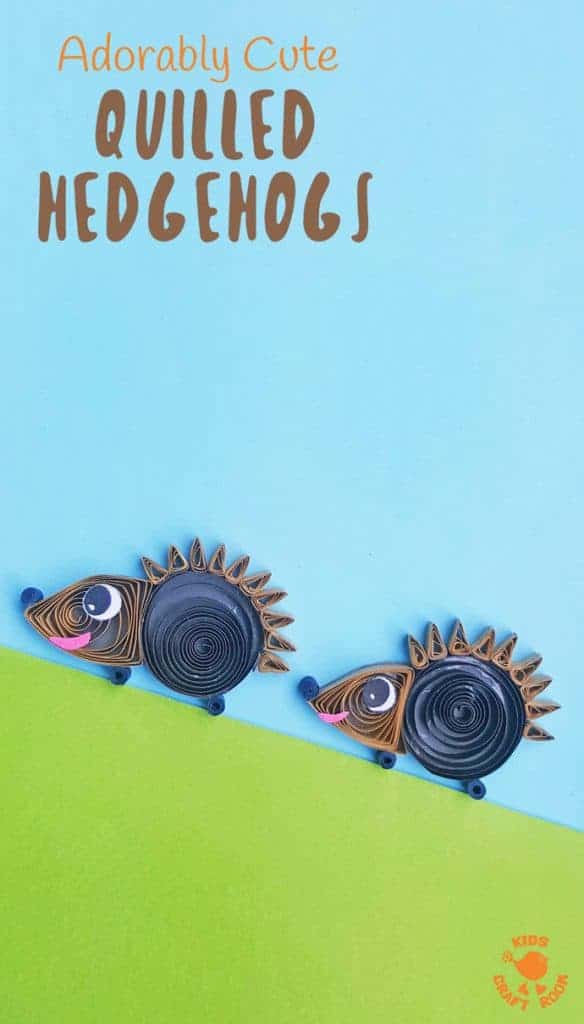
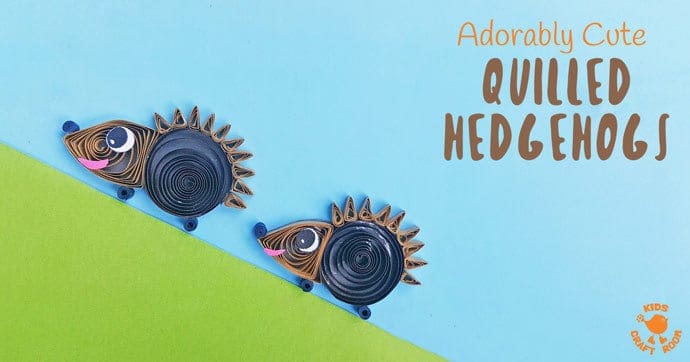
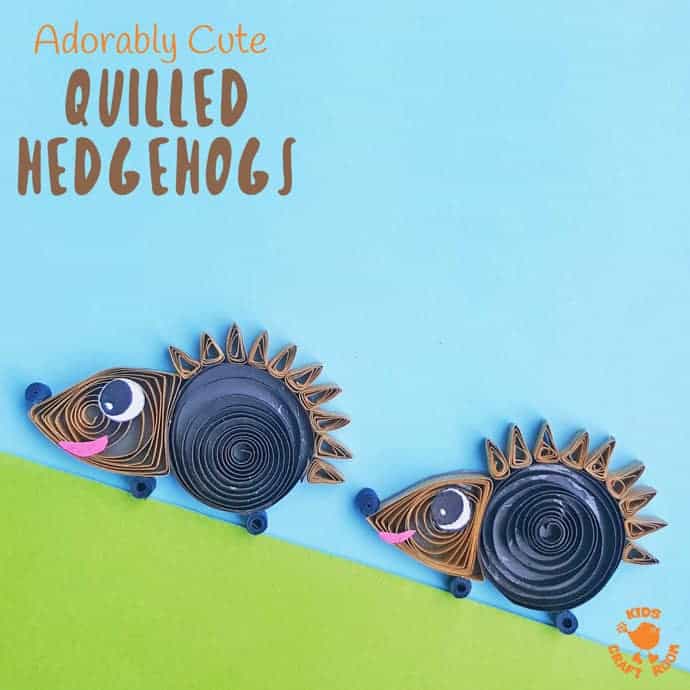
This Quilled Paper Hedgehog Craft is the cutest! If you’re thinking of introducing your kids, or yourself, to paper quilling then this simple hedgehog craft is a great beginners project.
This paper quilling project is so sweet as an Autumn craft and lovely if your kids are learning about nocturnal animals and hibernation too.
Below you’ll see a quilling design step by step photo tutorial so you can easily work through this hedgehog pattern from start to finish, even if you are a complete beginner!

While you’re thinking about hedgehogs why not get the kids involved in making a hedgehog hibernation house too? Hedgehog numbers are declining and really need our help. You can find out lots more about Hedgehog protection at The British Hedgehog Preservation Society.
Supplies To Make Quilled Hedgehogs
- Quilling Paper Strips
- Craft Paper – white, pink and grey
- Black Sharpie
- Glue
- Slotted Quilling Tool
- Scissors
How To Make An Adorable Quilled Paper Hedgehog Craft
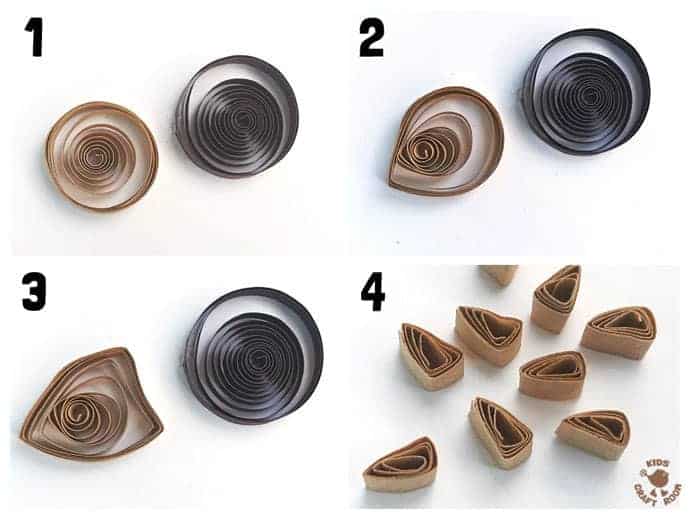
1 – Take 20 inches and 18 inches long quilling strips. Thread a strip through your slotted quilling tool and rotate it to make your loose coils. We used a dark brown 20 inch strip for the hedgehog’s body and light brown 18 inches strip for the hedgehog’s head. Glue down your ends to stop them uncoiling.
2 – Press the light brown loose coil slightly on one side to create a pointy edge to make the hedgehog’s nose.
3 – Press the light brown loose coil on 2 more points at the opposite side of the first point to back the flat back of the hedehog’s head.
4 – Use 2 inch light brown strips to create much smaller triangle shapes for the hedgehog spines. Make as many as you need to cover the top edge of the dark brown body coil.
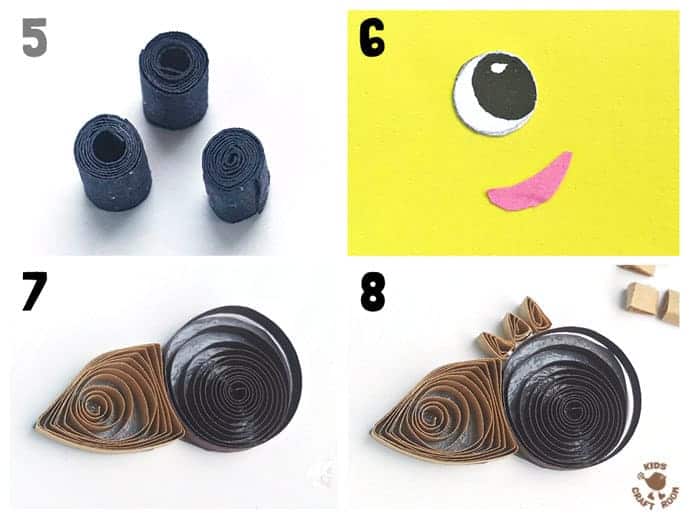
5 – Use 4 inch black quilling strips to make 3 tight coils and glue the ends. These will be the two hedgehog legs and the hedgehog’s nose.
6 – To make the hedgehog’s face cut out a small circle from white craft paper and a mouth pattern from pink craft paper. Use your black Sharpie pen to decorate the eye. (The sizes should be appropriate to the size of the hedgehog’s body.)
7 – On dark craft paper glue the big dark brown loose coil body and the light brown triangular head. Carefully cut off the excess craft paper tracing around the quilled parts.
8 – Glue the hedgehog spikes on to the top of the body.
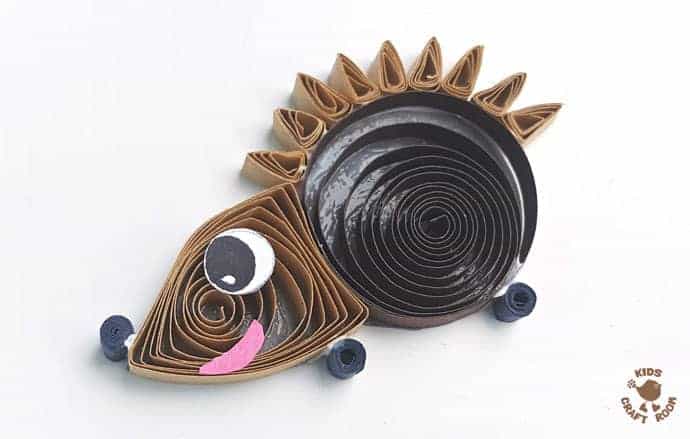
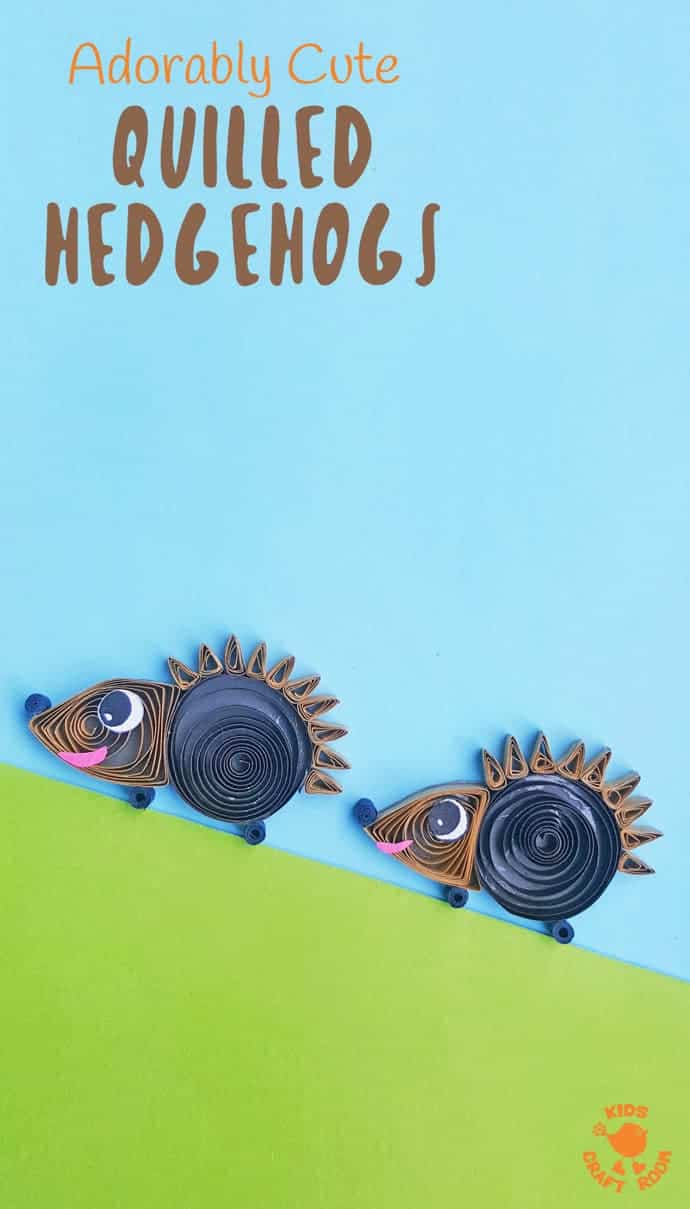
9 – Finish off your quilled paper hedgehog craft by glueing on its feet, nose, eye and mouth. Let it dry completely and then you can mount your quilled hedgehog onto card if you like. We used green card for grass and blue for some sky.
Looking for more Woodland Animal Crafts? Try these:
- Cute Stick Hedgehogs (Great for little kids.)
- Handprint Badger Puppets
- Rock Hedgehogs
- No Sew Burlap Owls
- Woodland Animal Wooden Eggs
More Fun Autumn Crafts For Kids:
