This Pretty Paper Cup Angel Craft is easy to make and looks darling! This is a lovely Christmas angel craft to hang from the tree, use as a Christmas tree topper or place on a shelf or mantle. Wherever you put them this easy angel craft is sure to delight young and old alike.
This is a lovely and simple angel craft for preschoolers and we love that they can be made in any ethnicity you like. It’s super easy to change the hair, face and glitter colours to suite your needs.
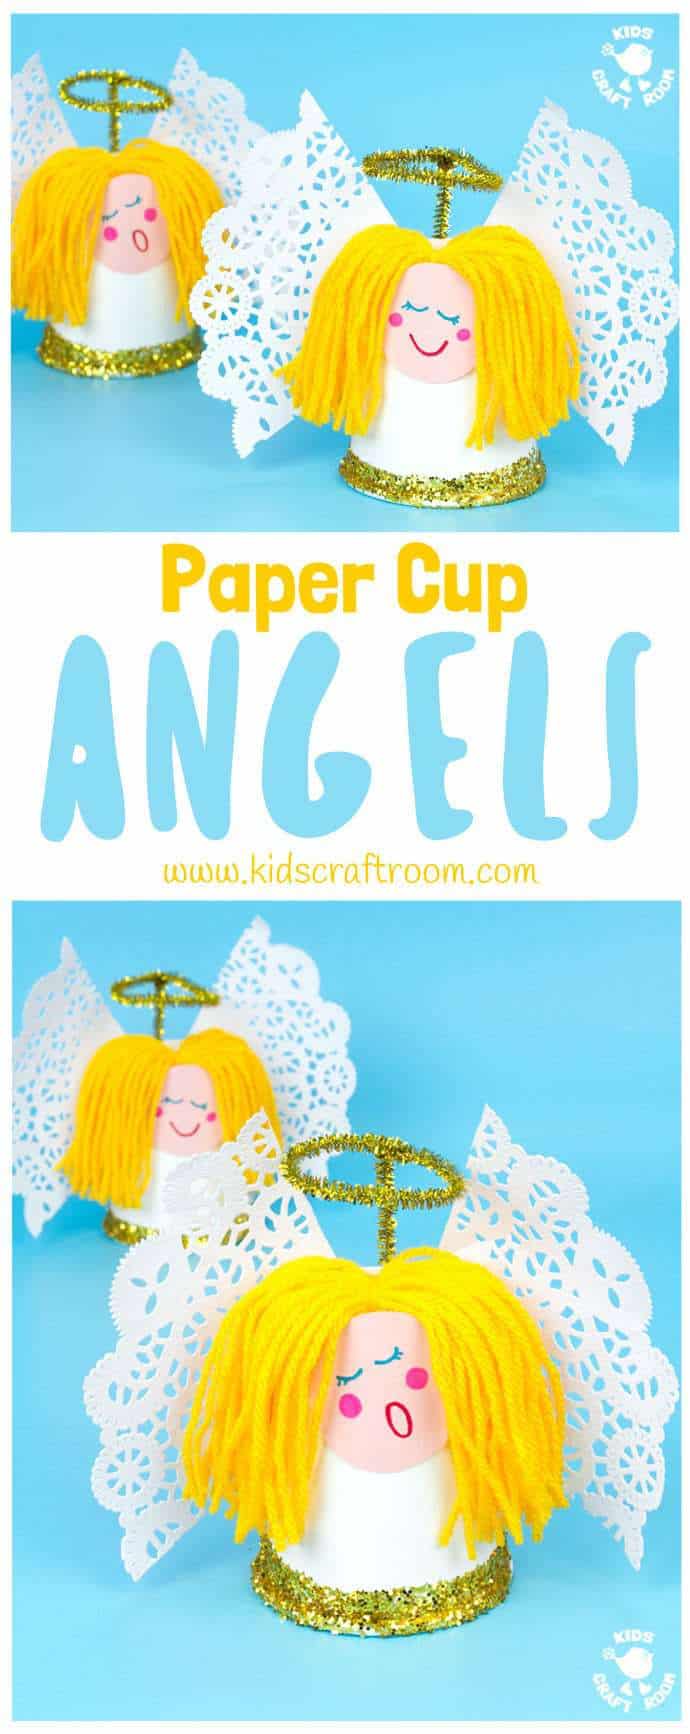
Paper Cup Angel Craft Tutorial
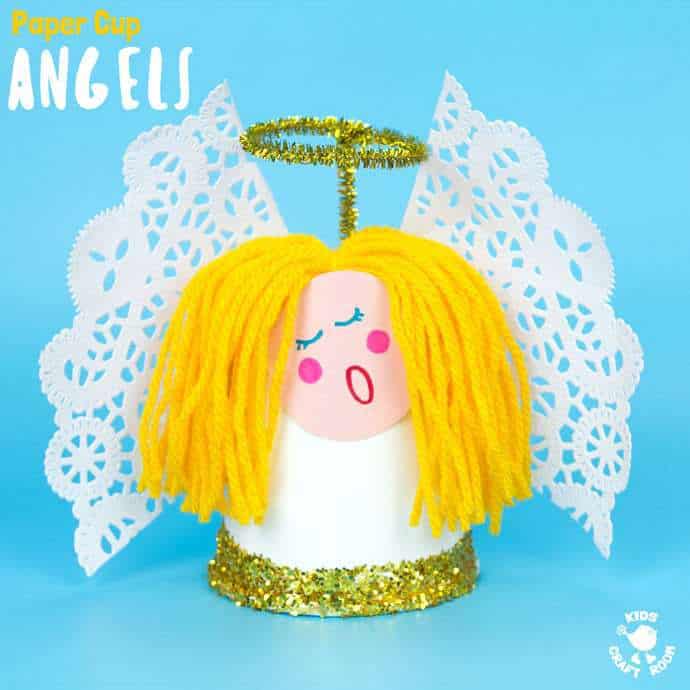
We love the doily wings on this Christmas angel craft, they look so pretty and of course keep the craft really simple to make. If you are after a more personal touch you could try our Handprint Wings Angel Craft instead and if you want very little angels for hanging on the tree try our Clothespin Angels. If you like nature crafts take a peek at these pinecone angels from Fireflies and Mud Pies
Paper Cup Angel Craft Supplies:
- White Paper Cups
- Yellow Yarn
- Paper Doilies
- Gold Glitter
- Skin Tone Paper
- Gold Pipe Cleaners
- Sharpie Pens
- Glue
- Sticky Tape
How To Make Christmas Angels From Paper Cups
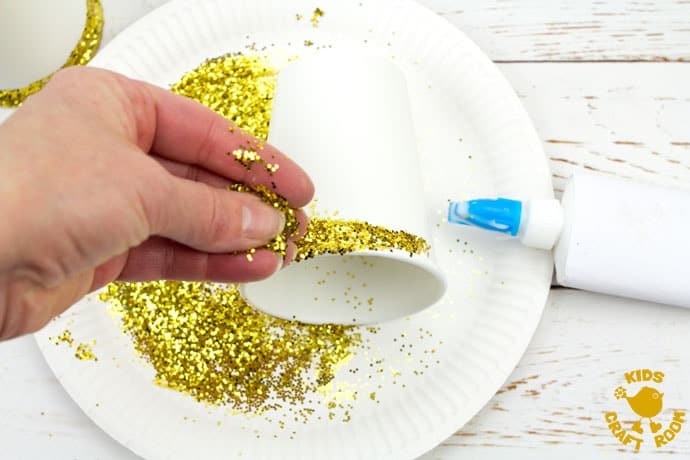
1 – To make the pretty glittery bottom of your angel’s dress draw a line of glue around the outside rim. Cover the glue with gold glitter and shake off the excess.
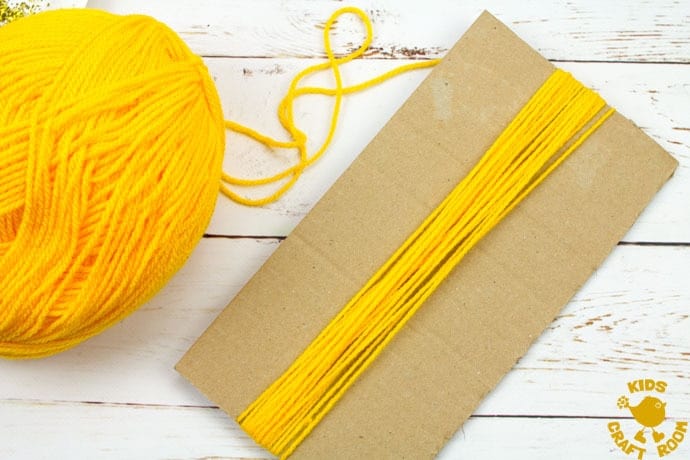
2 – To make the angel’s hair, choose your yarn colour and then make about 20 wraps around something like a book or a piece of cardboard like we did. The longer your object, the longer the hair. Don’t worry if it’s a little too long because you can always trim it.
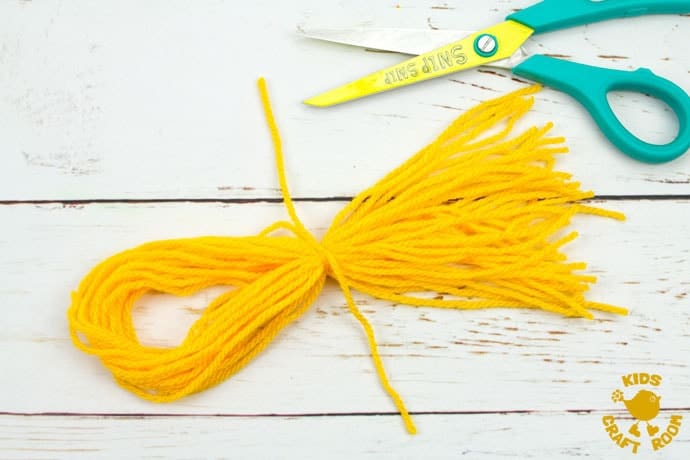
3 – Slide your loops of yarn off your cardboard and tie a short piece of yarn tightly around the middle.
4 – Cut through the loops at both ends.
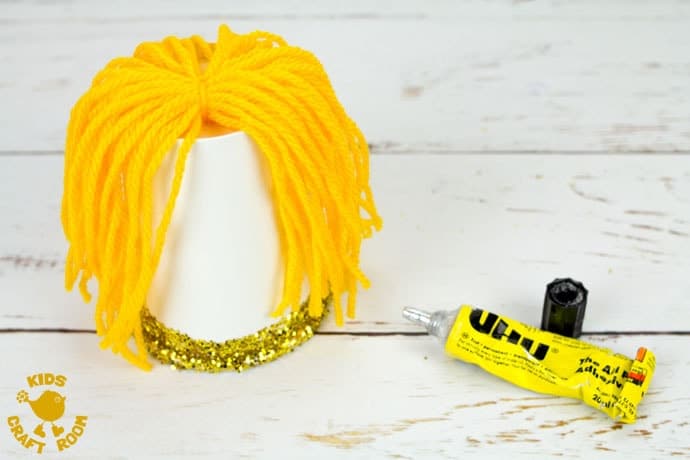
5 – Tip your paper cup up-side-down and glue the yarn hair onto the top.

6 – Take a 30cm / 12 inch gold pipe cleaner and twist it together to make a round halo. Fold the excess pipe cleaner down to make a stand and tape it to the back of the paper cup angel.
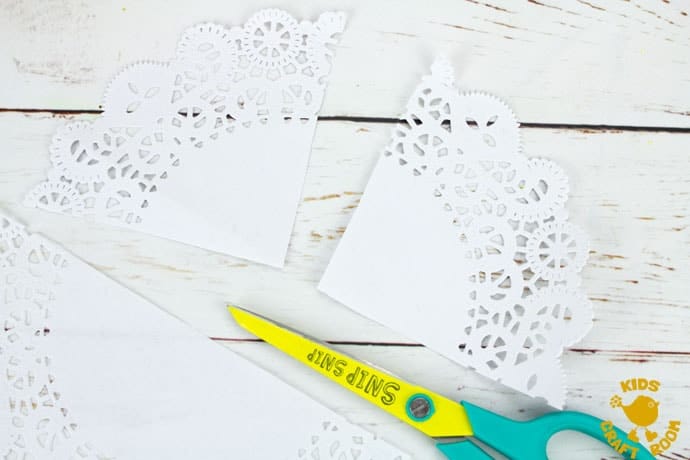
7 – Cut 2 quarters from your paper doily to make angel wings.
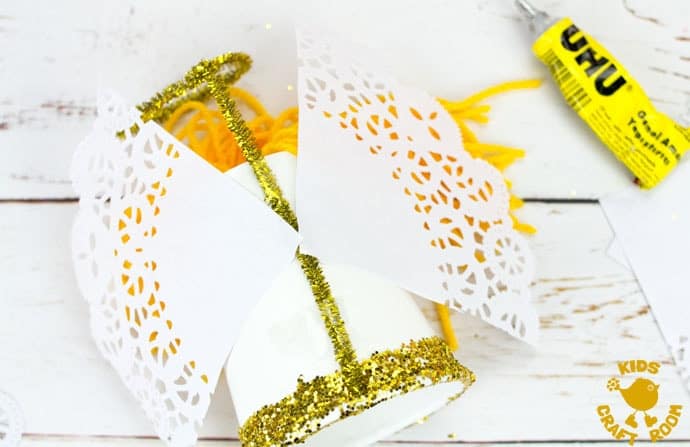
8 – Glue the angel wings onto the back of the paper cup.
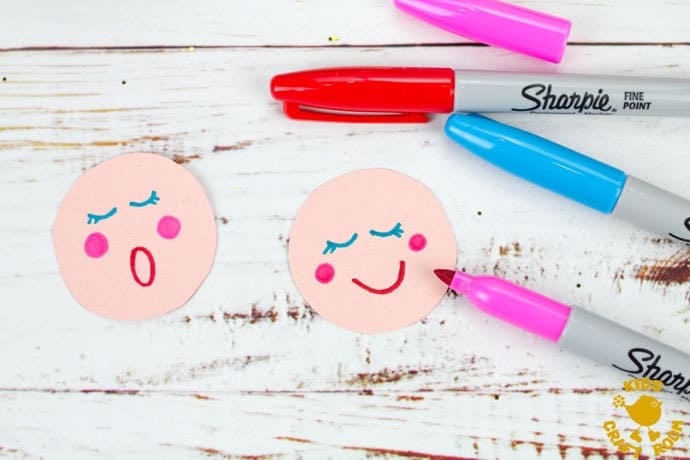
9 – Cut a circle from skin tone paper of your choice and use your marker pens to draw a face.
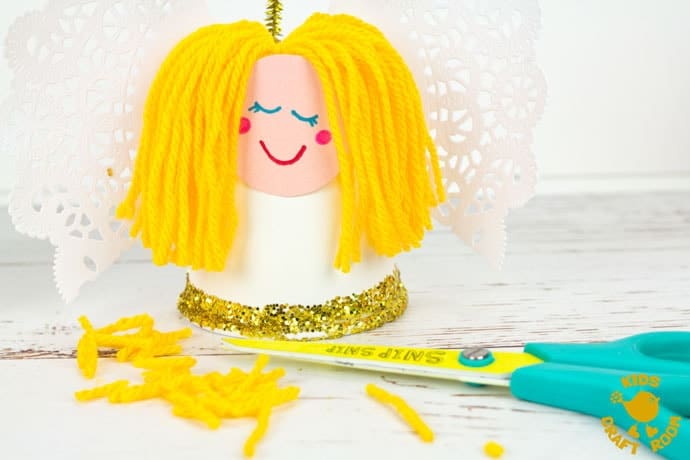
10 – Glue the face on and trim the hair to your desired length and your paper cup angel craft is ready to enjoy the festive season. Isn’t it a pretty Christmas craft for kids?
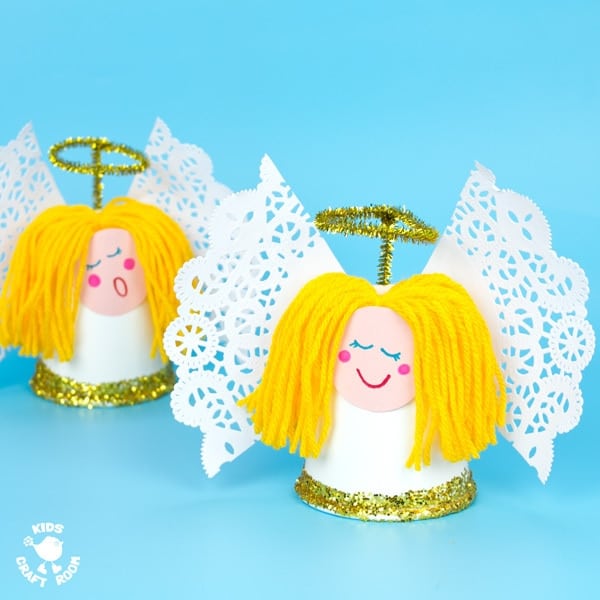
This simple angel craft stands up so is great for decorating shelves and mantlepieces, or you can attach a thread and hang the from the Christmas tree too.
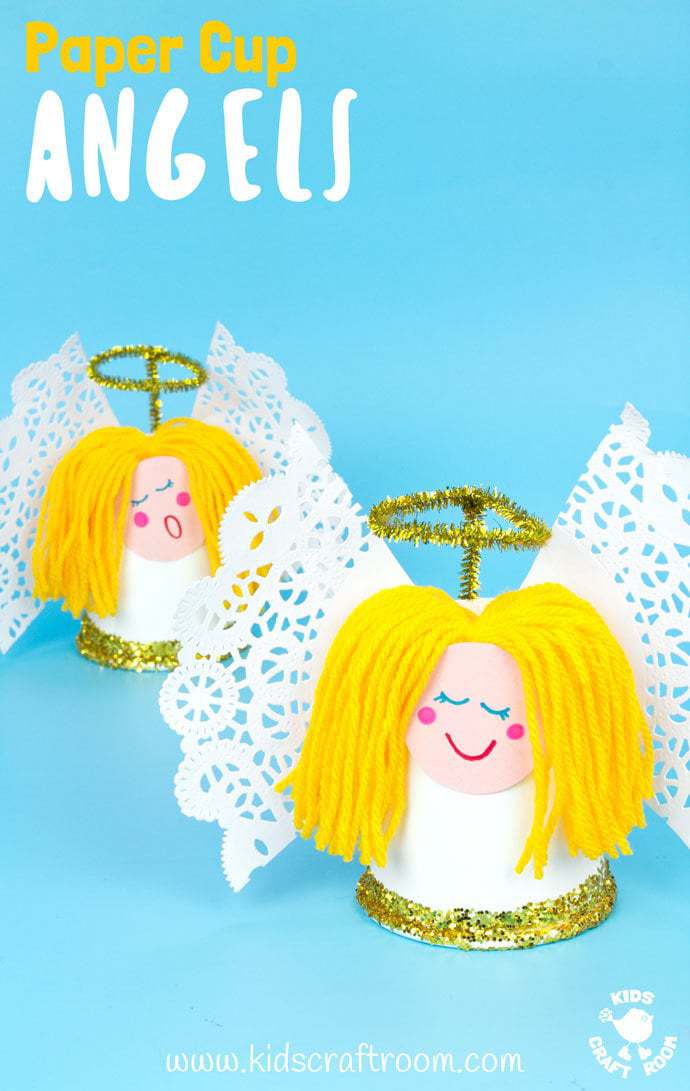
You can print the angel craft instructions below.
More Fun Christmas Crafts To Try:
Pretty Paper Cup Angel Craft

Materials
- White Paper Cups
- Yellow Yarn
- Paper Doilies
- Gold Glitter
- Skin Tone Paper
- Gold Pipe Cleaners
- Sharpie Pens
- Glue
- Sticky Tape
Instructions
- To make the pretty glittery bottom of your angel’s dress draw a line of glue around the outside rim. Cover the glue with glitter and shake off the excess.
- To make the angel’s hair, choose your yarn colour and then make about 20 wraps around something like a book or a piece of cardboard. The longer your object, the longer the hair. Don’t worry if it’s a little too long because you can always trim it.
- Slide your loops of yarn off your cardboard and tie a short piece of yarn tightly around the middle.
- Cut through the yarn loops at both ends.
- Tip your paper cup up-side-down and glue the yarn hair onto the top.
- Take a 30cm / 12 inch pipe cleaner and twist it together to make a round halo. Fold the excess pipe cleaner down to make a stand and tape it to the back of the paper cup angel.
- Cut 2 quarters from your paper doily to make angel wings.
- Glue the angel wings onto the back of the paper cup.
- Cut a circle from skin tone paper of your choice and use your marker pens to draw a face.
- Glue the face on and trim the hair to your desired length.
