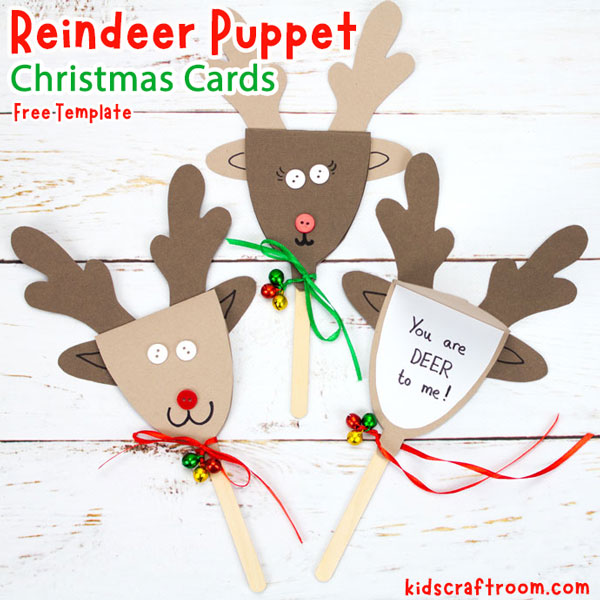
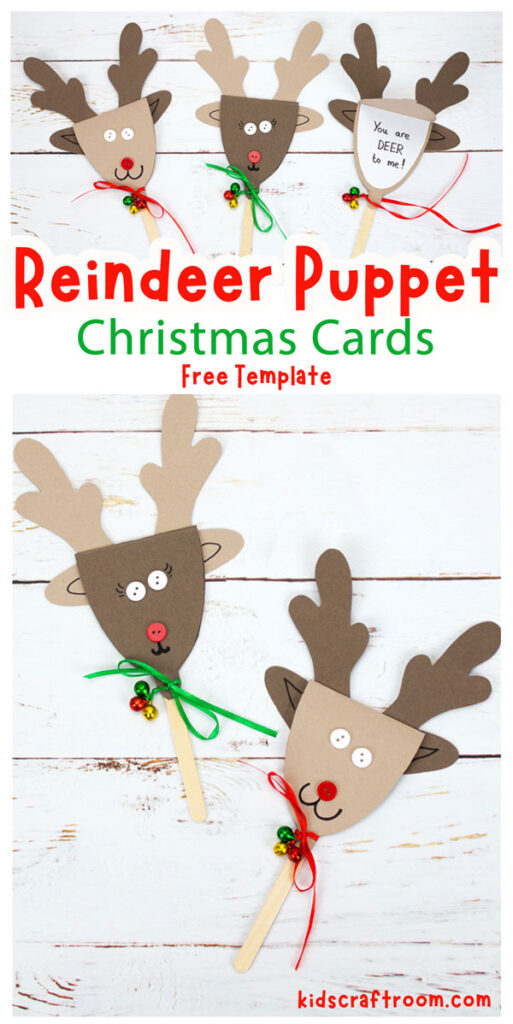
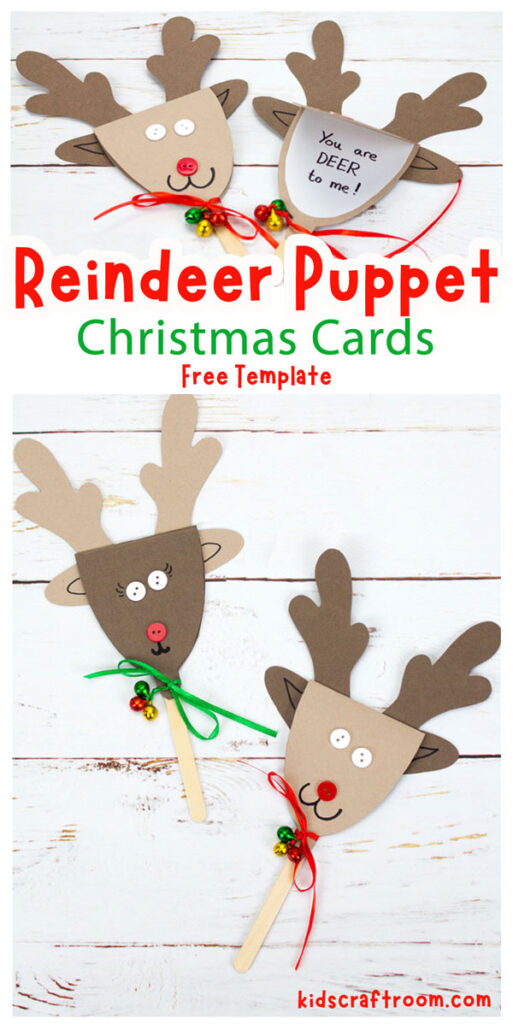

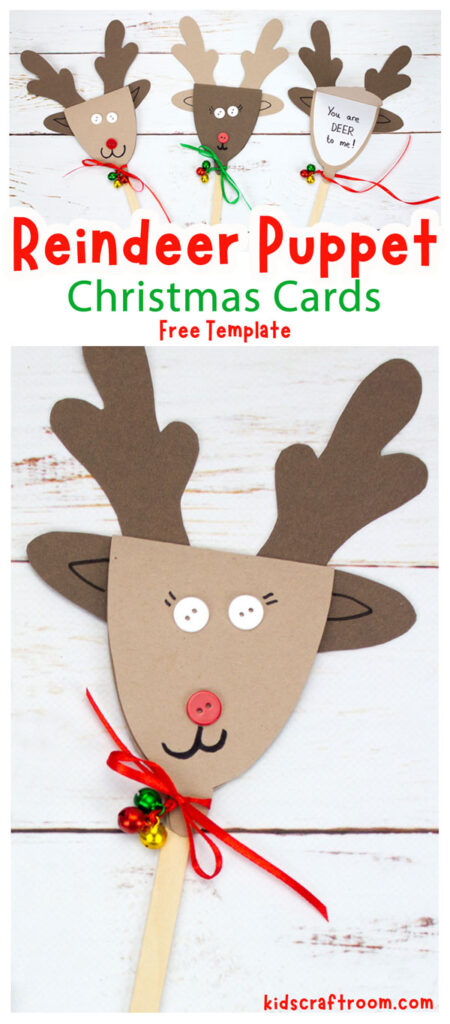
Get ready for the cutest Christmas craft ever! Is it a Christmas card? Is it a Christmas puppet? Well it’s BOTH! We’ve teamed up with Baker Ross to bring you the most adorable Reindeer Puppet Greeting Cards.
If you’re as crazy about interactive crafts as we are, then you and the kids are going to have an awesome time making, playing and giving away, a whole herd of these super-cute Reindeer Christmas Cards!
And guess what? Making them is a piece of cake with the FREE PRINTABLE TEMPLATE.
You won’t believe how much fun it is for kids (and adults too!) to make and play with these adorable Rudolf Puppets.
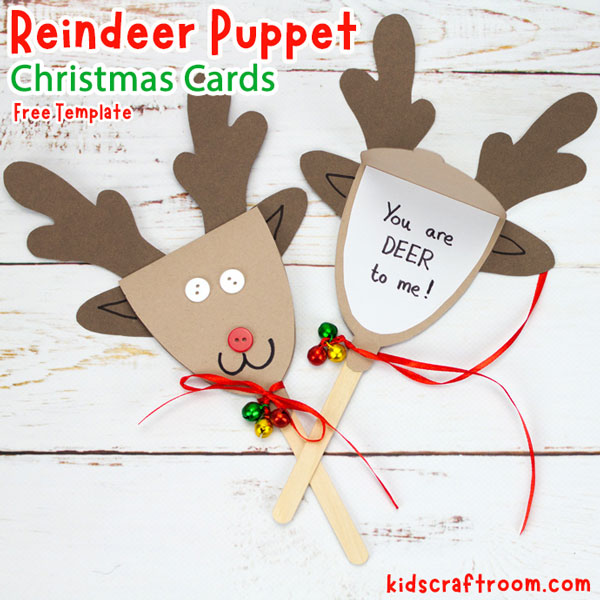
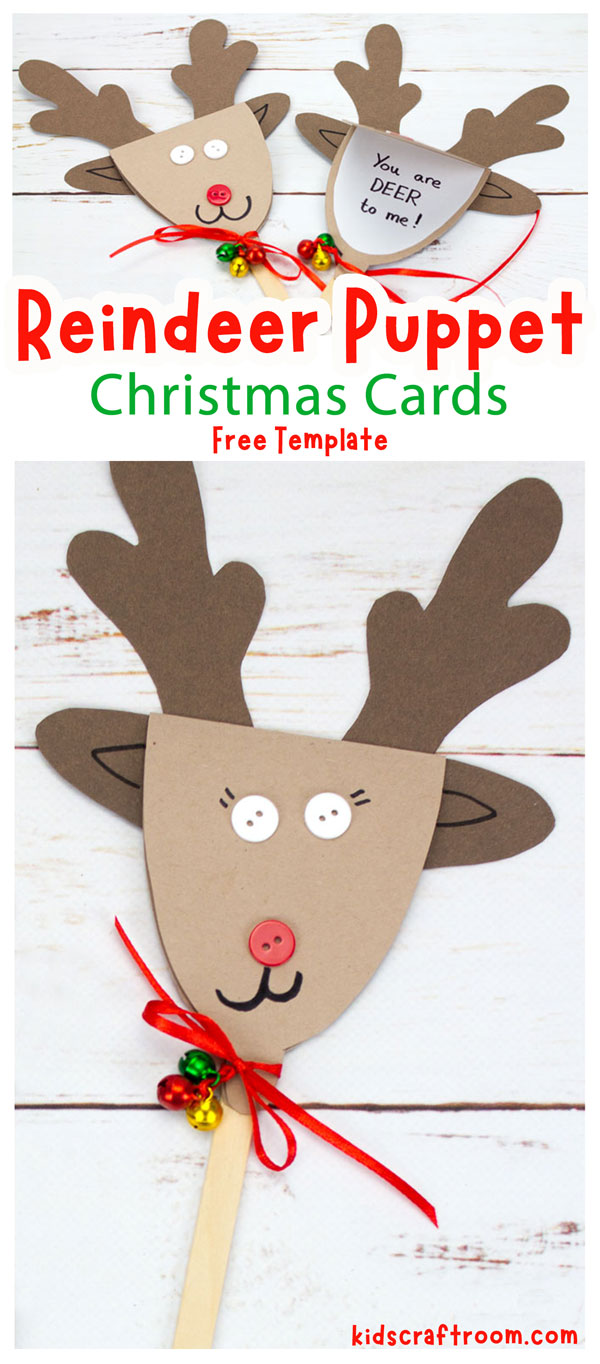
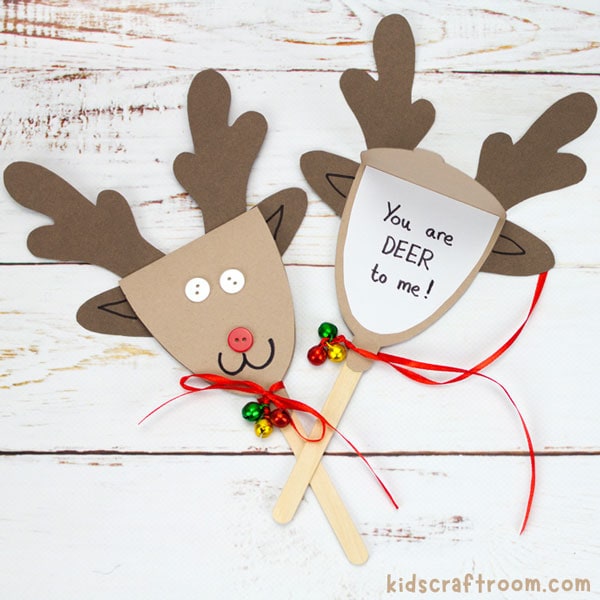
Not only can kids act out stories with them, but they also double up to be surprise greeting cards. Simply undo the ribbon and the reindeer’s face opens up to reveal the message you’ve written inside!
So they’re super-fun to play with and perfect for sharing some festive cheer to friends and family too.
Greeting Card Reindeer Puppets Tutorial
Don’t you just love these cute reindeer puppets? They are perfect for playing with and sharing.
Your friends and family will be totally smitten with their cute faces and jingle bells and simply delighted to undo the ribbon and read your message! Just gorgeous!
Scroll down to grab your free printable reindeer card template and check out the step-by-step instructions. Let’s get crafty and have some fun!
Reindeer Greeting Card Puppet Supplies
You don’t need much to make these gorgeous reindeer puppets and we got all our supplies from the wonderful craft collection at Baker Ross.
Scroll on down to the bottom of this post for your free printable reindeer template.
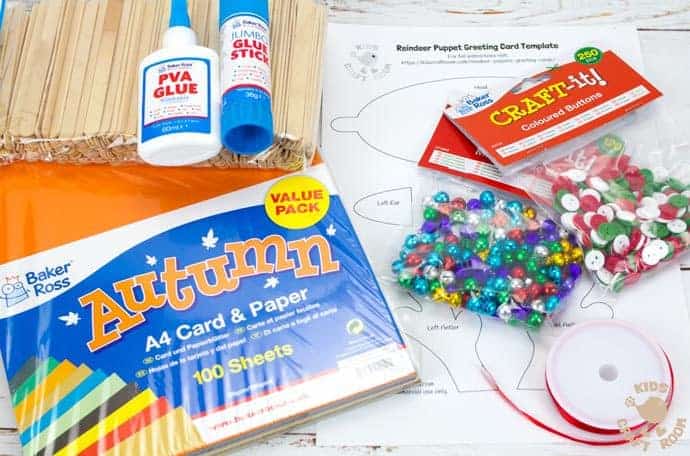
- Free Printable Template (Get it at the bottom of this post.)
- 2 Shades Brown Card
- White Paper
- Jingle Bells
- Red and White Buttons
- Red or Green Ribbon
- Plain Craft Sticks
- Glue Stick
- PVA Glue
- Marker Pen
How To Make Reindeer Puppet Greeting Cards
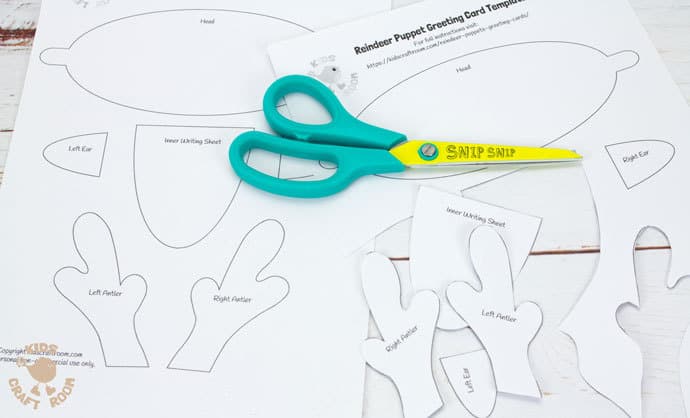
1 – It’s super easy to make these cute reindeer puppets using the free printable template. Grab yours at the end of this post, then print it and cut out the pieces.
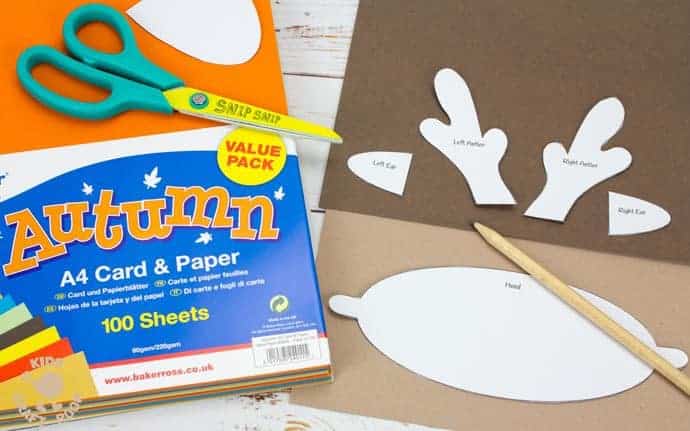
2 – Lay your template pieces onto your brown card. Trace around them and cut them out.
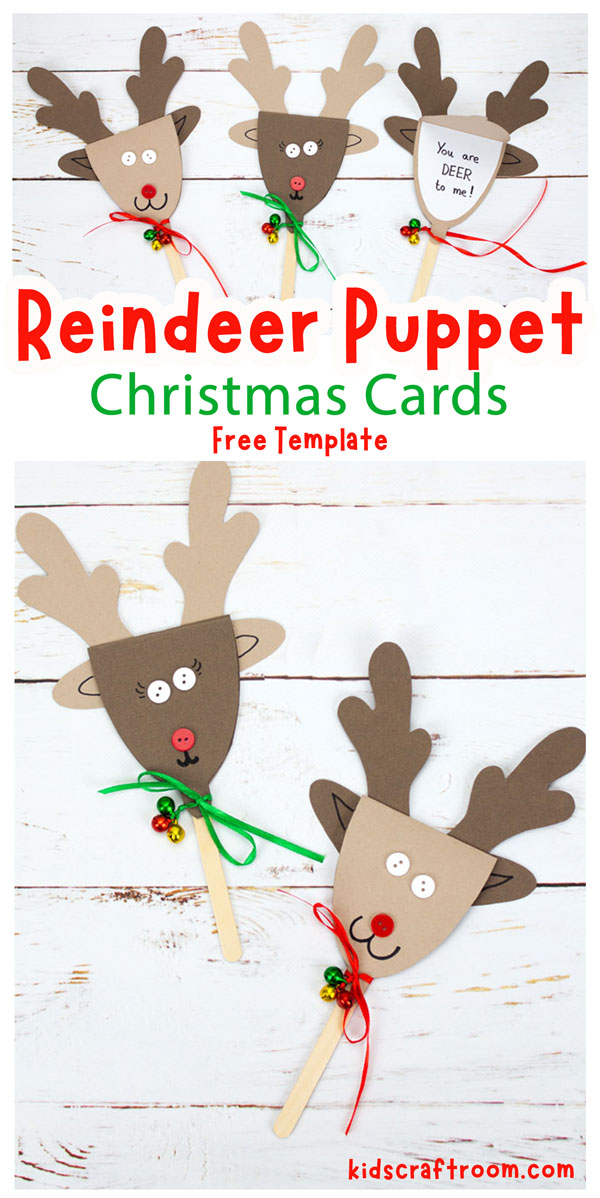
We chose 2 different shades from Baker Ross’ bumper Autumn Card & Paper pack. The quality is excellent so we didn’t need to worry about rips or tears and we still have loads left over for more crafty goodness.
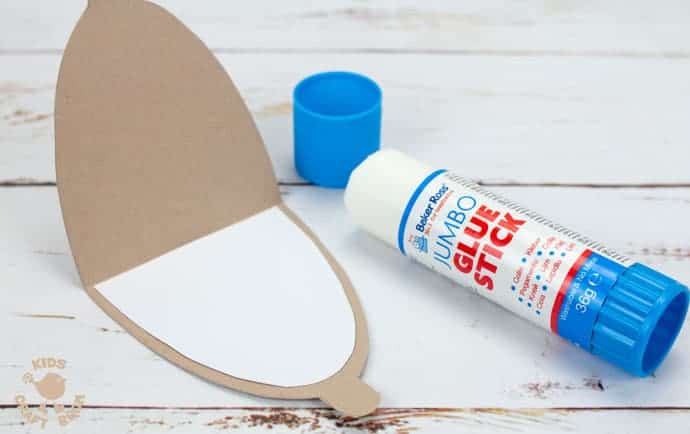
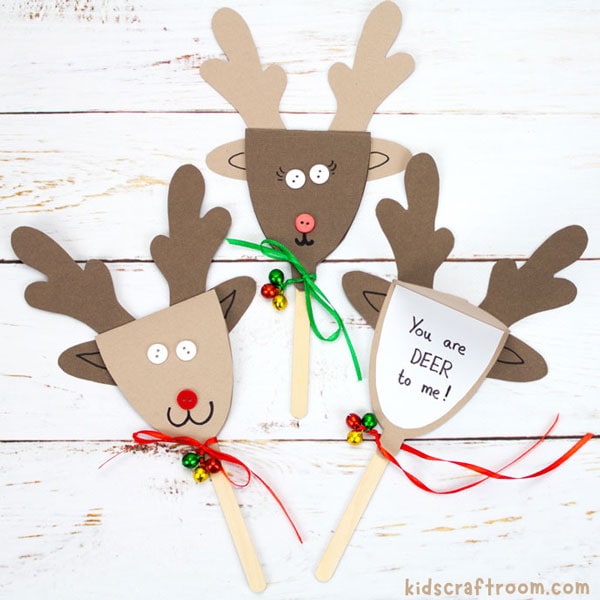
3 – Fold your Reindeer Puppet’s head piece in half and glue in the inner writing sheet. (We chose white paper but you can use any colour you like.)
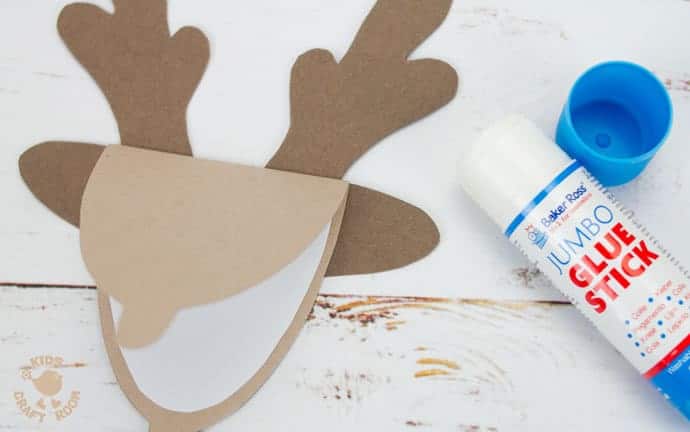
4 – Next, glue your reindeer’s antlers and ears onto the back of the head.
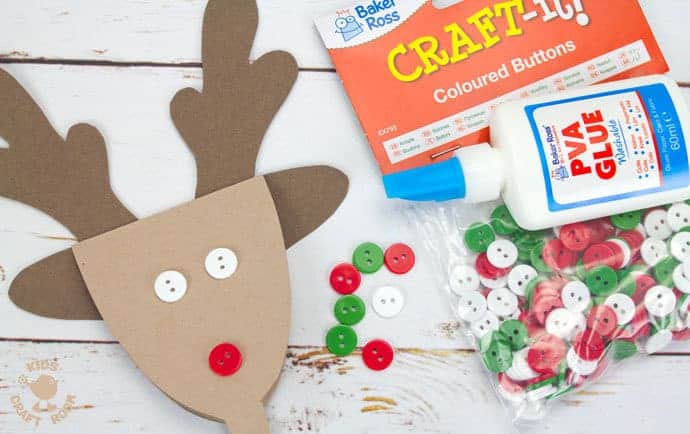
5 – It wouldn’t be a Rudolf puppet without a red nose so we used some gorgeous little Coloured Buttons from Baker Ross. The red buttons were perfect for the reindeer’s nose and the white buttons made cute eyes. I can never resist buttons can you?
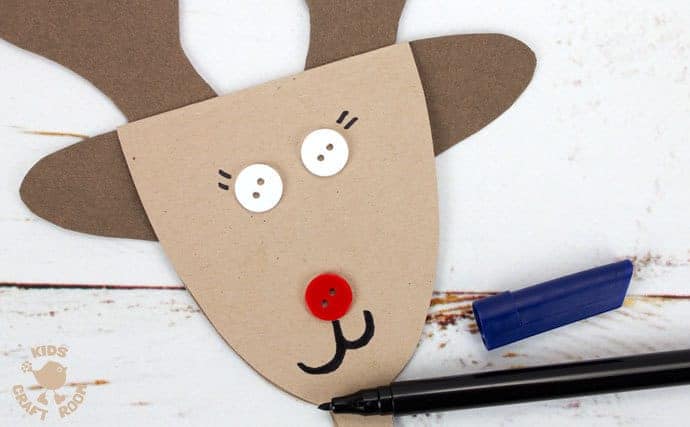
6 – Rudolf won’t be able to chat to Santa without a mouth, so we drew one on with marker pen. You can add eye lashes and inner ears too if you fancy.
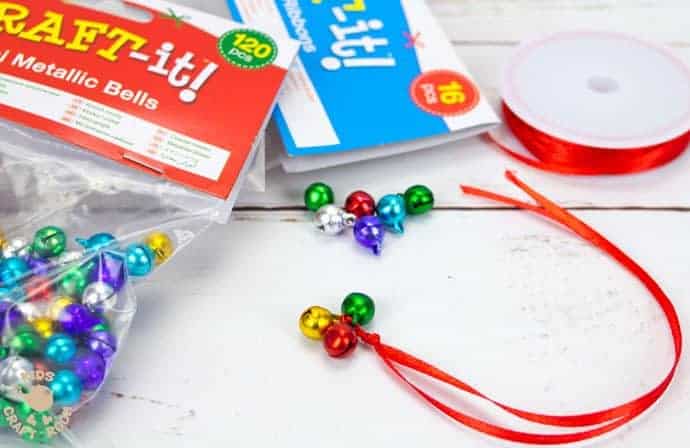
7 – I fell in love with Baker Ross’ colourful Metallic Bells as soon as I saw them and knew they’d be just perfect for these reindeer puppets. We threaded 3 onto some thin satin ribbon approximately 45cm long, folded it in half and tied it in a knot to hold the bells at the half way mark.
The ribbon and bells makes a gorgeous jingly, jangly embellishment to your Christmas puppets and it cleverly closes the greeting card with a pretty little bow too. Aren’t they just darling?
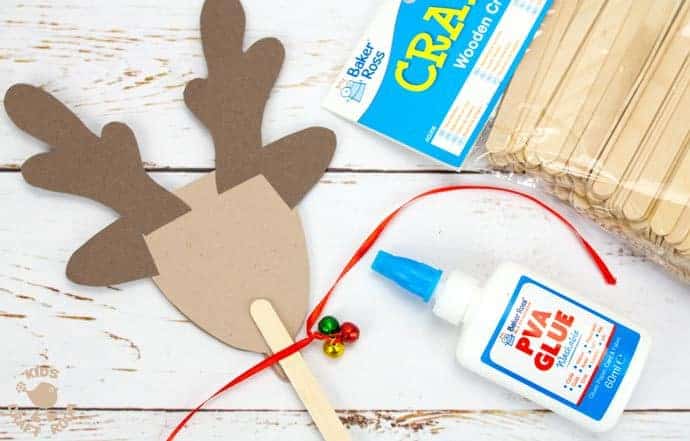
8 – Glue a popsicle stick onto the back of the reindeer and lay your ribbon over it at the reindeer’s neck. Position the ribbon so that the metallic bells are just off to one side of the popsicle stick. This means they will hang prettily at the front of the reindeer puppet when you are finished.

9 – Before you close your reindeer puppet remember to write your special message inside. We couldn’t resist a “You are Deer to me”!
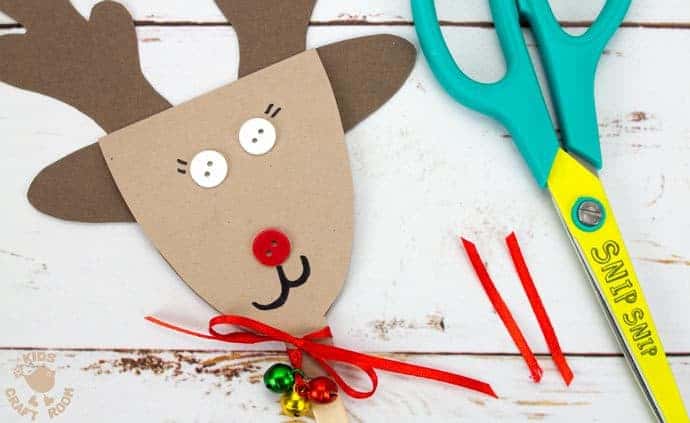
10 – Finish off this simple reindeer craft by shutting the reindeer greeting card and securing it by tying the ribbon in a bow at the front. If your ribbons are a bit long snip off the excess.

Now you’ve got a gorgeous greeting card and Christmas puppet in one, what fun!
We think these reindeer are a super cute way to spread some Christmas love and cheer don’t you?
You can print the instructions below too.
More Fun Christmas Crafts To Try:

Reindeer Puppet Christmas Cards
Is it a puppet? Is it a Christmas card? It's both! Kids will love making, playing and sharing these fun reindeer puppet cards!
Materials
- Free Printable Template
- 2 Shades Brown Card
- White Paper
- Jingle Bells
- Red and White Buttons
- Red or Green Ribbon
- Plain Craft Sticks
- Glue Stick
- PVA Glue
- Marker Pen
Instructions
- Print the free template and cut out the pieces.
- Trace around the pieces onto brown card. We used two different shades. Trace the Inner Writing sheet onto white card.
- Fold your Reindeer Puppet’s head piece in half and glue in the Inner Writing Sheet.
- Glue your reindeer’s antlers and ears onto the back of the head.
- Now make the reindeers face using buttons for the eyes and nose and drawing on a smile.
- Thread 3 bells onto some thin ribbon approximately 45cm long. Fold it in half and tie it in a knot to hold the bells at the half way mark.
- Glue a popsicle stick onto the back of the reindeer and lay your ribbon over it at the reindeer’s neck. Position the ribbon so that the metallic bells are just off to one side of the popsicle stick. This means they will hang prettily at the front of the reindeer puppet when you are finished.
- Write your message inside and tie it shut with the ribbon.