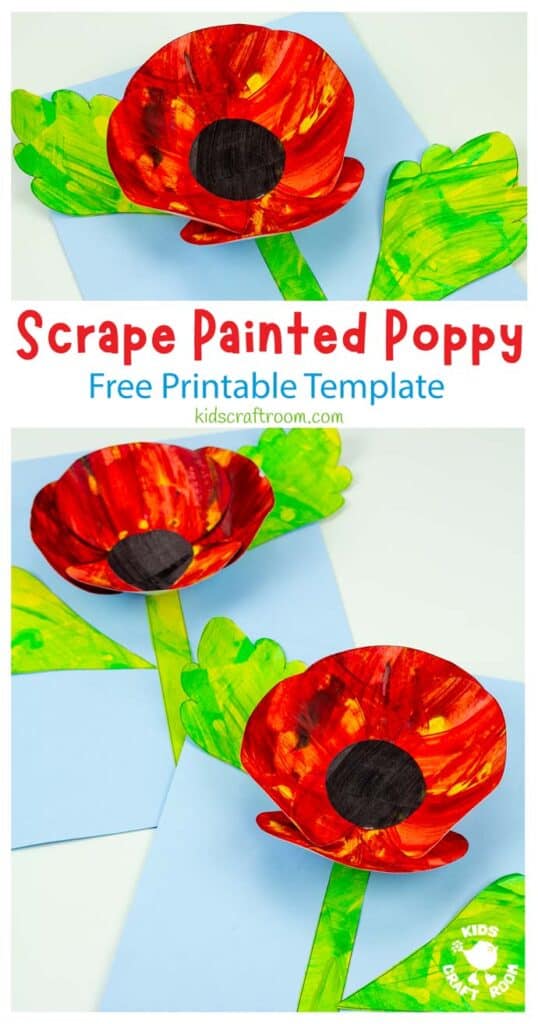

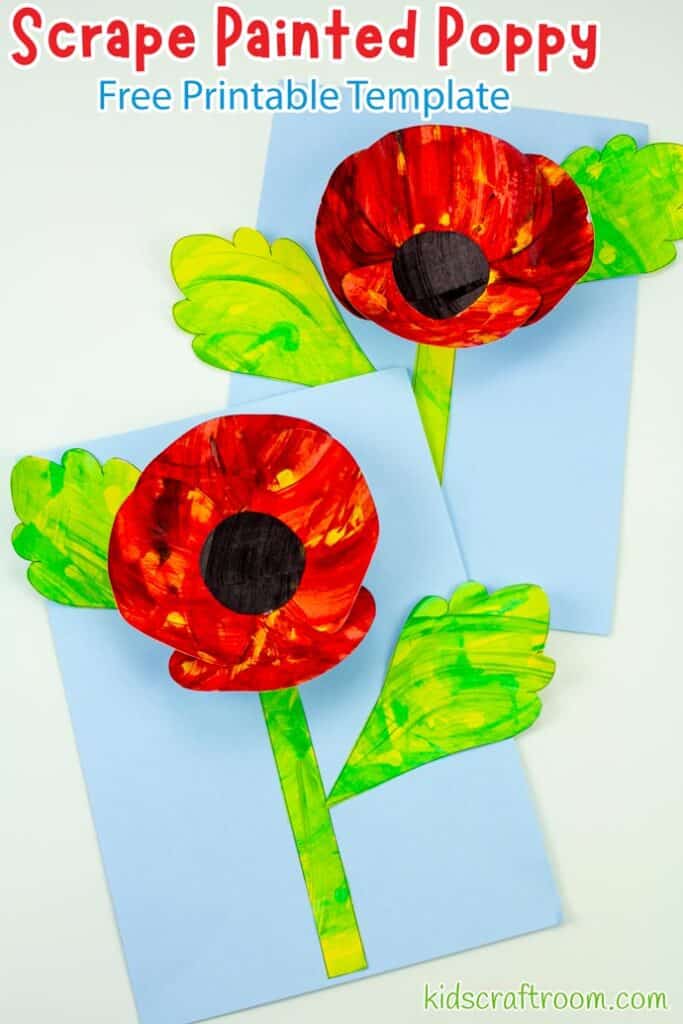
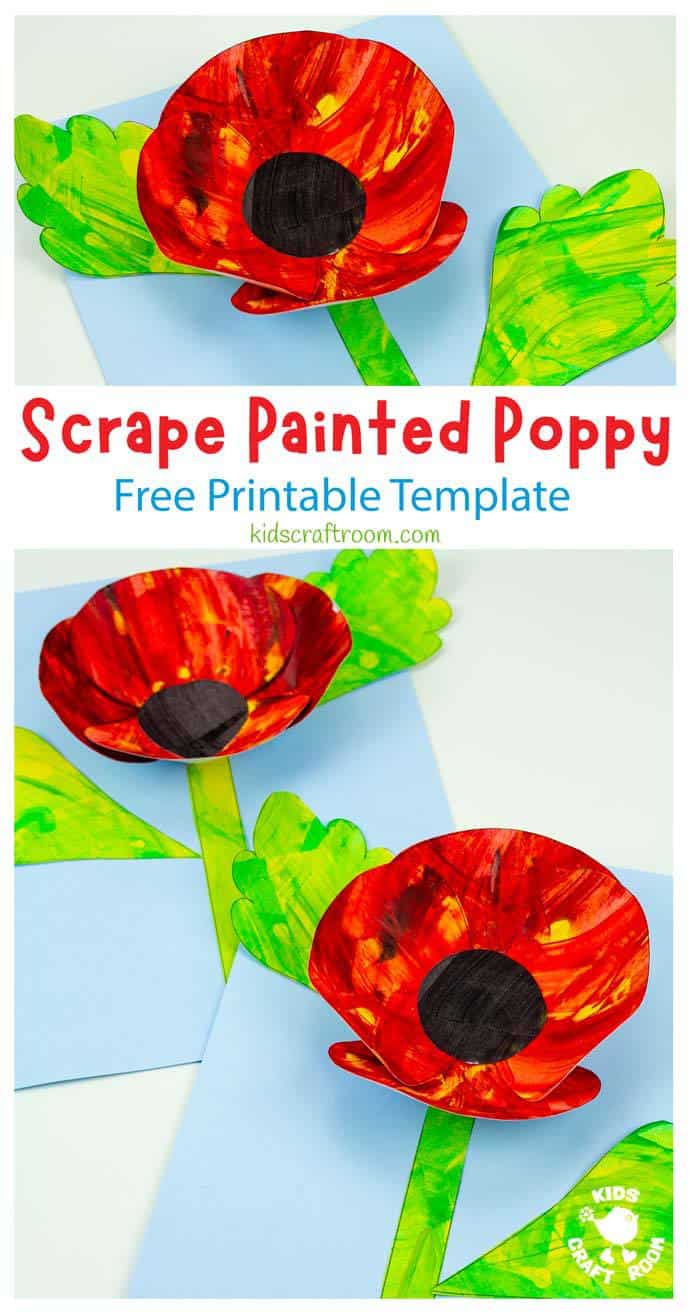
Today we’ve been making this really pretty SCRAPE PAINTED POPPY CRAFT to share with you. This paper poppy craft is really easy to make with the FREE PRINTABLE POPPY CRAFT TEMPLATE.
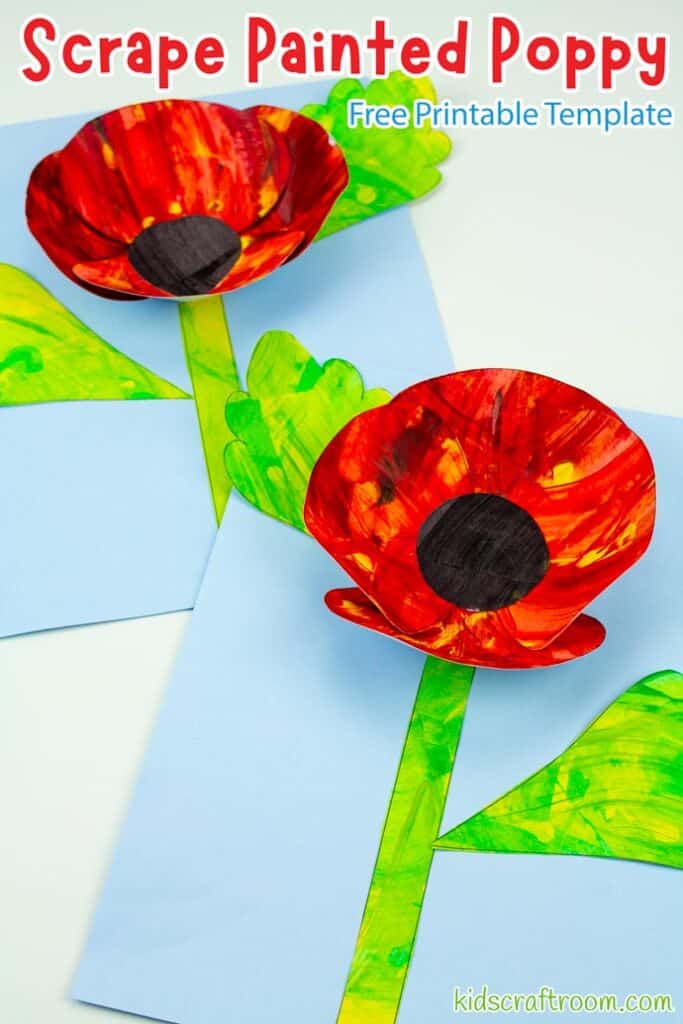
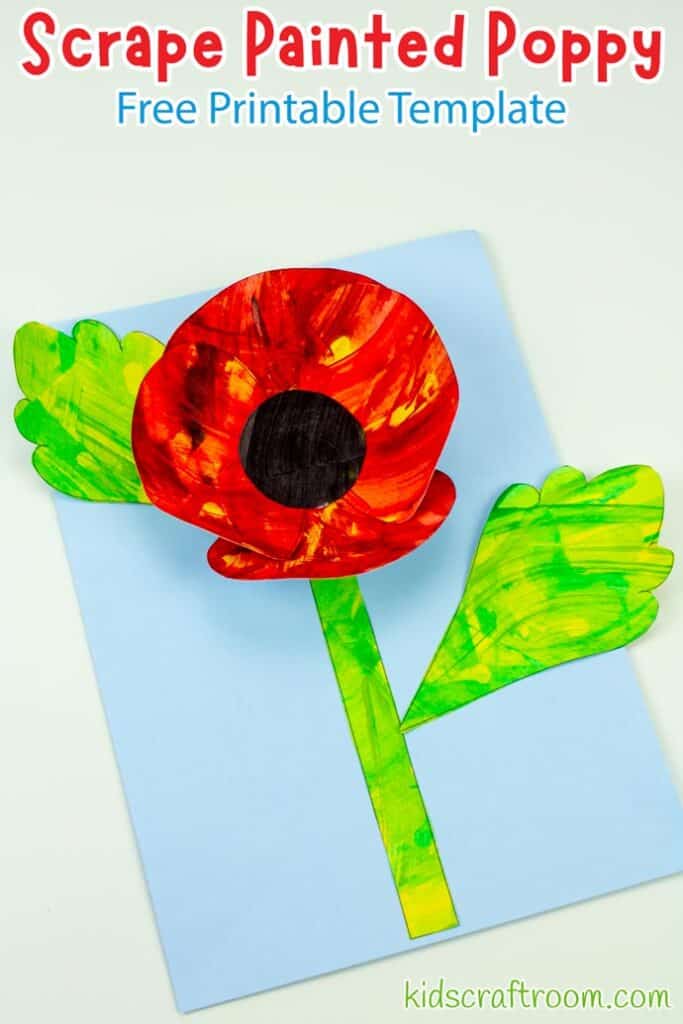
The poppy flowers are wonderfully 3D and the scrape painting technique creates really beautiful colour effects.
Of course, the poppy has taken on much significance around the world as it’s used, in November, as a symbol for Remembrance Day or Anzac Day if you’re in Australia or New Zealand.
I’m sure you’ll agree that this is a beautiful Memorial Day poppy craft to commemorate those that served or died in wars.
I just love poppies; they are so fleeting, delicate and beautiful! Here in the UK, in the summer months, our wheat fields often get swathes of beautiful poppy flowers around their edges and it’s one of my favourite things to see.
I think as well as being a lovely Remembrance Day poppy craft this is also lovely as a summer meadow flower craft for kids to enjoy too.

One of the things my kids and I like about poppies is that they close at night and open in the morning! It’s so lovely to watch them change.
We also love that there are so many different varieties. We’ve got little, delicate California and wild poppies growing in our garden but my mum has some enormous ornamental poppies that she grows in hers!
If your kids are interested in poppy facts then take a peek at Britannica Kids Poppy Page and BBC Natural Histories Poppy Page.
Scrape Painted Red Poppy Craft Tutorial
Veterans Day Poppy Craft Supplies:
- Free Printable Poppy Craft Template (Get yours at the bottom of this post.)
- Paints
- Scrap Cardboard
- Printer Paper or Cardstock
- Scissors
- Glue
3D Poppy Flower Craft For Preschoolers Or Big Kids
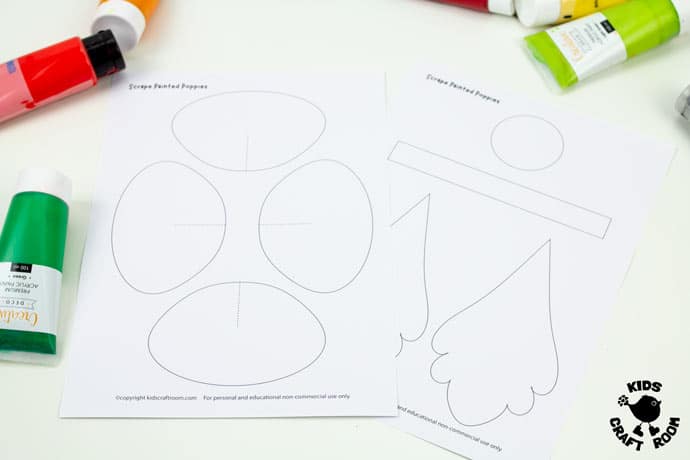
1 – Download and print the free poppy craft template. Get yours at the bottom of this post.
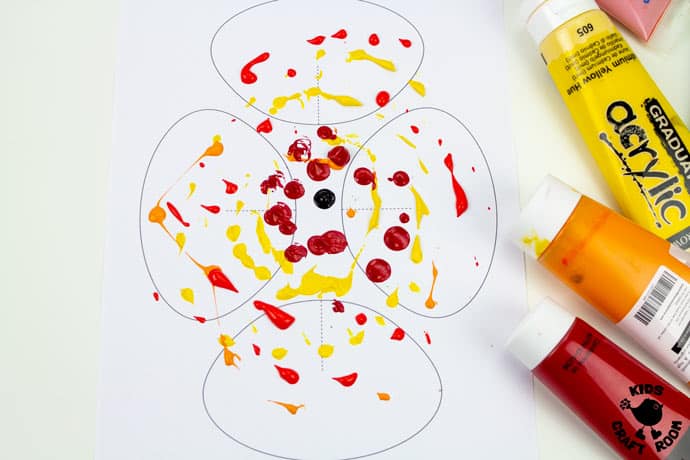
2 – Dab spots of paint onto your sheet of petal. We started with a small spot of black in the middle and then added drops of yellow, orange and two shades of red.

3 – Cut a piece of old cardboard from a box to make a scraper. Drag it across the paint to smear it over the paper. We started in the middle worked outwards.
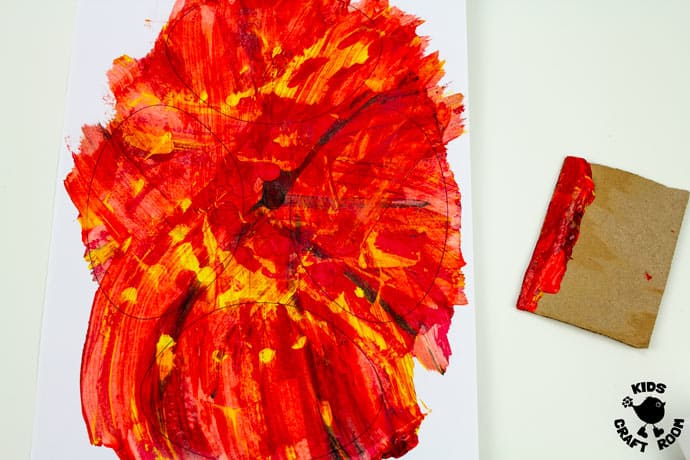
4 – Keep going until all of your poppy petals are covered in paint and then leave it to dry.
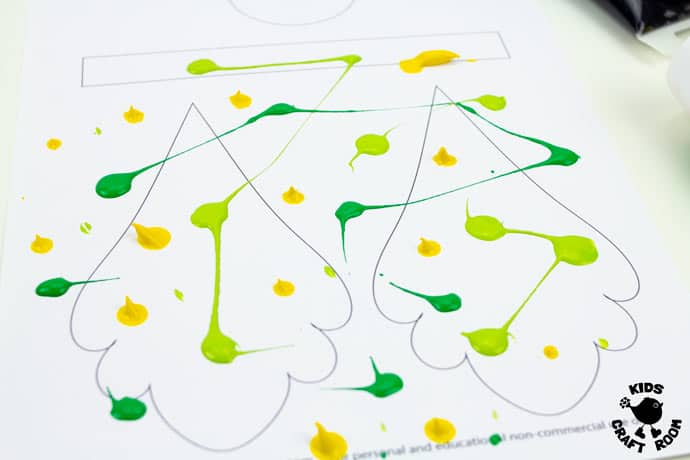
5 – Repeat the process for the poppy leaves, stem and round poppy centre. We used two different greens for the leaves and black for the middle of the poppy.
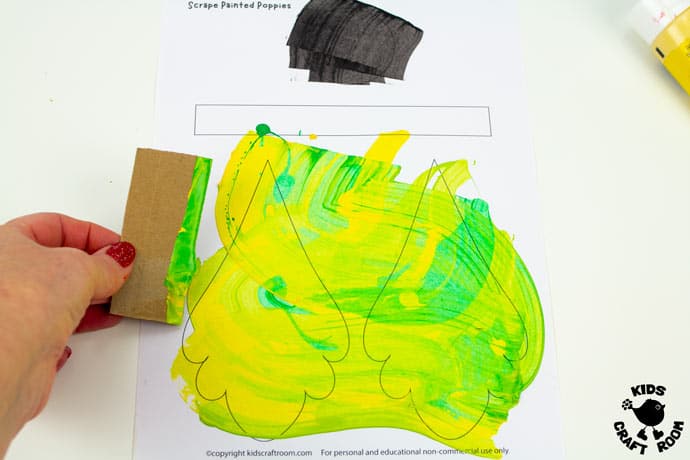
6 – Cut a new piece of cardboard to make a scraper and cover the poppy stem and leaves. Then repeat the process for the black poppy centre.
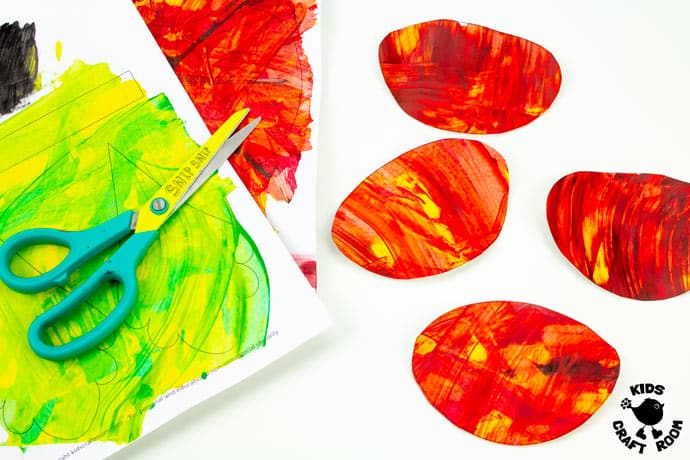
7 – When all of your paint is dry, cut out the flower parts.
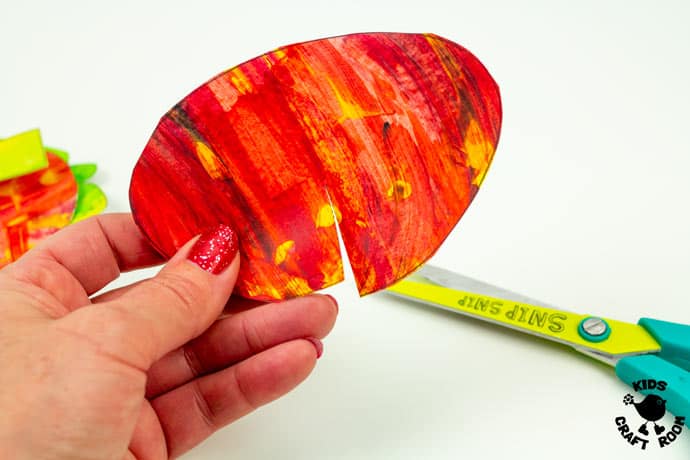
8 – To make your poppy craft 3D, cut along the dotted line at the bottom of each petal.
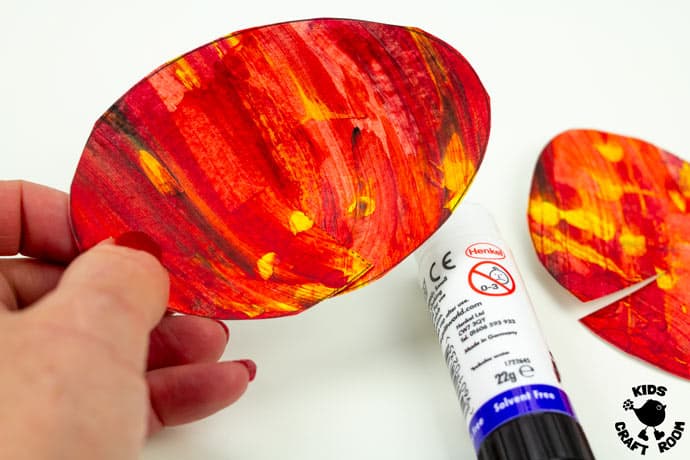
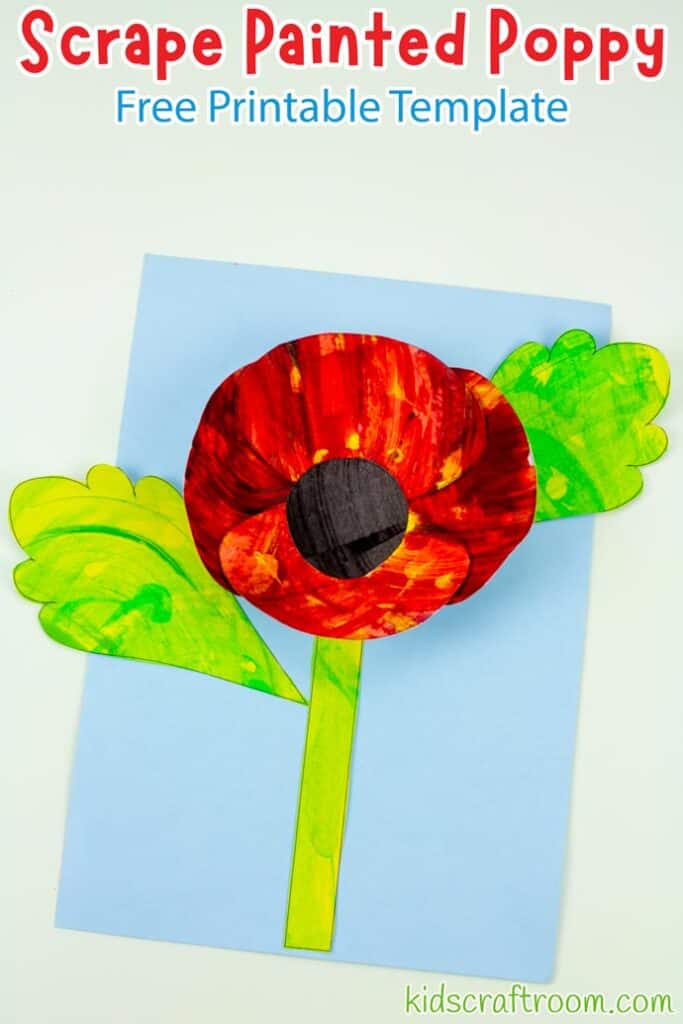
9 – Then slightly overlap the two cut edges and glue them together. It will make each petal into a sort of bowl.
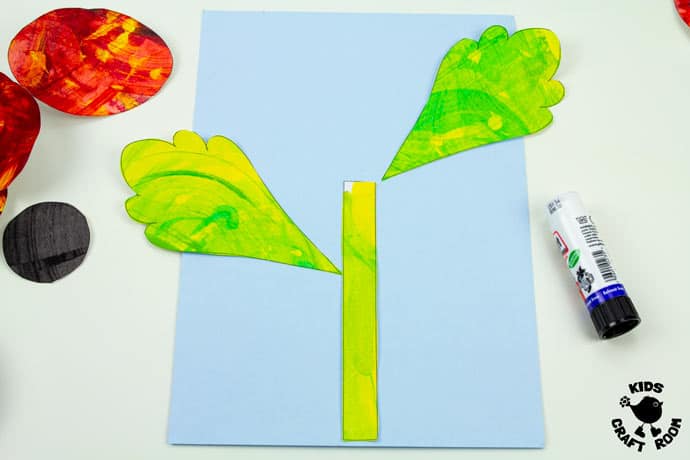
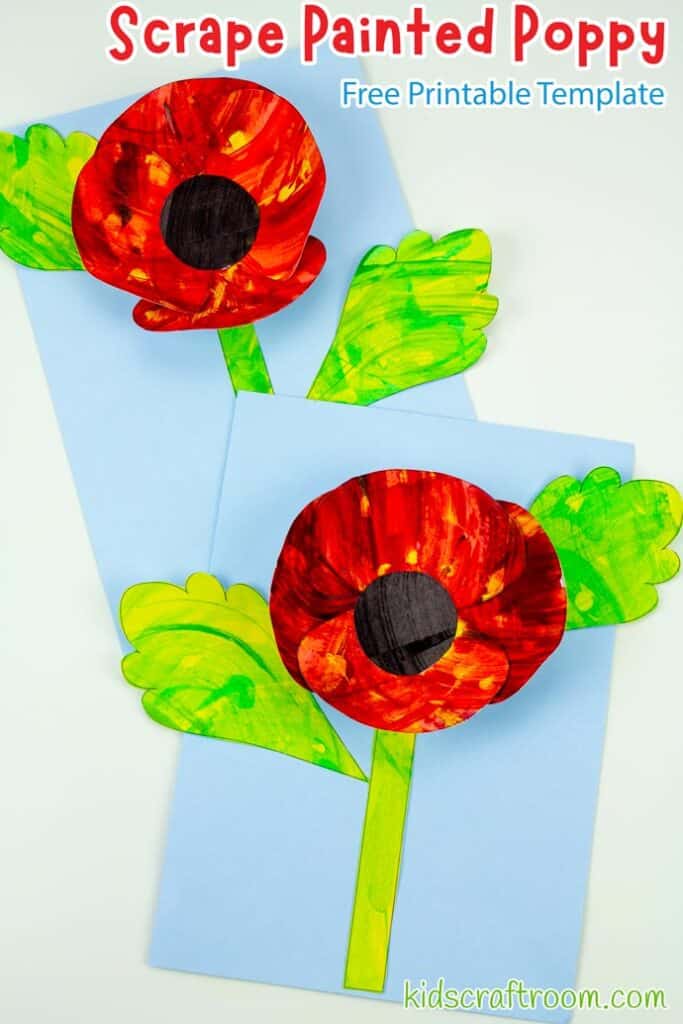
10 – Glue the poppy stem and leaves onto a sheet of backing paper or cardstock. we chose a pretty pastel blue colour.
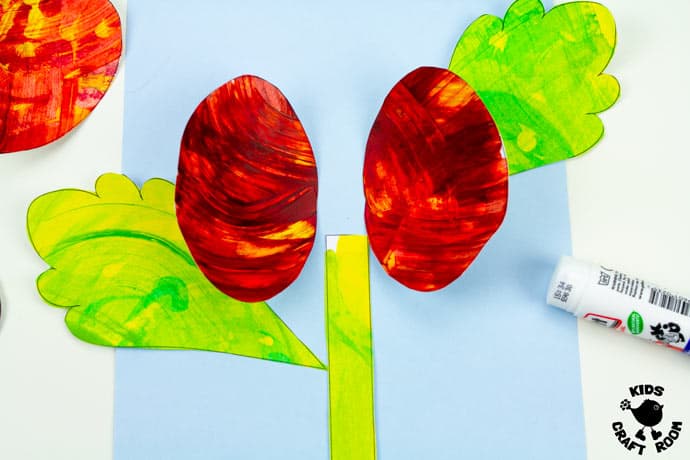
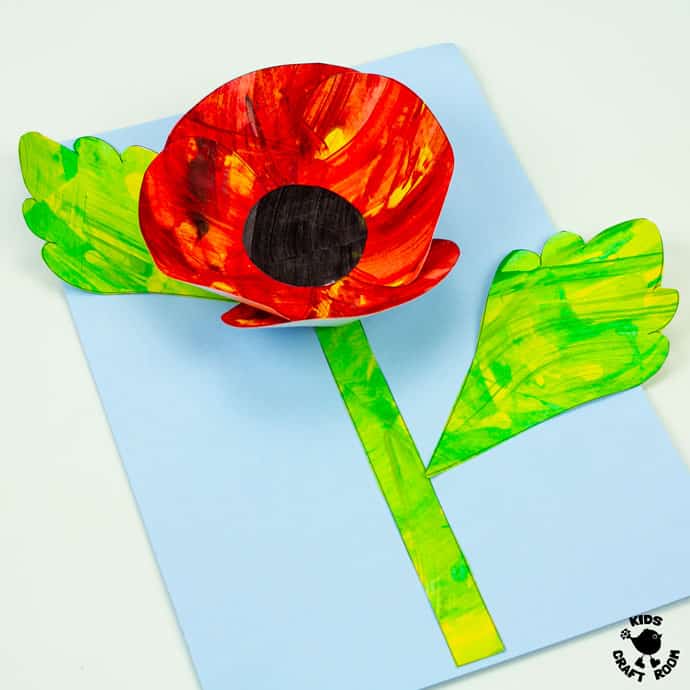
11 – Glue two poppy petals opposite each other at the top of the flower stalk. Leave about a finger’s gap between them.
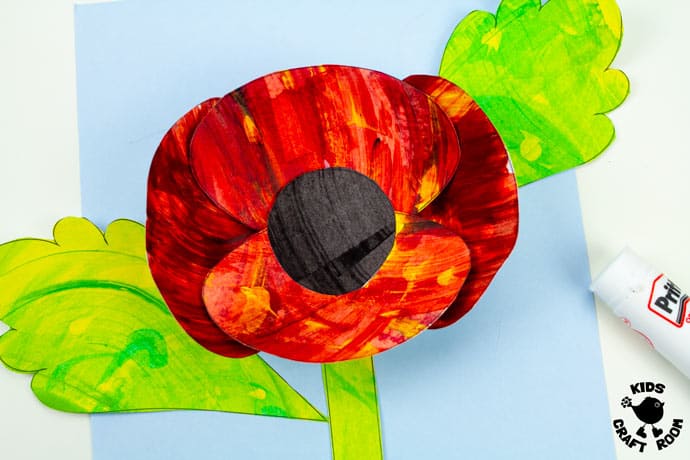
12 – Next glue the other pair of petals on in the opposite direction. Finish off your poppy art by glueing on the round black middle.
More Fun Summer Crafts For Kids:
