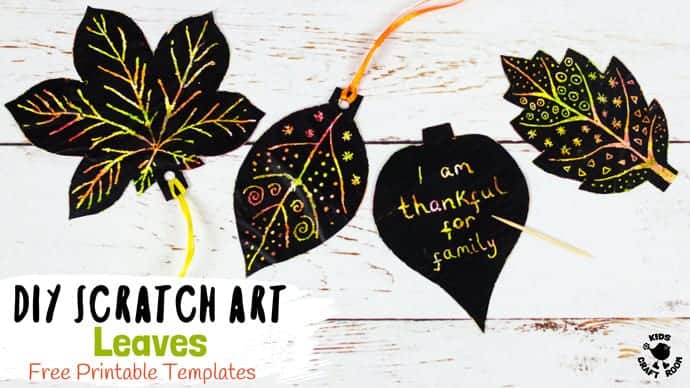
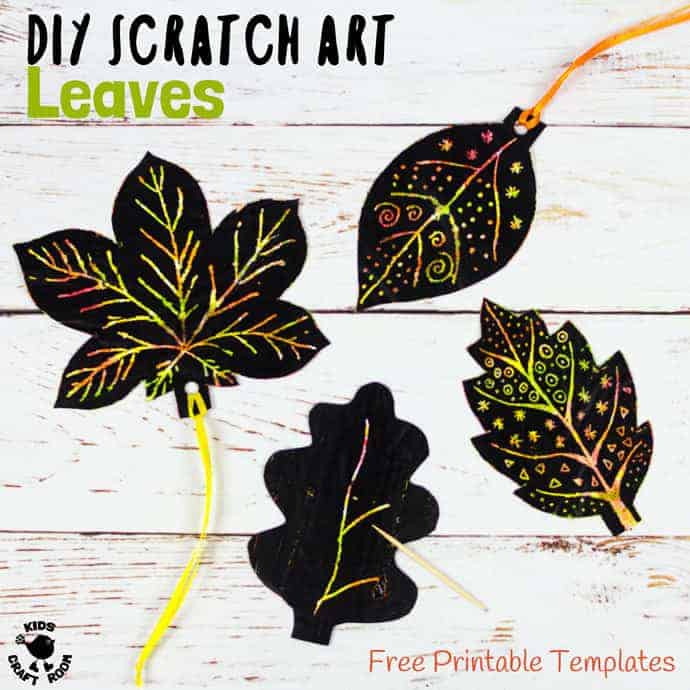
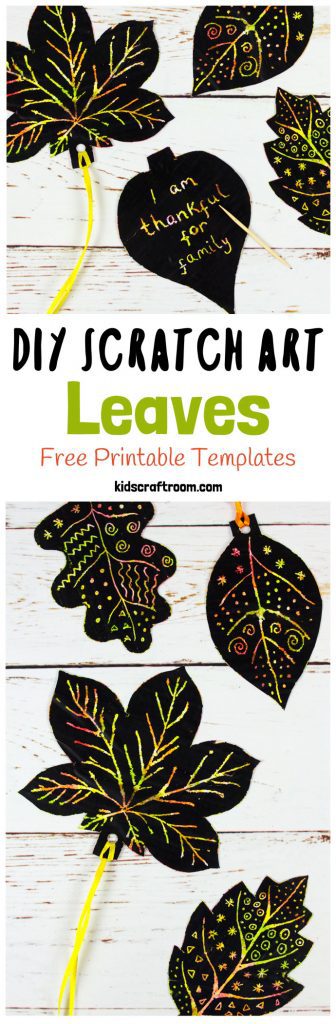
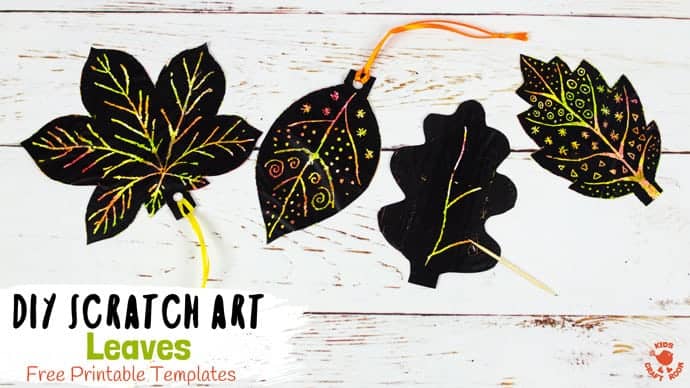
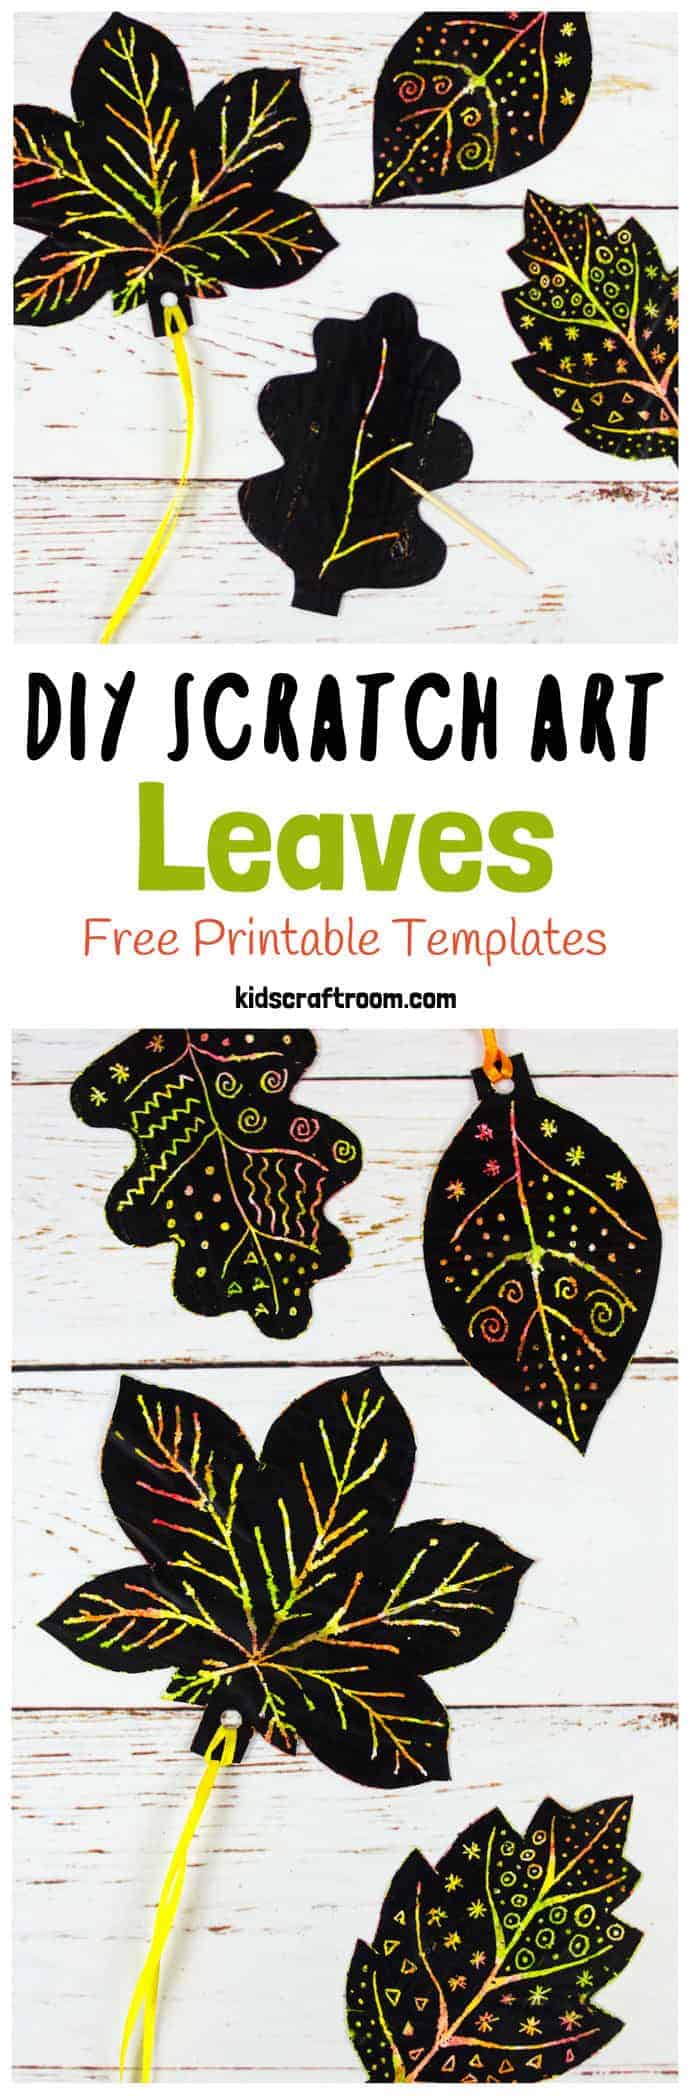
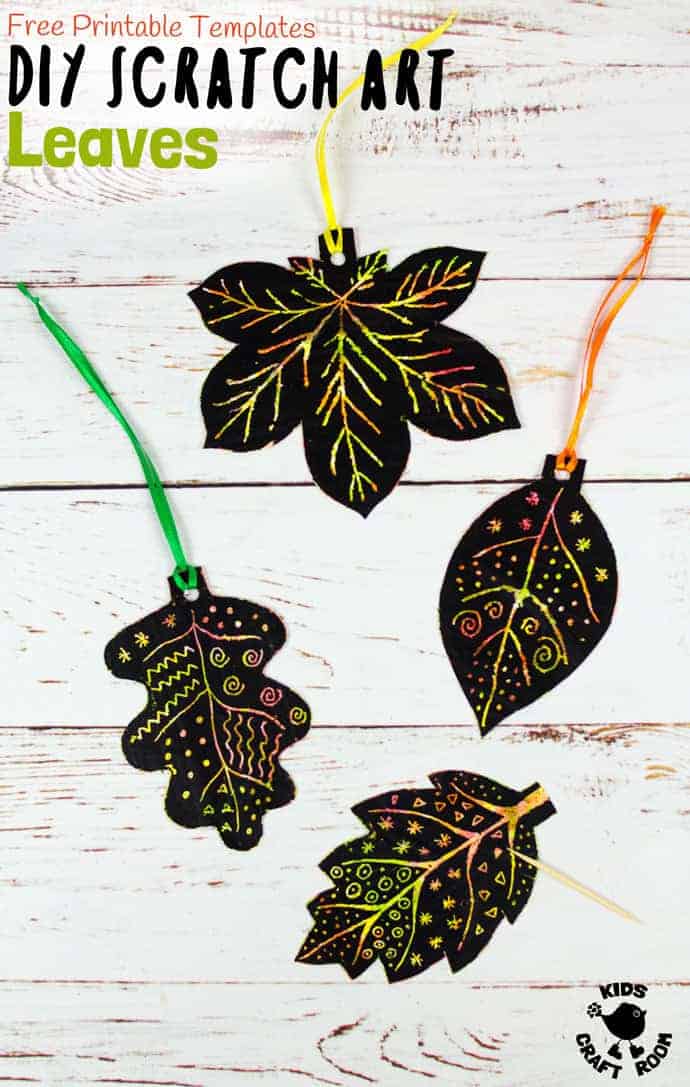
We hope you love these Scratch Art Leaves as much as we do? Each Scratch art leaf is completely unique and so beautiful! We adore how the colours and patterns are so bright and vibrant! This is lovely leaf art for kids of all ages to enjoy.
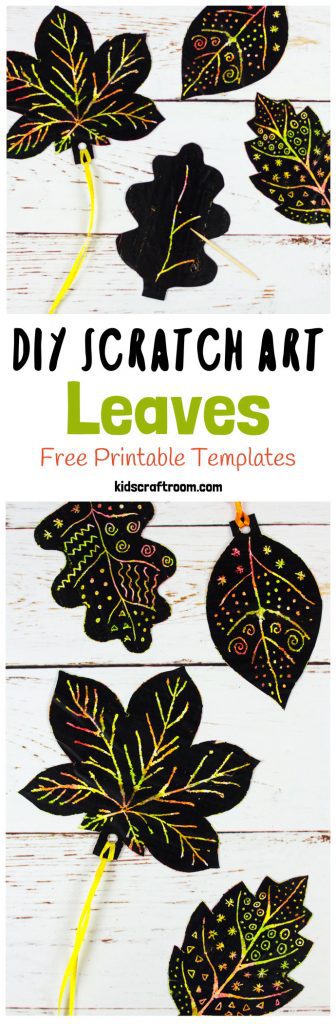
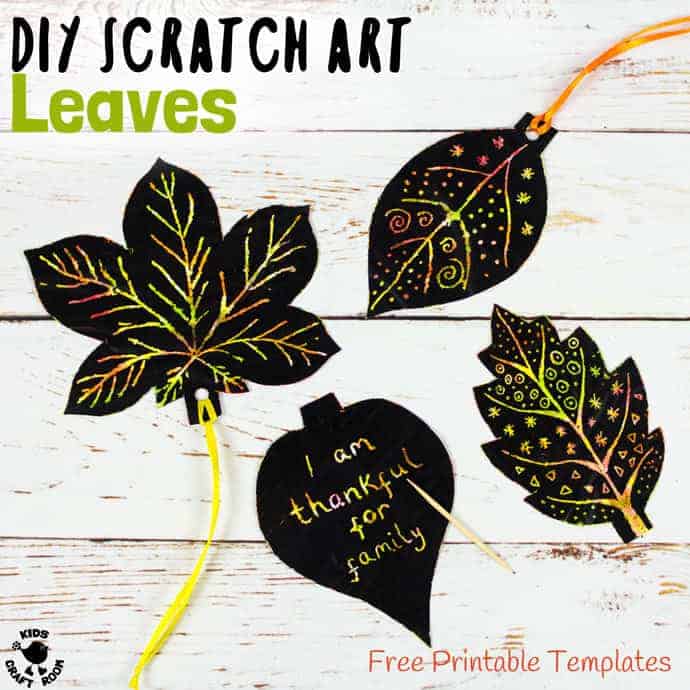
In this tutorial we show you how to make leaf art that is truly WOW! You’ll find out how to easily make your own scratch art sheets and we have a top tip to make them super smooth and easy to use. We also have free printable templates of leaf art images so you can easily make 6 different leaf designs straight away.
This scratch leaf art project is a wonderful way to decorate your home or classroom this Fall. We also love to use our scratch art leaves as a Thanksgiving craft where children can write or draw what they are thankful for onto each leaf. They make such gorgeous table decorations!
Scroll on down to join us making gorgeous Fall scratch art leaves!
How To Make Scratch Art Leaves
You may have made your own scratch art when you were a child using coloured wax crayons covered with black wax crayons? The scratch art technique we’re sharing with you today is a little bit different! It’s just as easy to do but the results are more vibrant and the scratching is much easier!
For This Fall Leaf Art You Will Need:
-
- Free Printable Leaf Templates (Get yours at the bottom of this post.)
- Paper
- Wax Crayons
- Clear Glossy Sticky Back Plastic (Contact Paper) US / UK
- Black Acrylic Paint
- Liquid Dish Soap
- Cocktail Stick
- Hole Punch
- Ribbon
- Scissors
- Brush
How To Make Leaf Art Using A Scratch Art Technique
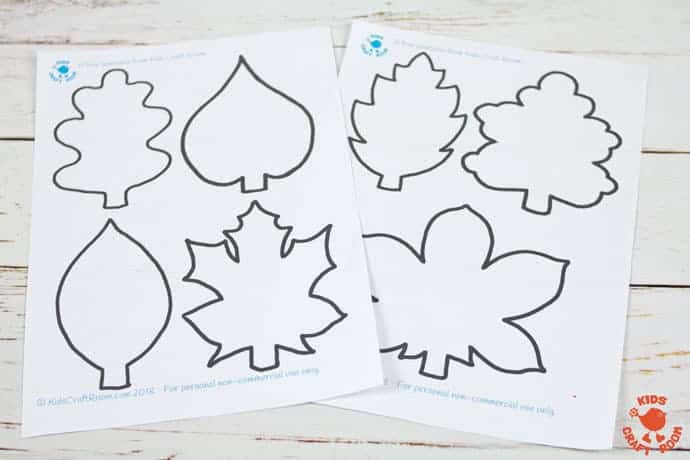
1 – Print out your free leaf templates. There are 6 different leaf designs. Get yours at the bottom of this tutorial. (They’ve recently been updated and are a bit neater now!)
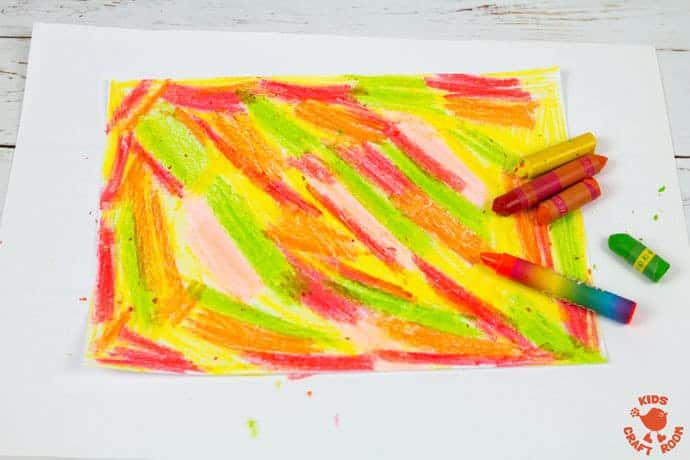
2 – Cover your paper all over with wax crayon. We used traditional Autumn colours of red, orange, yellow and green and were very random. You can use any colours you like and experiment with different patterns of colour too if you like.
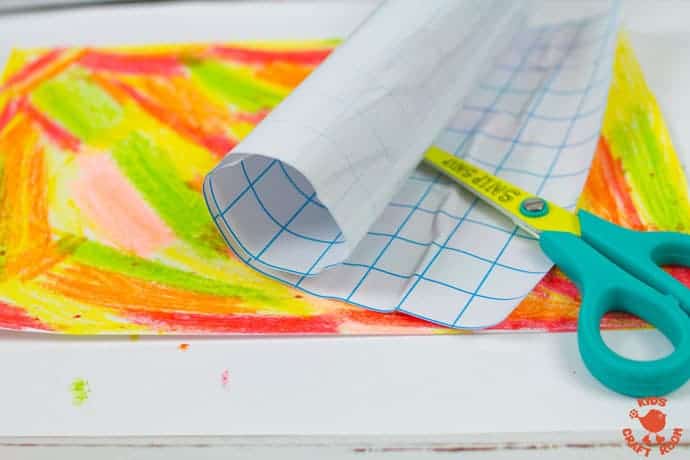
3 – To make sure all the vibrant colours show through and to make it nice and easy to scratch we use a layer of sticky back plastic (contact paper) over our wax crayon.
(If like ours, your plastic is a bit old it may lose some of it’s stickiness. We simply glued ours on with clear drying glue. If you don’t have any sticky back plastic don’t worry you can skip this step but your colours may not be as bright and the scratching off can be a bit trickier.)
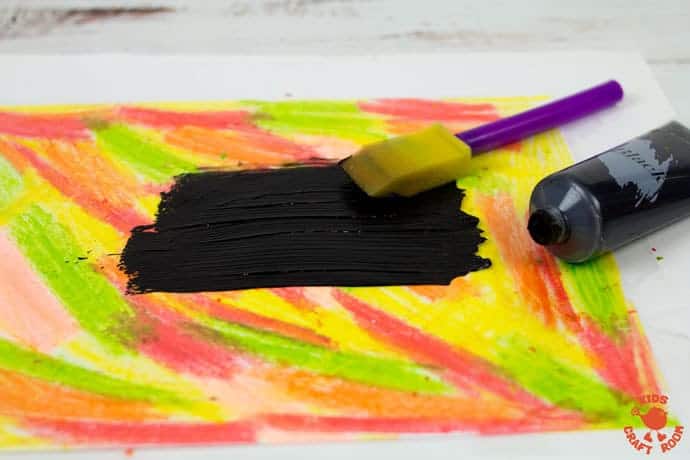
4 – Mix your black acrylic paint with some washing up liquid (liquid dish soap.) We use about 1/3 soap to 2/3 paint. The soap makes the paint easy to scratch off. Paint it all over your coloured sheet and let it dry.
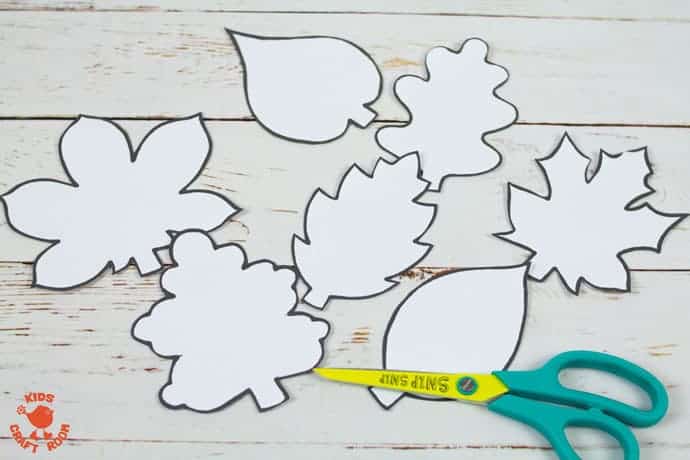
5 – Cut out your leaf images.
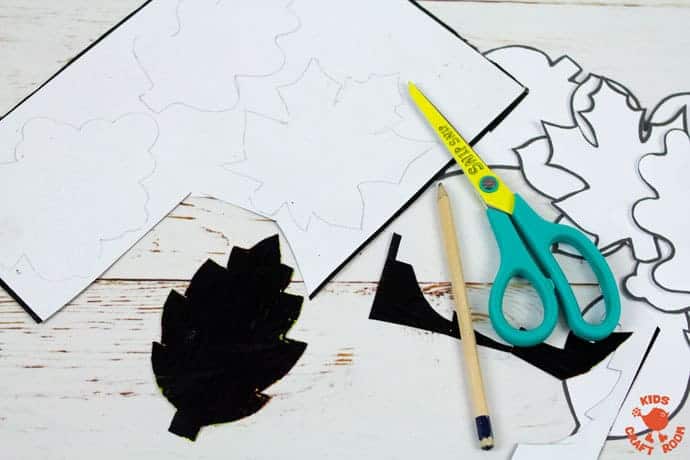
6 – Turn your scratch art sheet over and on the back trace around your leaf templates and cut them out to give you black scratch art leaves ready for decorating.
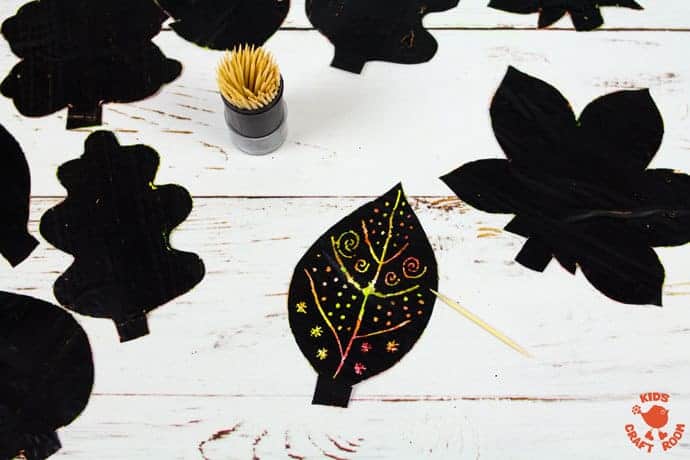
7 – Scratch your design onto your leaf with a cocktail stick or similar.
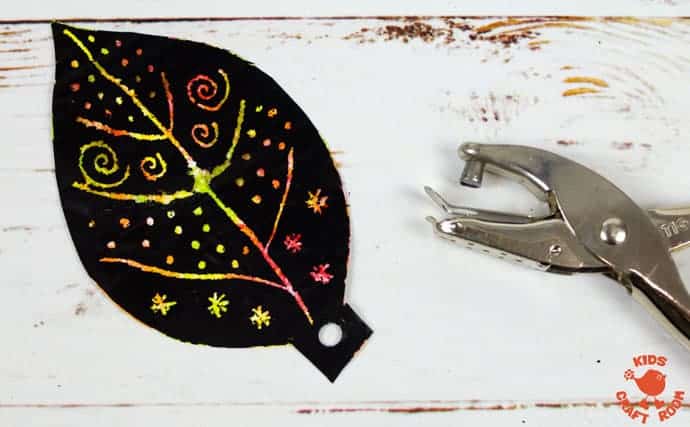
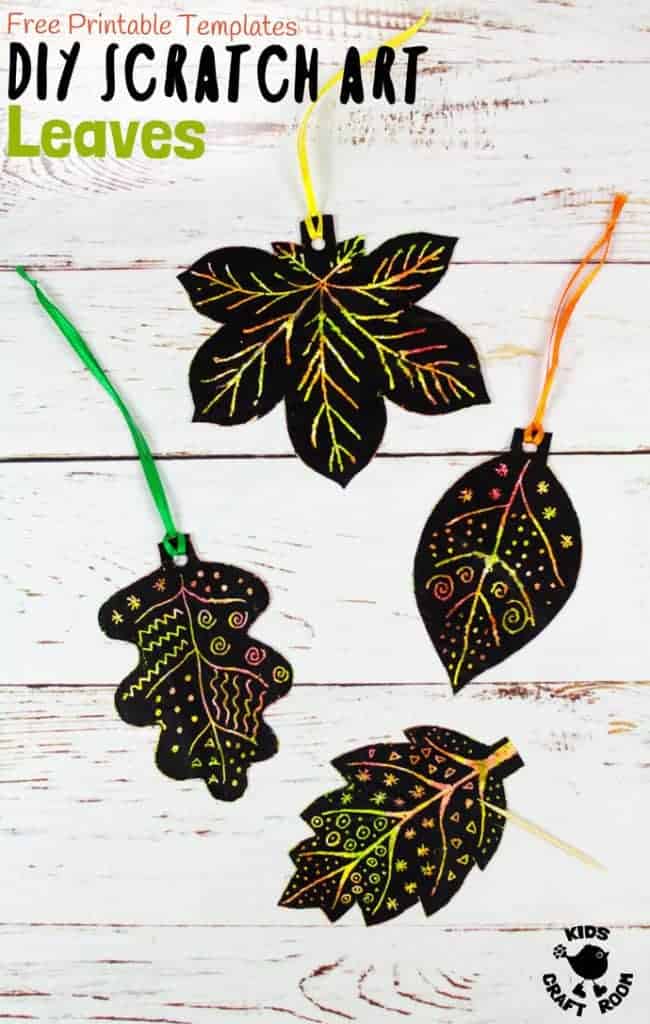
8 – If you want to hang your Fall leaf art on display use your punch to make a hole in the stalk.
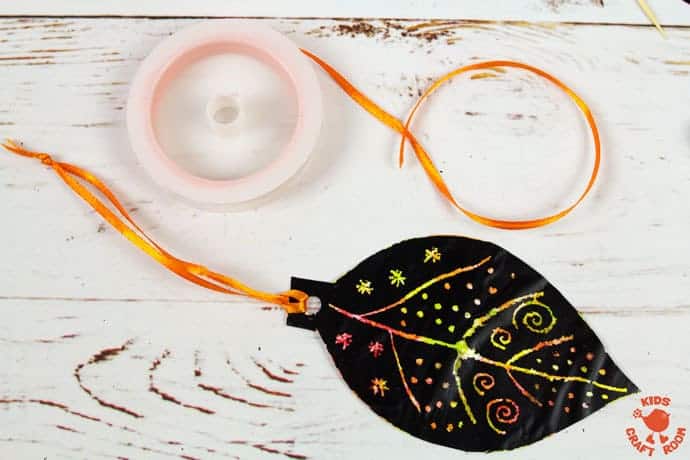
9 – Thread some ribbon through the hole and your leaf art project is ready to go on display!
We hope you enjoy this Fall craft idea as much as we have. We think it’s wonderful leaf art for kindergarten but attractive enough to appeal to bigger kids and even grown ups too!
Looking for more leaf art ideas? You might like:
More Fun Autumn Crafts For Kids:
