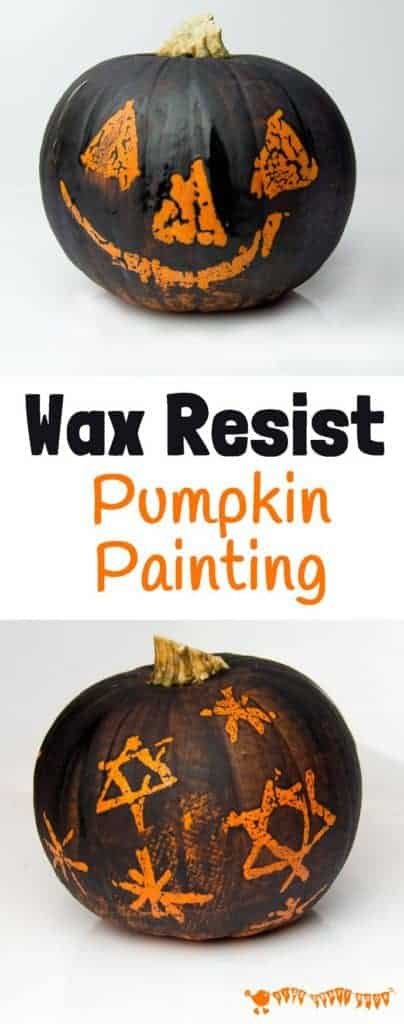
Are you looking for a way to decorate pumpkins that even your tiny tots can manage? This Wax Resist Pumpkin Carving Alternative is the perfect choice!
Kids of all ages will love this easy pumpkin painting idea and can enjoy creating loads of different designs.
Now you can create wonderful Halloween pumpkins without all the mess and bother of traditional pumpkin carving methods!
We’ve all seen and loved traditional carved pumpkins for Halloween with their wild faces and flickering lights but they are not particularly kid friendly are they? Pumpkin skins are far too hard for children to carve safely!
My boys really wanted a traditional looking pumpkin for Halloween this year but they also wanted to do it independently too!
That was a problem as carving was just not an option! Their little hands simply weren’t strong enough to cut through the pumpkin skin safely on their own.
So we put our thinking caps on and came up with this wax resist pumpkin carving alternative.
It worked an absolute treat and the kids were thrilled with the results. I loved that it also got them exploring the wax resist art technique which we’d not done for ages too.
How To Make A Wax Resist Pumpkin
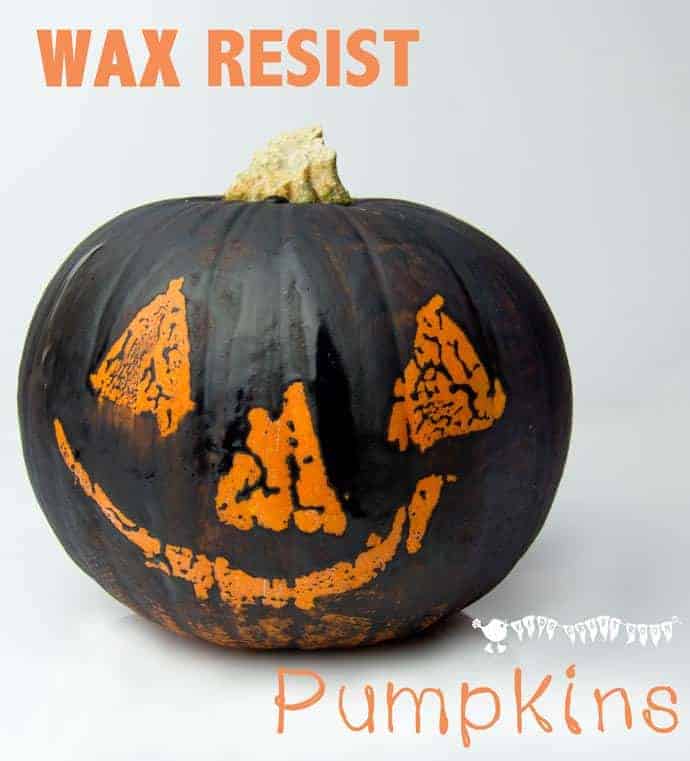
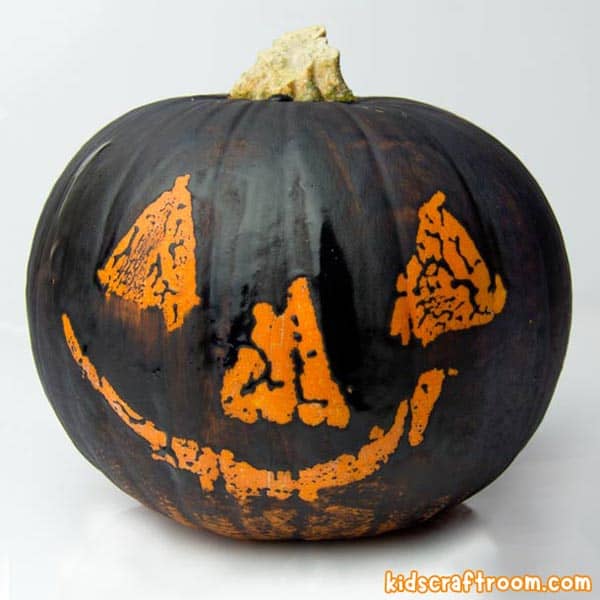
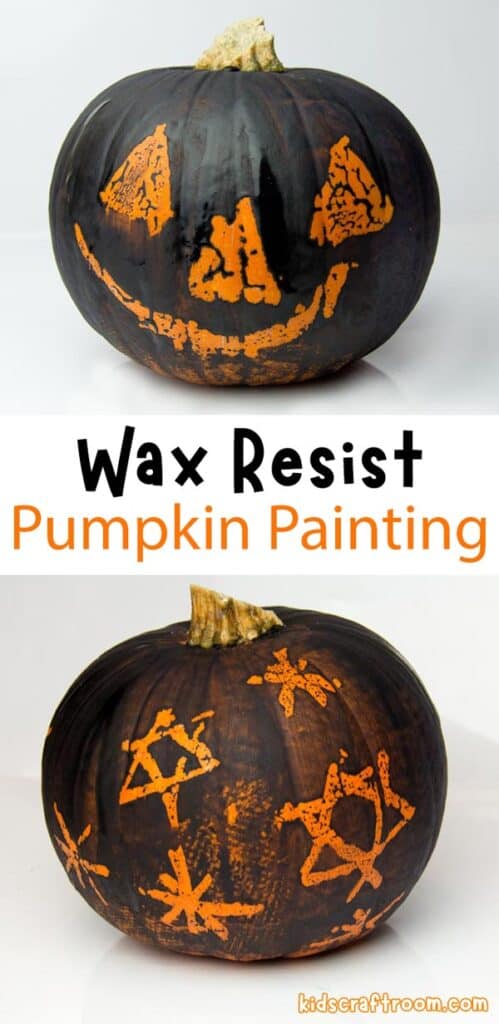
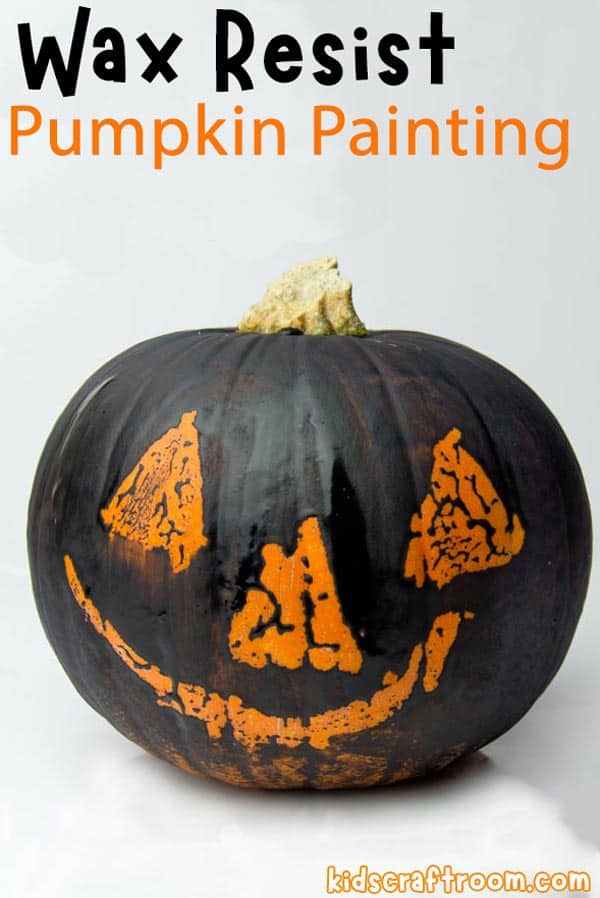
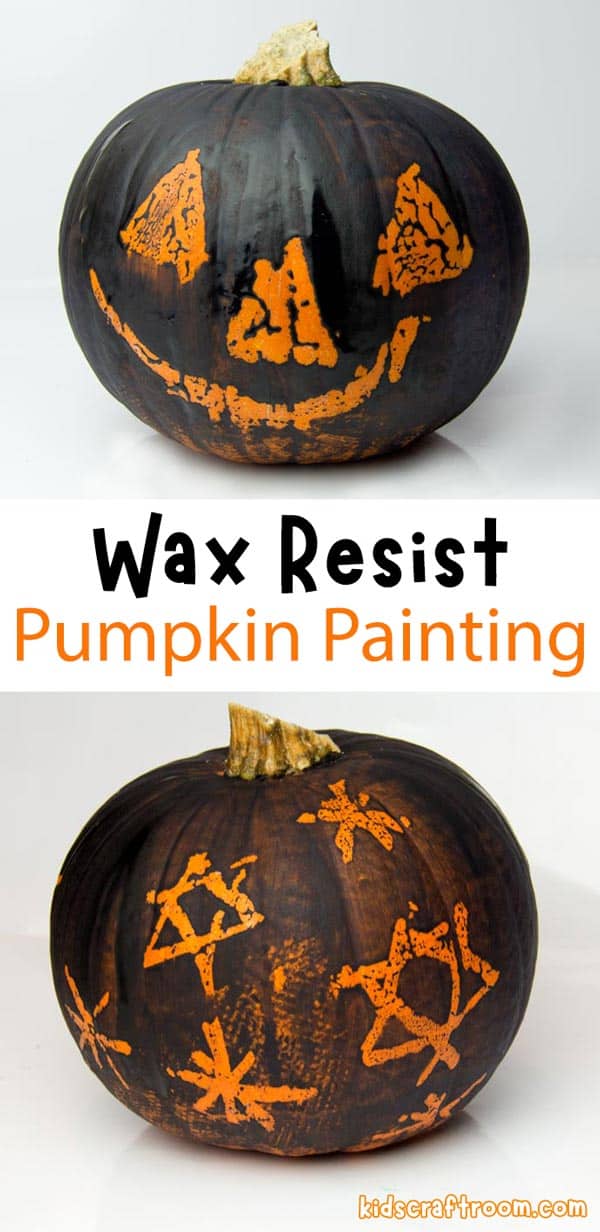
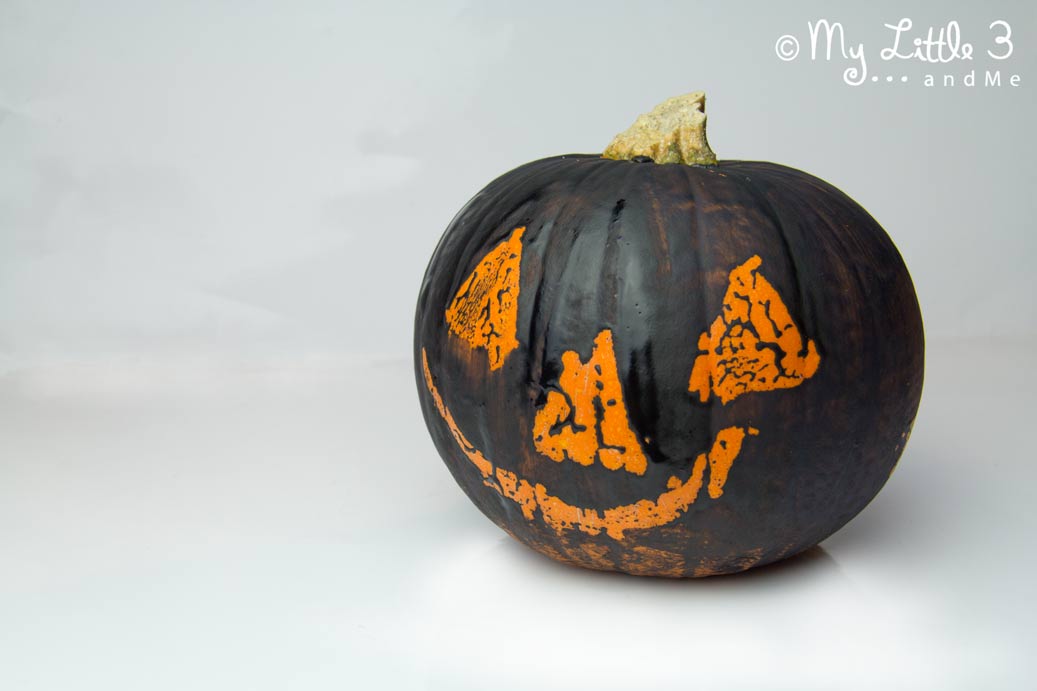
My boys wanted a spooky feel to their wax resist pumpkins so they chose to use black paint. It was a great choice and looks fantastic against the orange of the pumpkin.
You can of course use what ever colour paint you like. It would be a great technique to experiment with different colour combinations!
Supplies For Wax Resist Pumpkin Painting:
How To Use Wax Resist Painting on Pumpkins
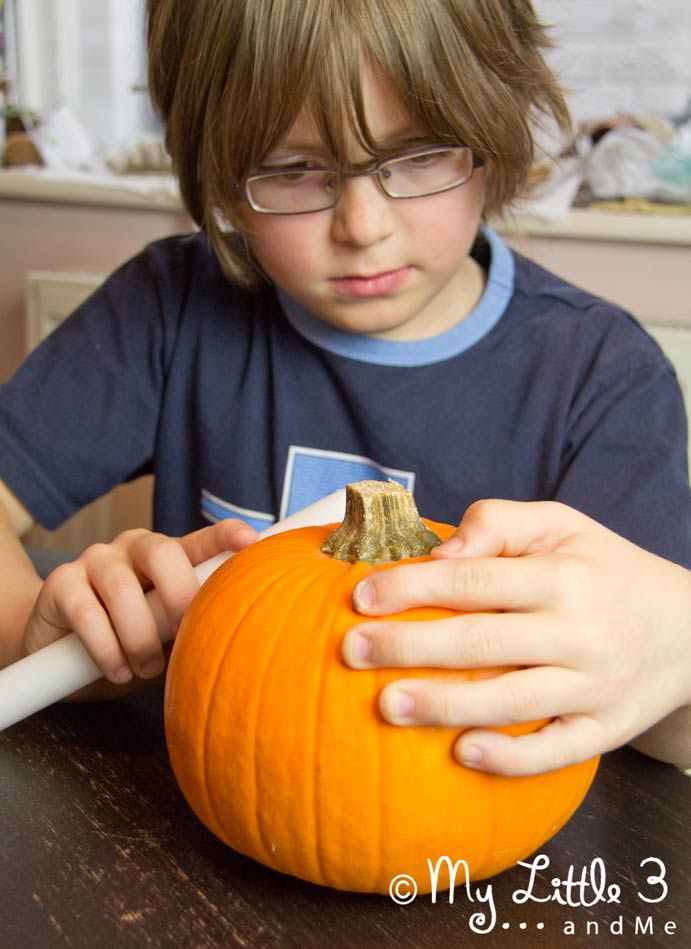
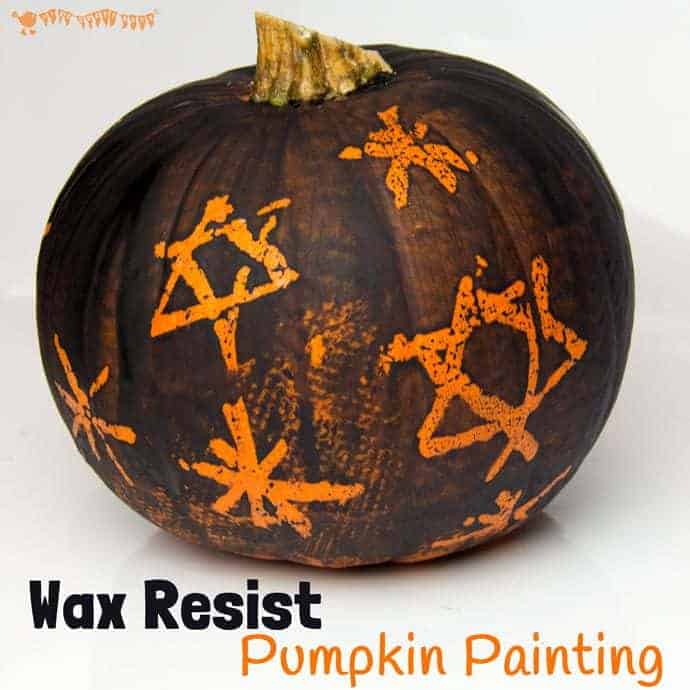
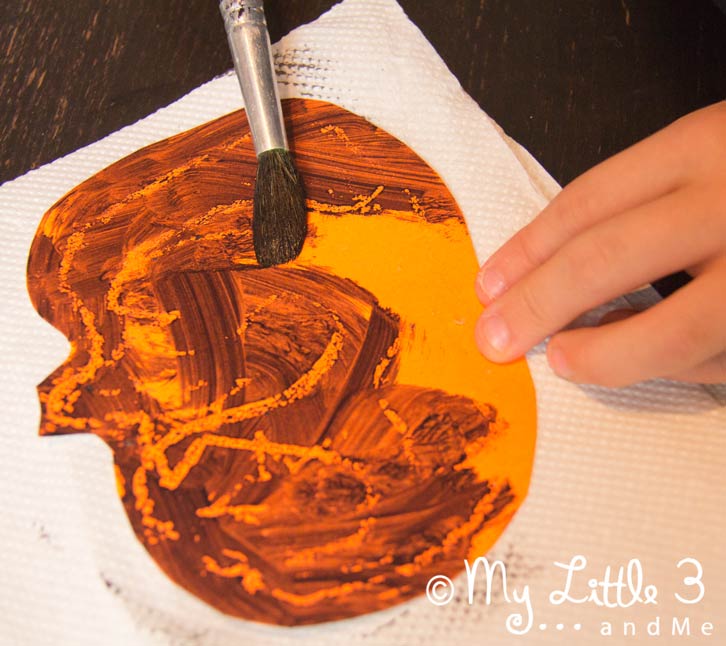
1 – Use the candle to draw your design onto the pumpkin. You need to press quite firmly to get a good covering of wax.
2 – Then simply paint the pumpkin and allow them to dry.
Kids will love watching how the paint can’t stick to the wax and how it runs straight off leaving the lovely orange of the pumpkin showing through!
Top Tips For Wax Resist Painting On Pumpkins

1 – It is a bit tricky to see where you’ve drawn with the wax. It can be helpful to let your kids experiment with the technique and finalising their design on some pumpkin shaped paper first.
We simple cut some pumpkins our of paper and the had great fun experimenting with different designs.
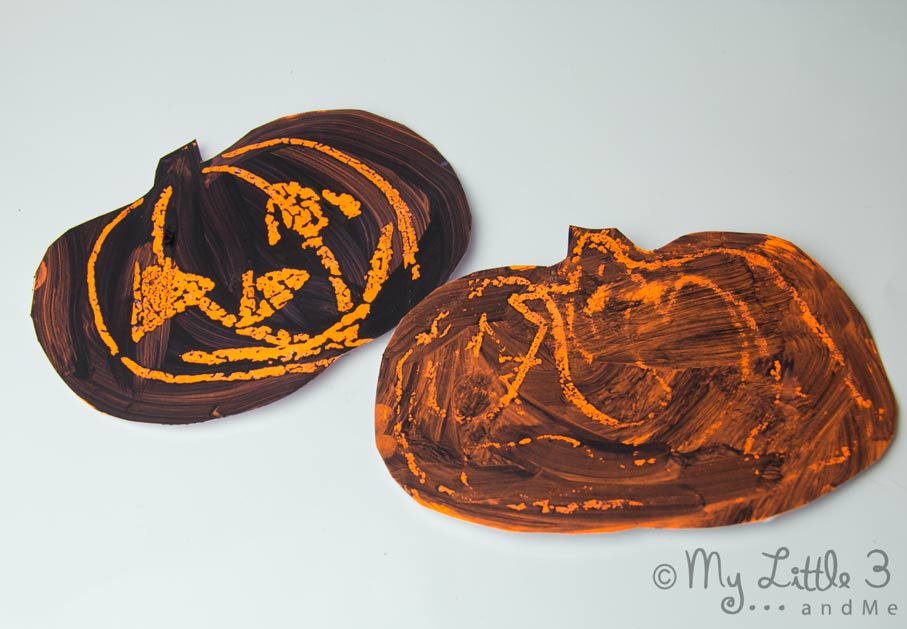
They kept their favourite paper pumpkin designs and turned them into Halloween greeting cards so nothing was wasted.
2 – We couldn’t find our wax crayons which is why we used a candle. It’s nice and chunky for little hands but if you have older kids that want to create a more detailed design then thinner wax crayons might be a better choice.
3 – Have fun experimenting with different coloured paint. Black was great but I bet other colours would look super too!
More Fun Halloween Crafts For Kids:
