
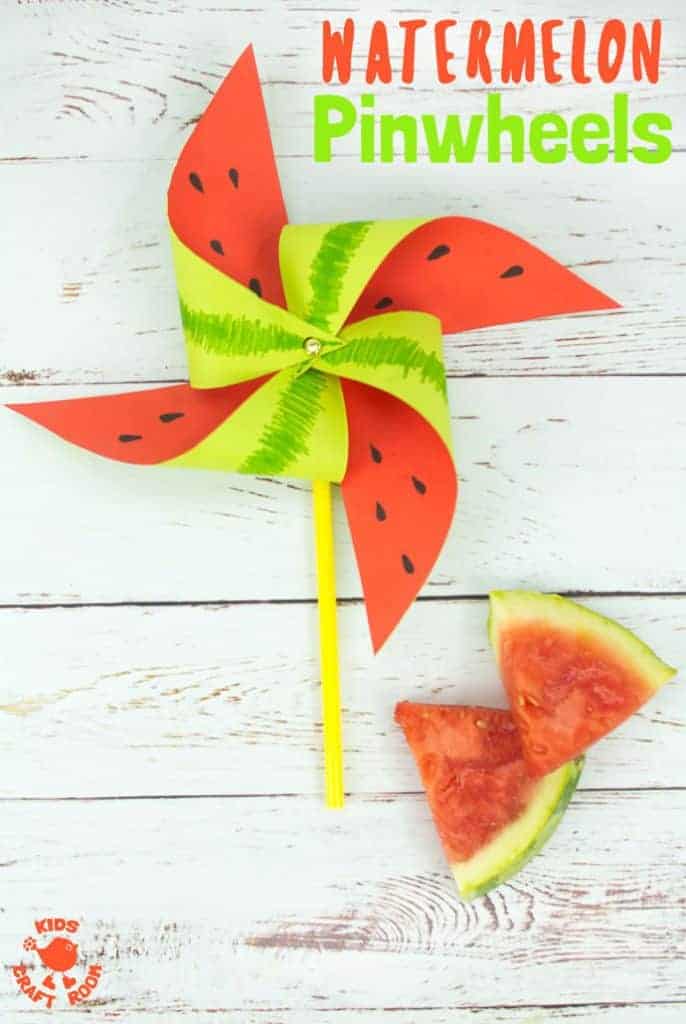
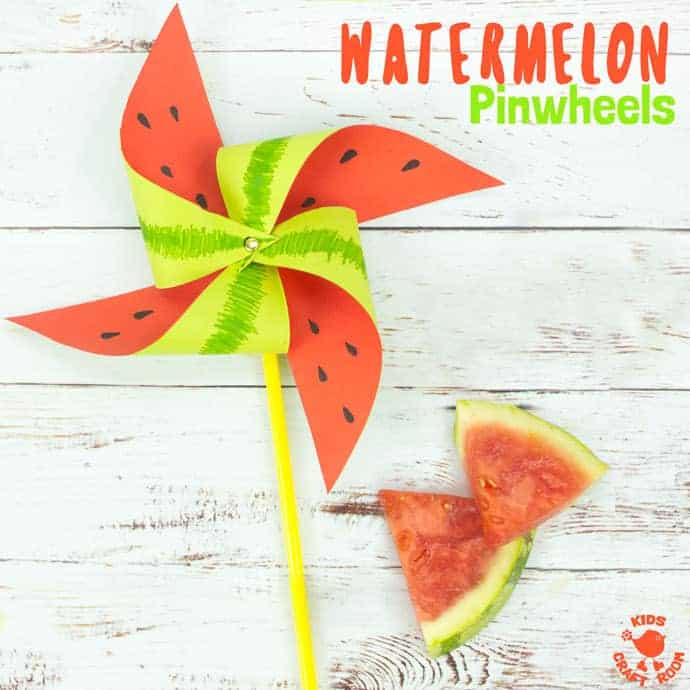
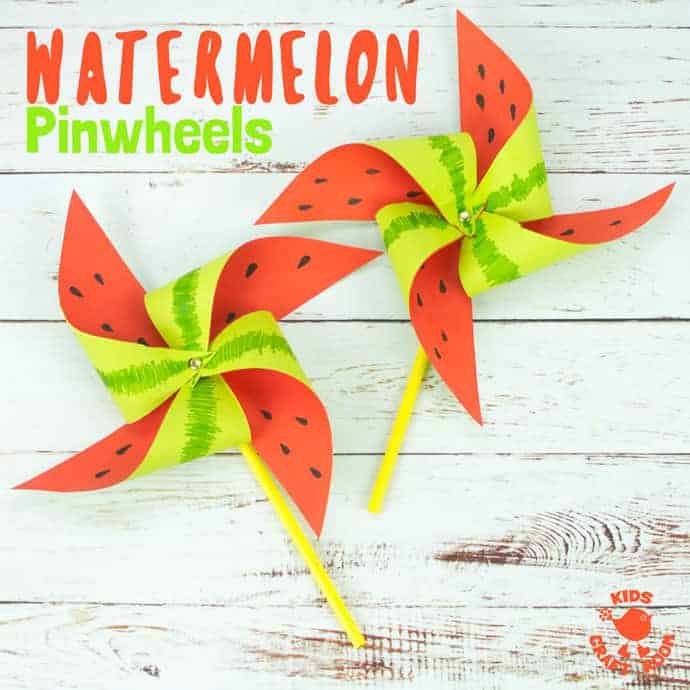
Looking for something fun for the kids that just sings out Summer? Then this DIY Watermelon Pinwheel Craft is just the ticket!
If we had to choose just one thing that sums up Summer then it would have to be watermelon. Colourful, juicy and so delicious they seem to taste of sunshine! We couldn’t resist combining our love of watermelon with a classic Summer windmill toy! These fun and fruity pinwheels are the perfect celebration of the season!
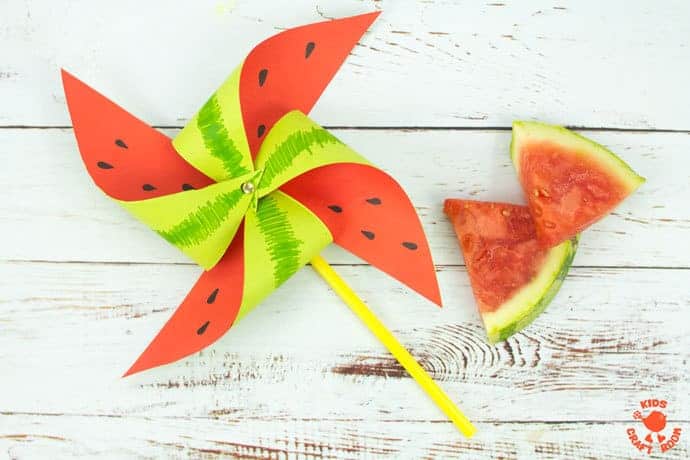
Colourful watermelon pinwheels are so quick and easy to make. They’re great for kids to play with and make gorgeous Summer party decorations too. What a fun way to add a splash of colour!
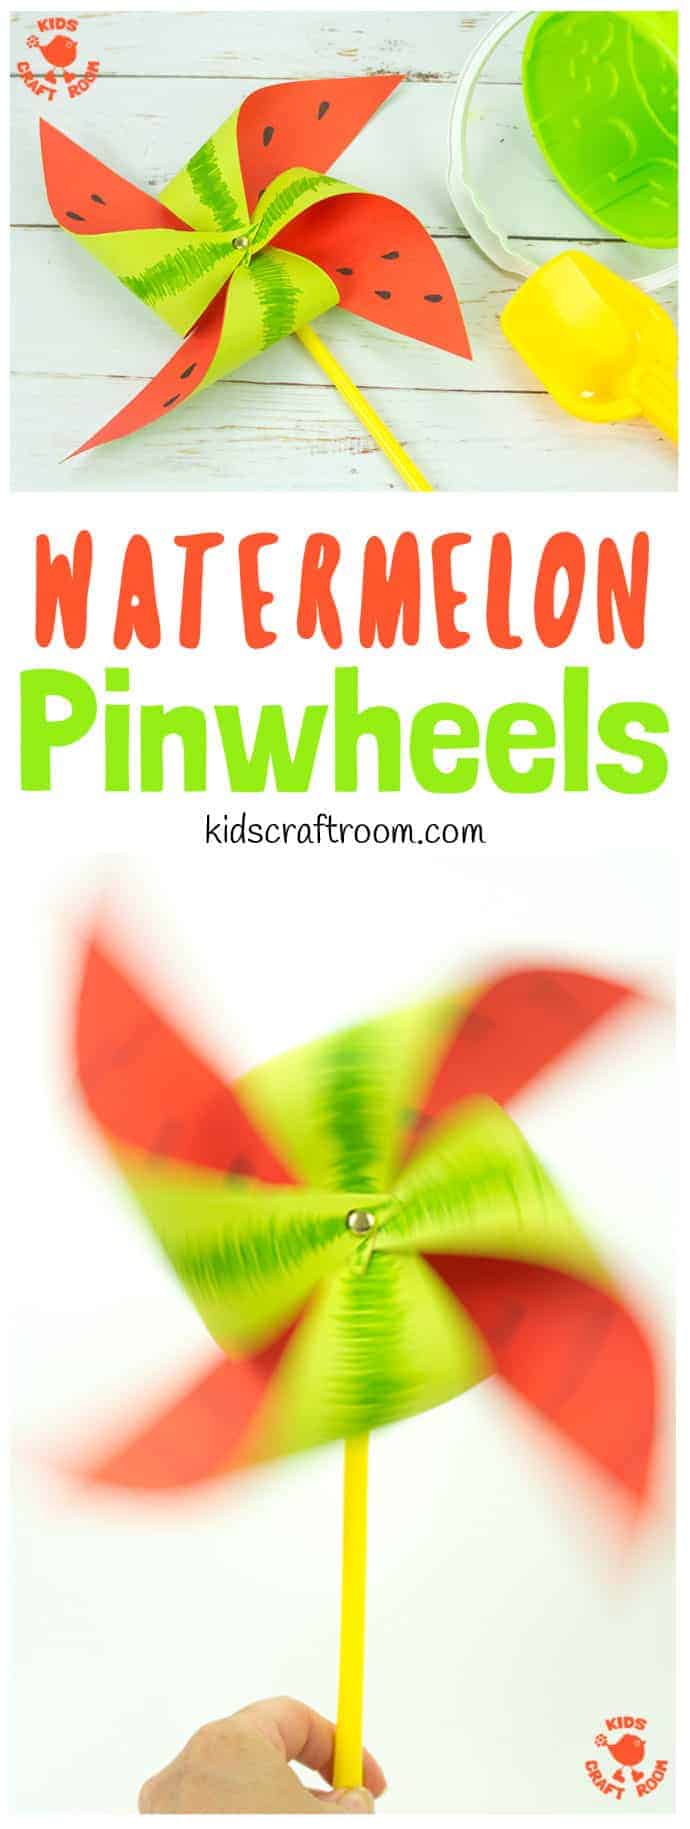
We’ve got a video tutorial you can follow and our classic step by step photo tutorial too. Have fun!
Why not make some other homemade interactive toys to go with this watermelon pinwheel craft? We love Rainbow Blowers, Croaking Frogs, Chomping Shark Puppets and Rock Snails. So many fun ways to craft and play this Summer!


Watermelon Pinwheel Craft Tutorial
Supplies to make Watermelon Pinwheels
- Red and Green Craft Paper
- Glue Stick
- Black Sharpie Pen
- Green sharpie Pen
- Scissors
- Jumbo Straw
- Hole Puncher
- Split Pin/Paper Fastener 1 Inch
How To Make Summery Watermelon Windmills
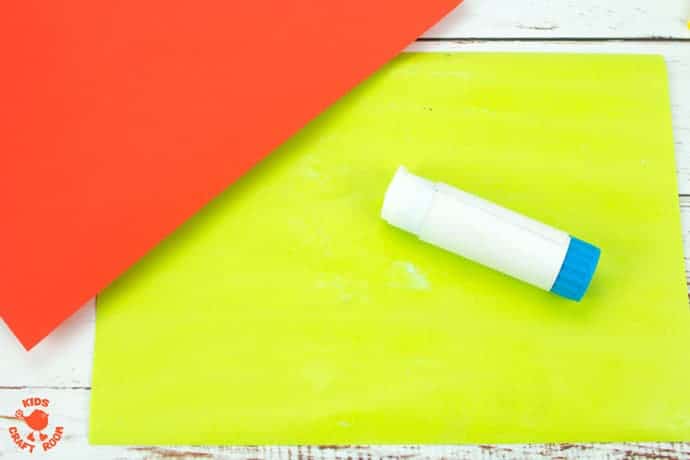
1 – To make your watermelon pinwheel craft you need a piece of paper that is red on one side and green on the other. To make this simply glue two pieces of coloured craft paper together and let it dry.
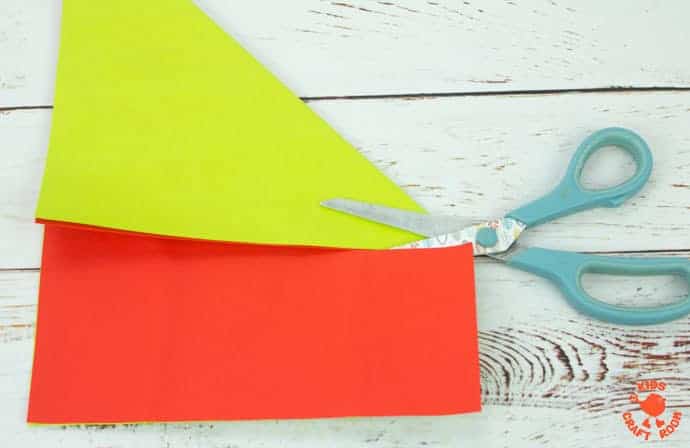
2 – When your glued paper is dry you need to cut it into a square. You can measure this out with a ruler but the simplest way is to fold a short end of the paper along a long end of the paper to make a triangle, then cut the excess off. Watch the video to see how we did it.
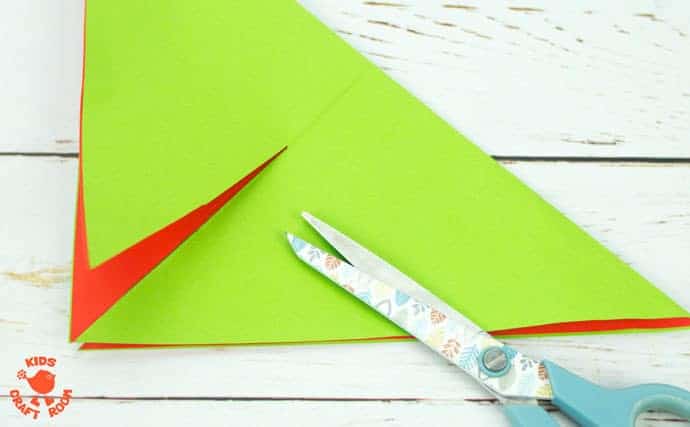
3 – Fold your square in half diagonally to make a triangle. Cut about two thirds of the way from the middle of the triangle point towards the folded edge. (Again watch the video to see how we did it.)
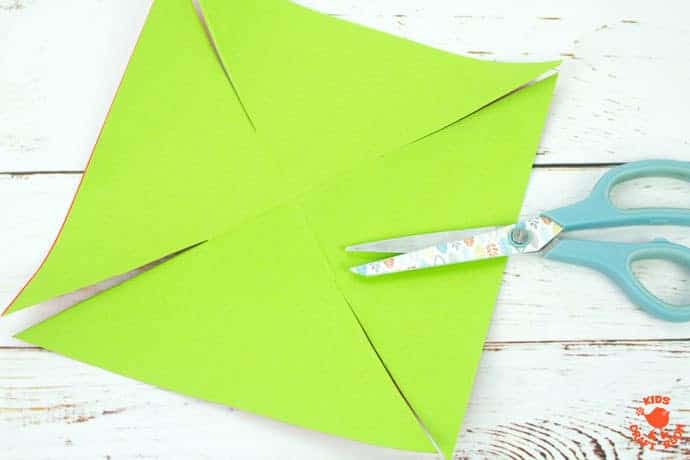
4 – Unfold the triangle and fold it in the opposite direction to make another triangle and repeat step 3. Open it up to see a square with four cuts, one at each corner.
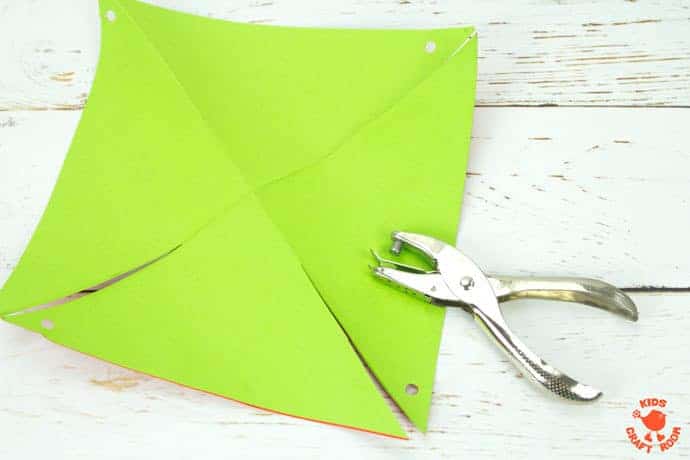
5 – Use your hole punch to make a hole in each alternate outer point of your square. These holes will be used later to secure your watermelon pinwheel sails.
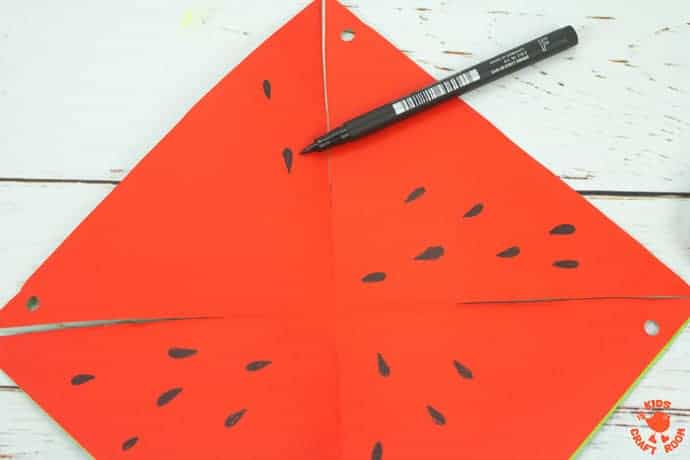
6 – On the red side of your square use your black Sharpie pen to draw the watermelon seeds.
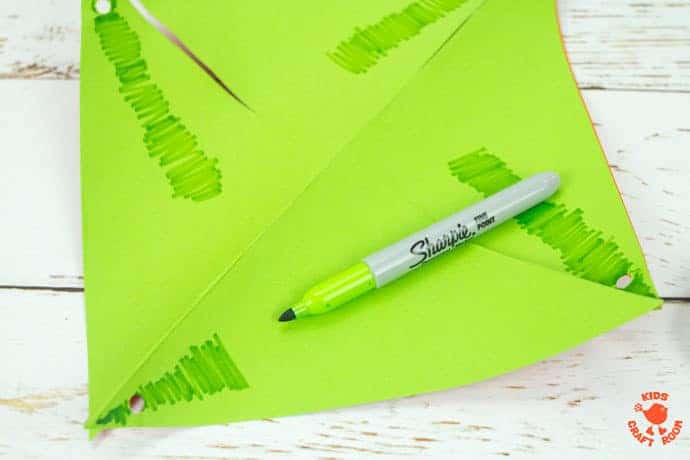
7 – On the green side of your square use your green Sharpie pen to draw on the darker watermelon stripes.
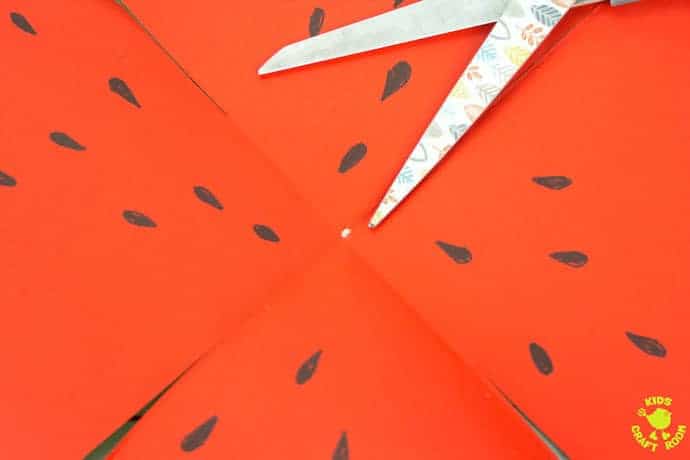
8 – Make a small hole in the middle of your square.
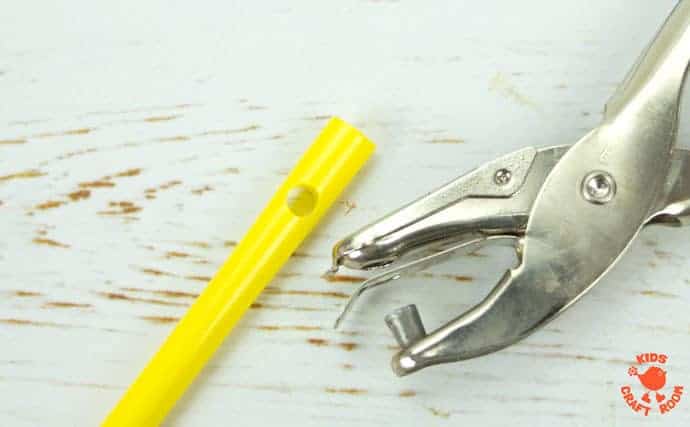
9 – Your watermelon windmill craft will need a handle. We used a jumbo plastic straw and punched a hole in one end.
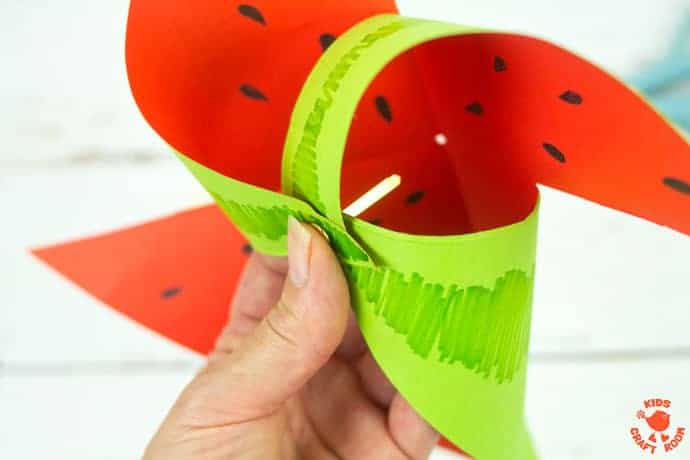
10 – To turn your paper square into a windmill take your split pin / paper fastener and put it through one of the holes on the green side of the paper and bend it over gently towards the centre of the red side. Repeat with the other three corners working your way around the square.
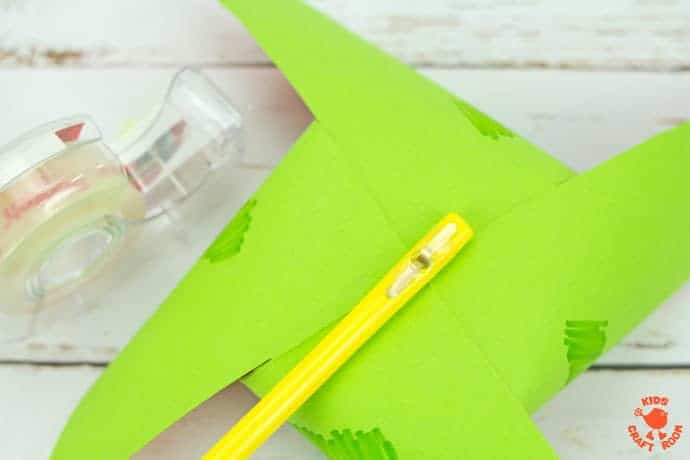
11 – When your paper fastener is through all four corners of the paper thread it through the hole in the middle of the square. Then thread it through the hole in the jumbo straw and open it up on the other side. Add a small strip of sticky tape over the paper fastener to secure it in place.
Watermelon Pinwheels are so fun for Summer! Maybe you could have a go at making other fruity designs too?
You can print the pin wheel instructions below.
More Fun Summer Crafts For Kids:


DIY Watermelon Pinwheel Craft
Materials
- Red and Green Craft Paper
- Glue Stick
- Black Sharpie Pen
- Green sharpie Pen
- Scissors
- Jumbo Straw
- Hole Puncher
- Split Pin/Paper Fastener 1 Inch
Instructions
- To make your watermelon pinwheel craft you need a piece of paper that is red on one side and green on the other. To make this simply glue two pieces of coloured craft paper together and let it dry.
- When your glued paper is dry you need to cut it into a square. You can measure this out with a ruler but the simplest way is to fold a short end of the paper along a long end of the paper to make a triangle, then cut the excess off. Watch the video to see how we did it.
- Fold your square in half diagonally to make a triangle. Cut about two thirds of the way from the middle of the triangle point towards the folded edge.
- Unfold the triangle and fold it in the opposite direction to make another triangle and repeat step 3. Open it up to see a square with four cuts, one at each corner.
- Use your hole punch to make a hole in each alternate outer point of your square. These holes will be used later to secure your watermelon pinwheel sails.
- On the red side of your square use your black Sharpie pen to draw the watermelon seeds.
- On the green side of your square use your green Sharpie pen to draw on the darker watermelon stripes.
- Make a small hole in the middle of your square.
- Your watermelon windmill craft will need a handle. We used a jumbo plastic straw and punched a hole in one end.
- To turn your paper square into a windmill take your split pin / paper fastenerand put it through one of the holes on the green side of the paper and bend it over gently towards the centre of the red side. Repeat with the other three corners working your way around the square.
- When your paper fastener is through all four corners of the paper thread it through the hole in the middle of the square. Then thread it through the hole in the jumbo straw and open it up on the other side. Add a small strip of sticky tape over the paper fastener to secure it in place.