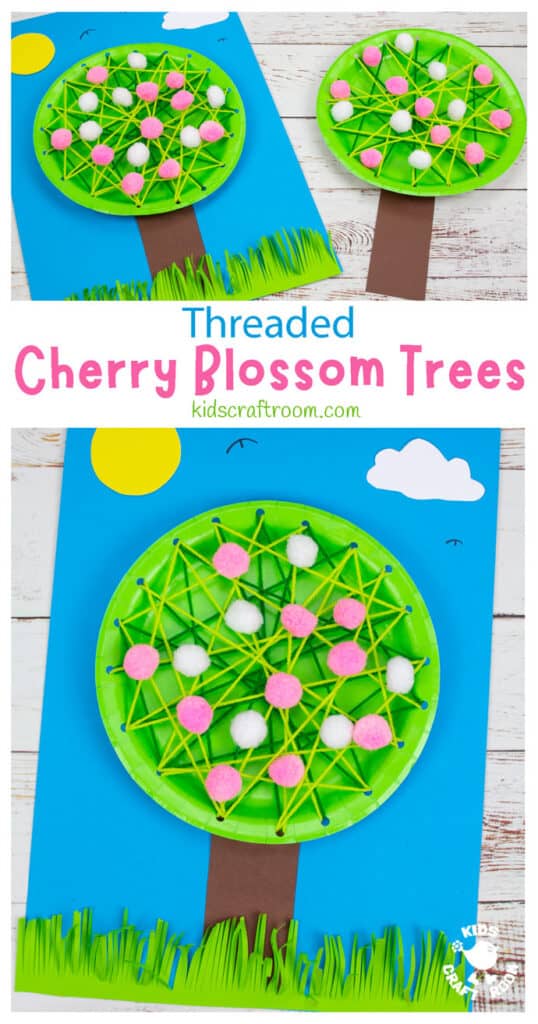
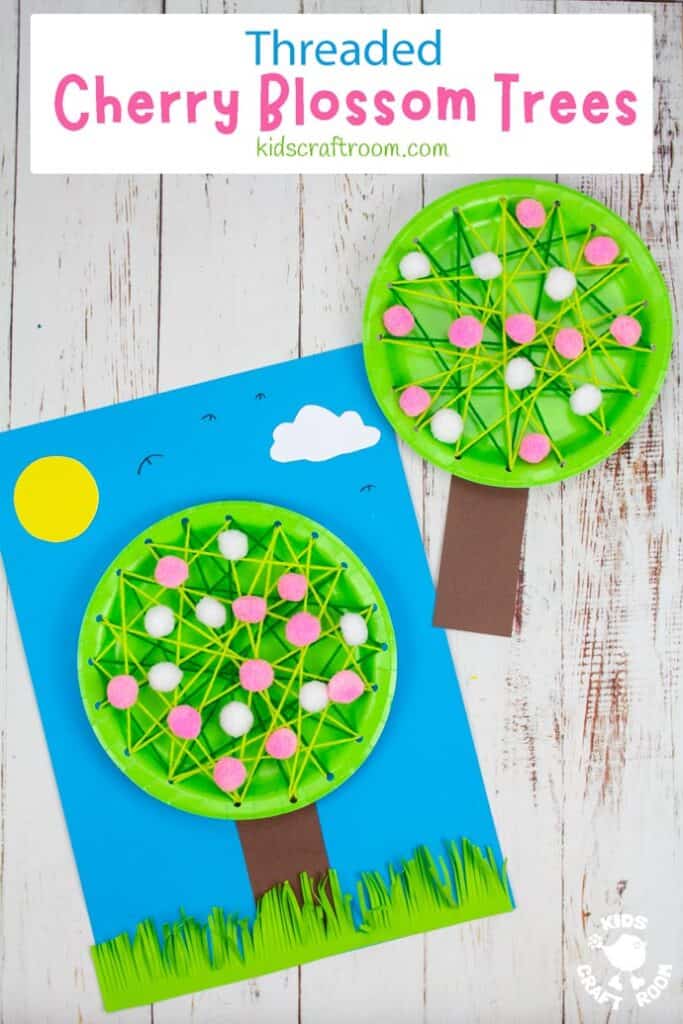
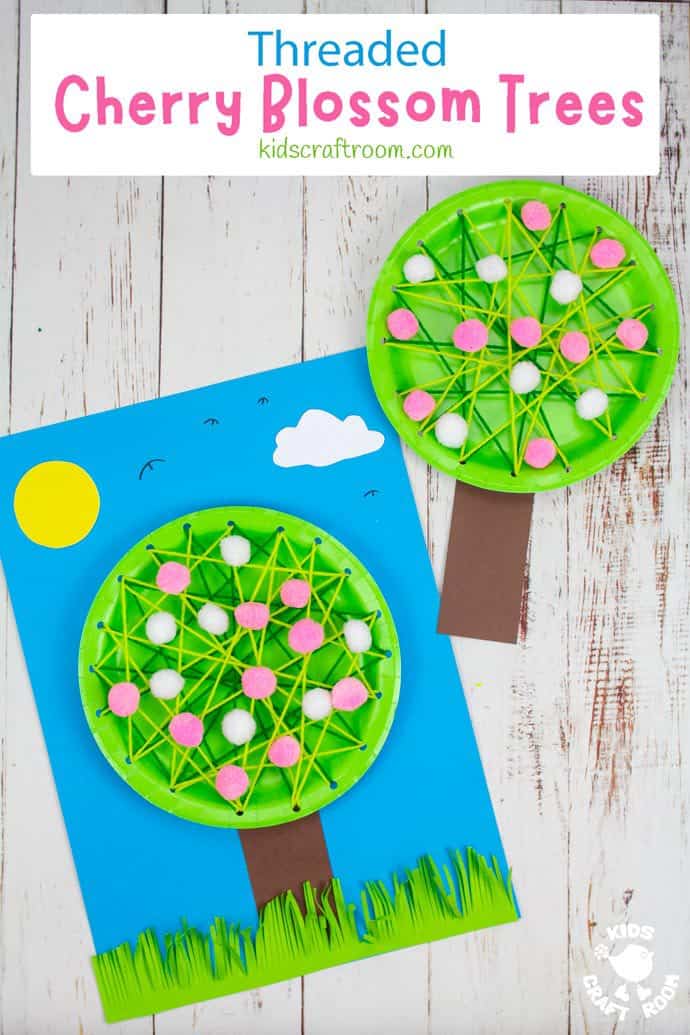
This Laced Paper Plate Cherry Blossom Tree Craft is such a pretty spring craft idea for kids. The paper plate lacing not only looks good but it’s a great way to introduce kids to sewing and to build their fine motor skills and hand eye co-ordination.
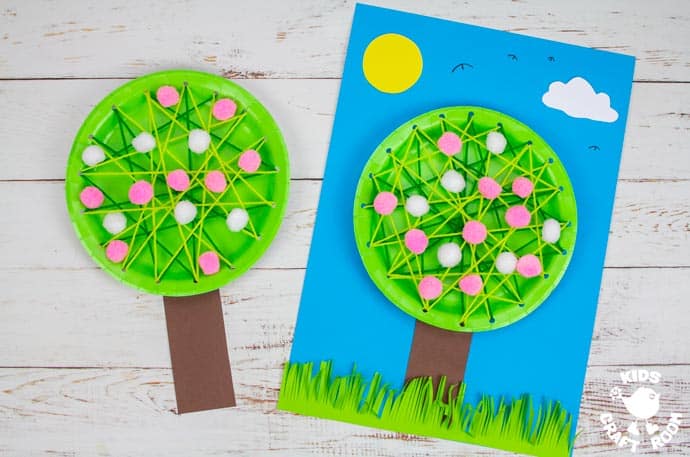
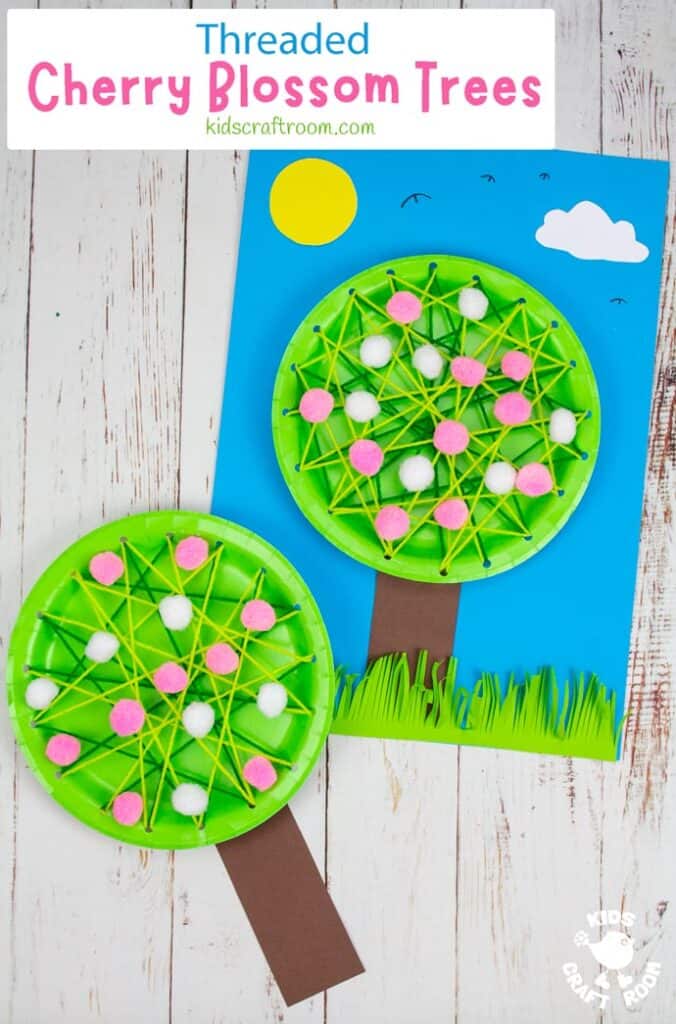
You can make this cherry blossom craft as just the tree or you can mount it onto backing paper like we have, to create a beautiful piece of spring tree art.
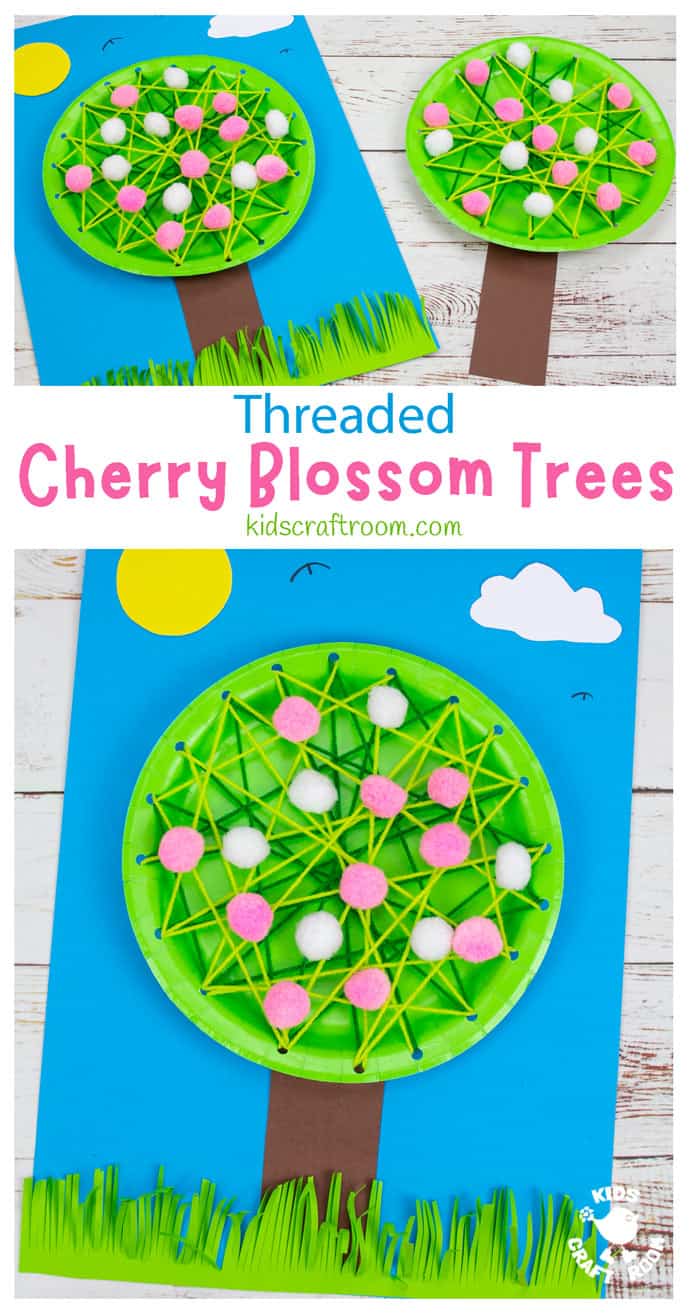
The laced tree has pretty pom pom blossom which gives a wonderful 3D effect. The addition of long grass really adds to the texture and brings the picture to life!
Laced Paper Plate Cherry Blossom Tree Craft Tutorial
Spring Tree Craft Supplies:
- Green Paper Plates
- Dark Green Yarn
- Light Green Yarn
- Pink and White Pom Poms
- Coloured Cardstock (Green, Brown, Yellow, White)
- Tabloid Blue Backing Card
- Hole Puncher
- Herb Scissors
- Glue
- Scissors
- Marker Pen
How To Make a Paper Plate Spring Tree Blossom Craft
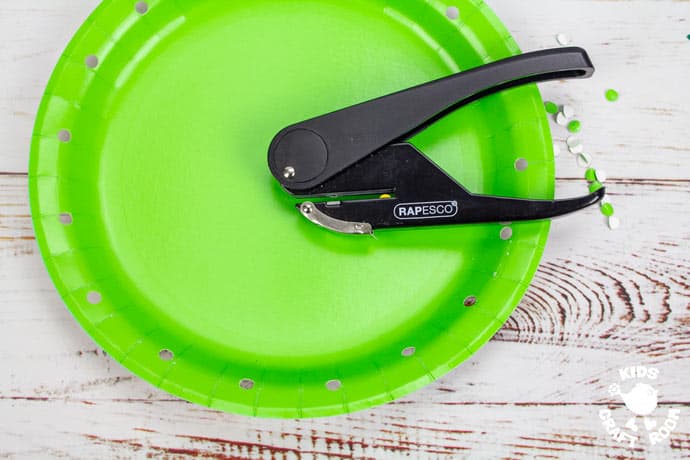
1 – Use the single hole puncher to make holes all around the rim of the green paper plate. (Make more or less holes to increase or decrease the challenge for your child.)
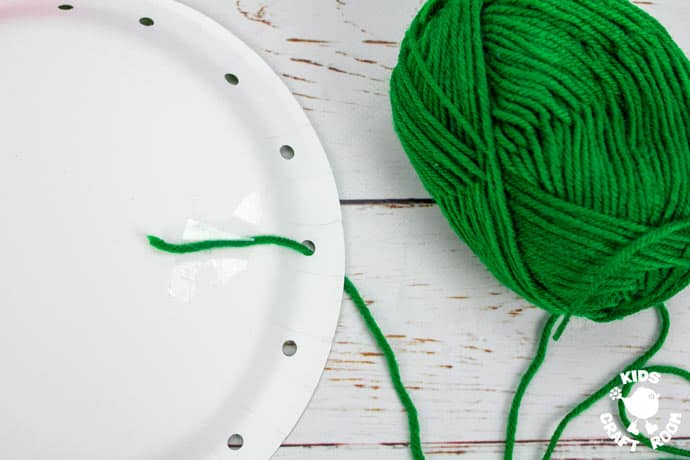
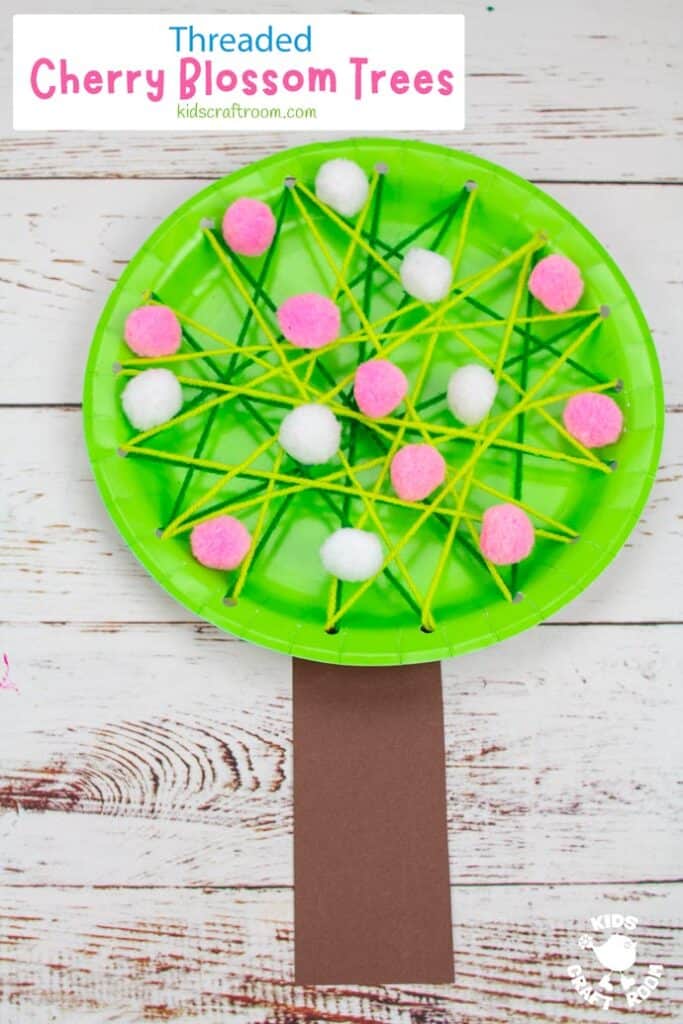
2 – Sticky tape one end of a length of dark green yarn onto the back of the paper plate. Wrap a little bit of tape to the other end of yarn to make it rigid like a needle.
3 – Then thread it in and out of the holes to create a crisscross mesh across the front of the plate. When you’ve finished tape the loose end of yarn to the back of the plate.
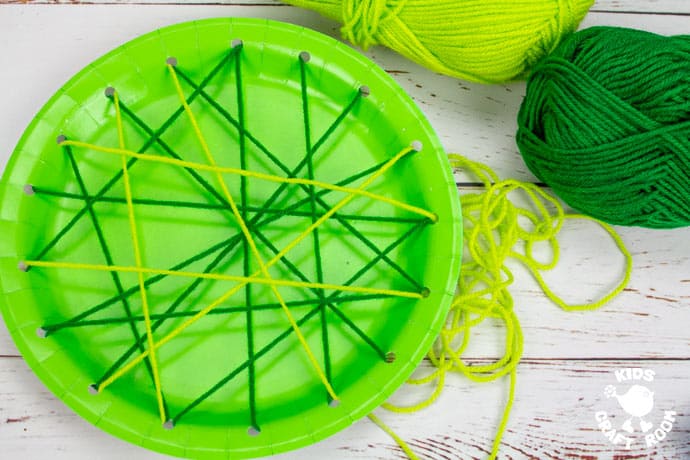
4 – Repeat the threading from step 2 with a light green yarn.
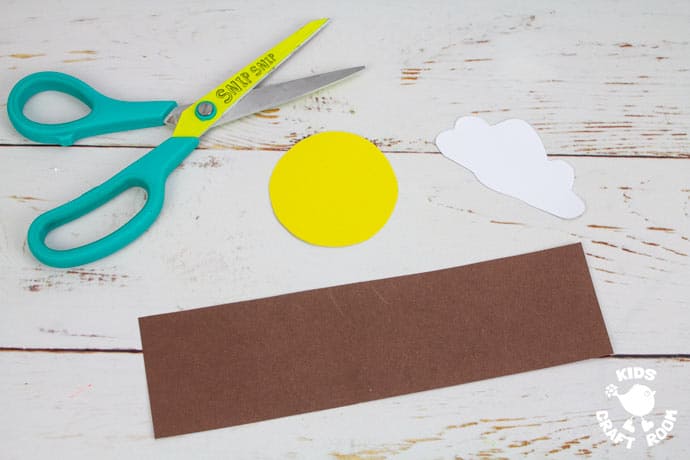
5 – Cut out a rectangular tree trunk from brown cardstock and a yellow sun and white cloud too.
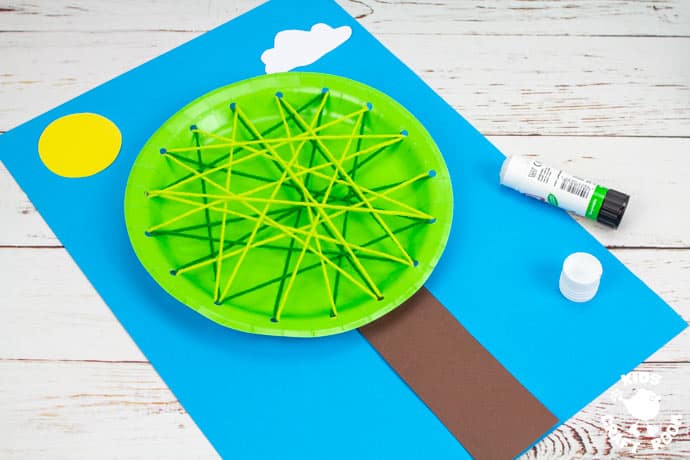
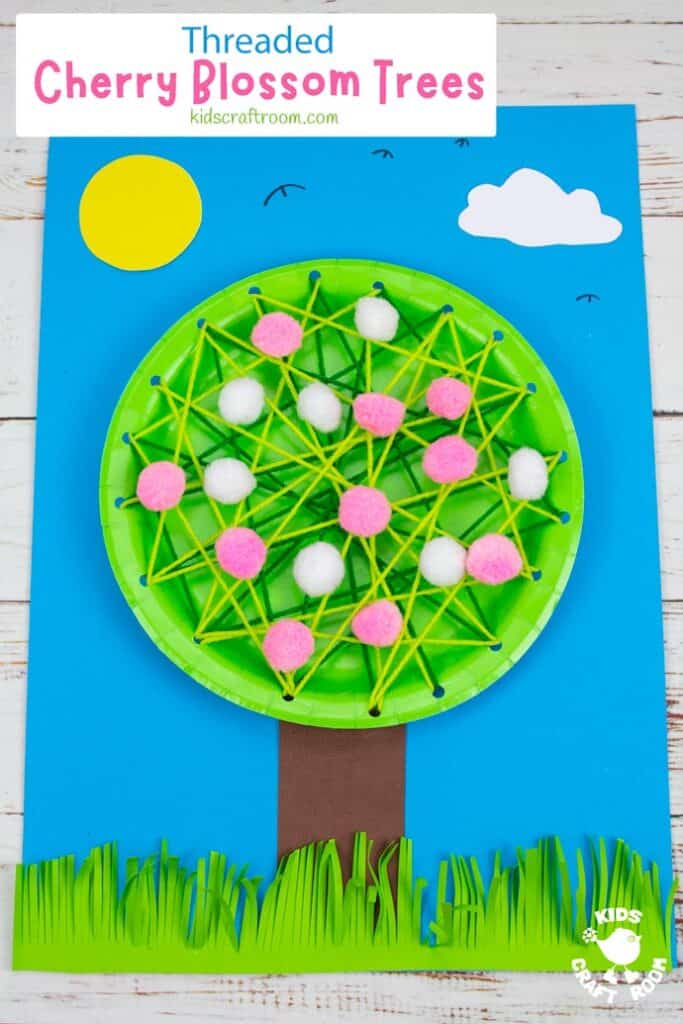
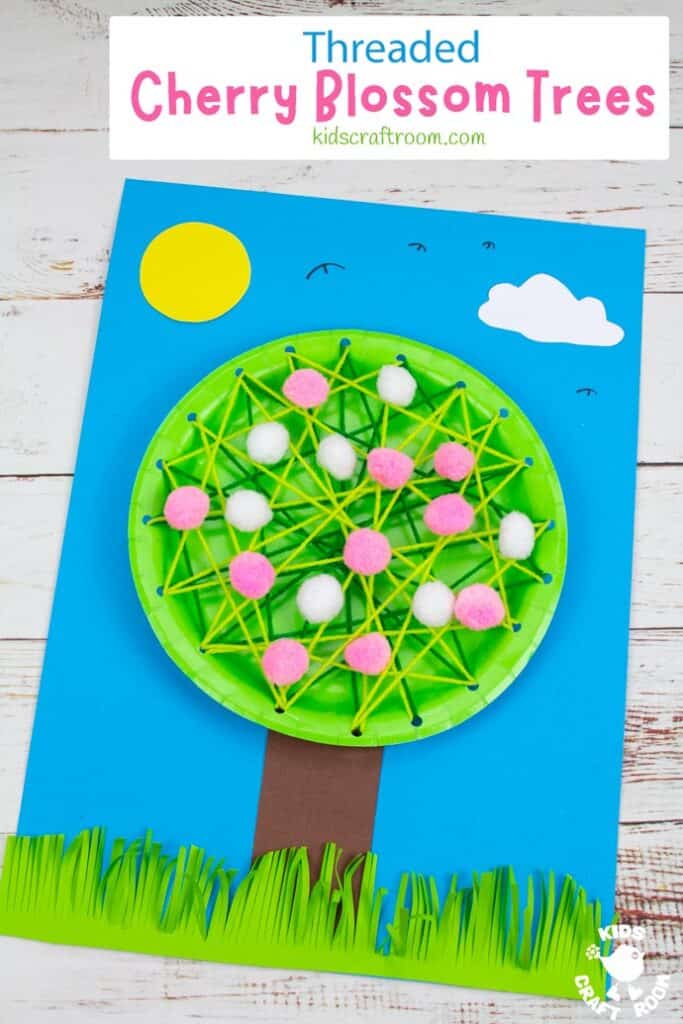
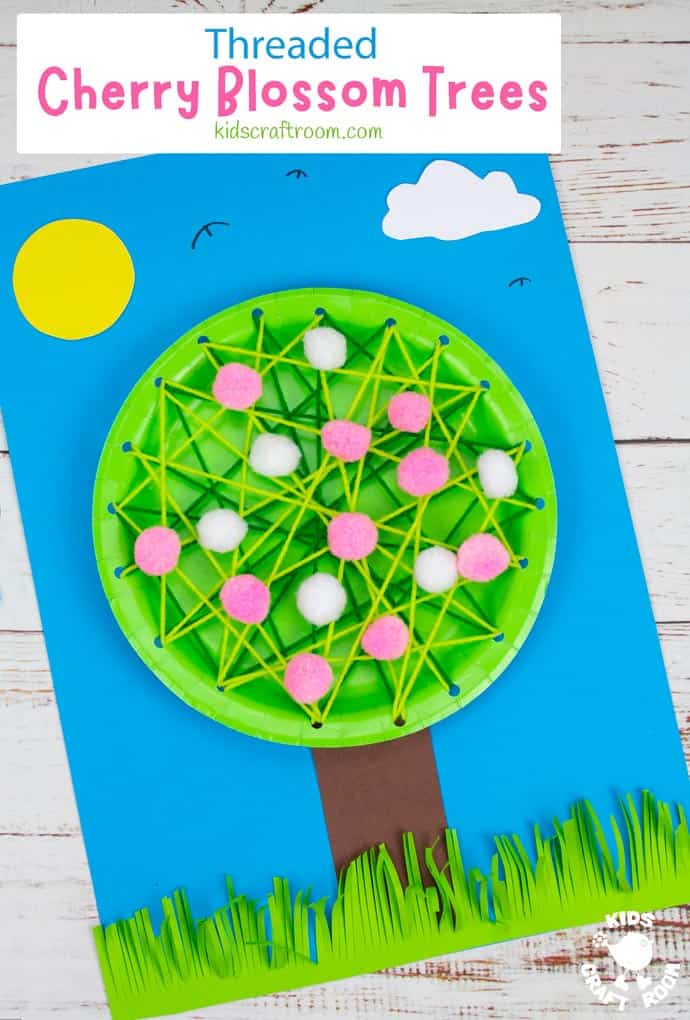
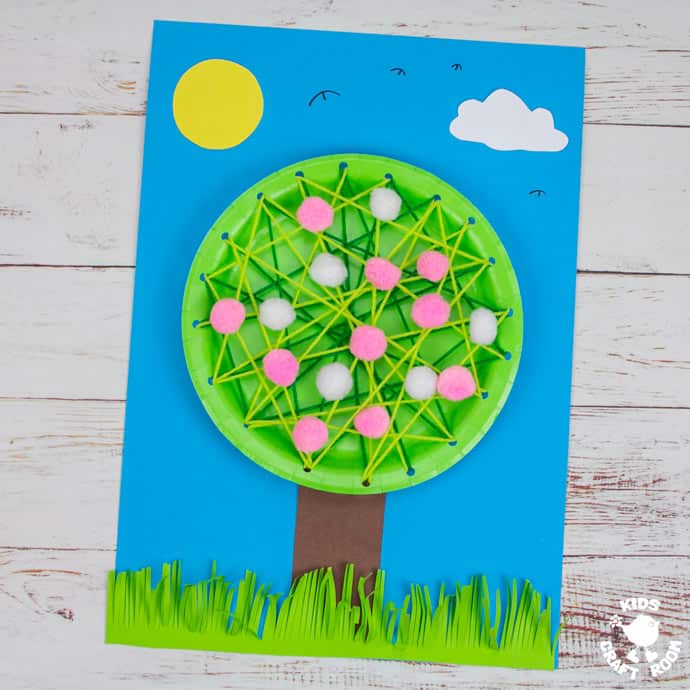
6 – Glue the laced paper plate tree onto the trunk, then glue them onto blue cardstock along with the sunshine and cloud.
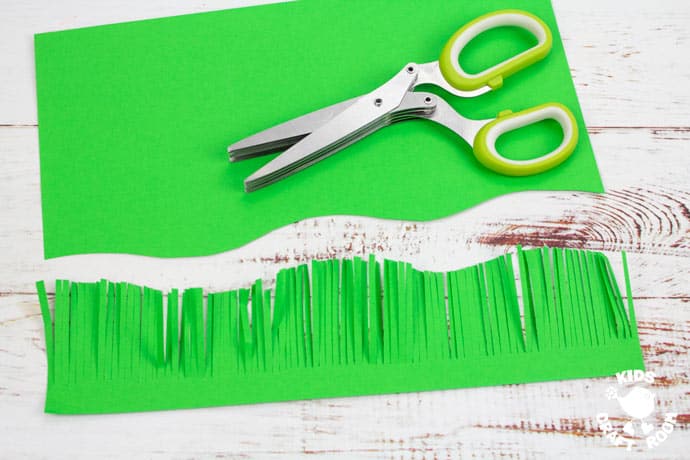
7 – To make the grass cut a rectangle of green cardstock long enough to span your backing card. (We used A3/ Tabloid for our backing and A4/ letter size for the grass.) You can keep it straight edged or cut one long side into a wave.
8 – Cut into the grass all along one length to make the blades of grass. We used herb scissors to cut lots at once.
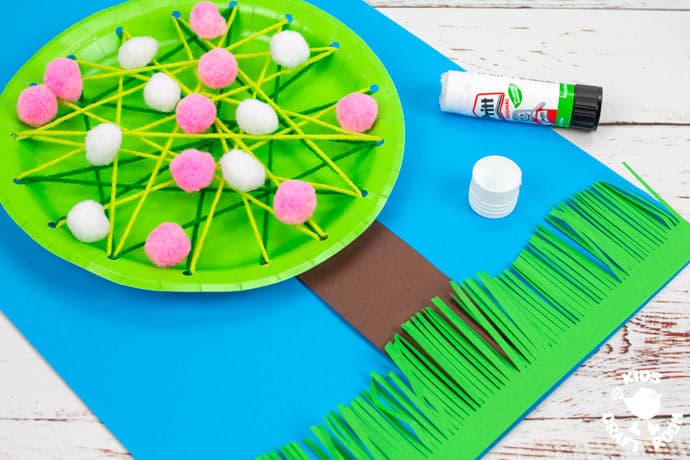
9 – Glue the grass onto the bottom of your picture.
10 – Glue the pink and white pom poms onto the threaded paper plate tree to make pretty blossom.
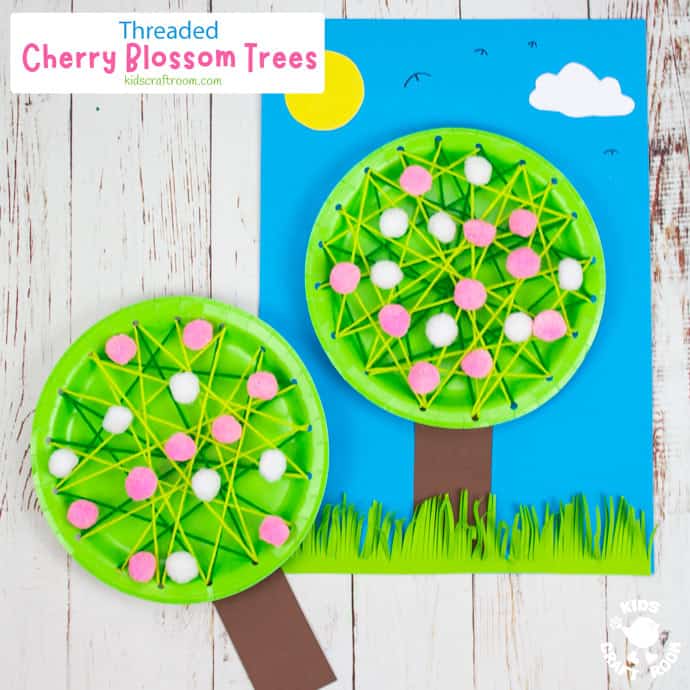
11 – Use the marker pen to draw birds flying in the sky.
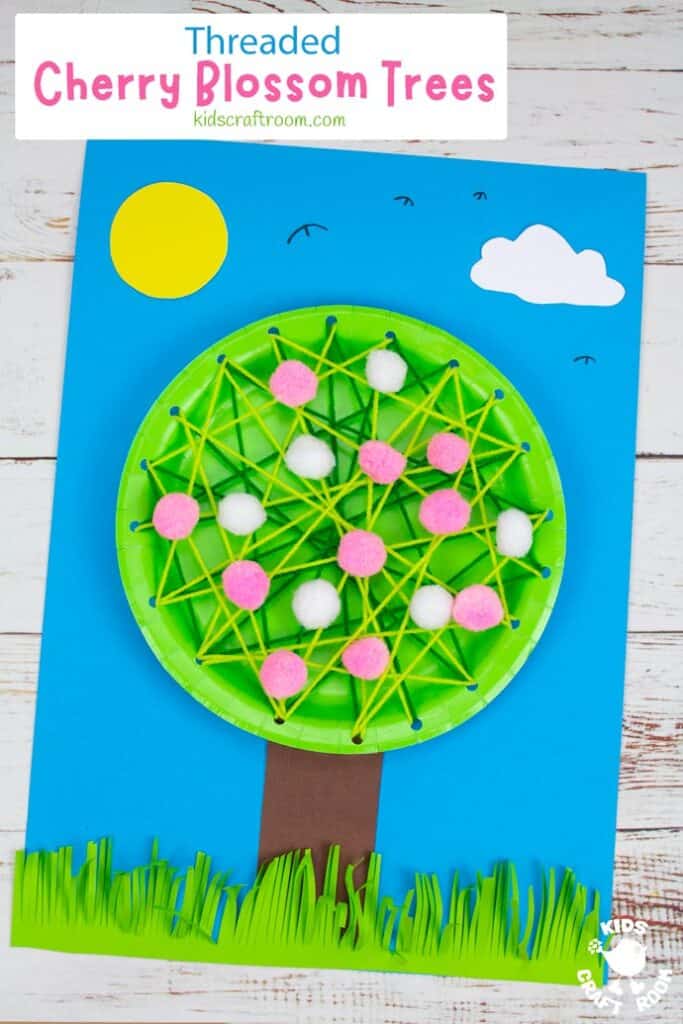
This Laced Paper Plate Cherry Blossom Tree Craft makes gorgeous pictures to display on the wall. Such a lovely spring craft!
You can print the blossom tree craft instructions below.
More Fun Spring Crafts For Kids:

Laced Paper Plate Cherry Blossom Tree Craft
Make pretty Laced Paper Plate Blossom Trees. A lovely spring craft to develop fine motor skills.
Materials
- Green Paper Plates
- Light and Dark Green Yarn
- Pink and White Pom Poms
- A4 Coloured Paper (Green, Brown, Yellow, White)
- A3 Blue Backing Card
- Hole Puncher
- Herb Scissors
- Glue
- Scissors
- Marker Pen
Instructions
- Use the single hole pucher to make holes all around the rim of the green paper plate.
- Sticky tape one end of a length of dark green yarn onto the back of the paper plate. Wrap a little bit of tape to the other end of yarn to make it rigid like a needle. Then thread it in and out of the holes to create a crisscross mesh across the front of the plate. When you've finished tape the loose end of yarn to the back of the plate.
- Repeat the threading from step 2 with a light green yarn.
- Cut out a rectangular tree trunk from brown cardstock and a yellow sun and white cloud too.
- Glue the laced paper plate tree onto the trunk. Then mount them onto blue cardstock along with the sunshine and cloud.
- To make the grass for the mounted blossom tree cut a rectangle of green cardstock long enough to span your backing card. You can keep it straight edged or cut one long side into a wave. Cut into the grass all along one length to make the blades of grass.
- Glue the grass onto the bottom of your picture.
- Glue the pink and white pom poms onto the threaded paper plate tree to make pretty blossom.
- Use the marker pen to draw birds flying in the sky.